Making custom chalk paint for your craft or furniture renovation projects is not only simple but also cost-effective. This guide will help you make your own chalk paint in any color, ensuring you achieve the perfect shade for your creations without breaking the bank.
What You Will Need:
- Plaster of Paris, Baking Soda, Calcium Carbonate, or Sanded (unsanded) Tile Grout
- Cold Water
- Latex Paint in your choice of color (Matte finish preferred)
- Measuring cups and spoons
- Mixing containers with lids
- Stirring sticks or spoons
- Protective gear (gloves, mask)
- Mixing bowl (optional)
- Paintbrush or roller
- Piece of wood or sample material for testing
Step-by-Step Instructions
Learn how to make your own chalk paint in any color with this super easy and budget-friendly guide below:
Preparing The Chalk Paint Mix:
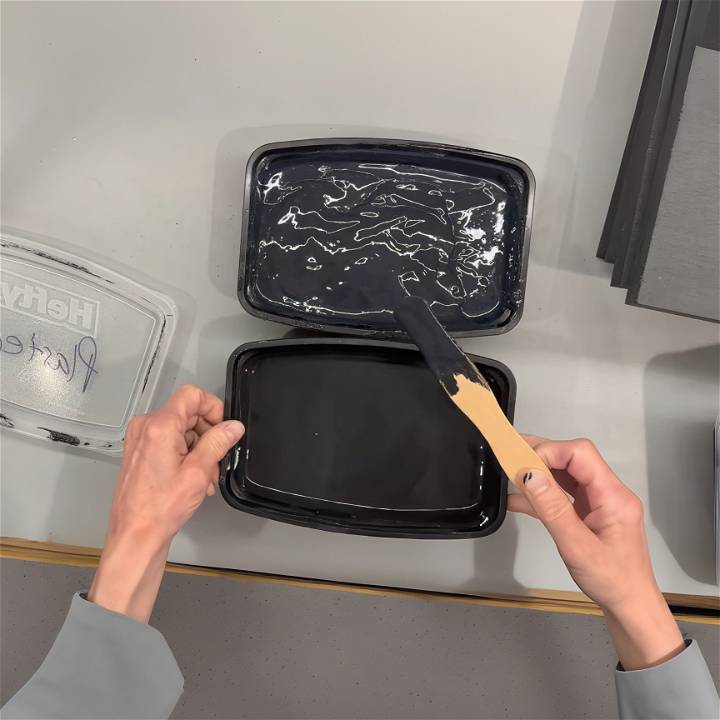
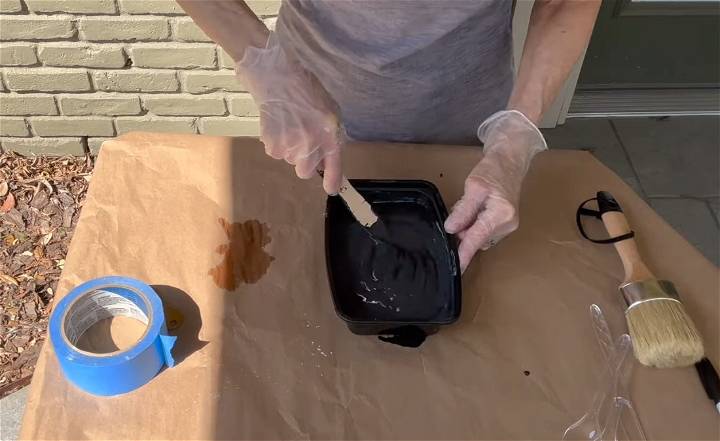
- Plaster of Paris Mix: Combine 1 part Plaster of Paris with a * ¼ part water. Ensure the mixture is smooth without lumps. Gradually add this to 1 part of your latex paint, stirring continuously until well mixed.
- Baking Soda Mix: For a half cup of Baking Soda, use 3 tablespoons of cold water. This will be thicker than the Plaster mix. Once prepared, integrate it with the latex paint and stir to a smooth consistency.
- Calcium Carbonate Mix: Mix equal parts of calcium carbonate and water until fully dissolved. Blend this mixture with your paint, ensuring a clump-free, smooth texture.
- Sanded Tile Grout Mix: Combine 1 part of sanded tile grout with an equal part of water. Mix thoroughly to avoid lumps and then mix into the paint slowly, ensuring an even consistency throughout.
Testing the Paint:
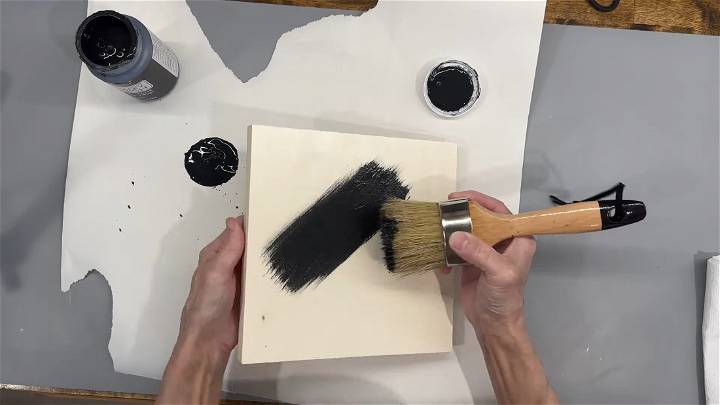
- Apply your prepared chalk paint on a small piece of wood or material similar to your project surface. Let it dry completely to observe the final color and finish. Adjust the consistency if necessary by adding a bit more water or mix.
Storing Your Chalk Paint:
- Place the leftover paint in a container with a tight lid. Label it with the type of mix and color for easy identification. Store in a cool, dry place for future projects.
Tips For Success:
- Always wear protective gear when handling Plaster of Paris and Sanded Tile Grout to avoid inhalation of fine particles.
- Test each mix on a small area before applying to your entire project to ensure compatibility and satisfaction with the result.
- For larger projects, you might need to prepare multiple batches of your mix. Consistency is key for a uniform look.
Video Tutorial
For a step-by-step video tutorial on making your own chalk paint, watch this helpful guide.
It pairs seamlessly with this written guide, showcasing each technique in action for those who prefer a visual demonstration. This combination ensures you have all the information needed for a successful project.
Making your own chalk paint is not only fulfilling but also gives you complete creative control over your projects. With this simple guide, you're well on your way to producing beautiful, unique finishes that reflect your style and vision. Happy painting!
Cost Comparison: DIY Chalk Paint vs. Store-Bought
When it comes to choosing between DIY chalk paint and store-bought versions, one of the key factors to consider is cost. Let's break down the costs associated with both options to help you make an informed decision.
DIY Chalk Paint
Making chalk paint at home primarily requires two ingredients: latex paint and calcium carbonate.
- Latex Paint: A quart of latex paint typically costs around $10-$15. Depending on the desired color intensity, you might need less than a quart for your project.
- Calcium Carbonate: You can purchase a pound of calcium carbonate online or at a health food store for about $5-$10. Given that you only need a few tablespoons per quart of paint, a single purchase can last for several projects.
Store-Bought Chalk Paint
Store-bought chalk paint, on the other hand, can be significantly more expensive. A quart of high-quality chalk paint can cost anywhere from $30 to $40.
The Bottom Line
By making your own chalk paint, you could potentially save $15-$25 per quart. This cost-saving increases with the size and number of your projects. Plus, DIY allows for color customization that might not be available with store-bought versions.
Consider the cost, time, and effort for DIY chalk paint. Prepare for a project that is fun and cost-effective. Prices vary based on location, brand, and research for accurate prices.
Customization Ideas for DIY Chalk Paint
One of the greatest advantages of DIY chalk paint is the freedom to customize. You're not limited to the colors and finishes available in the store. Here are some ideas to inspire your creativity:
Experiment with Colors
The color possibilities are endless when you're mixing your own chalk paint. Start with a base of white or off-white, and then add in small amounts of colored paint until you achieve the desired shade. Remember, it's easier to darken a color than to lighten it, so start with less and add more as needed.
Try Different Finishes
The finish of your chalk paint can dramatically change the look of your project. For a matte finish, use a flat latex paint as your base. If you prefer a bit of sheen, consider using an eggshell or satin finish paint. You can also experiment with different waxes and sealants for a variety of effects.
Add Texture
For a rustic, vintage look, consider adding texture to your paint. You can do this by adding a bit more calcium carbonate for a thicker paint, or by layering different colors and sanding between coats.
Mix Your Own Colors
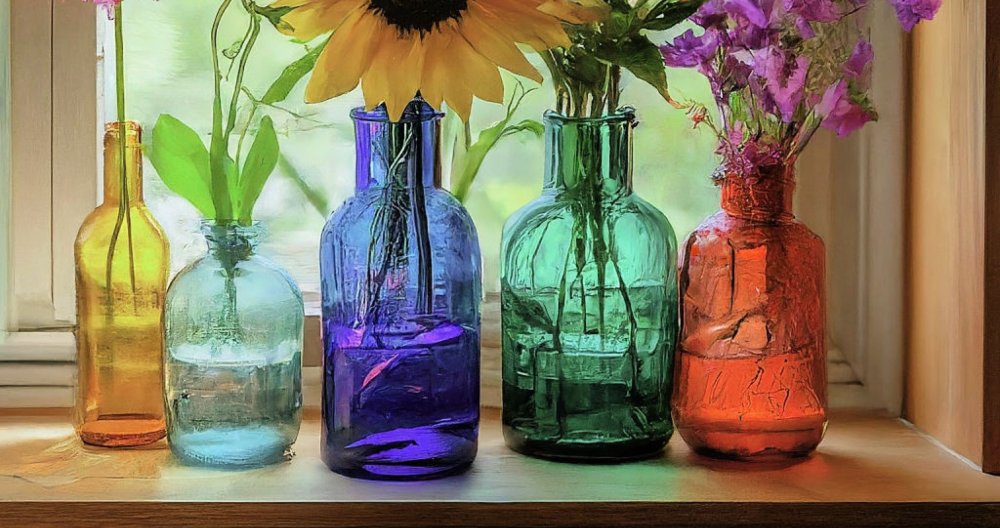
Don't feel limited to the colors available in the paint aisle. With a basic understanding of color theory, you can mix your own unique shades. For example, mix red and blue to make purple, or yellow and blue to make green. Experiment with different ratios to find the perfect shade.
The key to successful customization is experimentation. Don't be afraid to try new things and make the project your own.
Project Ideas for DIY Chalk Paint
Chalk paint is incredibly versatile and can be used in a variety of creative ways. Here are some project ideas to inspire you:
Furniture Makeover
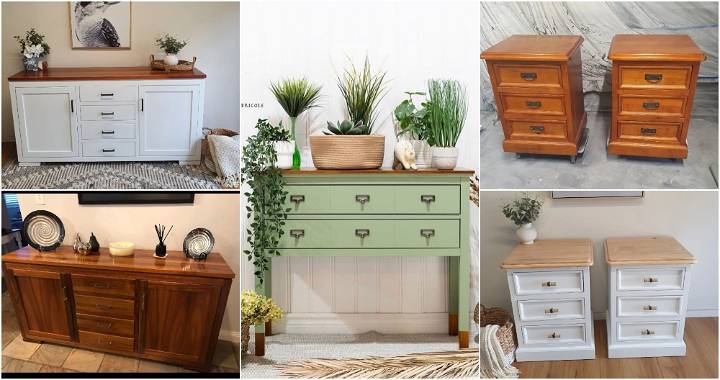
One of the most popular uses for chalk paint is in furniture makeovers. It's perfect for giving an old piece of furniture a new lease on life. Whether it's a dresser, a coffee table, or a bookshelf, chalk paint can transform it into a statement piece for your home.
Wall Art
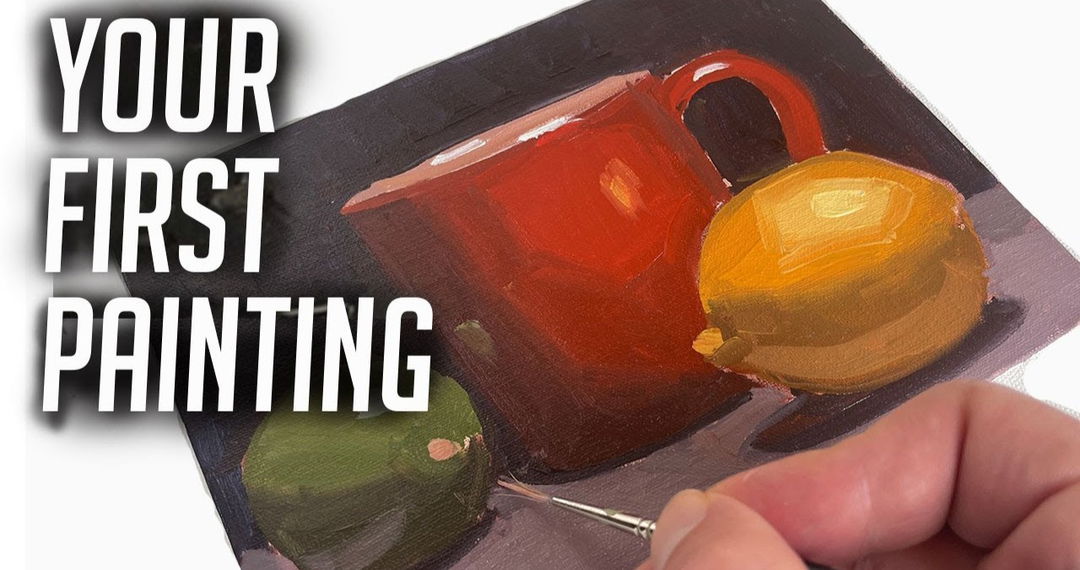
Chalk paint isn't just for furniture. You can also use it to make unique wall art. Try using different colors and finishes to make a piece that's truly one-of-a-kind.
Decorative Objects
From picture frames to flower pots, chalk paint can be used to add a touch of rustic charm to almost any object. The great thing about chalk paint is that it adheres well to a variety of surfaces, making it a great choice for all kinds of DIY projects.
Kitchen Cabinets
If your kitchen cabinets are looking a little dated, a coat of chalk paint could be just what they need. It's a cost-effective way to update your kitchen without the need for a full remodel.
These are just ideas to get you started. The possibilities with DIY chalk paint are endless. So, get creative and make something beautiful!
Safety Precautions for DIY Chalk Paint
When working on any DIY project, safety should always be a top priority. Here are some safety precautions to keep in mind when making and using DIY chalk paint:
Work in a Well-Ventilated Area
When mixing and applying your chalk paint, ensure you're in a well-ventilated area. This helps to disperse any fumes from the paint and reduces the risk of inhaling potentially harmful chemicals.
Use Protective Gear
Consider wearing protective gear such as gloves and safety glasses when mixing your chalk paint. This can prevent skin irritation and protect your eyes from any accidental splashes.
Store Safely
Once your chalk paint is mixed, be sure to store it in a safe place, out of reach of children and pets. Even though chalk paint is typically non-toxic, it's still not something that should be ingested or played with.
Dispose of Leftovers Properly
If you have leftover chalk paint, don't simply pour it down the drain. Many paints can harm the environment and may even be illegal to dispose of in this way. Check with your local waste disposal facility to find out the best way to dispose of your leftover paint.
Safety first! By taking these precautions, you can ensure that your DIY chalk paint project is not only fun and creative but also safe.
Troubleshooting Guide for DIY Chalk Paint
Even with the best preparation, you might encounter some issues when making or using DIY chalk paint. Here's a troubleshooting guide to help you navigate through common problems:
Problem: The Paint is Too Thick or Lumpy
Solution: If your chalk paint is too thick or has lumps, it might be due to too much calcium carbonate or not enough stirring. Try adding a bit more paint and thoroughly stirring the mixture until it reaches a smooth consistency.
Problem: The Paint is Not Adhering Well
Solution: Chalk paint usually adheres well to most surfaces. However, if you're having trouble, it could be due to a glossy or non-porous surface. Lightly sanding the surface before applying the paint can help improve adhesion.
Problem: The Finish is Not Smooth
Solution: If your finish is not as smooth as you'd like, it could be due to the paint being too thick or the brush strokes being too visible. Try thinning the paint with a bit of water and using a high-quality brush for application.
Problem: The Color is Not as Expected
Solution: If the color of your chalk paint is not as expected, it could be due to the base color of the paint used. Remember that the color will also darken slightly when a wax or sealant is applied.
DIY projects often involve some trial and error. Don't be discouraged if things don't go perfectly the first time. With a bit of patience and practice, you'll be a DIY chalk paint pro in no time!
FAQs about DIY Chalk Paint
Learn DIY chalk paint with our FAQs. Get answers on making, using, and sealing chalk paint at home.
Should I clean my furniture first before applying DIY chalk paint?
A1: Yes, if your furniture or project is dirty, stained, or greasy, a cleaning using warm water, vinegar and water, or TSP is recommended.
Do I need to sand prior to using DIY chalk paint?
A2: No, a light sanding for shiny/glossy surfaces is recommended, but it's not necessary for all surfaces.
Do I need to prime before painting?
A3: No, primer is only beneficial when bleed through occurs, such as when the wood's natural tannin starts showing through a light-colored paint.
Can DIY chalk paint be used over a piece that's already painted?
Yes, any type of chalky paint can be used over an already painted piece.
What paint sheen works best for these recipes?
Flat, Matte, and Eggshell paints will give the most authentic chalky results.
Can any water-based paint be used?
Yes, the recipes work with water-based paints such as latex, acrylic, crafts paints, emulsion (in the UK).
Can any color be used for these recipes?
Yes, you have unlimited color choices.
Can I use paint+primer all-in-one for these recipes?
Yes, paint and primer all-in-one can be used for these recipes, but it sometimes thickens a little more than regular latex after the chalking ingredient is added.
Will the chalking ingredients change the color of my paint?
No, but if you decide to use the grout recipe, be sure to get the Standard White Non-Sanded Grout.
My plaster of paris is clumping together in the paint. What did I do wrong?
It may be that the Plaster of Paris was not properly mixed into the paint or the length of time it has been sitting/stored. Try adding a little less Plaster of Paris and/or using a little water to thin out the clumps prior to painting.
Conclusion:
Wrapping up, DIY chalk paint is a versatile and budget-friendly option for updating your furniture and decor. With easy steps and endless color possibilities, it's a fun way to unleash your creativity and add a personal touch to your space.


