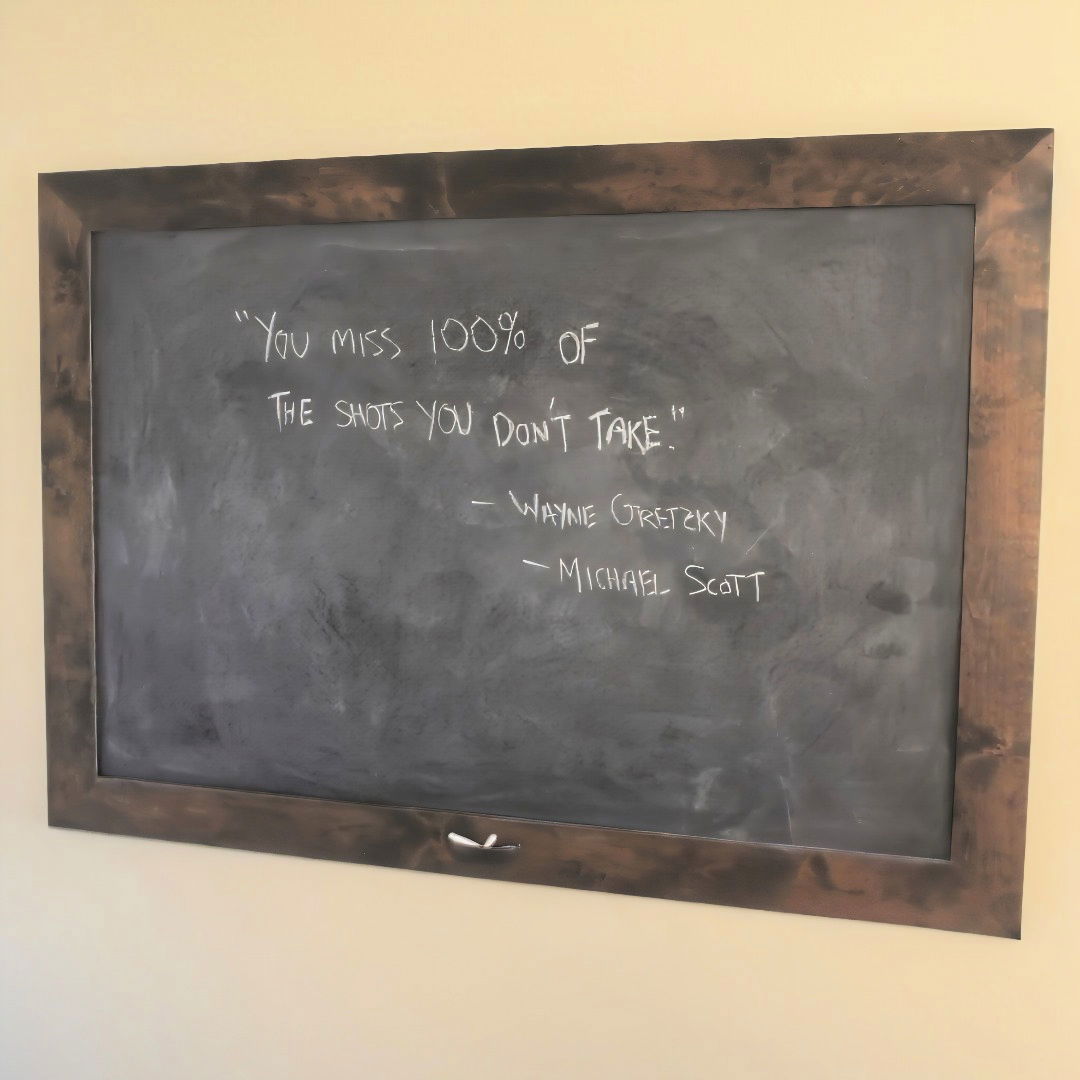
Building a large frame chalkboard at home was a fulfilling journey that combined creativity and woodworking skills. I sought to craft something both practical and aesthetically pleasing, and the process was like piecing together a puzzle. Here, I'll take you through my experience, guiding you with detailed instructions on how you can build your own DIY chalkboard.
Materials You'll Need
Before diving in, gathering your tools and materials is essential. Here's why each item is crucial:
- Alder Boards (2, 8-foot long, 3.5 inches wide): These make up the frame. Alder is a stable and well-suited wood for picture frames due to its uniform grain and smooth finish.
- Trim Router with a Straight Cut Bit: Used to build a rabbet where the chalkboard will rest. This tool provides precision, ensuring a neat and professional look.
- Pocket Hole Jig and 1 1/4 inch Fine Thread Pocket Screws: These provide structural integrity to the frame by reinforcing the joints, making assembly straightforward.
- Quarter-Inch Plywood: Serves as the backing for the chalkboard. It's a lightweight yet sturdy option for support.
- Track Saw: Ideal for precise straight cuts on the plywood, contributing to a clean and professional finish. Alternatives include a table saw or circular saw.
- Chalkboard Paint and Foam Roller: To build the actual chalkboard surface. A foam roller helps achieve a smooth, even coat.
- Poly Wall and Contact Cement: Used to enhance the surface quality of the plywood, providing a smooth base for painting and protecting against moisture.
- 220-Grit Sandpaper and Plastic Scraper: Used to sand between paint coats to ensure a flawless finish.
- Utility Knife: Required for trimming excess poly wall material.
- Minwax Dark Walnut Wood Stain and Wipe-On Polyurethane: They give the frame a rich finish while sealing and protecting the wood.
- Brad Nails: Necessary for securing the chalkboard into the frame.
- Drill and Countersink Bit: To prepare for screw placement and avoid wood splitting.
- Keyhole Router Bit and Forstner Bit: Essential for making precise hanging holes that allow your chalkboard to hang evenly.
Step by Step Instructions
Learn how to build a DIY chalkboard with our step-by-step instructions, from crafting the frame to preparing the surface and hanging it perfectly.
Starting with the Frame
Learn the essential steps of starting with the frame, including measuring, cutting, and crafting the rabbet for a perfect finish.
Measuring and Cutting
The foundation of a sturdy frame lies in accurate measurement and precision cuts:
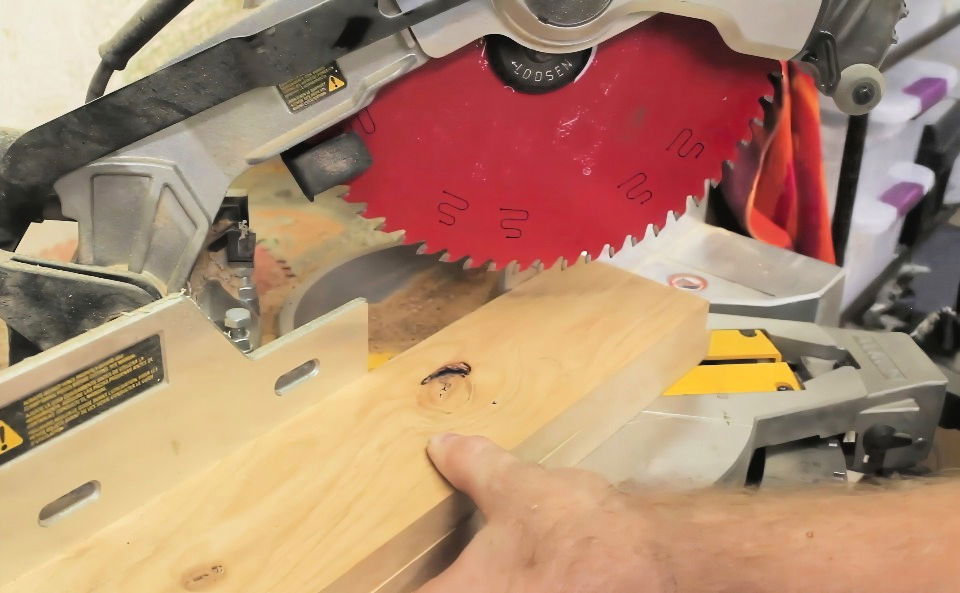
- Measure the Alder Boards: Begin by marking the points for 45-degree miter cuts. This angle is crucial as it ensures your frame will have clean, seamless corners.
- Cut Precisely: Using the miter saw, cut each board at the marked angles. Accuracy here eliminates gaps in the miter joints later. Verify that each opposing pair of frame sides is exactly equal in length by cutting the top and bottom pieces simultaneously, and then doing the same for the sides.
Crafting the Rabbet
To provide a recessed niche where the chalkboard will sit, follow these steps:
- Router Work: Employ a trim router fitted with a straight cut bit to carve a half-inch rabbet along the back, inside edge of each frame piece. Precision in making this groove is key to a good fit for the chalkboard.
Assembling the Frame
Learn how to assemble and reinforce your frame using pocket holes. Step-by-step guide for a sturdy, durable construction.
Reinforcing with Pocket Holes
Reinforcing the frame with pocket screws enhances structural integrity:
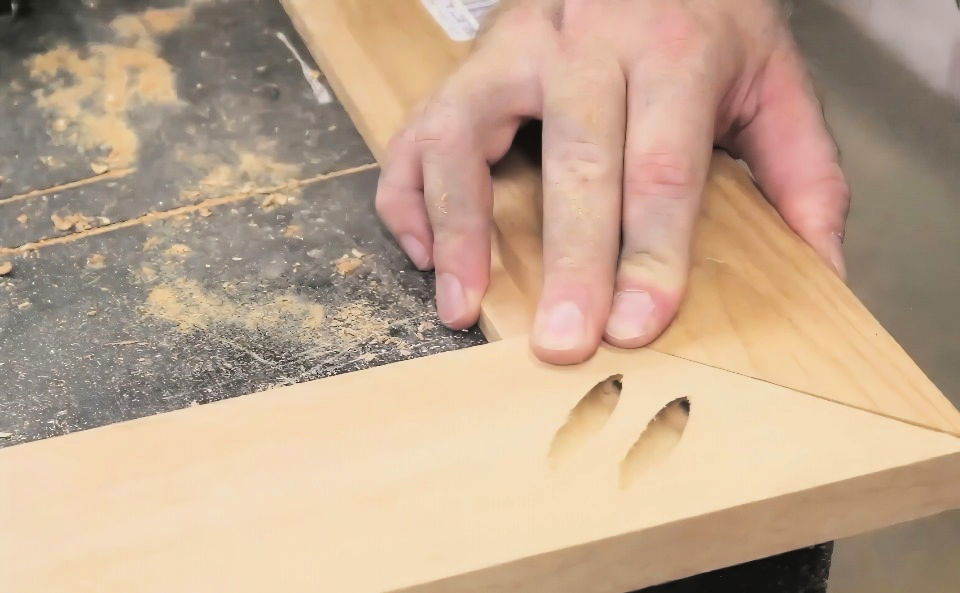
- Drill Pocket Holes: On the ends of the top and bottom frame pieces, drill pocket holes. These are where the screws go in, helping hold the corners snugly together.
- Gluing and Screwing: Apply yellow wood glue at the corners before driving in the pocket screws. The screws provide the necessary clamping pressure during glue drying, ensuring tight and secure joints.
Preparing the Chalkboard Surface
Prepare the chalkboard surface by choosing the right backing and enhancing its quality. Get expert tips for a smooth, long-lasting finish.
Choosing the Right Backing
Initially, I planned to use plain plywood as the backing, but I faced some challenges:
- Grain Visibility Issue: The grain of the plywood showed through the paint, a problem that could've been solved by priming it beforehand.
Enhancing Surface Quality
To overcome the visibility of wood grain and enhance smoothness:
- Apply Poly Wall: This protective layer—commonly used for bathroom walls—adheres to the plywood with contact cement, making a smooth underlayer for painting.
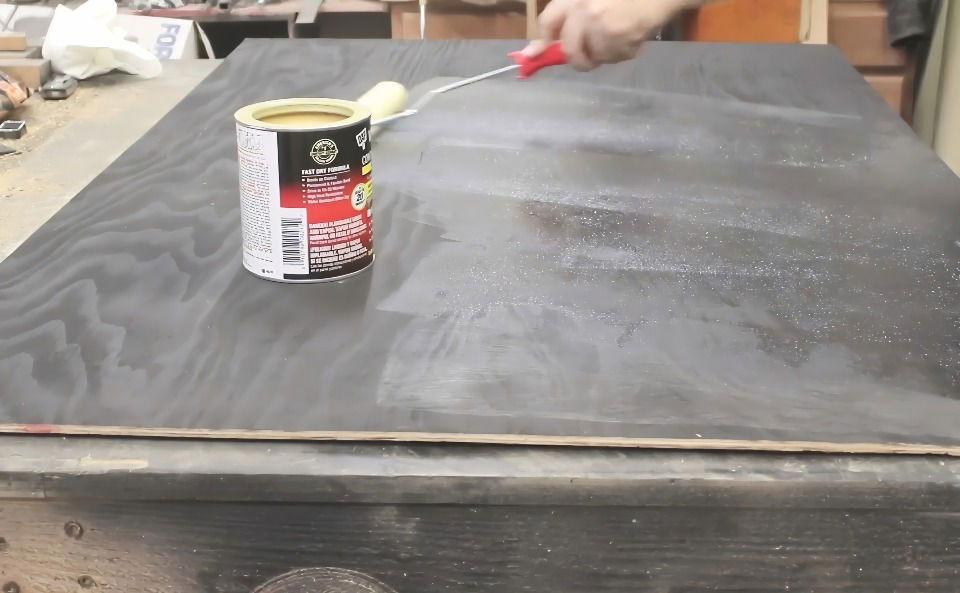
- Trim and Paint: After the contact cement sets, trim any excess poly wall using a utility knife. Apply two coats of chalkboard paint with a foam roller, lightly sanding between coats to ensure a smooth texture. Add a third finish coat with a plastic scraper for the perfect chalkboard surface.
Assembling and Hanging the Chalkboard
Learn how to assemble and hang your chalkboard, mount it to the frame, prepare for wall hanging, and achieve the perfect final touch in easy steps!
Mounting the Chalkboard to the Frame
First, ensure your chalkboard surface fits neatly into the frame's rabbet:
- Secure with Brad Nails: Lay the chalkboard into the rabbeted area and secure it with brad nails. These will hold the board firmly without detracting from its sleek appearance.
Preparing for Wall Hanging
To hang the chalkboard securely and aligned:
- Find Stud Locations: Cut a strip of wood the same width as your frame to help mark the wall's stud locations. Transfer these marks onto the back of the frame.
- Drilling Keyholes: Use a Forstner bit to drill starter holes, then carve keyhole slots in the frame back using a keyhole router bit and guides. Consistency here ensures the board hangs straight.
Final Touch and Hanging
Finish off your hard work with these steps:
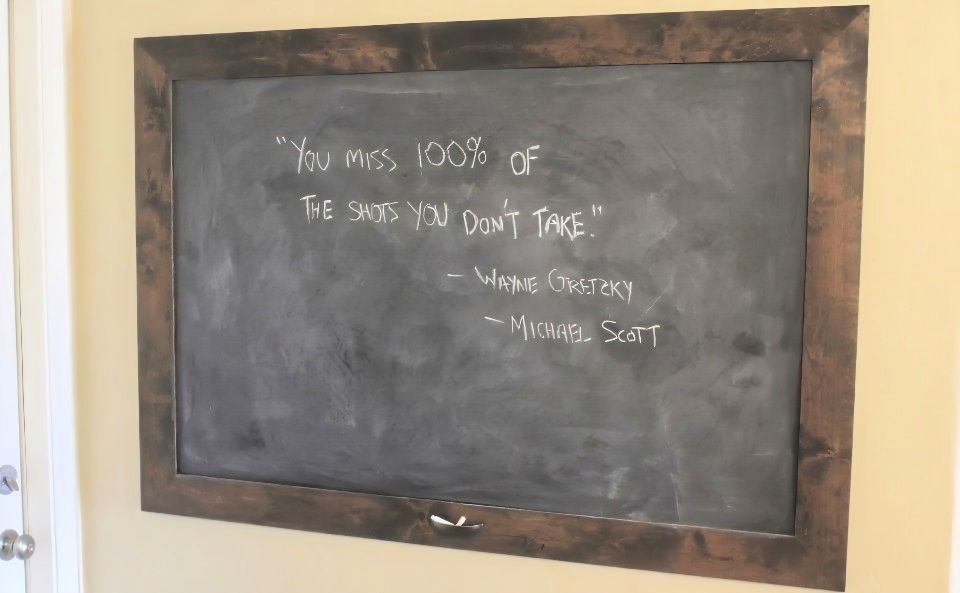
- Apply Stain and Finish: Use Minwax dark walnut stain to enhance the wood grain followed by a wipe-on polyurethane to protect the frame's surface.
- Install a Chalk Holder: A creatively inverted drawer pull at the bottom of the frame serves perfectly as a chalk holder, keeping things tidy.
- Hang and Use: Finally, hang the chalkboard in place using the keyhole slots, and it's ready for action.
Creative Uses for Chalkboards
Chalkboards are incredibly versatile and can be used in many creative ways around your home. Here are some ideas to inspire you:
Meal Planning
Use a chalkboard in your kitchen to plan your weekly meals. This helps you stay organized and makes grocery shopping easier. You can also use it to note down recipes or ingredients you need to buy.
To-Do Lists
A chalkboard is perfect for keeping track of daily tasks. Place it in a common area like the living room or hallway. This way, everyone in the household can see what needs to be done.
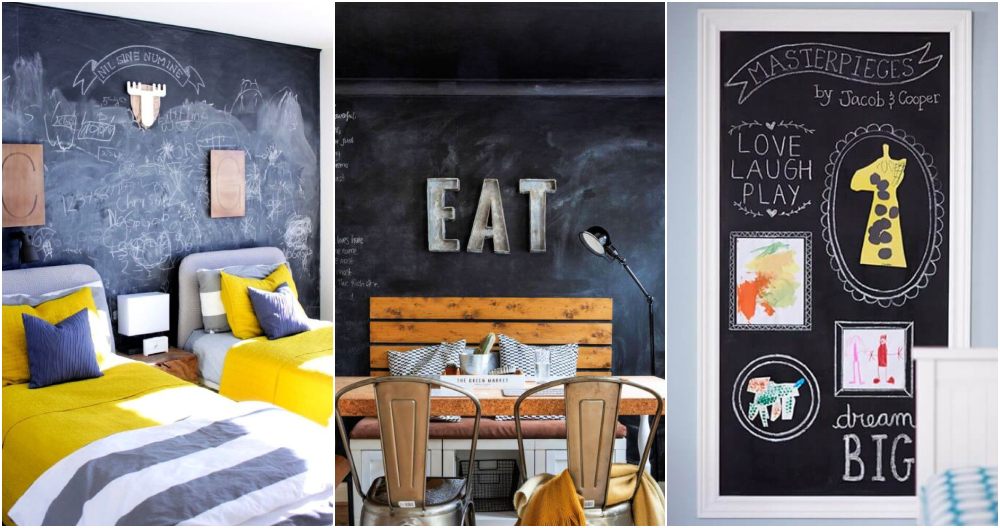
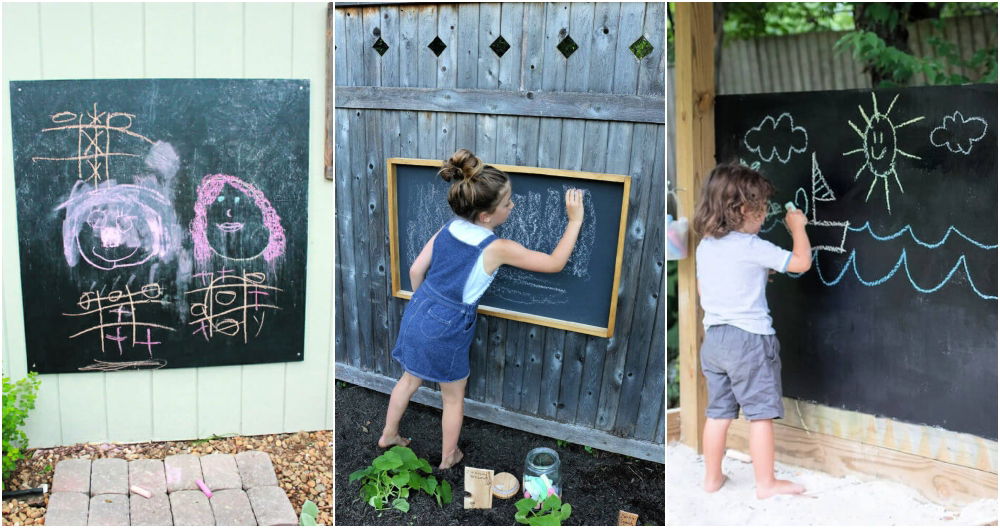
Kids' Art Space
Build a dedicated art space for your children. A chalkboard wall in their room or play area allows them to draw and express their creativity without worrying about making a mess.
Home Décor
Chalkboards can be a stylish addition to your home décor. Use them to display inspirational quotes, seasonal greetings, or even as a canvas for your artwork. You can change the design whenever you like, keeping your décor fresh and interesting.
Event Signage
If you're hosting a party or event, use chalkboards for signage. They can direct guests, display the menu, or highlight important information. Chalkboards add a personal touch and can be easily customized for any occasion.
Garden Markers
Label your plants and herbs with small chalkboard signs. This not only helps you remember what you planted but also adds a charming touch to your garden.
Message Board
Keep a chalkboard near your front door to leave messages for family members or housemates. It's a great way to communicate reminders, appointments, or just a friendly note.
Learning Tool
Chalkboards are excellent educational tools. Use them to teach children at home, practice handwriting, or solve math problems. They make learning interactive and fun.
Chalkboard Calendar
Build a large chalkboard calendar to keep track of important dates and events. This is especially useful for busy families or individuals who like to plan ahead.
Menu Board
If you enjoy cooking, a chalkboard menu in your kitchen can be a fun way to display the day's meals. It adds a touch of restaurant-style flair to your home.
Make the most of your chalkboard by adding style and functionality to your living space. It's a fun way to personalize your home!
Common Mistakes to Avoid
When making and using DIY chalkboards, several common mistakes can affect the quality and longevity of your project. Here are some pitfalls to watch out for and how to avoid them:
Using the Wrong Surface
Not all surfaces are suitable for chalkboard paint. Avoid using rough or porous surfaces, as they can make writing difficult and uneven. Instead, choose smooth surfaces like wood, metal, or glass for the best results.
Skipping the Primer
Applying chalkboard paint directly to the surface without a primer can lead to poor adhesion and durability. Always use a primer to ensure the paint sticks well and lasts longer.
Applying Too Few Coats
One or two coats of chalkboard paint might not be enough to build a durable writing surface. Apply at least three coats, allowing each layer to dry completely before adding the next. This ensures a smooth and even finish.
Not Seasoning the Chalkboard
Before using your new chalkboard, it's essential to season it. Rub the entire surface with the side of a piece of chalk and then erase it. This prevents the first marks from becoming permanent and helps the chalk write more smoothly.
Using the Wrong Chalk
Not all chalk is buildd equal. Avoid using oil-based or permanent chalk markers on traditional chalkboards, as they can leave stains. Stick to regular chalk or water-based chalk markers for easy cleaning.
Improper Cleaning
Using harsh cleaners or too much water can damage the chalkboard surface. Clean your chalkboard with a damp cloth or a chalkboard-specific cleaner. Avoid abrasive materials that can scratch the surface.
Ignoring Drying Times
Rushing the drying process can lead to a poor finish. Follow the manufacturer's instructions for drying times between coats and before using the chalkboard. Patience ensures a better result.
Poor Placement
Placing your chalkboard in a high-humidity area, like a bathroom, can cause the paint to peel or bubble. Choose a dry, well-ventilated location to ensure the longevity of your chalkboard.
Neglecting Regular Maintenance
Chalkboards require regular maintenance to stay in good condition. Clean them frequently and reapply chalkboard paint as needed to keep the surface smooth and functional.
Overloading with Decorations
While it's tempting to decorate your chalkboard with stickers or other embellishments, too many decorations can make it difficult to use. Keep decorations minimal and functional to maintain a clear writing space.
By avoiding these common mistakes, you can build a durable and functional chalkboard that will serve you well for years to come.
FAQs about DIY Chalkboards
Discover answers to common questions about DIY Chalkboards. Tips, materials, and step-by-step guidance for your perfect creative project.
Before applying chalkboard paint, it's important to ensure your surface is clean, dry, and smooth. If there are any rough spots, gently sand them down. If you're painting a porous surface like wood, you might want to apply a primer first for better adhesion.
Stir the chalkboard paint thoroughly before use. Apply the paint evenly using a brush or roller, following the manufacturer's instructions for drying time between coats. Usually, multiple coats are needed for a smooth, durable finish.
Seasoning your chalkboard helps prevent ghosting (faint marks left behind after erasing). Once the paint is fully dry, rub the entire surface with the side of a piece of chalk, then erase it completely.
Standard chalk works well on most DIY chalkboards. However, for a smoother writing experience and less dust, consider using dustless chalk or chalk markers.
To clean your chalkboard, simply wipe it with a damp cloth or sponge. For stubborn marks, you can use a chalkboard cleaner or a mixture of water and vinegar. Avoid using abrasive cleaners or scrubbers, as they can damage the chalkboard surface.
Conclusion
Building this DIY chalkboard was not just about crafting a functional item. It was a journey through learning about cuts, finishes, and creative problem solving that tested my patience and rewarded my attention to detail. I encourage you, too, to embark on this project—enjoy the satisfaction of crafting with your own hands, and the utility of a personalized chalkboard in your home or workspace.
By sharing these experiences and insights, I hope to empower you with both the knowledge and confidence needed to undertake similar projects. Whether you're a seasoned woodworker or a curious beginner, taking on a challenge like this is immensely rewarding.


