I remember the first time I tackled the challenge of making a DIY chicken plucker at home. The idea seemed daunting at first, but the need to process chickens efficiently motivated me. Gathering all the materials required was straightforward – a sturdy bucket, rubber fingers, and a motor. Putting everything together felt like solving a fun puzzle, and before I knew it, I had a functioning homemade chicken plucker.
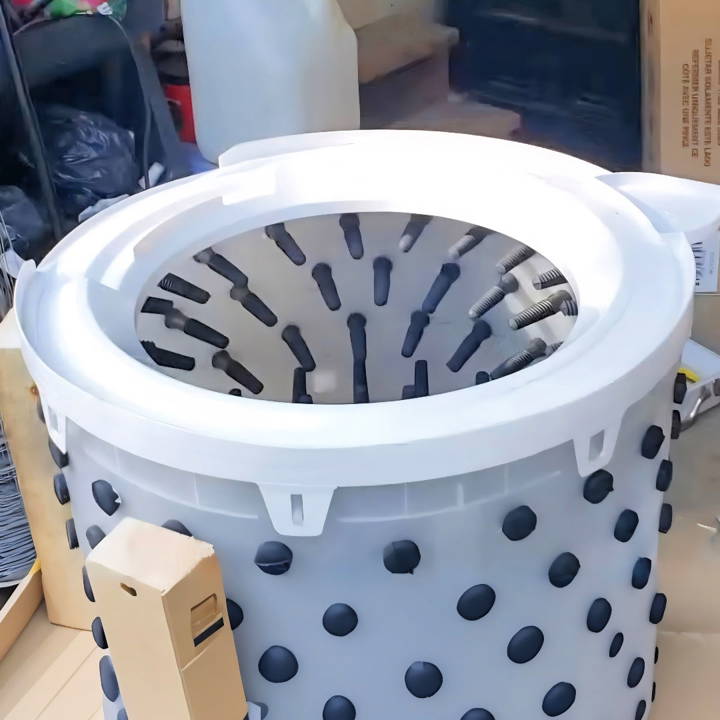
Using my homemade chicken plucker saved me a lot of time and effort. The rubber fingers did an excellent job removing feathers quickly and cleanly. I can't emphasize enough how much easier it made the whole process of preparing chickens.
If you're thinking about building your own chicken plucker, this guide will help you get started. Follow the steps, and you'll find it incredibly rewarding.
Materials Needed
- Old Washing Machine: The heart of the project. I chose a free model that still ran but leaked, making it unfit for washing clothes but perfect for this project.
- Plucker Fingers: Rubber fingers essential for plucking the feathers effectively.
- Pulleys: This included a 2-inch pulley for the motor and a 12-inch pulley for the shaft.
- Bearings: To support the shaft within the constructed frame.
- Aluminum Plate: For the plucking plate where rubber fingers are mounted.
- Basic Tools: Including a cut-off wheel, file, auto punch, drill, and jigsaw.
Step by Step Instructions
Learn how to make a homemade DIY chicken plucker with our easy, step-by-step guide. Save time and money with this DIY project!
Step 1: Breaking Down the Washing Machine
The first step involved dismantling the washing machine. I kept the tub, half-horsepower motor, shaft, and motor mount. I decided to dispose of the rest or keep it for future projects.
Step 2: Preparing the Washing Machine Drum
I removed the drum and trimmed a protruding piece to make space for the plucking mechanism, using a cut-off wheel and a file for smoothing the edges. The goal was to make a sturdy base for the plucker fingers and ensure the stability of the structure.
Step 3: Building the Frame
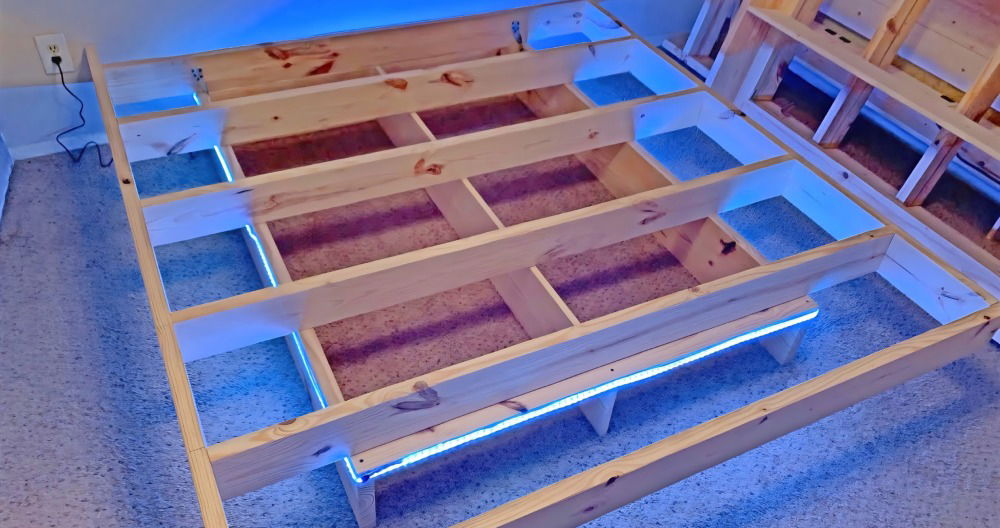
Since a washing machine is designed to move and shake during operation, I needed a solid frame to keep everything in place. I crafted a wooden frame that would hold the drum steady and provide mounting points for the bearings and the motor.
Step 4: Setting Up Pulleys and Bearings
With the frame ready, I positioned the pulleys and bearings. The 2-inch pulley was attached to the motor, and the 12-inch pulley went on the shaft, ensuring the correct tension and alignment for smooth operation.
Step 5: Fabricating the Plucking Plate
The plucking plate, made from a 22x22 inch aluminum sheet, was cut into a circle and drilled to fit the rubber fingers. Finding the center, I used a clamp and a pen attached to make a perfect circle guide for cutting. With the circle cut out, I proceeded to mark and drill holes for the rubber plucker fingers, spacing them strategically for maximum efficiency.
Step 6: Assembling the Plucker
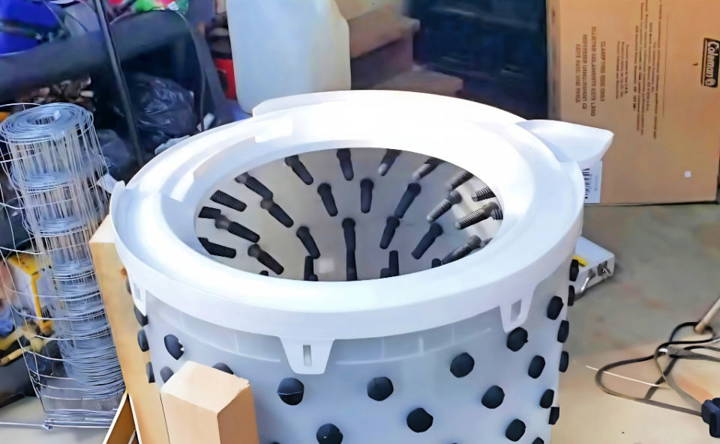
After completing the plucking plate, I mounted it inside the washing machine drum, attaching it securely to the previously installed shaft. The rubber fingers were then inserted into the drilled holes. It was a tedious process, but a bit of vegetable oil eased the rubber fingers into place without compromising food safety.
Step 7: Final Touches and Testing
With everything assembled, it was time to hook up the motor to the washing machine's original electrical system. Given the simplicity of the setup, the machine was ready for a test run with the pull of the original washer's knob.
Step 8: Real-life Testing
The ultimate test came with our first batch of chickens. I placed the birds inside the drum, fired up the plucker, and watched in amazement as it efficiently removed feathers, leaving behind clean, ready-to-process chickens.
Tips and Insights
- Safety First: Ensure all sharp edges are filed down, and wear gloves to protect against sharp metal shavings.
- Quality Tools Matter: Investing in good-quality tools, like a durable jigsaw, can make the task much more straightforward.
- Patience is Key: Installing the rubber fingers can be time-consuming, but the end result is worth the effort.
Performance Metrics of Homemade Chicken Pluckers
When it comes to assessing the performance of homemade chicken pluckers, there are several key metrics that can help you understand their efficiency and effectiveness. Here's a comprehensive look at these metrics, presented in a straightforward and easy-to-understand manner.
- Time Efficiency: One of the most significant measures of a chicken plucker's performance is the time it takes to pluck a chicken. On average, a well-built homemade plucker can process a chicken in about 15 to 30 seconds. This is a substantial improvement over manual plucking, which can take upwards of 10 minutes per chicken.
- Feather Removal Rate: A high-quality homemade plucker should have a feather removal rate of 98-99%, leaving the skin smooth and largely free of pinfeathers. This level of efficiency ensures minimal follow-up cleaning, saving additional time and effort.
- Durability: The lifespan of your homemade plucker is another important metric. With proper maintenance, a homemade plucker can last for several years. The use of robust materials like stainless steel for the plucking fingers and a strong motor can contribute to a longer-lasting machine.
- Capacity: Depending on the size and power of your homemade plucker, it can typically handle one to three chickens at a time. This capacity is ideal for small-scale poultry processing and can be adjusted based on your specific needs.
- Energy Consumption: Homemade pluckers are generally designed to be energy-efficient. They often use standard electrical power and consume approximately 0.5 to 1.5 kWh per use, depending on the size and duration of operation. This translates to a low operational cost, especially when compared to commercial pluckers.
- User Satisfaction: Feedback from users who have built and used homemade pluckers is overwhelmingly positive. They report significant savings in time and effort, as well as satisfaction with the quality of the plucking.
Concentrating on these metrics ensures your homemade chicken plucker is effective and valuable, saving time, reducing effort, and offering a return on investment.
Troubleshooting Guide for Homemade Chicken Pluckers
Encountering issues with your homemade chicken plucker can be frustrating. To help you quickly resolve common problems, here's a troubleshooting guide that's easy to understand and follow.
Plucker Not Turning On
- Check the Power Source: Ensure the plucker is plugged in and the outlet is functioning.
- Inspect the Switch: Test the on/off switch for any faults and replace it if necessary.
- Examine the Motor: If the motor is not working, it may need to be reset or replaced.
Inefficient Plucking
- Adjust the Plucker Fingers: Make sure the rubber fingers are properly aligned and spaced.
- Regulate Water Supply: A steady stream of water helps in plucking. Adjust the water flow to the optimal level.
- Check Feather Plate: The plate should be clean and free of debris for effective feather removal.
Machine Vibrates Excessively
- Stabilize the Base: Ensure the plucker is on a stable and level surface.
- Secure Loose Parts: Tighten any bolts or screws that may have become loose.
- Balance the Load: Distribute the chickens evenly inside the plucker to avoid imbalance.
Overheating Motor
- Allow Cooling Periods: Give the motor time to cool down between uses.
- Clear Ventilation Paths: Remove any obstructions that may block the motor's ventilation.
- Motor Maintenance: Regularly clean and lubricate the motor to prevent overheating.
Short Lifespan of Components
- Use Quality Materials: Invest in high-grade materials for longer durability.
- Routine Checks: Perform regular inspections and replace worn-out parts promptly.
- Proper Cleaning: After each use, thoroughly clean the plucker to prevent buildup that can cause wear.
This guide helps you fix common issues with homemade chicken pluckers. Regular maintenance ensures your plucker runs smoothly for years.
FAQs About Homemade Chicken Plucker
Discover answers to common questions about homemade chicken plucker. Learn tips, tricks, and essential info for a DIY plucking solution.
A homemade chicken plucker is a device that helps remove feathers from chickens quickly and efficiently. It’s typically made from materials like PVC pipes, barrels, and rubber fingers, and can be powered by a motor. This tool is especially useful for those who raise chickens for food and need to process multiple birds.
A homemade chicken plucker works by spinning the chicken carcass against rubber fingers that gently pull the feathers away from the skin. The bird is usually scalded in hot water first to loosen the feathers, making them easier to remove. The plucker’s spinning action, combined with the rubber fingers, effectively removes feathers in a fraction of the time it would take to do by hand.
Yes, you can build a chicken plucker yourself. There are many DIY plans available that guide you through the process. You’ll need basic materials like a drum or barrel, rubber fingers, and a motor. Some designs are simple and use recycled materials, making them very cost-effective.
The benefits of using a homemade chicken plucker include saving time and effort compared to manual plucking, achieving a cleaner pluck with less damage to the chicken's skin, and processing multiple birds quickly, which is particularly advantageous during large poultry harvests.
To maintain a homemade chicken plucker, keep it clean and ensure the rubber fingers are free of debris. Regularly check the motor and moving parts for wear and tear. After each use, wash the plucker thoroughly to prevent bacterial growth and to keep it in good working condition for the next use.
Conclusion
Learning to make a DIY chicken plucker yourself is not only practical but also empowering. With a little effort, you can have a reliable tool that makes chicken processing simple and efficient. This guide will help you step by step.


