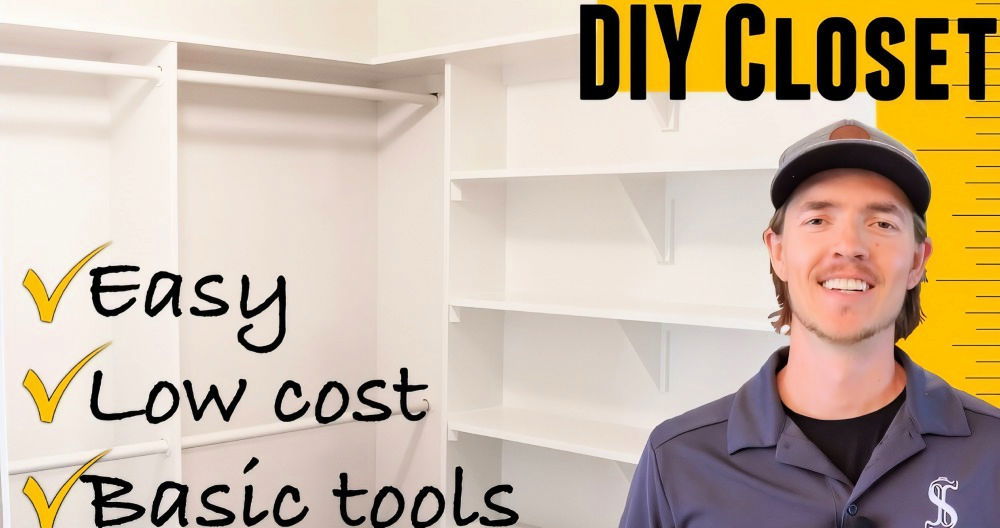
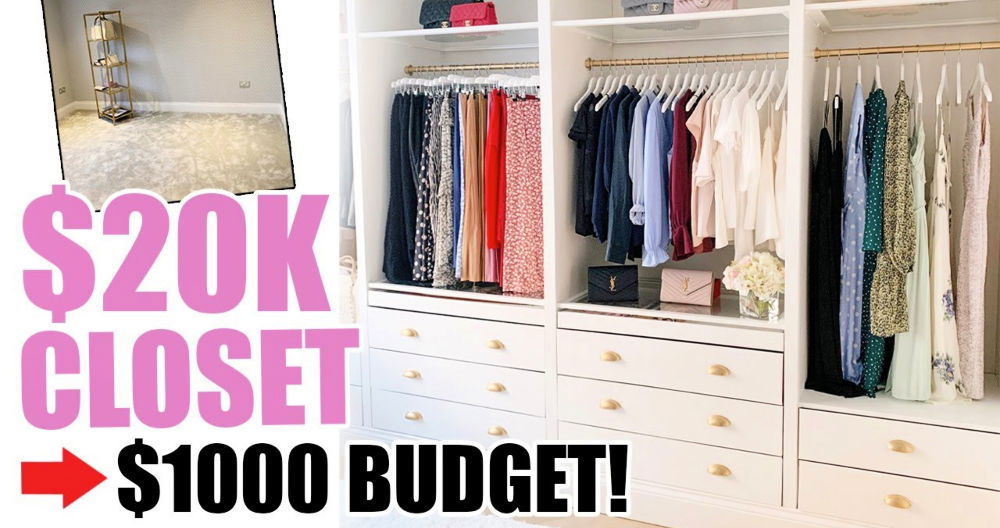
Transforming your closet can feel like a daunting task, but with just a few tools and a bit of confidence, you can make a more organized and efficient space. I recently tackled this project myself, installing a DIY closet rod, and I want to share my experience to help guide you step-by-step through the process.
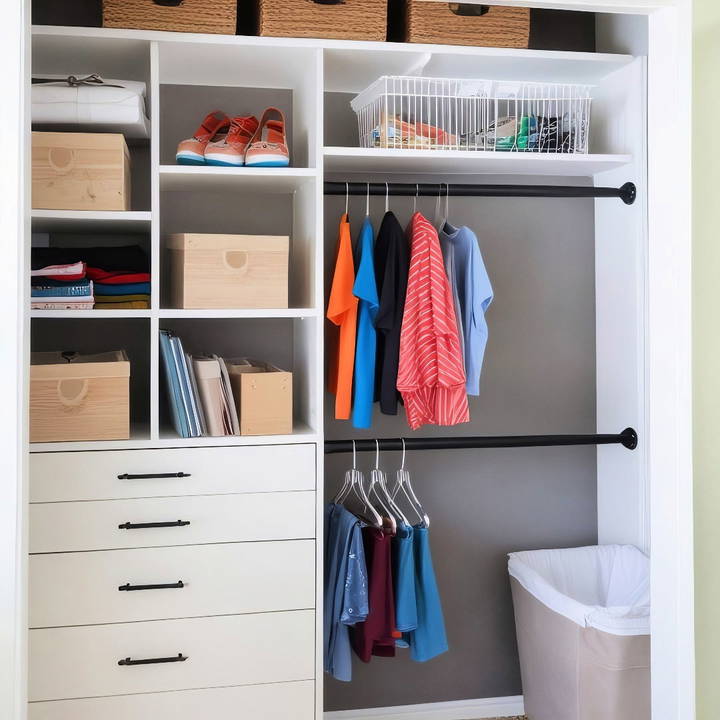
This guide is beginner-friendly, assumes you have minimal DIY skills, and promises valuable insights into the practicalities of installing a closet rod.
Why Install a Closet Rod?
Before diving into the details, it's important to understand the benefits of installing a closet rod. This simple addition can greatly enhance your closet's storage capacity, make it easier to organize clothing, and improve the overall aesthetic of your space. Whether you're dealing with a small closet or a spacious walk-in, a well-placed rod can make a significant difference.
Materials Needed
To ensure a smooth installation, here's a list of materials and tools you'll need, along with why each is necessary:
- Closet Rod Socket Set: This usually comes with two pieces and provides the support needed to hold your rod in place. Opt for a set that matches your wall strength and rod diameter.
- Closet Rod: Choose a rod that fits the span of your closet and can support the weight of your clothing.
- Self-Centering Drill Bit: An invaluable tool for this job, it helps ensure precision by drilling directly in the center of the existing holes in the socket.
- Screwdriver or Screw Gun: Required to secure the screws that fasten the socket to the wall. A screw gun can make the task faster and easier.
- Level: To make sure your rod is perfectly horizontal, which is crucial for a neat and functional closet.
- Measuring Tape: Essential for marking exact measurements for the rod installation.
- Pencil: To mark the positioning on the wall.
Each of these tools will help streamline the process and ensure that your installation is both safe and secure.
Step-by-Step Instructions
Learn how to install a DIY closet rod with our step-by-step guide. From planning your layout to final adjustments, get tips and troubleshoot installation issues.
Step 1: Plan Your Layout
The first step before any installation is planning. Consider where the clothes will hang and how much space you need below and above the rod. I ended up placing mine about 4 inches off the ceiling, which worked well for a double rod configuration. Think about accessibility and what works best for your wardrobe needs.
Step 2: Measure and Mark
Using your measuring tape, mark where you'll be placing the closet rod sockets. For optimal use of space, I aligned the sockets around 10 inches off the back wall. Remember to take into account your closet's height and the length of your clothing when making these measurements.
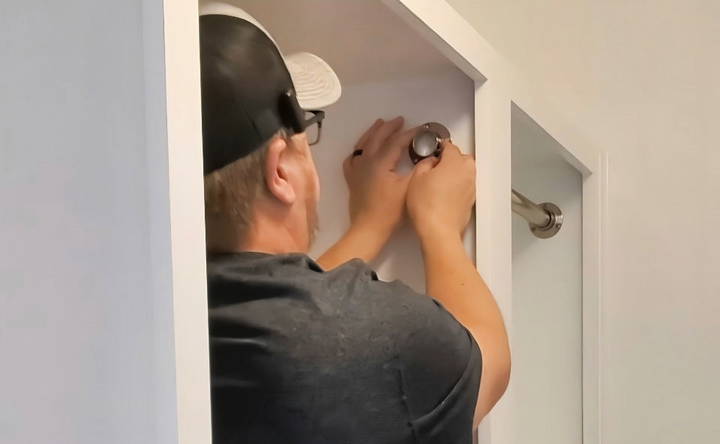
Step 3: Install the First Socket
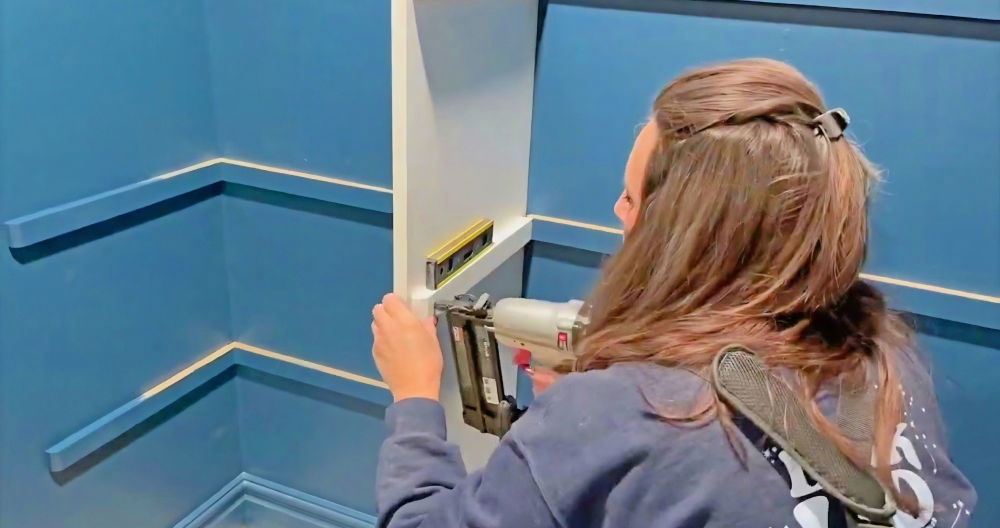
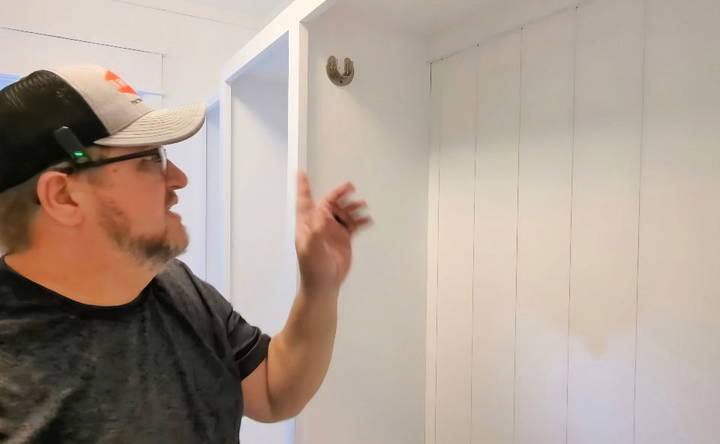
Align the first socket with the mark you made. The self-centering drill bit made this step straightforward by ensuring the drill was perfectly aligned with the socket's pre-drilled holes. Once positioned, use your screwdriver or screw gun to fasten the socket to the wall with screws. This is where the screw gun excels—in quickly driving the screws in without over-tightening.
Step 4: Level and Install the Second Socket
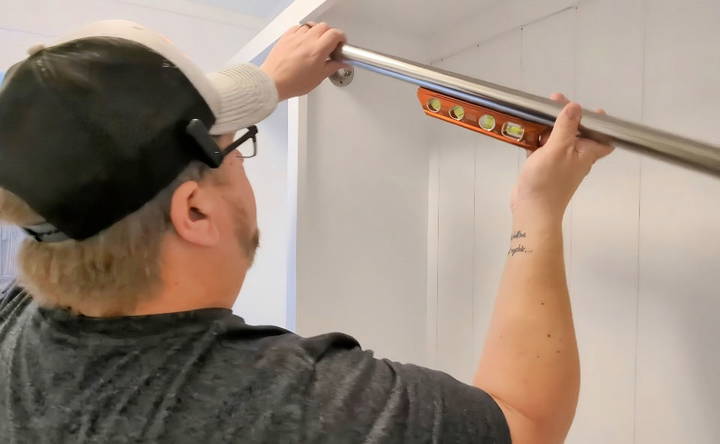
It's crucial that your rod is level. After installing the first socket, place the rod in it and use a level to determine where the second socket should be placed. Adjust the positioning as needed to ensure the rod is straight, and then proceed to fasten the second socket using the same method as the first.
Step 5: Insert the Rod
With both sockets securely installed, insert your closet rod. It should slide easily into place and sit securely without any wobbling or unevenness. Double-check with your level to ensure everything is perfect.
Step 6: Final Adjustments
Make any necessary adjustments to ensure that the rod is sturdy and perfectly level. This might involve tightening screws or adjusting the sockets slightly. It's important that your rod can support the weight of your clothing without sagging.
Additional Tips and Tricks
Master adding a second hard drive with our additional tips and tricks. Avoid common mistakes, troubleshoot installation issues, and explore storage options.
Avoid Common Mistakes
- Improper Measurements: Always double-check your measurements before drilling. An error of even a few centimeters can lead to an uneven rod or reduced storage space.
- Using Incorrect Tools: Tools are key. The right drill bit and screw gun make the process much smoother. Borrow or rent tools if you don't own them.
Troubleshooting Installation Issues
If you encounter any problems, such as difficulty in drilling or the rod not sitting level, reevaluate your measurements and check for any obstructions in the wall. Sometimes adjusting the tightened screws can resolve minor level issues.
Consider Additional Storage Options
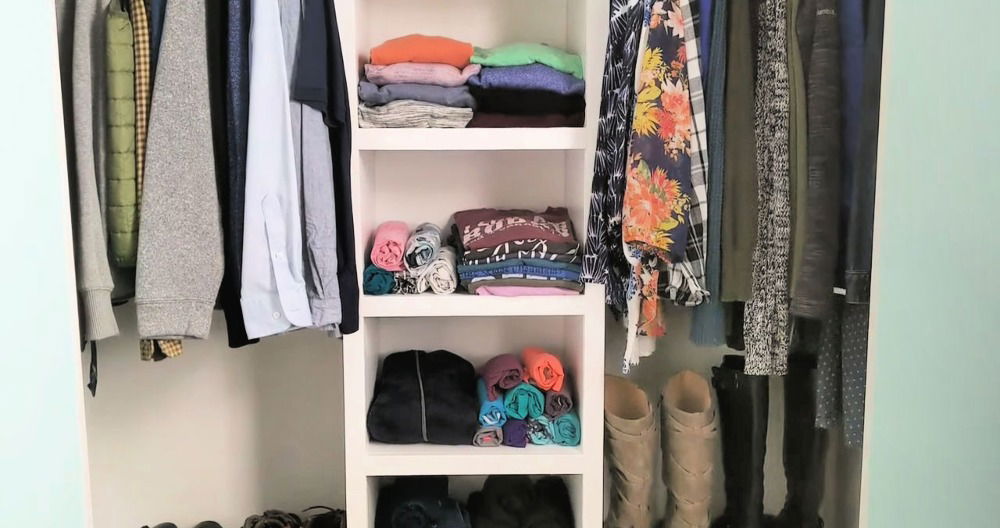
While you're revamping your closet, think about adding shelves or baskets for storing smaller items. This can significantly enhance your organizational efforts and maximize the new space you've maked.
Customization Ideas
Customizing your DIY closet rod can make your closet more functional and stylish. Here are some easy-to-follow ideas to help you personalize your closet rod:
Different Materials
Choosing the right material for your closet rod can enhance both its look and durability. Here are some options:
- Wood: Wood rods are classic and can be stained or painted to match your closet decor. They are sturdy and can hold a good amount of weight.
- Metal: Metal rods, such as those made from stainless steel or aluminum, are strong and modern-looking. They are ideal for a sleek, contemporary closet.
- PVC: PVC rods are lightweight and easy to cut to size. They are a budget-friendly option and can be painted to fit your style.
Finishing Touches
Adding finishing touches to your closet rod can make it stand out. Here are some ideas:
- Paint or Stain: Customize the color of your rod by painting or staining it. Choose a color that complements your closet's overall design.
- Decorative End Caps: Use decorative end caps to add a touch of elegance to your closet rod. These can be found in various styles and materials.
- Wrap with Fabric or Rope: For a unique look, consider wrapping your rod with fabric or rope. This can add texture and a personalized touch to your closet.
Additional Features
Enhance the functionality of your closet rod with these additional features:
- Hooks: Install hooks along the rod to hang accessories like belts, scarves, or bags. This keeps them organized and easily accessible.
- Shelves: Add shelves above or below the rod for extra storage space. Shelves can hold folded clothes, shoes, or storage bins.
- Double Rods: If you have the height, consider installing a second rod below the first one. This doubles your hanging space and is perfect for shorter items like shirts and skirts.
Personalization Tips
Here are some tips to make your closet rod truly your own:
- Measure Carefully: Ensure you measure your closet space accurately before cutting your rod. This ensures a perfect fit.
- Mix and Match: Don't be afraid to mix different materials and finishes. For example, a wooden rod with metal brackets can make a stylish contrast.
- Think About Weight: Consider the weight of the items you plan to hang. Choose a material and installation method that can support the load.
Customize your DIY closet rod for better function and style. These simple ideas enhance organization and appearance.
Troubleshooting Common Issues
When working on a DIY closet rod, you might encounter some common issues. Here are some practical solutions to help you address these problems effectively:
Sagging Rods
A sagging rod is a common issue, especially if it's holding a lot of weight. Here's how to fix it:
- Add Extra Brackets: Install additional brackets in the middle of the rod to provide extra support. This helps distribute the weight more evenly.
- Use a Solid Rod: If your rod is hollow, consider replacing it with a solid wood or metal rod. Solid rods are less likely to bend under weight.
- Insert a Dowel: For hollow rods, you can insert a solid wooden dowel inside to reinforce it. This adds strength without changing the rod's appearance.
Loose Rods
If your rod is coming loose from the wall, it might not be securely fastened. Here's what you can do:
- Check the Brackets: Ensure that the brackets are firmly attached to the wall. Use wall anchors if necessary to provide a more secure hold.
- Tighten Screws: Sometimes, simply tightening the screws can solve the problem. Make sure all screws are tight and secure.
- Use Stronger Brackets: If the existing brackets are weak, replace them with stronger ones that can better support the rod.
Incorrect Installation
Incorrect installation can lead to various issues. Here's how to ensure your rod is installed correctly:
- Measure Accurately: Double-check your measurements before cutting the rod. Make sure the rod fits snugly between the walls.
- Level the Rod: Use a level to ensure the rod is perfectly horizontal. An uneven rod can cause clothes to slide to one side.
- Secure Brackets Properly: Make sure the brackets are installed at the same height on both sides. This ensures the rod is level and stable.
Weight Capacity
Overloading the rod can cause it to bend or break. Here's how to manage the weight:
- Distribute Weight Evenly: Spread clothes evenly along the rod to avoid putting too much weight in one spot.
- Check Weight Limits: Know the weight capacity of your rod and avoid exceeding it. If you need to hang heavy items, consider using a stronger rod.
- Add Support: For heavy loads, add additional support brackets or props to help distribute the weight.
Preventive Maintenance
Regular maintenance can help prevent issues from arising. Here are some tips:
- Inspect Regularly: Periodically check the rod and brackets for signs of wear or damage.
- Clean the Rod: Keep the rod clean and free of dust to ensure smooth operation.
- Tighten Screws: Regularly tighten any loose screws to maintain stability.
By addressing these common issues, you can ensure your DIY closet rod remains functional and reliable. These simple solutions can help you maintain a well-organized and sturdy closet.
FAQs About DIY Closet Rods
Get answers to the most common questions about DIY closet rods, from installation to choosing the right materials and maximizing closet space.
Follow these steps to measure for a closet rod:
Measure the width: Measure the distance between the two walls where you want to install the rod.
Determine the height: Standard height for a single rod is about 60 inches from the floor. For double rods, place the lower rod at 40 inches and the upper rod at 80 inches.
Check depth: Ensure your closet depth is at least 24 inches to accommodate hanging clothes.
To ensure your closet rod is secure:
Use heavy-duty brackets: These can support more weight.
Anchor into studs: If possible, attach brackets to wall studs for extra strength.
Distribute weight: Avoid overloading one section of the rod. Spread clothes evenly.
Check regularly: Periodically check the rod and brackets for any signs of wear or loosening.
Yes, you can customize your closet rod setup:
Adjustable rods: Use adjustable rods to fit different closet widths.
Double rods: Install two rods, one above the other, to maximize space.
Add shelves: Combine rods with shelves for additional storage.
Decorative brackets: Choose brackets that match your closet’s style.
When choosing a closet rod, consider the following factors:
Material: Metal rods are durable and can support more weight, while wooden rods offer a classic look.
Diameter: Standard rods are about 1-1.25 inches in diameter. Ensure the rod fits your brackets.
Length: Measure your closet width and choose a rod that fits. Some rods are adjustable, which can be convenient.
Weight capacity: Check the rod's weight limit to ensure it can hold your clothes without bending.
Yes, you can install a closet rod without drilling by using tension rods or adhesive brackets:
Tension rods: These rods use spring tension to stay in place and are ideal for lightweight clothing.
Adhesive brackets: These brackets stick to the wall and can support a rod. Ensure they are rated for the weight you plan to hang.
Freestanding systems: These systems include rods and shelves that stand on the floor, eliminating the need for wall installation.
Wrapping Up
Installing a DIY closet rod was both a practical and rewarding experience for me. Not only did it improve the functionality of my space, but it also boosted my confidence in handling other DIY projects around the house. The key is approaching the project with a step-by-step mentality, ensuring each phase is completed before moving on to the next.
In conclusion, by following the steps outlined above, you can transform your closet in minutes. Having done this myself, I understand how daunting it may seem initially, but with patience and the right tools, it's a project that anyone can tackle.


