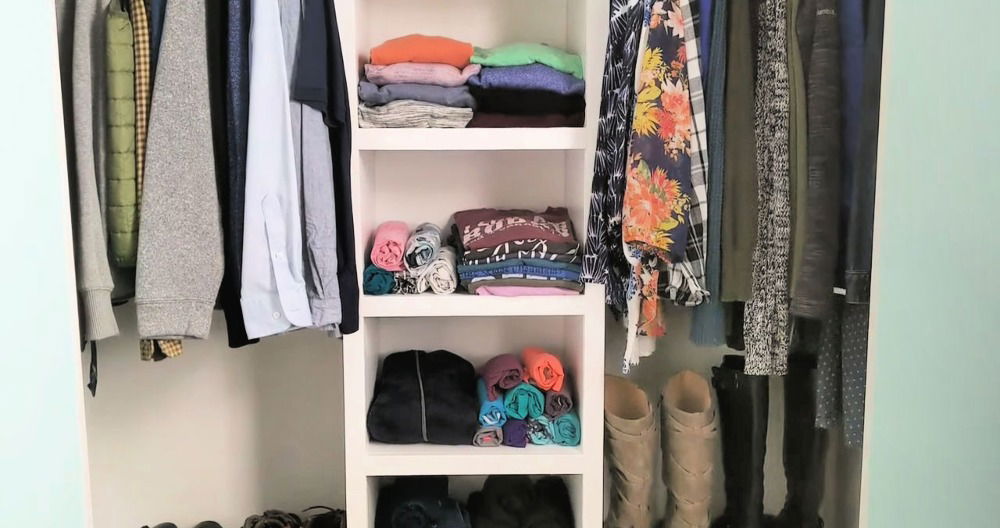
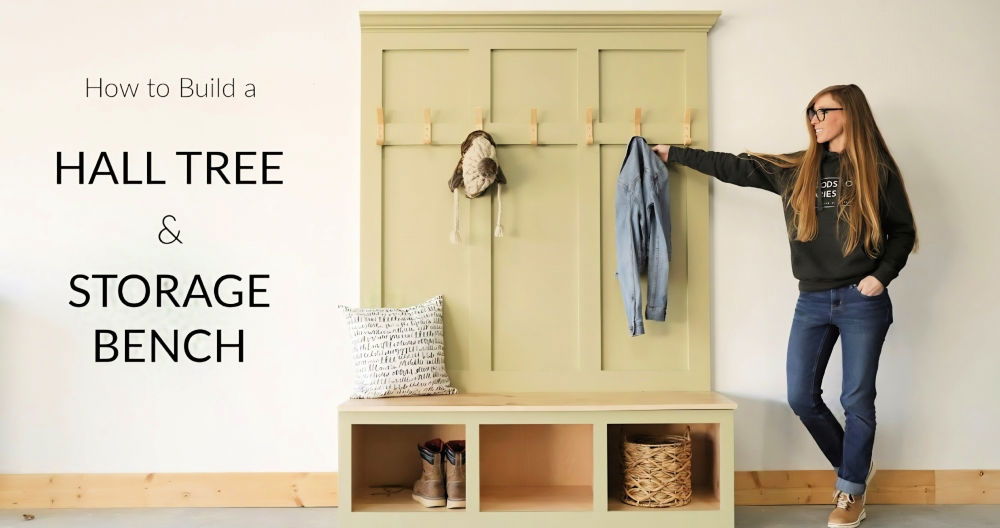
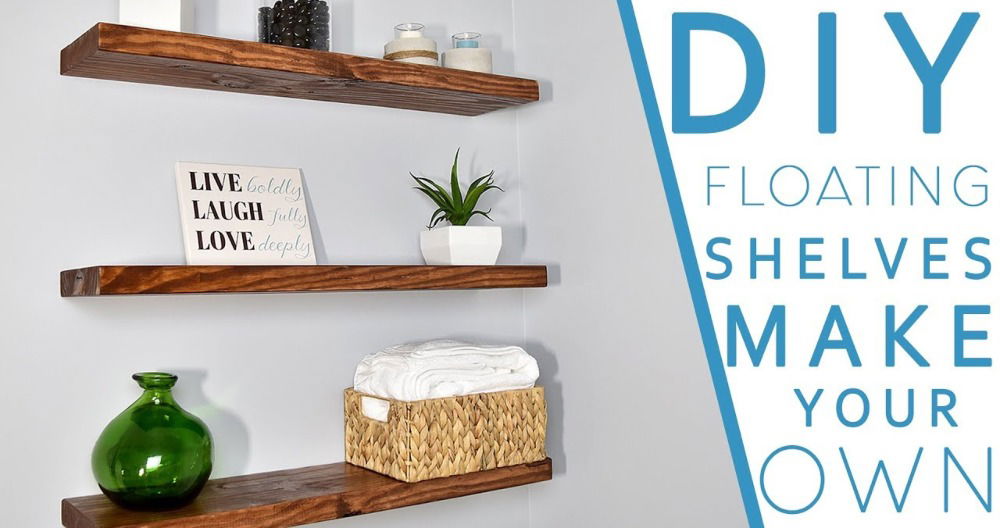
Getting started with simple DIY closet shelves can be a fun and practical project. One day, I decided to reorganize my closet and thought about making my own shelves. I gathered some basic tools and materials like wood planks, a saw, screws, and brackets. Taking a simple approach made it much easier, and I saved money by doing it myself.
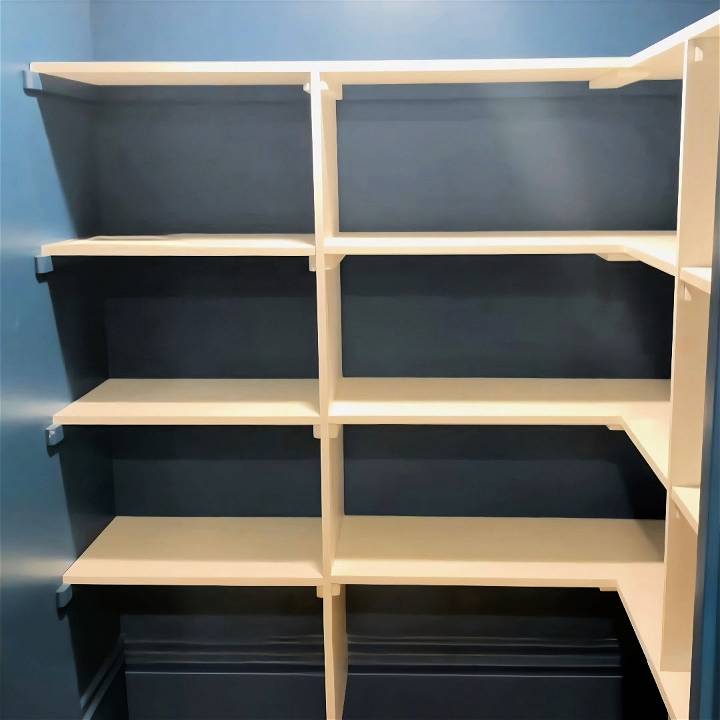
First, I measured the space to ensure the shelves would fit. Cutting the wood to the right size was the next step, and then I sanded the edges to make them smooth. I secured the brackets to the wall and placed the shelves on top, screwing them in tightly. The process was really straightforward, and now I have extra storage. This guide will help you build yours, too!
Materials Needed
- Melamine Boards: Chosen for their durability and resistance to scratches, chipping, and water damage, perfect for closet shelves.
- Graph Paper: For planning shelf placement.
- Laser Level and Stud Finder: Essential for accurate measurements and installations.
- Utility Knife, Oscillating Tool: To modify the baseboard for a flush fit.
- Circular Saw with 60 (or 80) Tooth Blade: Prevents chipping of melamine during cutting.
- Wood Putty, Caulk, and Paint: To finish and refine the installed shelves.
Why These Materials?
The choice of materials was pivotal. Melamine, being cost-effective yet sturdy, was ideal for shelves that needed to hold various items without sagging or getting damaged easily. Precision tools like the laser level and stud finder ensured that the shelves would be level and securely attached to wall studs, which was critical for the safety and longevity of the project.
Step by Step Instructions
Discover easy, step-by-step instructions on DIY closet shelves. Transform your space with our simple guide for installing custom shelves today!
Measuring and Planning
First, I measured my closet to determine the size and number of shelves I'd need. Using graph paper, I plotted out the dimensions and envisioned where each shelf would go. This preliminary step was essential in visualizing the final result and ensuring that I purchased the right amount of melamine board.
Preparing the Space
After removing items from the closet, I marked the wall for the placement of the center support board with the laser level's help. An oscillating tool made quick work of modifying the baseboard so the support board would fit snugly against the wall—a critical step for stability.
Cutting and Install the Supports
Cutting melamine requires a careful approach to prevent chipping. A circular saw blade with a higher tooth count made for cleaner cuts. My central support boards were cut to height first. Then, using stud findings, I attached cleats made from scrap lumber to the walls, ensuring they were level and securely fastened into studs for the shelves to rest on.
Installing the Shelves
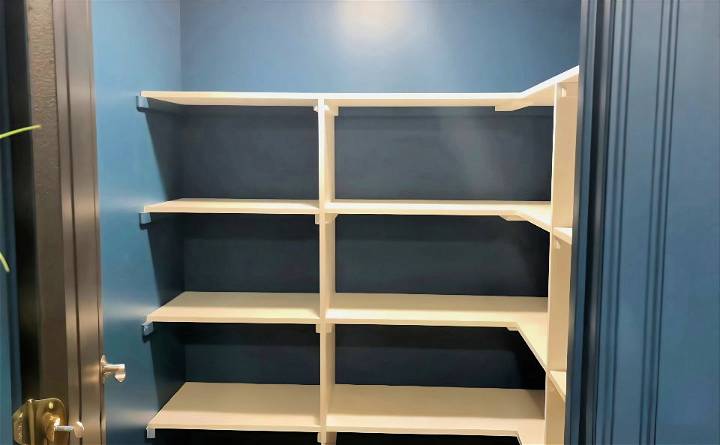
The top shelf was my starting point, secured to the center support and then to the side cleats, ensuring everything was square and flush. From there, I worked my way down, measuring, cutting, and installing each shelf. I filled any nail holes with wood putty and touched up with paint for a seamless look.
Customization Tips
- Adaptable Shelving: Measure items that will be stored on the shelves beforehand to customize spacing to your storage needs.
- Finish and Aesthetics: Painting the cleats the same color as the wall allows them to blend in, making a built-in look.
Customization Tips for DIY Closet Shelves
Building DIY closet shelves that meet your specific needs can be both rewarding and functional. Here are some tips to help you customize your closet shelves effectively:
- Measure Your Space: Start by measuring the height, width, and depth of your closet space. Consider not only the size of the shelves but also the items you plan to store on them. This will ensure that everything fits perfectly and is easily accessible.
- Adjustable Shelving: Opt for adjustable shelving systems if possible. This allows you to change the height and spacing of your shelves as your storage needs evolve. Look for systems with pre-drilled holes or tracks that let you move shelves up or down.
- Consider Accessibility: Place frequently used items at eye level or lower to make them easy to reach. Seasonal or rarely used items can be stored higher up. If you have deep shelves, use sliding baskets or bins to make items in the back accessible.
- Use Dividers: Shelf dividers are great for keeping stacks of clothes or linens tidy. They can be made from wood, metal, or even sturdy cardboard and are easy to install and move as needed.
- Add Labels: Labeling your shelves can help you find items quickly and maintain organization. You can use simple adhesive labels, clip-on tags, or even paint or stencil labels directly onto the shelves.
- Personal Touches: Make your shelves unique by adding personal touches. Paint the wood in your favorite color, line the shelves with decorative paper, or add molding to the front of the shelves for a more finished look.
- Maximize Vertical Space: Use the full height of your closet by installing shelves all the way to the ceiling. Store less frequently used items on the highest shelves and consider a foldable step stool for access.
- Think Outside the Box: Shelves don't have to be flat. Consider angled shelves for shoes, curved shelves for hats, or even pegs for hanging items. Be creative and think about the best way to store your specific items.
Follow these tips to build a tailored, great-looking, organized closet shelving system. Planning is key to successful DIY projects, so design a system that suits your needs.
Troubleshooting Common Issues
When embarking on a DIY closet shelving project, you might encounter a few hiccups along the way. Here's how to troubleshoot some common issues:
- Shelves Aren't Level: If your shelves aren't level, double-check that you've measured them correctly. Use a level tool when installing the supports. If the problem persists, adjust the position of the shelf supports or add shims behind them for a perfect fit.
- Screws Won't Hold: If screws aren't holding, it may be because they're not long enough to reach the studs or the wall anchors aren't suitable for the wall material. Ensure you're using the right type of anchor for your wall and the correct screw length to secure into the studs.
- Wood Splitting: To prevent wood from splitting when you're screwing in, pre-drill holes that are slightly smaller than the screws. This builds a path for the screw and reduces stress on the wood.
- Shelves Sagging: For shelves that sag under weight, consider using thicker or stronger materials. Reinforce the shelf with additional brackets or install a vertical support in the middle if the span is wide.
- Paint or Stain Issues: If paint or stain isn't adhering well, sand the surface lightly before application. Make sure the wood is clean and dry, and apply a primer if necessary.
- Difficulty Cutting Straight Lines: Use a clamped straight edge or a circular saw guide to help you cut straight lines. Take your time and follow the guide carefully.
- Mismatched Wood Pieces: When purchasing wood, check for warping or inconsistencies in size. If you've already cut the pieces, sand the edges to even them out or use wood filler to correct minor discrepancies.
Anticipating issues and knowing how to address them prepares you for challenges in your DIY closet shelving project. Patience and careful planning are keys to success.
Maintenance and Care
Keeping your DIY closet shelves in top condition is crucial for their longevity and appearance. Here's a straightforward guide to maintaining and caring for your shelves:
- Regular Cleaning: Dust and clean your shelves regularly to prevent buildup. Use a soft cloth or duster for wooden shelves and a damp cloth for metal or plastic ones. Avoid harsh chemicals that can damage the finish.
- Immediate Spill Cleanup: If anything spills on the shelves, clean it up immediately to prevent staining or damage, especially on wood. Use a slightly damp cloth and then dry the area thoroughly.
- Weight Management: Be mindful of the weight limits of your shelves. Overloading can cause sagging or damage. Distribute weight evenly and avoid placing heavy items on unsupported spans.
- Check for Wear and Tear: Periodically inspect your shelves for signs of wear, such as loose screws or brackets, and tighten them as needed. Look for any cracks or splits in wood, and repair or replace damaged parts promptly.
- Protective Liners: Consider using shelf liners to protect the surface of your shelves. They can also add a decorative touch and are easy to clean or replace.
- Avoid Direct Sunlight: If possible, position your shelves away from direct sunlight, which can cause fading or warping over time, especially with wooden shelves.
- Humidity Control: Keep the closet well-ventilated to prevent excess humidity, which can lead to mold or mildew on shelves. Use a dehumidifier if necessary.
- Refresh the Finish: Every few years, refresh the paint or stain on your wooden shelves to keep them looking new. Sand the surface lightly before applying a new coat for best results.
Regular maintenance keeps your DIY closet shelves functional and beautiful for years. Consistent care preserves your handiwork's quality.
FAQs About DIY Closet Shelves
Discover faqs about DIY closet shelves, covering planning, materials, tools, and installation tips for making custom storage solutions at home.
First, remove any existing rods or shelves. Measure the width and depth of your closet in multiple places to account for any irregularities. Decide on the number of shelves and their spacing based on what you plan to store. Use painter’s tape to mark where the shelves will go as a visual guide. Cut your shelves to size, ensuring each piece is straight and fits snugly within the closet space.
To prevent sagging, ensure that your shelves are supported along the back and sides by securing them into the wall studs. If studs are not available, use heavy-duty drywall anchors. For wider shelves, consider adding a center support or using thicker, more rigid shelving material. Distributing weight evenly across the shelves also helps to maintain their integrity over time.
Absolutely! DIY shelves offer the flexibility to tailor your storage to your specific needs. Consider adjustable shelves with pegs or tracks for changing heights, add bins or baskets for small items, or install hooks underneath the shelves for hanging storage. Think about what you'll store and design your shelving to accommodate those items efficiently.
Common mistakes include not securing shelves to studs, resulting in instability; not leveling the shelves during installation, leading to uneven surfaces; and underestimating the weight capacity needed, which can cause shelves to sag or fail. Take the time to plan, measure twice, and install carefully to avoid these pitfalls.
Maintaining your DIY closet shelves is crucial for their longevity. Here are some tips:
Dust regularly with a soft cloth or duster to prevent buildup.
For laminated shelves, use a mild detergent and water solution to wipe down the surfaces, then dry thoroughly.
If you have painted wood shelves, avoid harsh chemicals and use a gentle cleaner.
Inspect your shelves periodically for any signs of wear or damage, such as chips or cracks, and repair promptly to prevent further issues.
Avoid overloading your shelves to prevent sagging or structural damage.
If you notice any loose screws or supports, tighten them to ensure stability.
Conclusion
Building DIY closet shelves can be easy and rewarding. If I can do it, you can too. This project not only declutters your space but also gives you a sense of accomplishment. Plus, it's fun! Get started today and see the difference it makes in your home.


