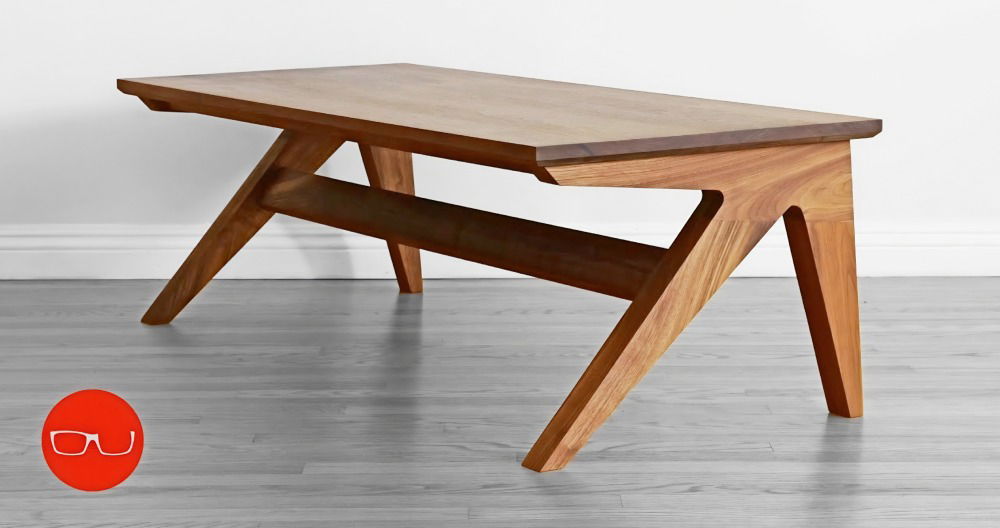
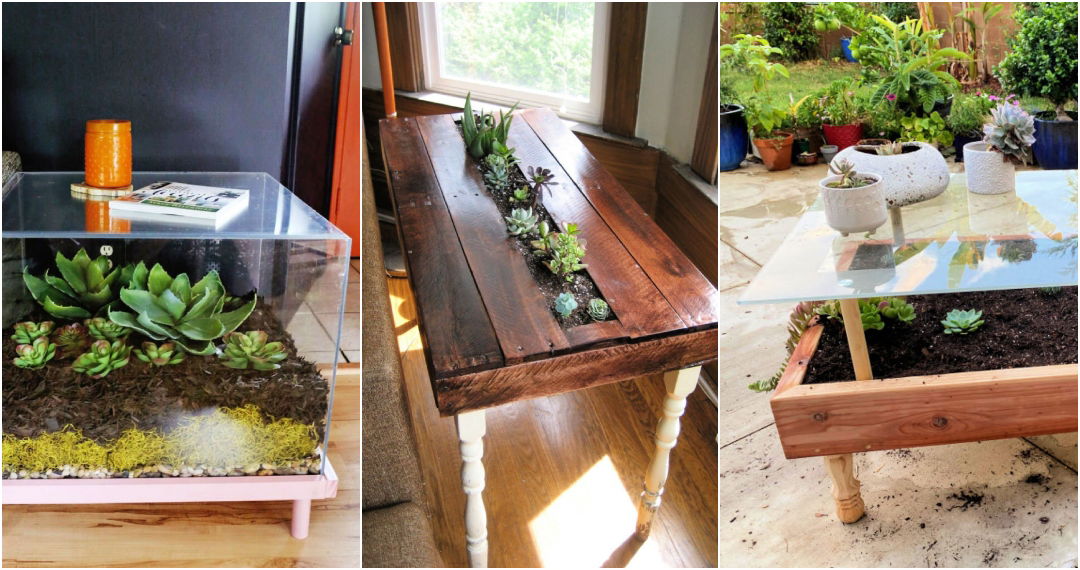
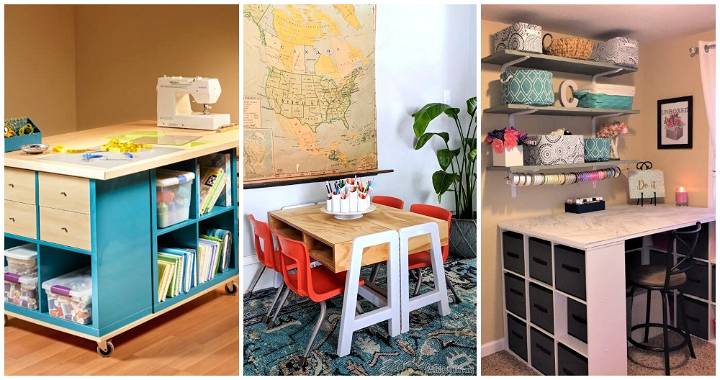
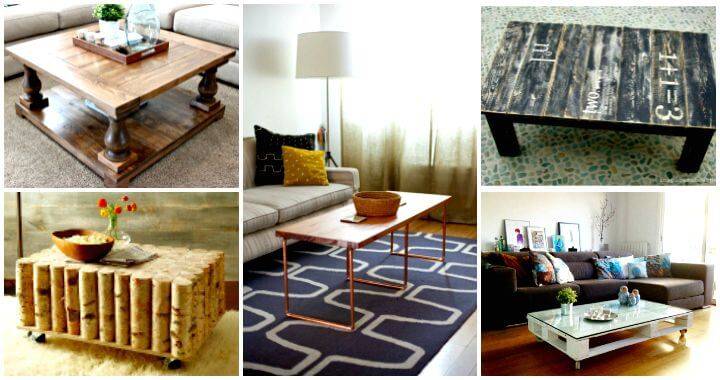
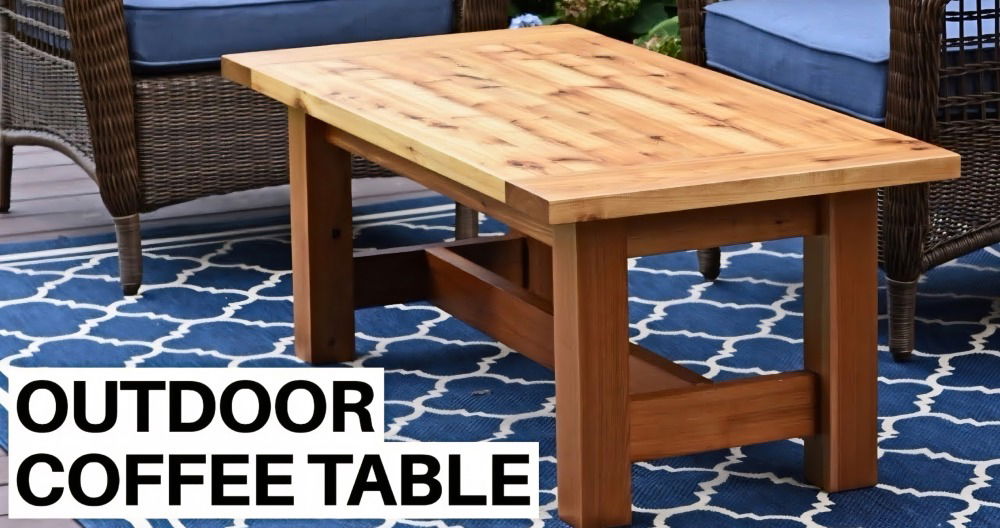
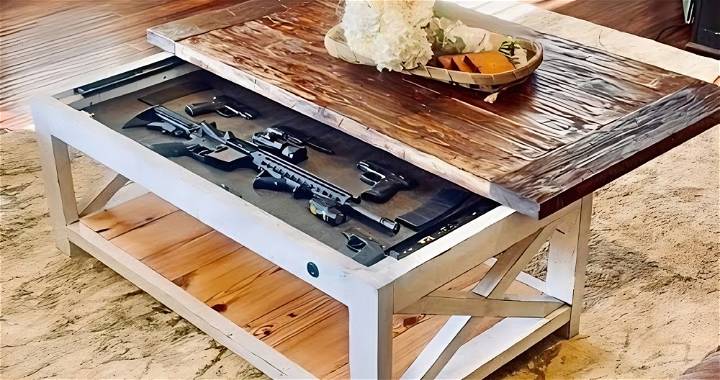
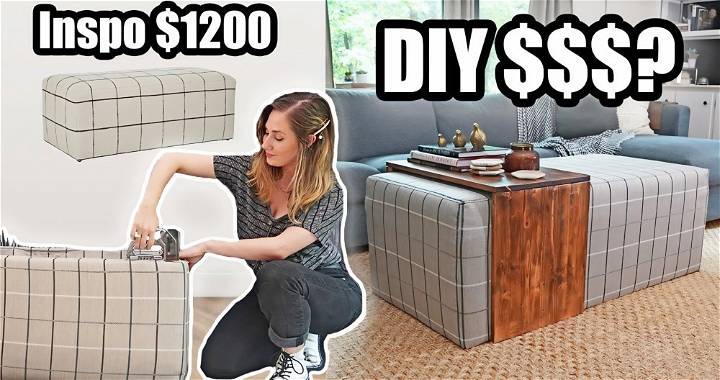
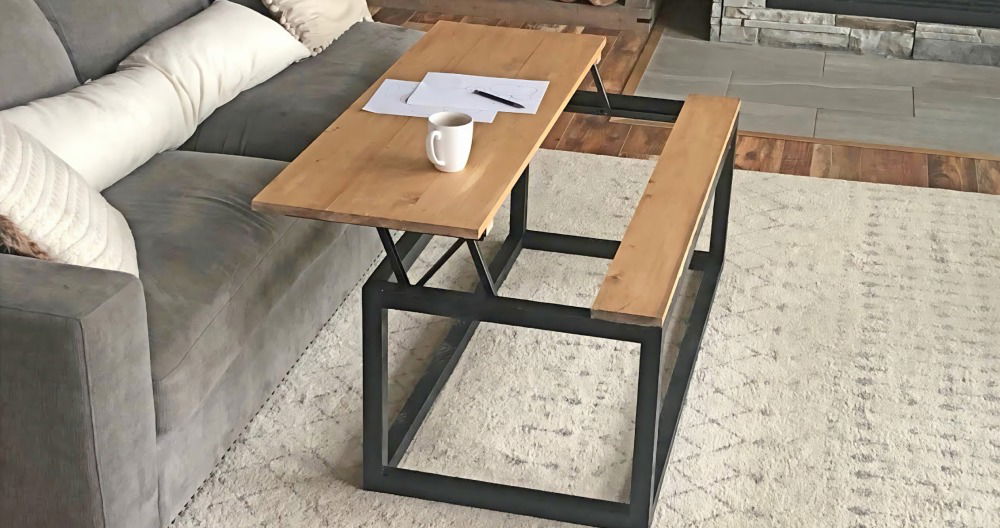
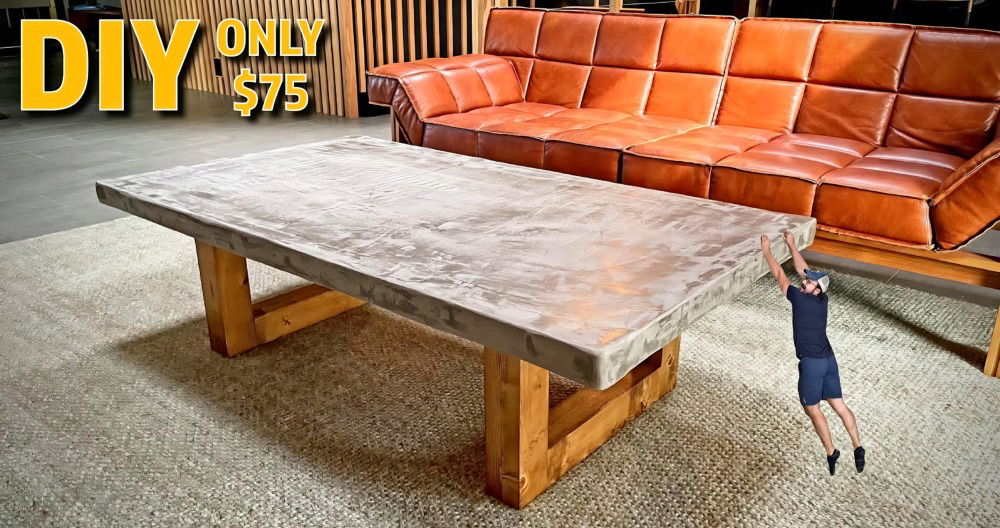
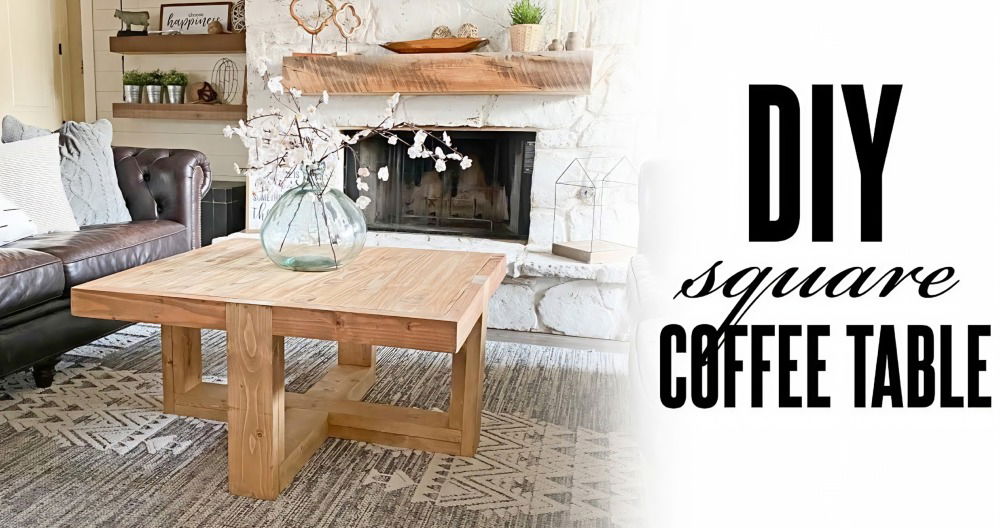
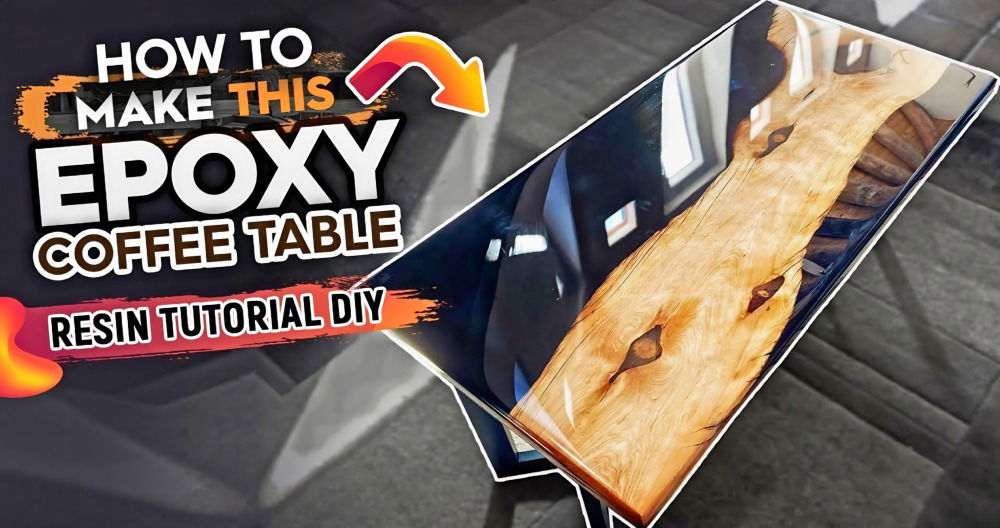
I'm no stranger to a challenge, especially when it involves woodworking. My journey into building a DIY farmhouse coffee table with storage was spurred by a need for a practical yet stylish piece of furniture in my living room. Farmhouse tables have a rustic charm that blends seamlessly with various interior decor styles, making them a versatile choice for many homeowners like myself. In this guide, I'll walk you through the steps I took, the materials needed, and some personal tips to ensure your table turns out just as great, if not better.
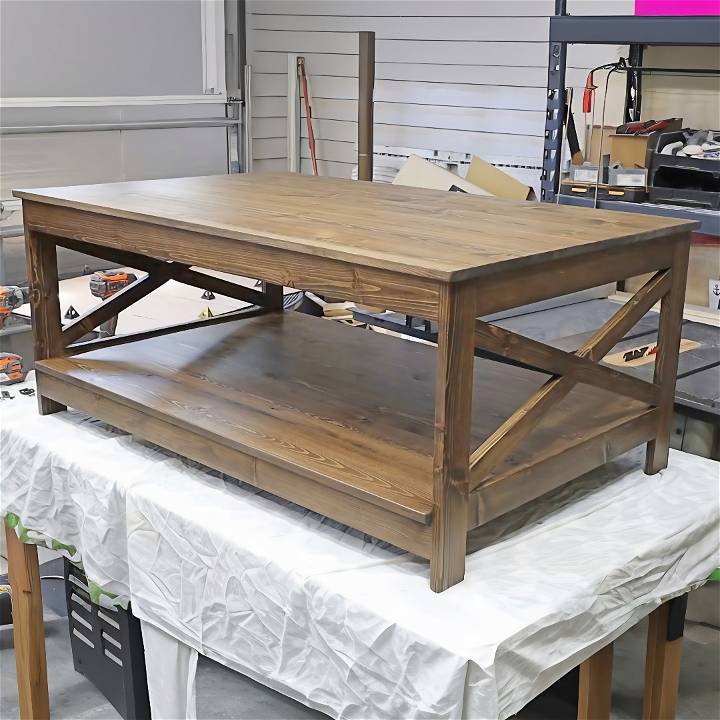
Materials Needed and Their Purpose
- Seven 10-foot 1-by-6 lumber: The magic of this project lies in the simplicity of materials. These boards form the entirety of the table, from the legs to the tabletop. The seventh board is primarily for errors or miscuts.
- Pocket Hole Jig: Essential for building strong joins without complicated tools.
- Screws and Glue: To assemble the pieces firmly together.
- Saw (Miter or Circular): For cutting the lumber to the required lengths.
- Sander: A smooth finish makes all the difference in the look and feel of your furniture.
- Drill: For driving screws into the pocket holes.
- Tabletop Fasteners: These allow the wood to expand and contract without cracking.
Step-by-Step Process
Discover the step-by-step DIY process for building a coffee table with storage. From cutting lumber to finishing touches, follow along for a beautiful piece of furniture.
Step 1: Cutting the Lumber
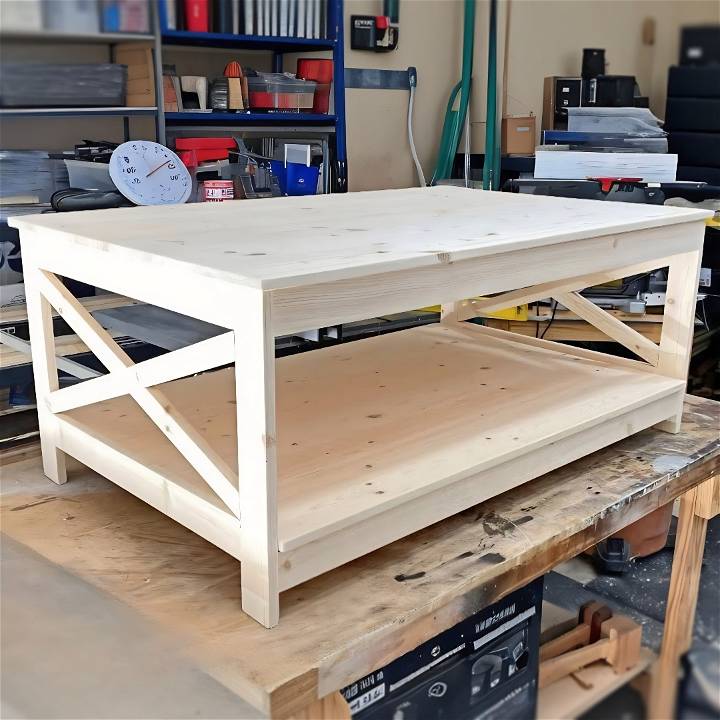
After squaring off the ends of my lumber to ensure everything was perfectly aligned, I measured and cut out the pieces for the legs, remembering that if my tabletop was going to be 20 inches high, I'd need to cut my legs to 19 1/4 inches to accommodate the thickness of the top.
Step 2: Building the Legs
Next, I ripped down the boards to 2 1/2 inches wide for the legs. This size felt right for the table's scale and provided enough strength to support the top and bottom shelves.
Step 3: Assembling the Frame
Using my pocket hole jig, I drilled holes at strategic points on the rails and began assembling the frame. I was careful to ensure each join was strengthened with glue and screws, and that everything was square and flush. This step required patience and precision.
Step 4: Adding the Top and Bottom Shelves
Once the frame was assembled, I moved on to the top and bottom shelves. For the top, I decided to keep each board's width as is but trimmed them for length and squared the edges for a tight fit. I used pocket holes to join these pieces, ensuring a flat, seamless surface. Repeat this process for the bottom shelf, but with the dimensions to fit within the frame.
Step 5: Sanding and Finishing
With construction complete, I turned my attention to sanding. Starting with a coarse grit and working up to a fine grit ensured a smooth finish. After wiping away the dust, I applied a dark walnut stain to give it that classic farmhouse look. This part was particularly satisfying, as I watched the raw wood transform into a piece of furniture with character and warmth.
Step 6: Attaching the Tabletop and Bottom Shelf
To allow for wood movement, I used tabletop fasteners for attaching the top. This step ensured that my table wouldn't crack over time due to humidity changes. The bottom shelf slid into place snugly between the frame, completing the overall look.
Holding the finished coffee table, I felt a wave of pride. It was not just about building something from wood but about the process, the learning, and the satisfaction of seeing your vision come to life. This project taught me the importance of precision, patience, and, most importantly, the joy of DIY.
Personal Tips
- Always measure twice before cutting. A small mistake in measurement can lead to wasted materials and time.
- Don't rush the sanding and finishing process. The quality of your finish will greatly affect the overall look of your piece.
- If possible, get an extra set of hands. Some steps are easier and safer with help.
Building this farmhouse coffee table with storage was an enriching experience. I hope this guide inspires you to take on your woodworking project, bringing that same sense of accomplishment into your home.
Design Customization Ideas for Your DIY Coffee Table with Storage
When it comes to building a DIY coffee table with storage, the design possibilities are endless. Here are some ideas to inspire you to customize your coffee table to fit your personal style and functional needs:
Choose Your Style
Start by deciding on the overall style of your coffee table. Do you prefer a modern look with clean lines and sleek finishes, or a rustic charm with distressed wood and vintage accents? Maybe a mid-century modern with tapered legs and minimalist design is more your speed. Consider the decor of the room where the table will be placed to ensure a cohesive look.
Selecting the Right Materials
The materials you choose can greatly influence the look and feel of your coffee table. For a sturdy and timeless piece, hardwoods like oak or maple are excellent choices. If you're on a budget, plywood or MDF can be used and painted or stained to your liking. For an industrial touch, incorporate metal elements such as hairpin legs or metal brackets.
Color and Finish
Color can transform your coffee table from a simple piece of furniture to a standout feature in your room. Stain the wood to highlight its natural beauty, or go bold with a pop of color. Consider using chalk paint for a shabby chic effect or a high-gloss finish for a more contemporary vibe.
Add Texture and Patterns
Incorporate texture and patterns to add depth to your coffee table. Use wood with interesting grain patterns, add a herringbone or chevron top, or apply a textured wallpaper to the sides. For a tactile experience, consider a top with a resin inlay or a glass panel over a patterned fabric.
Functional Features
Think about the storage needs you have. Do you need space for books, magazines, or remote controls? Add drawers, shelves, or a lift-top mechanism to keep your living space organized and clutter-free. Consider built-in coasters or a hidden charging station for added convenience.
Personal Touches
Make your coffee table truly unique by adding personal touches. This could be as simple as using repurposed wood from an old family barn or as intricate as hand-carved details. Incorporate elements that reflect your hobbies, such as a chessboard inlay for game enthusiasts.
Eco-Friendly Options
For those environmentally conscious, choose sustainable materials like bamboo or reclaimed wood. You can also upcycle materials like old doors or pallets to reduce waste and add character to your coffee table.
Consider design ideas for a DIY coffee table with storage that reflects your style. Plan, measure, and prioritize safety.
Storage Optimization Tips for Your DIY Coffee Table
Building a DIY coffee table with storage is not just about adding space to stash away items—it's about making the most of every inch in a smart and stylish way. Here are some tips to help you optimize storage in your coffee table:
Utilize Hidden Spaces
Think beyond the obvious compartments. Consider spaces like the underside of the table top or the inner sides of the legs where you can attach hooks or small shelves. These areas are perfect for items that are not frequently used but still need a home.
Go Vertical
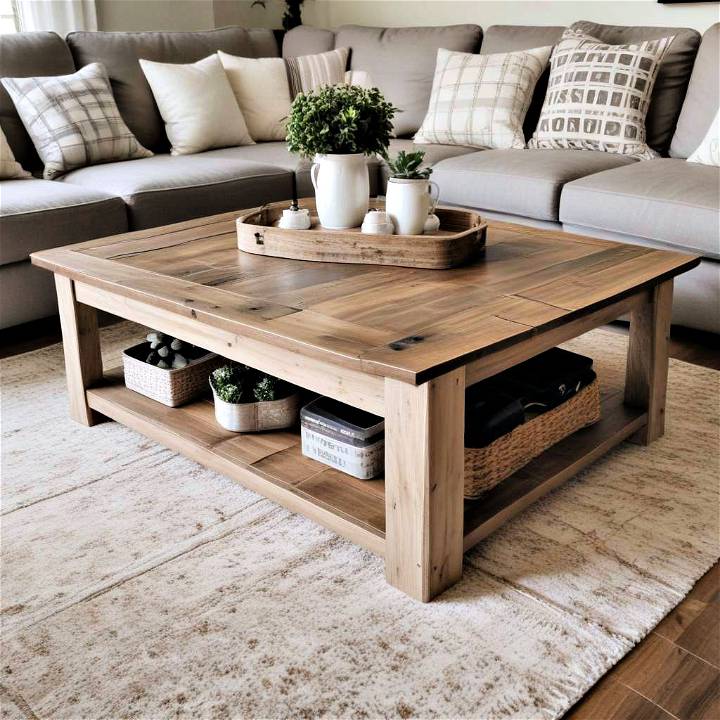
If your coffee table design allows, add a second tier beneath the tabletop. This not only doubles your storage space but also keeps things organized and within easy reach. You can use this tier for books, magazines, or decorative items.
Drawer Dividers
Drawers can quickly become cluttered. Use dividers or small storage bins to keep everything in its place. This is especially useful for smaller items like coasters, remote controls, and gaming accessories.
Multi-Functional Lids
A lift-top coffee table is a fantastic way to add extra storage. The lid can lift to reveal a hidden compartment, which is perfect for storing blankets, pillows, or even a laptop. When closed, the surface can be used for dining or as a workstation.
Roll-Out Trays
Incorporate roll-out trays or baskets underneath the table for items you need to access frequently. This is a great solution for kids' toys, craft supplies, or even extra throw pillows.
Adjustable Shelves
If your coffee table has an open shelf, make it adjustable. This allows you to customize the space according to what you need to store, from tall vases to stacks of books.
Cable Management
In today's tech-driven world, having a spot to charge devices is essential. Add a small section within the table to hide power strips and cables, keeping the surface clutter-free.
Seasonal Swap
Use your coffee table storage for seasonal items. Rotate out items that are not in use, such as heavy winter throws during the summer months, to free up space for other things.
Labeling System
Consider labeling the compartments, especially if the table will be used by multiple people. This helps everyone know where things belong and makes it easier to find items when needed.
By following these storage tips, your furniture will be both functional and aesthetically pleasing. Remember, planning is key to a successful DIY project.
FAQs About DIY Coffee Table with Storage
Discover answers to common queries about DIY coffee tables with storage. Get expert tips for making your own stylish and functional furniture piece.
How can I ensure my coffee table is sturdy?
To ensure sturdiness, use quality materials like hardwood or thick plywood. Joinery techniques such as dowels, screws, or pocket holes add strength to the connections. Apply wood glue at joints and allow it to cure fully before moving the table. Finally, make sure all legs are even to prevent wobbling.
Can I add wheels to my coffee table for mobility?
Yes, adding caster wheels to your coffee table can enhance its mobility. Choose wheels that come with locks so the table can be secured in place when needed. Ensure the wheels are attached firmly to the table's base and check the weight capacity to support the table and stored items.
What are some creative ways to customize the look of my coffee table?
Customize your coffee table by choosing a unique shape for the tabletop, such as oval or hexagonal. Add decorative elements like metal accents, glass panels, or tile mosaics. For a personal touch, stencil a design or use decoupage to apply fabric or wallpaper patterns to the table surface.
How can I maximize the storage space in my coffee table?
Maximize storage by utilizing every available space. Include drawers, shelves, or a lower tier for additional storage. Use dividers inside drawers to organize smaller items. Consider a lift-top design for hidden storage, perfect for blankets or board games.
What safety precautions should I take when building my coffee table?
Always wear protective gear such as safety glasses and gloves when working with tools and materials. Read and follow the instructions for all power tools, and keep your workspace clean and well-lit to avoid accidents. If you're inexperienced with DIY projects, seek guidance or assistance for complex steps.
Conclusion:
In conclusion, building a DIY coffee table with storage is a fun and practical project that can enhance your living space. By following the steps outlined in this article, you can customize your own unique piece of furniture while adding functionality to your home. Happy crafting!


