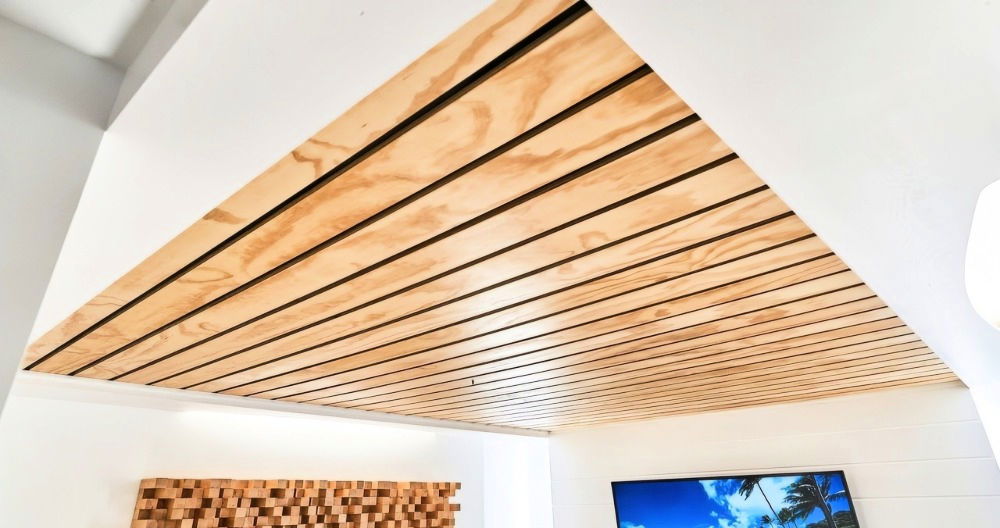
A coffered ceiling adds elegance and dimension to a room, and with a little time and effort, you can achieve this stunning effect on your own. This guide will take you through the entire process of building a DIY coffered ceiling, covering materials, measurements, installation tips, and finishing touches.
What You'll Need
Before diving into the steps, let's go over the materials and tools required for this project. For this example, the project room measures 12 feet wide by 13.5 feet long with a ceiling height of 12 feet. You can adjust materials based on your specific room size.
Materials:
- Wood Planks: 2x8x16 (for beams)
- Wood Planks: 1x8x16 and 1x6x16 (for framing and detailing)
- Beadboard Panels: at least 5 sheets for the ceiling recesses
- Crown Molding: enough to cover the perimeter and add detail to the ceiling boxes
Tools:
- Measuring tape
- Pencil
- Saw (miter or table saw for precise cuts)
- Drill and screws
- Brad nailer
- Wood glue
- Level
- Safety gear (mask, glasses)
Step by Step Instructions
Learn how to make a stunning DIY coffered ceiling with our step-by-step guide, from planning and preparation to finishing touches and painting.
Step 1: Plan Your Ceiling Layout
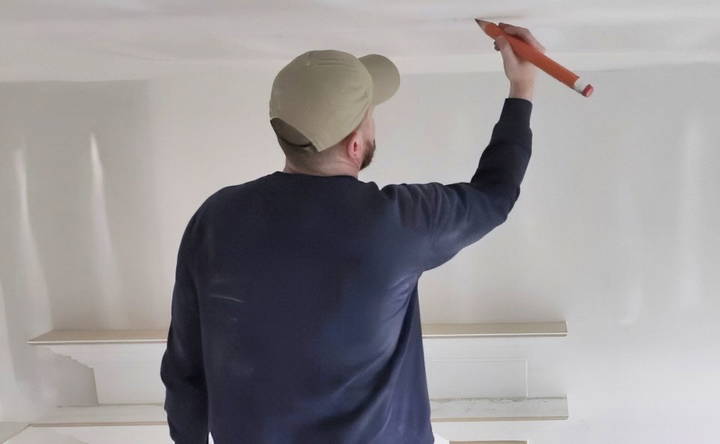
Start by measuring and marking your ceiling for the coffered design. The coffered look is buildd by dividing the ceiling into a grid of recessed squares or rectangles, using beams and trim to outline each section.
- Determine Beam Placement: Measure the width and length of your ceiling and decide on the size and number of boxes you want. You might choose larger squares for a minimalist look or smaller sections for more intricate detail.
- Mark the Grid: Use a pencil and measuring tape to draw out the grid on your ceiling. Check that all lines are even, and measure twice to ensure accuracy.
Step 2: Prepare the Materials
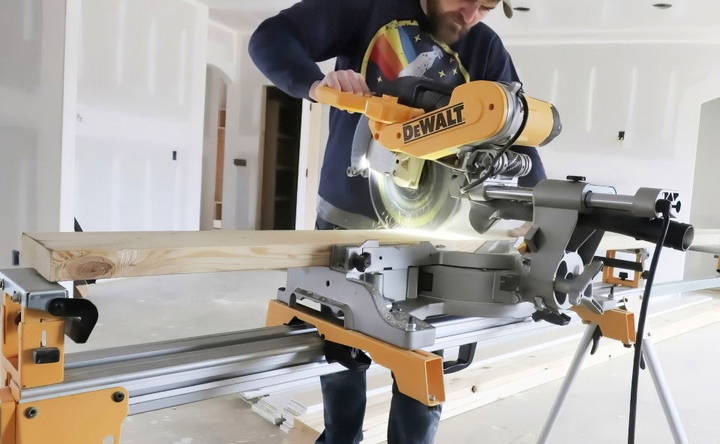
- Cut the Beams and Trim: Using your measurements, cut the wood beams and trim to fit your grid design. This will involve:
- Cutting the Main Beams: Use the 2x8x16 wood planks for the main beams. These will give the ceiling depth and structure.
- Cutting Additional Trim Pieces: Use the 1x8 and 1x6 boards to build the borders around the recessed areas and add dimension.
- Preparing the Beadboard Panels: Cut the beadboard panels to fit inside each square or rectangular box buildd by the beams.
Tip: Keep track of each piece by labeling them according to their placement. This will save time when installing each section.
Step 3: Install the First Beams
Now it's time to start building the coffered ceiling by installing the main beams. This step might seem challenging as you're working overhead, but following a systematic approach will make it manageable.
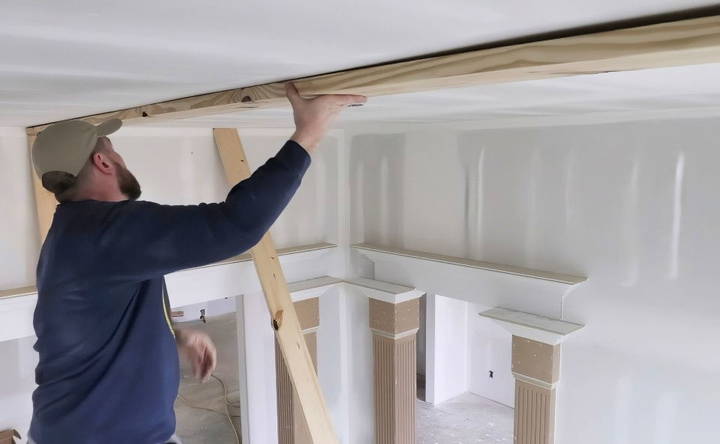
- Install the Long Beams First: Begin by installing the longest beams in one direction across the ceiling. Secure them using screws and a brad nailer to ensure they stay in place.
- Align and Level: Use a level to check that each beam is straight and even. This will prevent alignment issues as you add more beams.
- Add Cross Beams: Once the primary beams are secure, install the cross beams to complete the grid. Fasten each intersection with screws, ensuring the beams sit flush against each other.
Step 4: Add the Trim and Beadboard Panels
The trim and beadboard add depth and design to the recessed sections of your coffered ceiling.
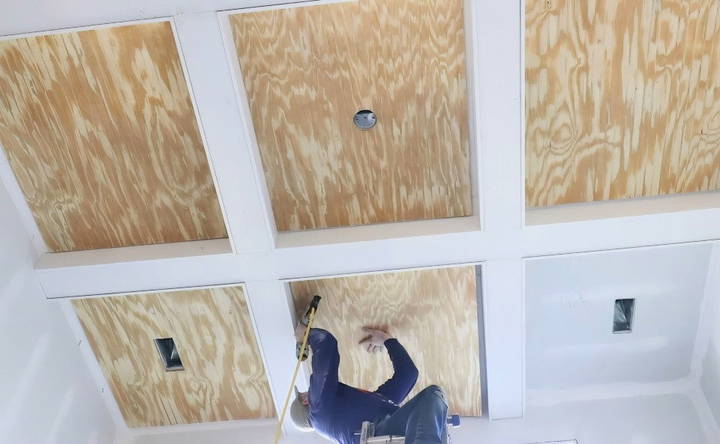
- Install the 1x8 Trim: Attach the 1x8 boards between each main beam to frame each box. Leave a slight reveal (around 1/4 inch) to add a shadow line effect.
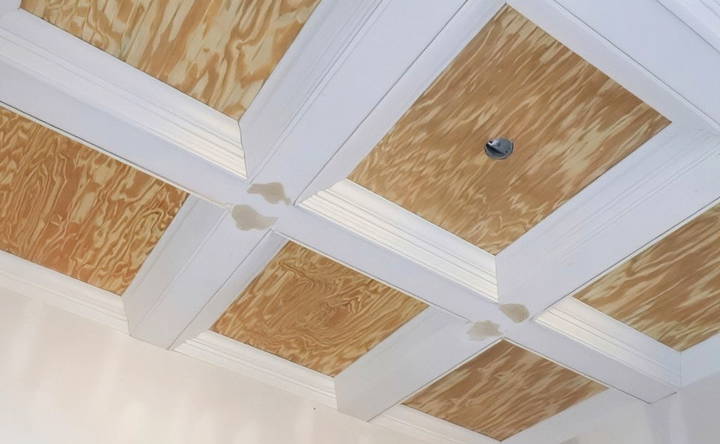
- Fit Beadboard Panels in Each Box: Measure the spaces buildd within each section and cut beadboard panels to fit. Install the panels by securing them with brad nails into the beams.
- Add Crown Molding: Crown molding around the perimeter of each box adds a finishing touch and enhances the luxurious look. Be sure to measure and cut carefully, especially when dealing with corners, as they can be tricky.
Tip: Wear a mask while cutting and sanding to avoid inhaling sawdust.
Step 5: Finishing Touches and Painting
Once all the pieces are in place, it's time to finish your coffered ceiling with paint and final details.
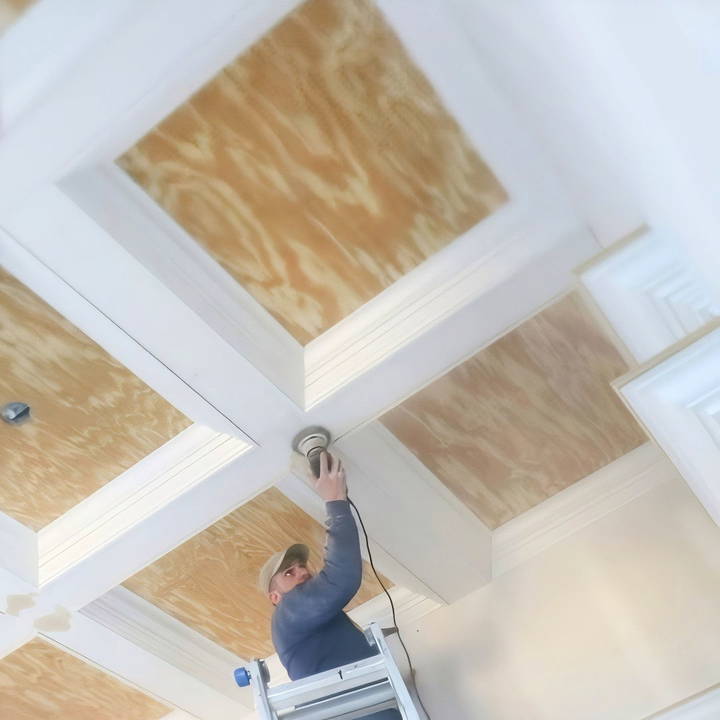
- Fill Any Gaps and Sand Down: Use wood filler to cover any nail holes or small gaps between pieces of wood. Once dry, sand these areas for a smooth finish.
- Prime and Paint: Apply a primer to the entire ceiling to ensure the paint adheres well. Then, paint the coffered ceiling in your chosen color. A classic white or soft neutral can build a timeless, elegant look, while a darker color within the recesses can add drama.
- Touch Up the Crown Molding: If you're painting the molding a different color or need to do some touch-ups, use a fine brush to carefully paint around the details.
Tips for Success
- Work Methodically: Complete one section of the grid at a time, so you don't get overwhelmed.
- Use a Ladder with Stability: Working overhead requires you to reach up frequently. Use a stable, high-quality ladder that allows you to comfortably reach the ceiling without overstretching.
- Double-Check Measurements: Precision is key for this project. Even small errors in measurement can result in gaps or misalignments.
- Seek Help If Needed: Although it's possible to build a coffered ceiling on your own, having a helper can make it easier to position and secure beams, especially the larger, heavier ones.
Variations and Additional Ideas
Once you have the basics down, you can get creative with your coffered ceiling to match your room's aesthetic.
- Vary the Depth of the Beams: Using different beam depths in some areas can add a dynamic, layered effect.
- Experiment with Colors and Finishes: Try a two-tone approach by painting the recessed areas a contrasting color. A metallic finish or high-gloss paint can also add a modern twist.
- Add Lighting: Install recessed lights or LED strips within the coffered sections for a stunning, illuminated effect that draws attention to the ceiling detail.
Common Challenges and How to Overcome Them
Building a coffered ceiling can come with a few challenges, especially if you're doing it solo. Here's how to address some common issues:
- Keeping Beams Straight: Measure and re-measure before securing beams to ensure they're straight and level. If needed, use temporary braces or clamps to hold beams in place as you work.
- Working with Heavy Materials: Working overhead with heavy beams can be exhausting. Consider using lighter materials if weight is a concern, and take breaks as needed to avoid fatigue.
- Mitered Corners on Crown Molding: Cutting and installing crown molding at corners requires precision. Use a miter saw and practice on scrap pieces first to get the angles right.
The Finished Look and Final Thoughts
Once completed, a coffered ceiling can completely transform a space. It builds a sense of depth and grandeur, making even a modest room feel more spacious and sophisticated.
Not only does this project enhance the aesthetic of a room, but it also increases the home's resale value. A well-done coffered ceiling is an architectural feature that stands out and appeals to many potential buyers.
Conclusion:
Building a DIY coffered ceiling may require patience, but the results are undeniably worth it. By following this guide, you'll be able to bring a high-end, architectural detail into your home without hiring a contractor.
FAQs About DIY Coffered Ceiling
Explore the FAQs about DIY coffered ceilings and learn tips, tools, and techniques for building stunning ceilings easily.
The time needed can vary based on the size of the room and the complexity of the design. On average, expect to spend a weekend or more on this project if you’re working alone.
Yes, lightweight alternatives like MDF or foam can be used to reduce the weight and make installation easier, especially if you’re working solo.
It’s often easier to prime and paint your materials before installation. This reduces the chance of splatters or drips on other parts of the ceiling and walls.
Uneven ceilings can make a coffered ceiling look wavy. You can drop the beams slightly (e.g., by 1/2 inch) and use a level to ensure even placement. Alternatively, adding blocks between the beams and joists can help maintain a consistent reveal.
Eyeballing reveals is often sufficient if you’re experienced, but for added precision, using spacer blocks or marking lines on the ceiling can help. Practice makes perfect, especially at heights like 12 feet.
For 8-foot ceilings, go for 1x4 sides and a 1x6 bottom; for 9-foot ceilings, try 1x6 sides with a 1x8 bottom. Adjust the crown molding size accordingly; smaller ceilings benefit from around 5-inch molding to avoid overwhelming the space.
Beadboard is not required; it’s mainly for adding texture. If you have a flat ceiling and prefer a simpler look, you can leave it out without affecting the coffered effect.
When beams run parallel, secure them by using blocking in the attic or aligning them with wall top plates. Temporarily holding beams with nails can help before finalizing the screw placements.
Yes, for ceilings above 9 feet, scaffolding improves stability and ease of access. It’s safer and more efficient than constantly moving a ladder.
If possible, remove existing crown molding, then install new crown around the coffered sections. If you need to blend new molding with existing pieces, coping the edges can work but requires precision.
You can use deeper 1x8 or 1x10 side drops to build a hidden space for LED strips above the crown molding. This approach adds ambient lighting and emphasizes the coffered structure.
For a seamless look, use a fast-drying filler like Bondo, which sands smoothly. It's ideal for painted finishes and won't crack over time.


