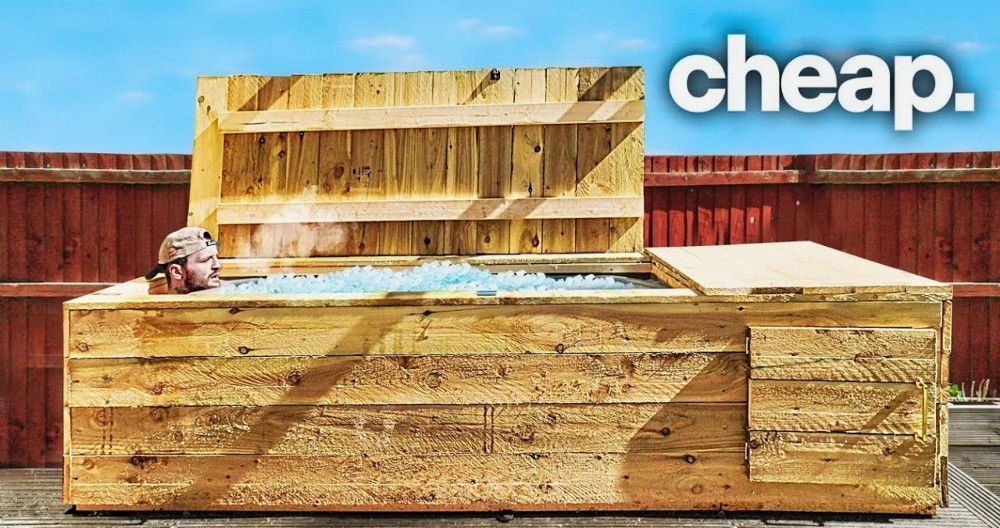
Building your own DIY cold plunge or homemade ice adds value to your wellness routine. With methods to suit various budgets, you can build a refreshing escape right in your backyard. From a detailed DIY cold plunge for under $1,500 to a budget-friendly tub for less than $400, and even a middle-ground option around $1,200, there's a method tailored to suit your needs and financial plan. This guide walks you through the steps, ensuring everything from choosing materials to the final touches is clear and manageable.
The beauty of a homemade ice bath lies in its customization and the personal satisfaction of building something beneficial for your health. Whether it's gathering materials, constructing the frame, setting up the chiller, or the all-important fill and chill, each part of the process is laid out in simple, easy-to-follow instructions.
The added video tutorials further simplify the process, making your cold plunge journey as smooth as possible. Ready to take the plunge? The next section dives deeper into each method, ensuring you have all the tools and knowledge to start your project.
1. How to Build a Cold Plunge for Less Than $1,500
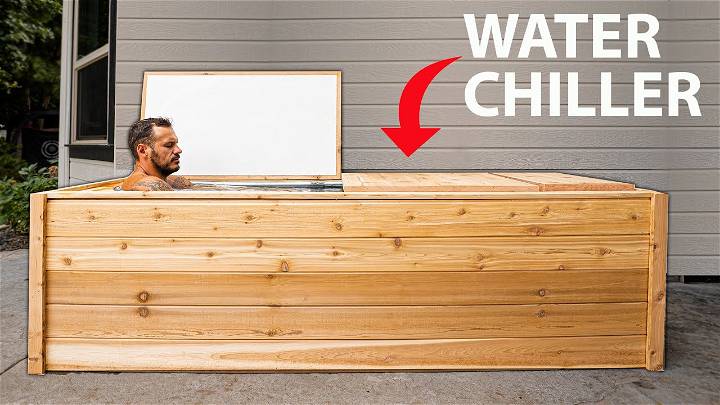
Want a cold plunge pool like the ones costing upwards of $10,000, but without emptying your wallet? You're in the right place! With some DIY skills, you can create a luxurious cold plunge for under $1,500. Here's a step-by-step guide.
Gather Your Materials
- Horse Trough: Acts as the main body ($165).
- Lumber: For framing ($100).
- Insulation: Styrofoam and pressure-treated wood for temperature control and durability.
- Aquatic Chiller: A crucial component for maintaining cold temperatures.
- Plumbing Supplies: For effective water circulation.
Building the Frame
- Construct a Frame: Build a frame around the horse trough to support insulation, ensuring longevity.
- Insulation Installation: Line the inside of the frame with Styrofoam insulation for efficient temperature control.
Setting Up the Chiller
- Install the Chiller: Secure the aquatic chiller outside the trough but integrated into the design for aesthetics.
- Plumbing Work: Connect the chiller to the trough using plumbing fittings, ensuring a leak-proof system.
Finishing Touches
- Exterior Design: Use cedar wood for a stylish exterior. It’s durable and gives a high-end look.
- Lid Construction: Build a lightweight, insulated lid to maintain temperature and ensure safety when not in use.
Fill and Chill
- Fill It Up: Add water and let the chiller bring it to the desired cold plunge temperature.
- Test and Adjust: Check the temperature, making adjustments as needed to reach the optimal chilling effect.
Video Tutorial
For a step-by-step video tutorial, watch Building a $10,000 Cold Plunge For Under $1,500. It's a perfect complement to this guide, offering visual clarity on each technique to ensure your project is a success.
By following these instructions, you'll have a luxurious cold plunge pool ready to provide you with the invigorating and health-boosting experience you're looking for, all while saving thousands. Happy building!
2. How to Make a Cold Plunge Tub For Less Than $400
Building your own cold tub can be a rewarding DIY project that enhances your recovery routine without breaking the bank. Follow these simple steps to create your own cold therapy plunge for less than $400.
Step 1: Choose Your Freezer
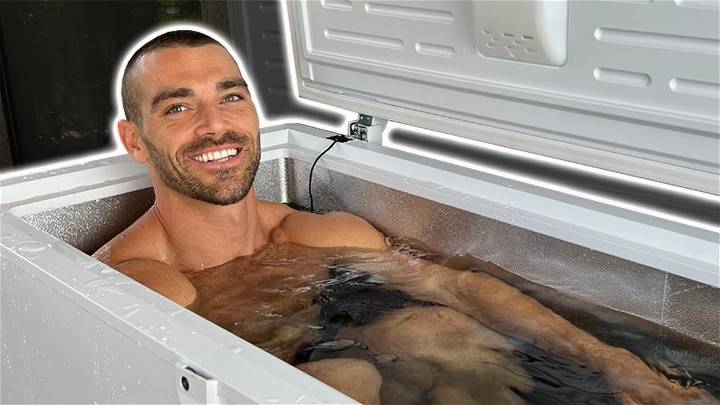
Select a food storage freezer, preferably around 9.4 cubic feet. Pay attention to the freezer's dimensions to ensure it fits your available space.
Step 2: Seal the Interior
Use a waterproof sealant (like DAP Ultra Clear) to seal all seams inside the freezer, ensuring no water leaks into the electrical components. Focus on sealing the seams along the bottom and sides thoroughly.
Step 3: Install a Temperature Controller
An Inkbird temperature controller can help regulate the water temperature to your desired setting, maintaining it around 46 degrees. It prevents the water from freezing solid and keeps energy use in check.
Step 4: Fill and Test
Fill the tub with water, not too full, remembering that water levels will rise once you're inside. Plug the freezer into the temperature controller but remember to unplug both from the power source before you get into the bath for safety.
Step 5: Maintenance
Before usage, take a shower to keep the water clean. Change the water every two weeks or as necessary. Consider using a small net to remove debris.
Safety First
Always unplug the freezer before entering to prevent any risk of electrical shock. Additionally, ease into the practice of cold therapy gradually to acclimate your body.
Cost Breakdown
- Freezer: Approximately $269 (look for open box deals)
- Waterproof Sealant: About $10.48
- Caulking Gun: $2.28
- Inkbird Temperature Controller: $35
- Total: Around $318
Tips for Success
- Shower before use to keep the bath clean.
- Start with short cold plunges and gradually increase duration.
- Regularly maintain and clean the tub.
Video Tutorial
For a step-by-step video tutorial on how to build your cold tub, watch this video. It pairs well with this written guide, offering visual insights into each step for a clearer understanding.
By following these steps, you can enjoy the benefits of cold therapy at home, saving thousands compared to commercial cold tubs. Remember, safety first, and enjoy the refreshing plunge into cold therapy.
3. DIY Cold Plunge for Less Than $1200
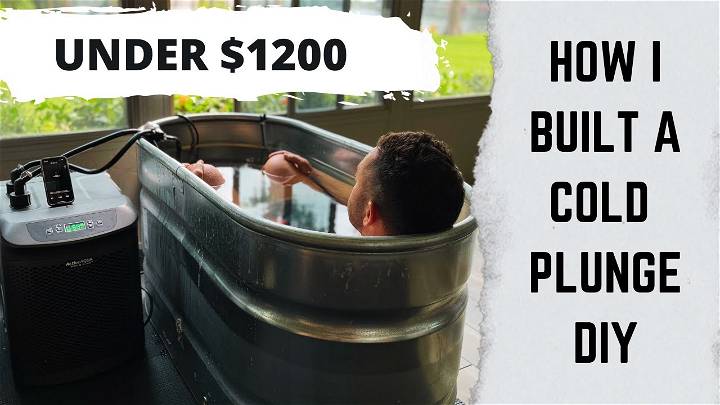
Want to stay cool without breaking the bank? A homemade ice bath at home can boost your health without needing constant ice refills. Here's a step-by-step guide to creating one for under $1200, ensuring it's reliable and enjoyable.
Gather Your Materials
- 100 Gallon Galvanized Steel Trough: Find this at your local farm shop or tractor supply.
- Water Chiller (1/2 Horsepower, up to 172 Gallons): Essential for keeping the water cold.
- Submersible Pump with Filter: Keeps the water circulating and clean.
- Extra Skimmer: For added cleanliness.
- Clamps, Half-Inch Black Tubing, & a Plug: For connecting everything.
Step 1: Prepping Your Trough
Ensure your trough is clean before installation. Consider its location near a dedicated power outlet and water source for easy filling. Having it close to a window or outside is beneficial for draining.
Step 2: Assembling the System
Double-check that the sizes of your pump, chiller, and tubing match up. Attach the pump to the bottom of the trough, then connect it to the chiller using the tubing. Secure everything with clamps to prevent leaks.
Step 3: Filling and Testing
Fill the trough with water and turn on your system. Make any necessary adjustments to ensure it's working smoothly. Aim for a water temperature that's comfortable yet beneficial, around 50 degrees to start.
Keeping It Clean
Regularly clean your system, considering using hydrogen peroxide as a safe water cleaner. This prevents bacteria buildup, especially important if transitioning from a sauna.
Safety Tips
- Check all electrical connections for safety.
- Regularly inspect the system for maintenance needs.
Video Tutorial
For a step-by-step video tutorial, watch this detailed guide on setting up a continuous cold plunge. It pairs well with this written guide, illustrating the setup process clearly, ensuring you don't miss any key steps.
Building a continuous cold plunge at home is not just cost-effective but also a great health investment. With careful planning and maintenance, you can enjoy the refreshing benefits safely and comfortably.
Conclusion
In conclusion, creating a DIY cold plunge or homemade ice bath is a journey that offers not only personal health benefits but also the satisfaction of constructing something with your own hands.
Whether you're aiming for a luxurious setup under $1,500, a cost-effective solution below $400, or something in-between for less than $1,200, our guide provides detailed steps and video tutorials to help you succeed. Your dedication to this project can result in a refreshing and invigorating addition to your wellness routine.
Dive into building your own homemade cold plunge today and enjoy the numerous benefits that come with a cold plunge.


