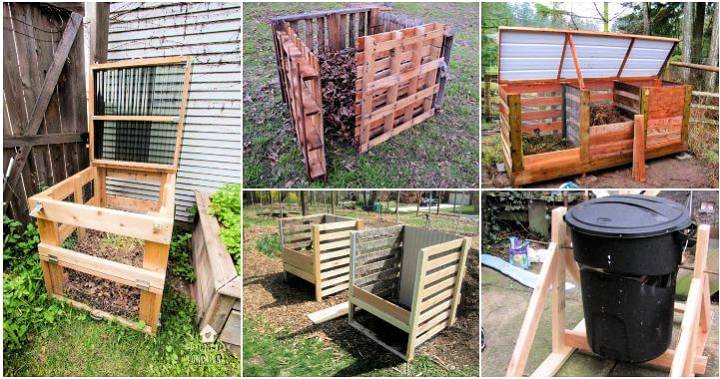
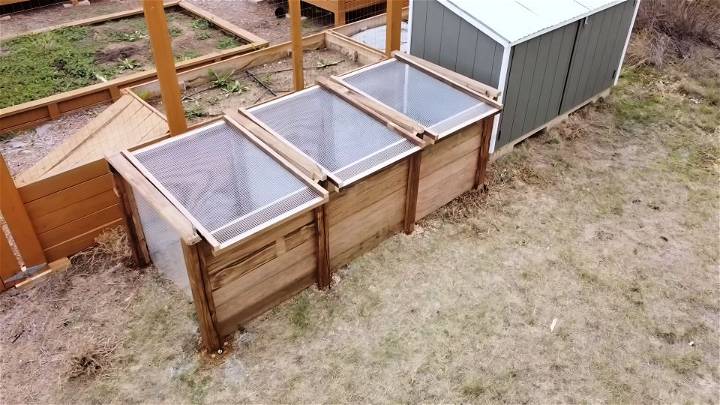
As someone passionate about gardening and sustainability, I've always wanted to build a compost pile. However, I dreaded the idea of an open pile in my backyard. After much research and stumbling upon a useful video by April Wilkerson on YouTube, I decided to take on the project of building a DIY compost bin with 3 compartments, each representing the different stages of composting. Here's my journey and guide on making an efficient, critter-proof compost bin system.
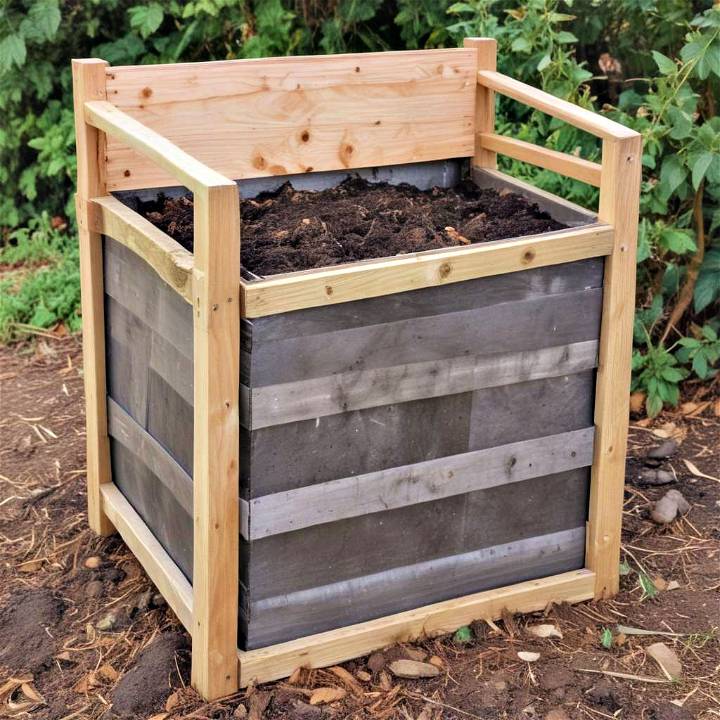
Materials and Why They're Needed
To start, here are the materials I gathered based on April's suggestions and what I learned from my research:
- Pressure Treated Lumber (4x4s and 2x4s): For the structure's posts and rails. It's important to use pressure-treated wood, specifically designed for ground contact, to ensure longevity and resistance to decay.
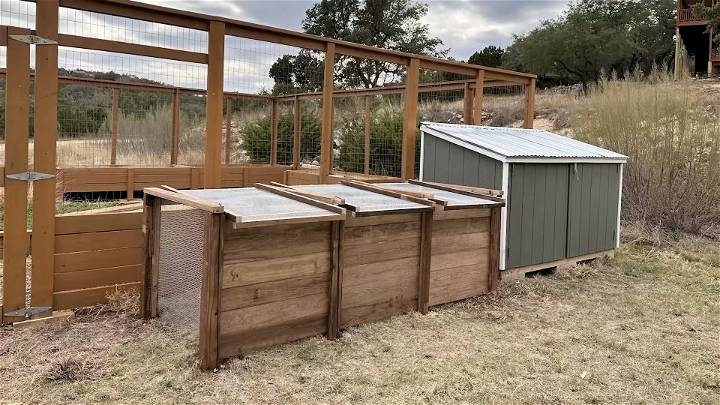
- Hardware Cloth: For enclosing the sides and ensuring proper airflow while keeping pests out. Airflow is crucial in accelerating the composting process and reducing odors.
- Decomposed Granite: As an alternative to concrete for setting the posts. It's easier to work with and provides excellent drainage.
- Screws, Hinges, and Tools: For assembly. The hinges are for the lids to access the compost easily.
Step by Step Instructions
Learn how to build an affordable DIY compost bin with our easy steps. This will save you money and reduce waste at home, making it perfect for eco-friendly gardening.
Step 1: Planning and Setting the Posts
First, I marked the location for my compost bin adjacent to my garden. I wanted it conveniently located yet not too close to my home to avoid any potential smell. After marking, I began digging holes for the eight posts required for the three compartments. Each hole was approximately 2 feet deep, considering my area's frost line and stability requirements.
Step 2: Building the Adjustable Front
The most innovative part of this project was making the adjustable front slots to the bins. This feature allows you to remove mature compost easily or adjust the height based on the amount of compost within. I carefully cut the channels into my front 4x4 posts using a table saw, making sure they were clear and smooth for the adjustability feature.
Step 3: Securing the Structure
Once the posts were cut, I set them into the ground. I chose decomposed granite for securing the posts, which worked wonders. As I filled and tamped the granite down around the posts, I ensured everything was level and aligned correctly. This probably was the most physically demanding part of the process, but achieving a sturdy, square structure made everything that followed much easier.
Step 4: Adding the Sides with Hardware Cloth
Attaching hardware cloth to the sides and backs of the bins was up next. This was challenging, as the hardware cloth is unwieldy, but with patience and a staple gun, I managed to secure it in place. I appreciated April's tip about using a circular saw to trim the excess cloth—an absolute time-saver!
Step 5: Building and Attaching the Lids
The lid construction was straightforward. Using 2x2s and hardware cloth, I buildd simple frame lids that would keep animals out but allow rainwater and air in. Attaching the lids with hinges to the back posts added the final touch, making the bins easily accessible while also protected.
Composting Dos and Don'ts
Building a successful compost bin is not just about throwing organic waste into a pile; it's about balancing the right ingredients to build nutrient-rich soil. Here's a guide to help you understand what to add and what to avoid in your compost bin.
What to Compost
Do Add Greens and Browns Your compost bin thrives on a balanced diet of ‘greens' and ‘browns.' Greens are nitrogen-rich materials, and they're usually wet. Browns are carbon-rich and dry. Aim for a 50/50 balance by weight, which often means adding more browns because they're lighter.
Greens to Include:
- Vegetable and fruit scraps
- Coffee grounds and filters
- Fresh grass clippings
- Plant trimmings from your garden
Browns to Include:
- Dry leaves
- Straw and hay
- Wood chips from untreated wood
- Shredded paper and cardboard
What Not to Compost
- Avoid Meat and Dairy. These items can attract pests and build odors. They also break down differently than plant-based materials, which can disrupt the balance of your compost.
- Don't Add Diseased Plants Adding plants with diseases can spread pathogens throughout your compost and eventually to your garden.
- Steer Clear of Chemicals Pesticide-treated plants or wood can kill the beneficial microbes that are essential for composting.
Best Practices for a Healthy Compost Bin
- Chop Your Materials Smaller pieces break down faster. This means quicker composting and less waiting time.
- Layer Your Greens and Browns Always cover a layer of green material with brown material. This helps to reduce flies and control odors.
- Monitor Moisture Levels Your compost should be moist, like a wrung-out sponge. If it's too dry, add water. If it's too wet, add more browns.
- Turn Your Compost Regularly This introduces oxygen, which is crucial for the composting process.
By following these simple dos and don'ts, you'll be on your way to making a thriving compost bin that will provide rich nutrients for your garden. Remember, composting is a way to give back to the Earth, turning waste into something wonderful.
FAQs About Composting
When it comes to composting, many people have questions about the process, what can be included, and how to manage their compost bins effectively. Here's a detailed FAQ section that addresses common queries in a straightforward and easy-to-understand manner.
What Can I Compost From My Kitchen?
You can compost:
- Fruit and vegetable scraps
- Eggshells (crushed)
- Coffee grounds and paper filters
- Tea bags (without staples)
Can I Compost Citrus Peels and Onions?
Yes, but in moderation. Citrus peels and onions can be added to your compost. However, they should be used sparingly as they can affect the pH balance and potentially deter worms if used excessively.
How Do I Know If My Compost Is Ready?
Your compost is ready when:
- It looks like dark, crumbly topsoil
- It has a pleasant, earthy smell
- None of the original materials are recognizable
Why Is My Compost Bin Smelly?
A smelly compost bin often means:
- There's too much moisture
- It lacks aeration
- There's an imbalance, often too many greens
To fix it, try:
- Adding more browns like dry leaves or shredded paper
- Turning the compost to introduce air
- Ensuring proper drainage
How Often Should I Turn My Compost?
Aim to turn your compost:
- Once a week to maintain aeration
- After adding new material to mix it in
Can I Compost Bread and Pasta?
It's not recommended because:
- They can attract pests
- They may mold before decomposing
What Should I Do With Compost in Winter?
In winter, you can:
- Continue to add to your compost
- Insulate your bin to retain heat
- Turn less frequently as the process slows down
Final Thoughts: Completion and Reflection
After a few weekends of work, my compost bin system stood proudly next to my garden. The satisfaction of building something functional and environmentally beneficial from scratch was incredibly fulfilling. Starting to fill the bins, I layered greens (vegetable scraps, coffee grounds) and browns (leaves, shredded paper) as advised, eagerly anticipating the transformation into rich compost for my garden.
One thing I'd emphasize for anyone interested in this project is the importance of planning and patience. Take your time, especially when setting the posts and ensuring the structure is level and square. It makes the rest of the process go more smoothly.
While I'm just at the beginning of my composting journey, the excitement of reducing waste and making my own garden-enhancing compost is immense. Remember, the key to good compost is balance, airflow, and a bit of patience. If you've been on the fence about starting your composting journey, I hope my experience encourages you to give it a go. Happy composting!


