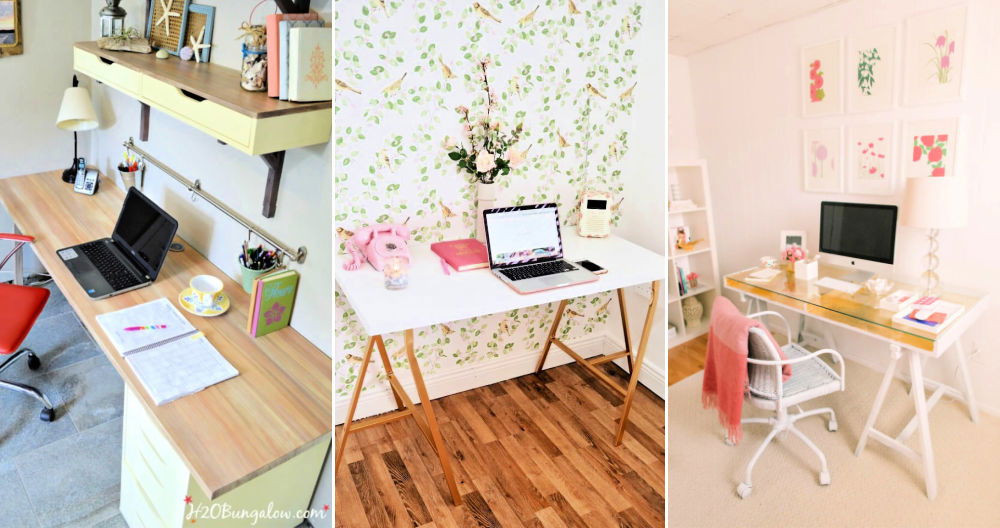
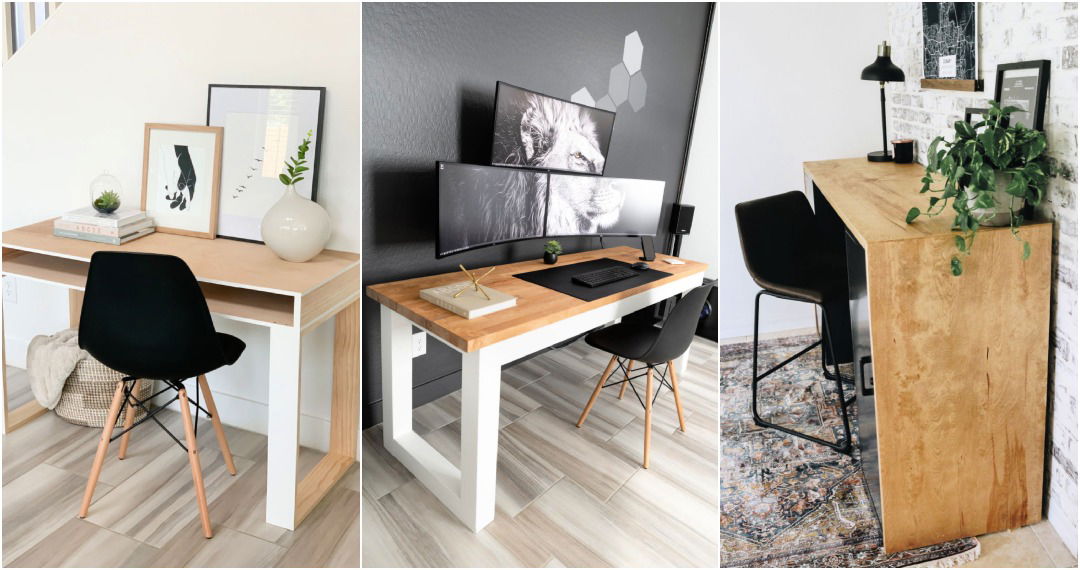
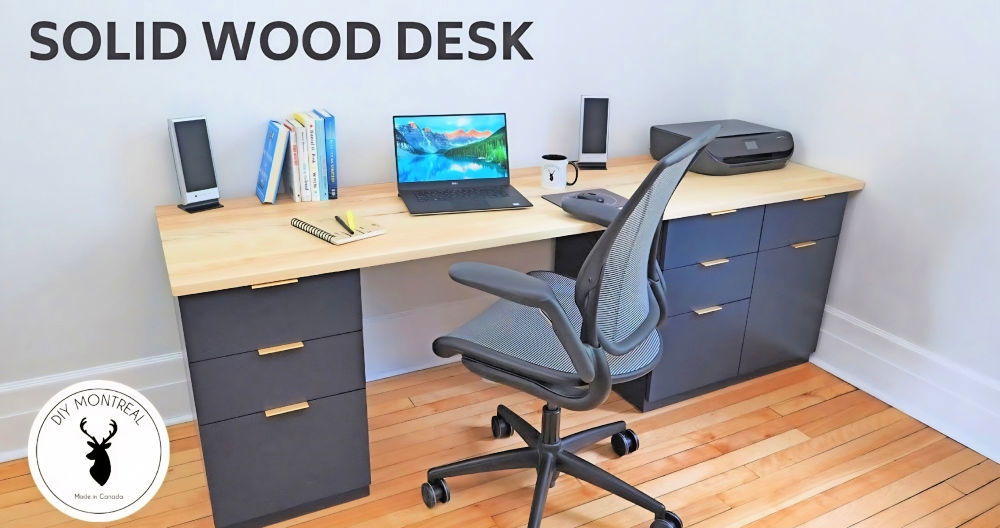
Making a DIY computer desk for under $75 is a practical and rewarding project. This guide will show you step-by-step how to build a computer desk that's affordable and tailored to your needs. You don't need to spend a fortune to have a functional and stylish workspace. With the right materials and tools, you can build a desk that fits your space perfectly.
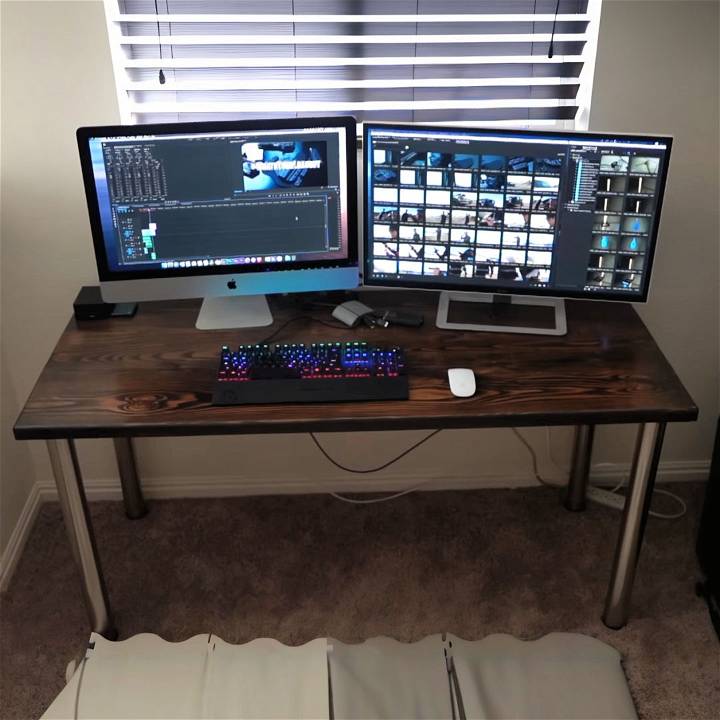
Building your own computer desk can also be a fun and engaging activity. By following the instructions, you'll learn valuable skills and enjoy the satisfaction that comes from completing a project with your own hands.
Discover how to build your own DIY computer desk with our easy, step-by-step guide. Perfect for customizing your workspace setup.
Step by Step Instructions
Build your own ergonomic workspace with our step by step instructions about DIY computer desk guide. Gather materials, prep boards, and enjoy your custom desk!
Step 1: Gathering the Materials
The first thing on my list was to make sure I had all the necessary tools and materials. I believe in being prepared, so I made a checklist:
- A Saw: Circular saws are my go-to, but a miter or table saw would work as well. Even a hand saw can do the job if you're patient.
- A Drill: Absolutely essential for making holes.
- Sandpaper or an Orbital Sander: For smoothing out the wood. I had an orbital sander, which made the job quicker.
- Pocket Hole Jig: For joining the boards together neatly.
- Eye Protection: Safety first!
- Lumber: I chose three boards of 2x10s from the local hardware store. Opting for the straightest, flattest boards was crucial for the desk's integrity.
Why these materials? The right tools make the job not only easier but also enjoyable. The lumber I chose was affordable yet sturdy, perfect for a robust desk.
Step 2: Prepping the Boards
Next, I needed to get my boards ready. This meant measuring and cutting them to my desired length (60 inches for me) for a decent-sized desktop. Starting with a fresh, straight cut on one end was necessary to ensure everything lined up correctly.
Step 3: Optional - Planing and Jointing
Having access to larger power tools like a table saw, and a planer can improve the fit and finish of your desk by making perfectly straight edges and a flat surface. However, I didn't have these tools, so I embraced the slight imperfections and rounded edges, lending a rustic charm to the final product.
Step 4: Aligning and Gluing
The alignment of your boards before joining them is more crucial than it might seem. I paid special attention to the direction of the end grain, alternating it to minimize warping over time. After marking and drilling pocket holes, applying wood glue generously along the edges ensured a strong bond. Clamping the boards tightly while the glue dried was a waiting game that tested my patience but was ultimately worth the effort for the added strength it provided.
Step 5: Sanding and Finishing Touches
Sanding was, admittedly, my least favorite part, yet undeniably satisfying. Starting with 80-grit sandpaper and working up to 220-grit, I made sure the surface was as smooth as a baby’s bottom. This step was crucial for a professional-looking finish.
After sanding, I wiped down the desk to remove any dust and applied a pre-stain conditioner to ensure an even application of the stain. I chose an espresso stain for a rich, warm color, applying it with a brush and wiping off the excess. The transformation was nothing short of magical.
Final Assembly and Personal Touches
Once the stain dried, attaching the legs (a bargain find at $35) was a breeze. The pre-drilled holes and screws meant the desk was standing on its own four legs in no time. I stepped back and admired my handiwork, immensely proud of what I had buildd with my own two hands.
Customization Ideas for Your DIY Computer Desk
When it comes to building your own computer desk, customization is key. It’s not just about making a space where you can work or play; it’s about crafting an environment that reflects your personality and meets your specific needs. Here are some ideas to make your DIY computer desk uniquely yours:
Choose Your Style
Start by deciding on the overall look and feel of your desk. Do you prefer a modern minimalist design, a rustic farmhouse feel, or perhaps a vibrant and colorful setup? Your style choice will guide the materials and design elements you’ll select.
Personalize with Color
Color can dramatically alter the mood of your workspace. Whether you choose to paint your desk, use colored stains on wood, or add colorful accessories, pick hues that inspire you and boost your productivity.
Ergonomic Enhancements
Comfort is crucial. Consider adding an ergonomic keyboard tray, a monitor stand at eye level, or a footrest. These features can help reduce strain and improve your posture while working.
Tech-Friendly Features
Incorporate built-in USB ports for easy charging of devices. Add a cable management system to keep your desk clutter-free. If you’re into smart home gadgets, consider spaces for docking stations that integrate with your tech ecosystem.
Storage Solutions
Think about what you need to store and how you like to keep things organized. Shelves, drawers, or hanging organizers can all be custom-made to fit your desk and your organizational style.
Lighting
Good lighting is essential. You might want to install under-cabinet LED strips or add a custom lamp that complements your desk design. Proper lighting can reduce eye strain and build a pleasant atmosphere.
Surface Space
Plan your surface area based on what you’ll be doing at your desk. If you’re a gamer, you might want more space for multiple monitors. If you’re a crafter, you might want extra room for your materials and tools.
Make It Mobile
Consider adding wheels to your desk for easy mobility. This allows you to change your scenery or move your desk out of the way when you need more space.
Accessorize
Finally, accessorize your desk with items that make it feel like your own. This could be anything from a unique desk mat to personalized photo frames or a plant to bring in some greenery.
The beauty of a DIY desk is that it can evolve with you. Start with the basics and add or change features as your needs and tastes develop.
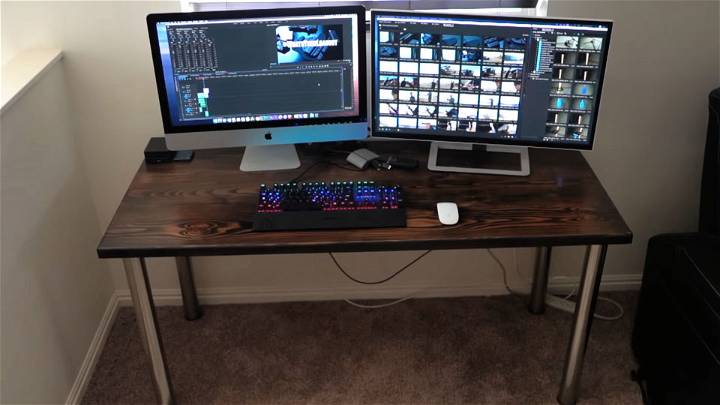
Tech Integration for Your DIY Computer Desk
In the digital age, a computer desk is more than just a surface for your laptop. It’s the central hub for your gadgets, tools, and tech. Integrating technology into your DIY computer desk can enhance functionality and streamline your workflow. Here’s how to do it:
Plan for Power
Start by considering your power needs. Identify where you’ll place your computer, monitor, printer, and any other devices that require power. Incorporate built-in power strips or USB charging ports within easy reach to keep cables organized and devices charged.
Cable Management
Nobody likes a tangle of wires. Design a cable management system using channels, clips, or ties to route cords neatly under the desk or along a leg. Consider a compartment to hide power strips and adapters out of sight.
Wireless Charging
If you use devices that support wireless charging, you can install a wireless charging pad directly into your desk surface. This provides a convenient spot to charge your phone or tablet without the clutter of additional wires.
Monitor Mounts
Free up desk space and find the perfect viewing angle by adding monitor mounts. Whether it’s a single, double, or even triple monitor setup, adjustable arms can help reduce neck strain and build a more ergonomic workspace.
Smart Desk Features
Embrace the smart home trend by integrating voice-controlled assistants or smart lighting into your desk. Set up routines to control lights, play music, or get reminders—all without lifting a finger.
Sound System
If you enjoy music or need sound for video conferencing, consider building in speakers. You can build custom enclosures for them or choose surface-mounted speakers that complement your desk’s design.
Connectivity Hubs
Include a connectivity hub with ports for HDMI, Ethernet, audio, and other connections. This turns your desk into a docking station, making it easy to connect a laptop or other devices quickly.
Adjustable Height
For the ultimate in customization, make your desk height adjustable. This allows you to switch between sitting and standing, promoting better health and comfort throughout the day.
Personal Touches
Finally, add personal tech touches that reflect your hobbies or work. If you’re a gamer, you might want RGB lighting strips. If you’re a video editor, perhaps a built-in control surface for your editing software.
Integrating these tech features into your DIY computer desk personalizes your space, boosting productivity and comfort.
Maintenance and Care for Your DIY Computer Desk
Keeping your DIY computer desk in top condition not only extends its life but also makes your workspace more inviting. Here’s how to maintain and care for your desk with ease:
Regular Cleaning
Dust and wipe down your desk regularly. Use a soft, damp cloth for wooden surfaces to avoid scratches. For glass or metal, a microfiber cloth with a mild cleaner will do the trick. Avoid harsh chemicals that can damage the finish.
Protect the Surface
Consider using a desk pad or blotter to protect the surface from spills, scratches, and heat damage from laptops or other devices. This also provides a comfortable writing area.
Organize Cables
Keep cables tidy with clips or ties. This not only looks better but also prevents dust from gathering around tangled wires and makes cleaning easier.
Tighten Fittings
Over time, screws and joints may loosen. Periodically check and tighten these fittings to ensure your desk remains stable and secure.
Address Spills Immediately
If spills occur, clean them up promptly to prevent staining or warping of the material. Use an absorbent cloth to blot the spill and then a damp cloth to clean the area.
Refresh the Finish
If your desk starts to show signs of wear, you can refresh it. Reapply paint or stain to wooden desks, or use a metal polish for metal components.
Check for Wear and Tear
Regularly inspect your desk for any signs of wear and tear. Repair any damage promptly to prevent further deterioration.
Adjust for Stability
If your desk wobbles, adjust the legs or add stabilizers to ensure it’s level and stable. This is especially important if you have a standing desk or one with adjustable height.
Care for Moving Parts
If your desk has drawers or other moving parts, keep the tracks and mechanisms clean and lubricated for smooth operation.
Personalize Responsibly
When adding new elements or accessories, make sure they don’t compromise the structure or stability of your desk.
By following these simple maintenance and care tips, you’ll keep your DIY computer desk looking great and functioning well for years to come.
FAQs About DIY Computer Desk
Discover answers to common questions about DIY computer desks, from design tips to material selection, in our comprehensive faqs guide.
Building your own computer desk can be a rewarding project that allows you to build a workspace tailored to your specific needs and preferences. It can be more cost-effective than purchasing a pre-made desk, and you have the freedom to choose the materials, design, and size that best fit your space and style. Additionally, a DIY desk can be a fun and engaging way to improve your woodworking skills.
To ensure your DIY desk is ergonomic, consider the height of the desk, which should allow you to sit comfortably with your feet flat on the ground and your arms at a 90-degree angle when typing. The monitor should be at eye level to prevent neck strain. You can also add adjustable components, such as a keyboard tray or monitor stand, to customize the ergonomics of your desk further.
Yes, you can build a computer desk specifically designed for gaming. Consider including features like ample space for multiple monitors, ergonomic positioning for long gaming sessions, and built-in storage for gaming accessories. Some DIY gaming desk designs also incorporate cable management solutions to keep the setup tidy.
There are many simple and accessible DIY computer desk designs available that are perfect for beginners. These designs often require minimal materials and tools, and they provide step-by-step instructions to guide you through the process. Look for plans that use straightforward cuts and assembly methods to get started with your DIY project.
Effective cable management is crucial for a clean and organized DIY computer desk. You can achieve this by drilling holes in the desk for cords to pass through, attaching under-desk trays or clips to hold power strips and cables, and using cable ties or Velcro straps to bundle wires together. Additionally, wireless devices should be considered to reduce the number of cables needed. For a more industrial look, you can also use metal piping or cable conduits to conceal and protect the wires.
Conclusion
Wrapping, building a DIY computer desk is not only budget-friendly but also a fun and rewarding project. By following these steps, you can have a functional and stylish desk for under $75. Get started today and enjoy a custom workspace that suits your needs perfectly. By choosing this project, you save money and gain valuable DIY skills.


