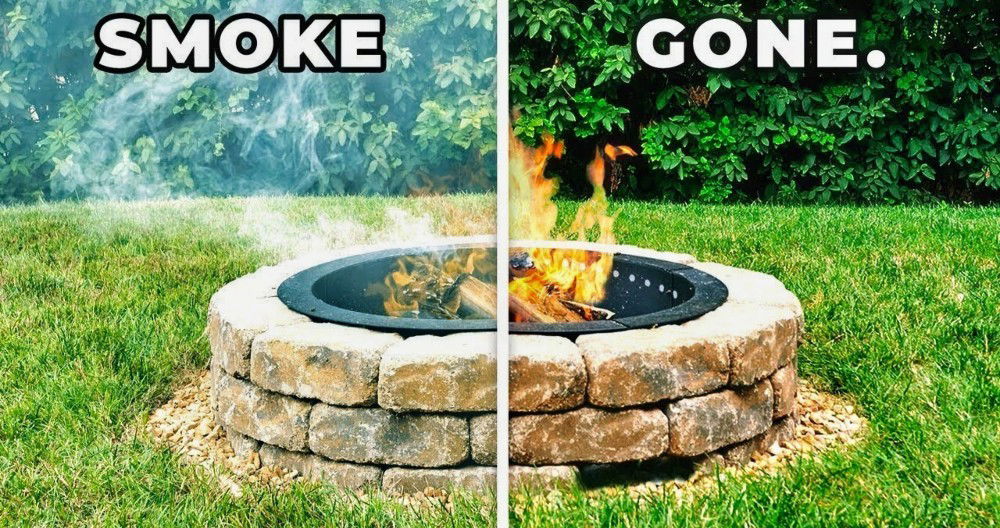
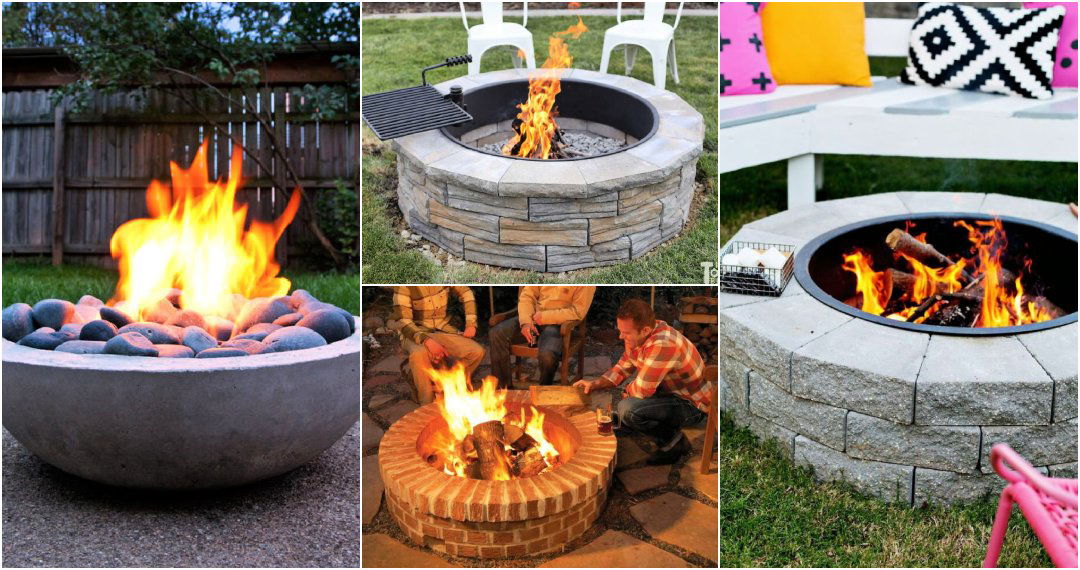
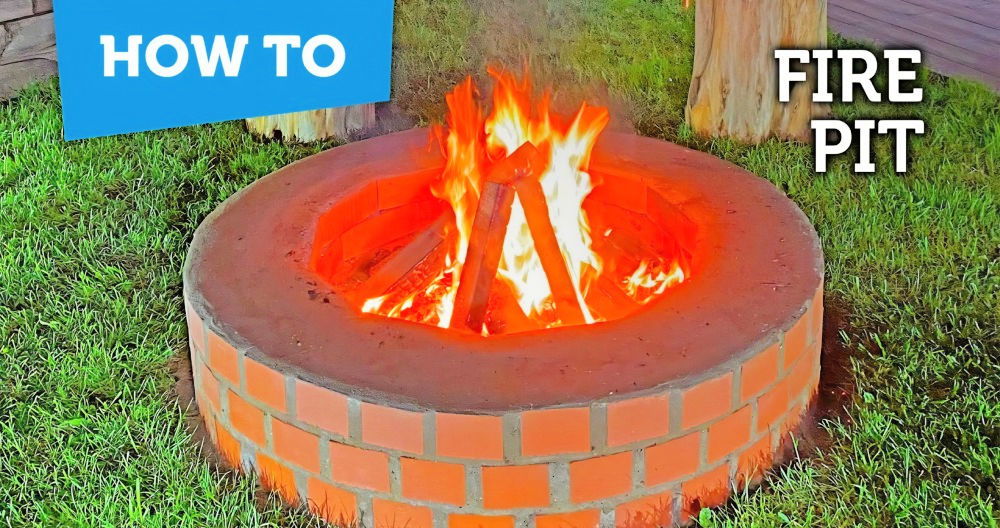
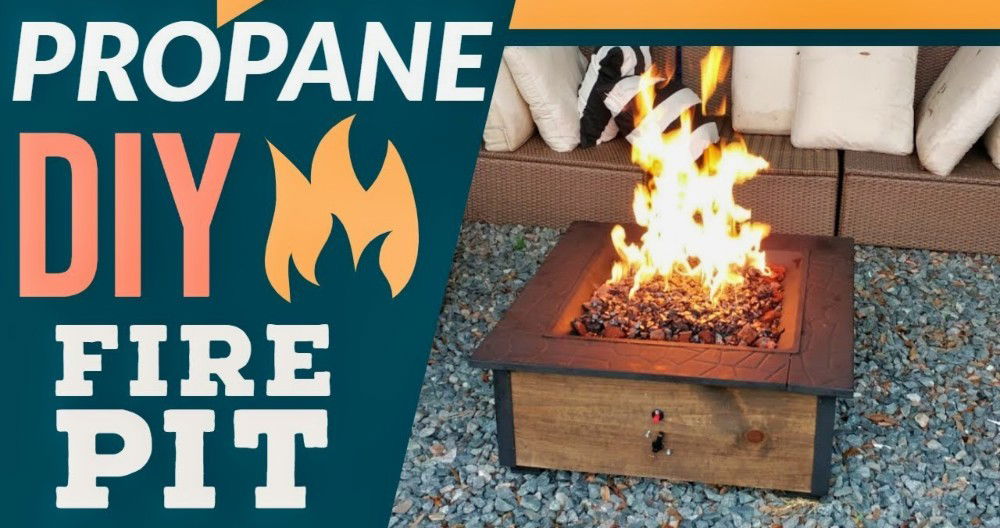
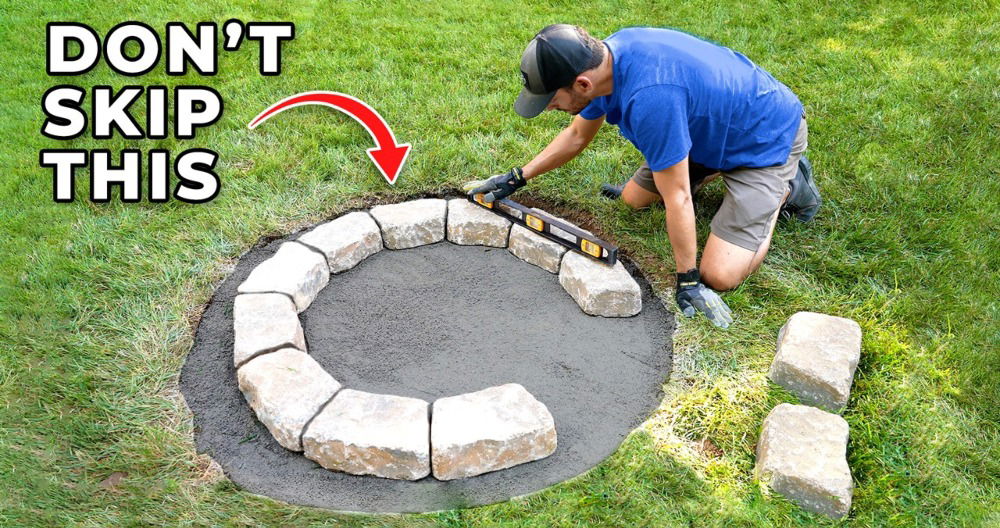
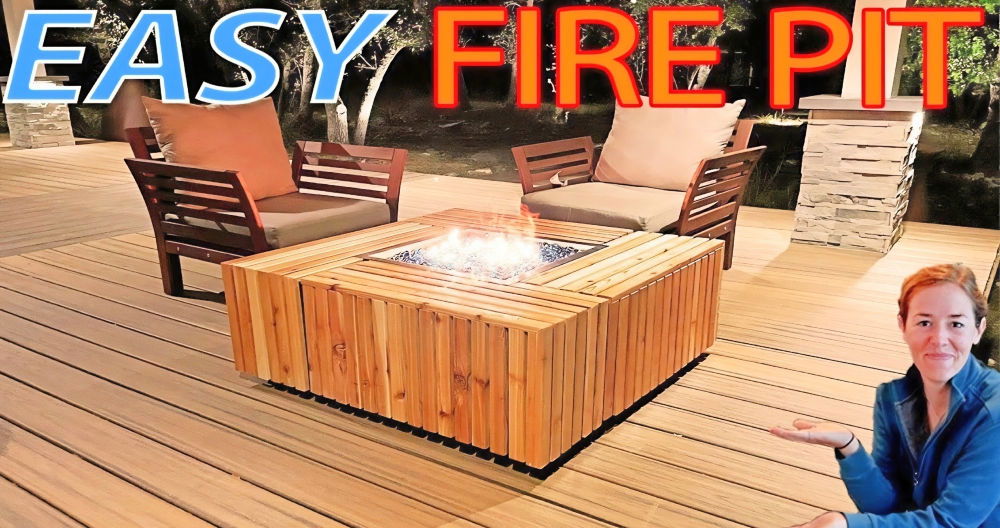
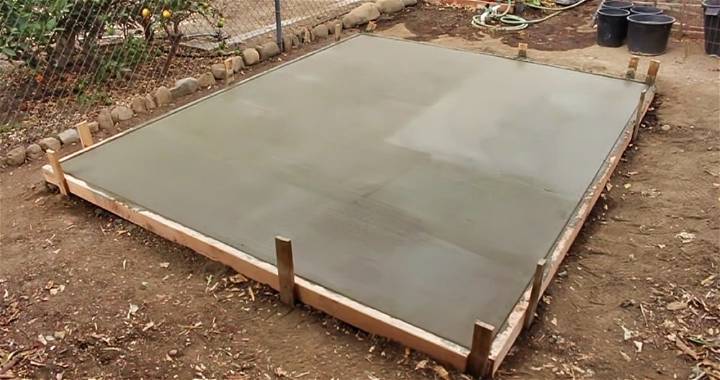
Starting a DIY concrete fire pit project gives your backyard a warm, cozy vibe. My family and I built one last summer. Using simple tools and materials, we managed to build a perfect gathering spot. It became a favorite spot for roasting marshmallows. This guide will help you transform your own space affordably and effectively.
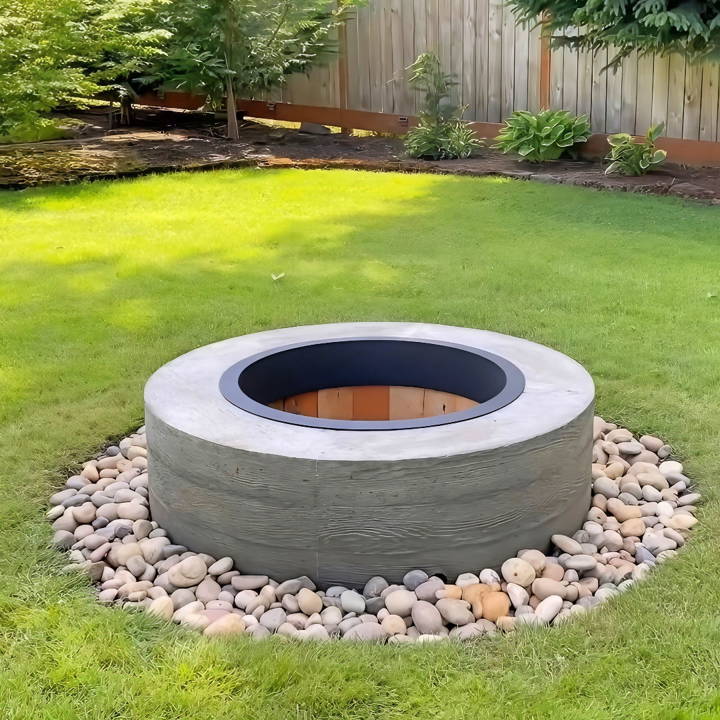
Constructing a concrete fire pit is straightforward. Start with a solid plan and gather your materials. Clear a safe area, mix the concrete, and pour it into your prepared mold. After it sets, you'll have a durable and stylish fire pit.
This concrete fire pit project not only amplifies your outdoor space but also provides a perfect place for making memories. I'm excited to help you get started with this.
Materials Needed:
- Cheap plywood or sanded ply
- 2x4 lumber
- PVC pipes
- Rebar and wire mesh
- Stones
- Firebricks
- Concrete mix (25 bags estimated, but only 18 used)
- Paste wax
- 3/8 inch soffit material for form lining (initial choice, but not used)
- Quarter-inch melamine (for the internal form)
- Tools for mixing concrete, vibrating, and smoothing
Each material played a crucial role in the project. Plywood and 2x4s were used to build the forms. PVC pipes ensured proper airflow and drainage. Rebar and wire mesh added structural integrity, while stones were used to reduce the amount of concrete needed. Firebricks were crucial for protecting the concrete from intense heat, and the concrete mix, of course, was the star of the show. Paste wax prevented sticking, and melamine provided a smooth finish for the interior.
Step by Step Instructions
Learn how to build a DIY concrete fire pit with step-by-step instructions, from designing forms to curing. Perfect outdoor upgrade for any backyard.
Step 1: Designing and Building the Forms
The first step was designing and cutting out the wood forms for the fire pit. I cut half-circles from the plywood to build two rings: one representing the outer boundary of the fire pit and a smaller one for the inner boundary. Each half-circle was supported with 2x4 braces to maintain its shape.
Step 2: Laying the Base
Before pouring concrete, I prepared the base. The old fire pit was removed, and the ground was leveled. Then, I placed the outer form on the ground and the inner form inside it, using PVC pipes cut to the same length to keep the inner form centered and ensure uniform thickness for the concrete wall.
Step 3: Adding Mesh and Stones
To save on concrete and avoid unnecessary thickness, I placed rebar and wire mesh between the inner and outer forms, filling the space with stones. This not only saved on concrete but also ensured that the fire pit had a solid, durable structure.
Step 4: The Concrete Mix
Mixing concrete was perhaps the most physically demanding part of the project. I aimed for a wet enough consistency for easy pouring while ensuring it was not too runny. Each batch was poured into the form, compacted, and vibrated to remove air bubbles and ensure it filled every gap around the stones for a solid structure.
Step 5: Building the Wood Grain Texture
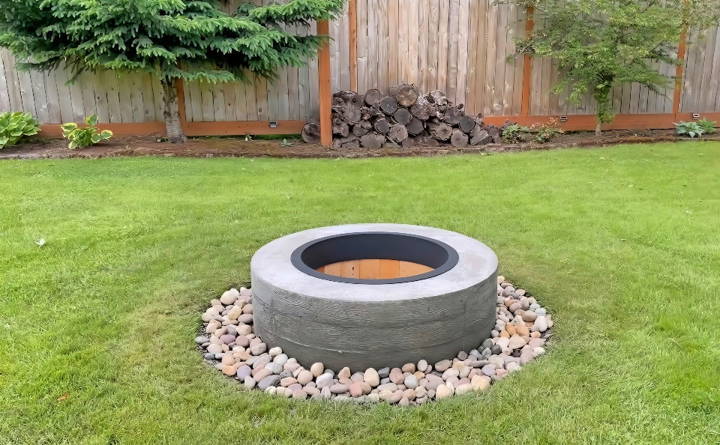
After filling the forms with concrete, I used a hand-made wooden stamp to build a wood grain texture on the surface of the still-wet concrete. This added an aesthetic touch that made the fire pit look more natural and appealing.
Step 6: Curing and Unveiling
After the pour, I covered the form with plastic to slow down the curing process. About 30 hours later, anxious and excited, I began removing the forms. The outer form came off relatively easily, revealing a beautifully textured concrete surface. However, the inner form was more stubborn and had to be dismantled piece by piece.
What I Learned
This project taught me several valuable lessons. First, the right materials and preparation are crucial for working with concrete. Second, patience and physical effort go hand-in-hand with DIY concrete projects. Lastly, DIY projects are more about the journey and what you learn along the way than just the final result.
Safety and Maintenance Tips
Ensuring the safety and longevity of your concrete fire pit is essential. Follow these practical tips to enjoy your cozy fires without any worries:
Location Matters:
- Clearance: Place your fire pit at least 10 feet away from any structures, trees, or flammable materials. This prevents accidental fires and allows proper ventilation.
- Stable Ground: Set your fire pit on a stable, level surface. Avoid placing it on grass or uneven terrain.
Fire-Resistant Materials:
- Fire Pit Liner: Line the inside of your concrete fire pit with a fire-resistant material. Options include fire bricks, lava rocks, or refractory cement.
- Heat-Resistant Paint: If you choose to paint your fire pit, use heat-resistant paint designed for high temperatures.
Proper Ventilation:
- Drainage Holes: Ensure your fire pit has small drainage holes at the bottom. These prevent water accumulation and cracking due to freezing.
- Airflow: A well-ventilated fire pit burns more efficiently. Adequate airflow prevents smoke buildup and ensures a cleaner burn.
Fuel Safety:
- Wood: If you're using wood as fuel, choose seasoned hardwoods like oak, hickory, or maple. Avoid softwoods (pine, cedar) that produce excessive sparks.
- Gas: For gas fire pits, check the connections regularly for leaks. Follow manufacturer instructions for safe propane or natural gas usage.
Cover When Not in Use:
- Invest in a weatherproof cover to protect your fire pit from rain, snow, and debris. Covering it when not in use prolongs its lifespan.
Regular Inspections:
- Cracks: Inspect your concrete fire pit for cracks. Small cracks can be sealed with heat-resistant caulk or mortar.
- Chips: Repair any chipped areas promptly to prevent further damage.
- Rebar Exposure: If you notice exposed rebar, address it immediately to prevent rust.
Keep a Safe Distance:
- Children and Pets: Educate family members and guests about fire safety. Keep children and pets away from the fire pit during use.
- Flammable Items: Avoid placing flammable items (paper, leaves, plastic) near the fire pit.
Extinguishing the Fire:
- Water: Keep a bucket of water or a hose nearby to extinguish the fire completely.
- Sand or Fire Blanket: Alternatively, use sand or a fire blanket to smother the flames.
A well-maintained concrete fire pit provides warmth, relaxation, and countless memories. Enjoy responsibly and build cozy moments around the flickering flames!
FAQs About DIY Concrete Fire Pit
Discover answers to faqs about DIY concrete fire pits! Get insights on building, materials, safety, and maintenance for your perfect outdoor hearth.
Safety is paramount. Make sure your fire pit is located away from structures and overhanging trees. Use fire bricks inside the pit to withstand high temperatures and prevent cracking. Ensure there is adequate ventilation to allow proper airflow and prevent smoke accumulation.
Absolutely! Concrete fire pits are highly customizable. You can choose different shapes, sizes, and finishes. You can even add colorants to the concrete mix or use stamps and stencils to build patterns on the exterior surface.
Regular maintenance will extend the life of your fire pit. Clean out ashes after use, seal the concrete periodically to protect against weathering, and check for any cracks or damage that may need repair. Covering the pit when not in use can also protect it from the elements.
Concrete fire pits offer durability, longevity, and customizability. They retain heat well and provide a safe enclosure for fires. Concrete is also versatile in design, allowing for a range of styles to fit any outdoor decor.
After constructing your concrete fire pit, it's essential to allow it to cure properly before use. The curing process typically takes at least 28 days. During this time, keep the concrete moist by covering it with a plastic tarp and wetting it periodically. After curing, you can enjoy your fire pit, ensuring it has fully dried and hardened.
In Conclusion
Concluding, making a DIY concrete fire pit is simpler than you might think. You'll enjoy this affordable and functional addition to your backyard space. Let my experience guide you and help you enjoy more outdoor memories.


