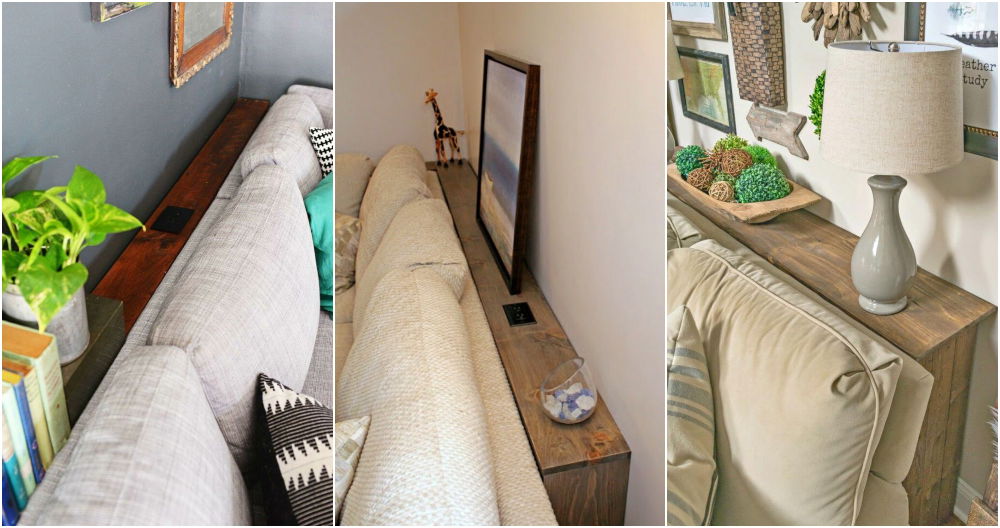
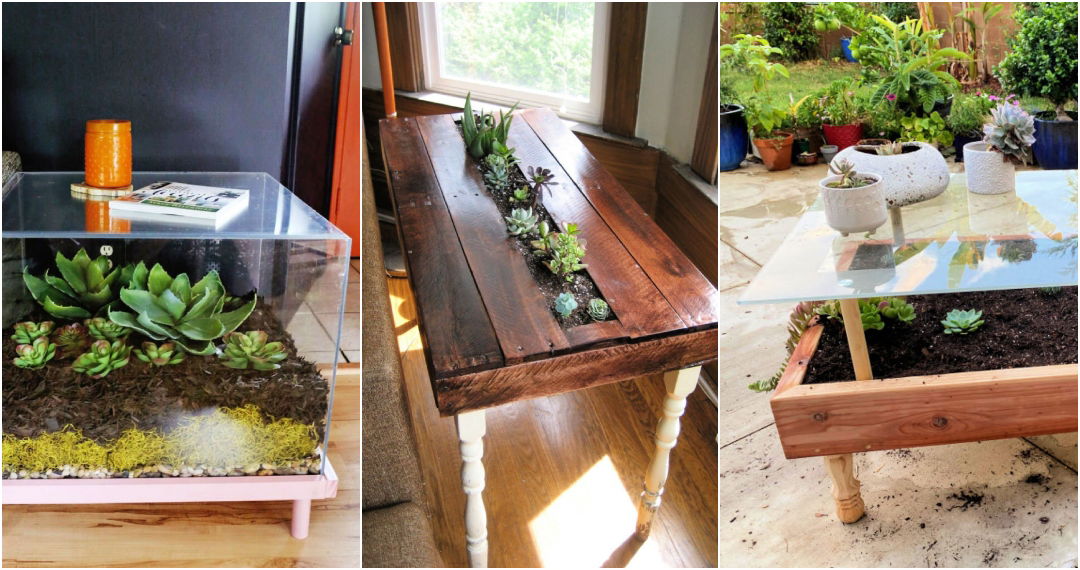
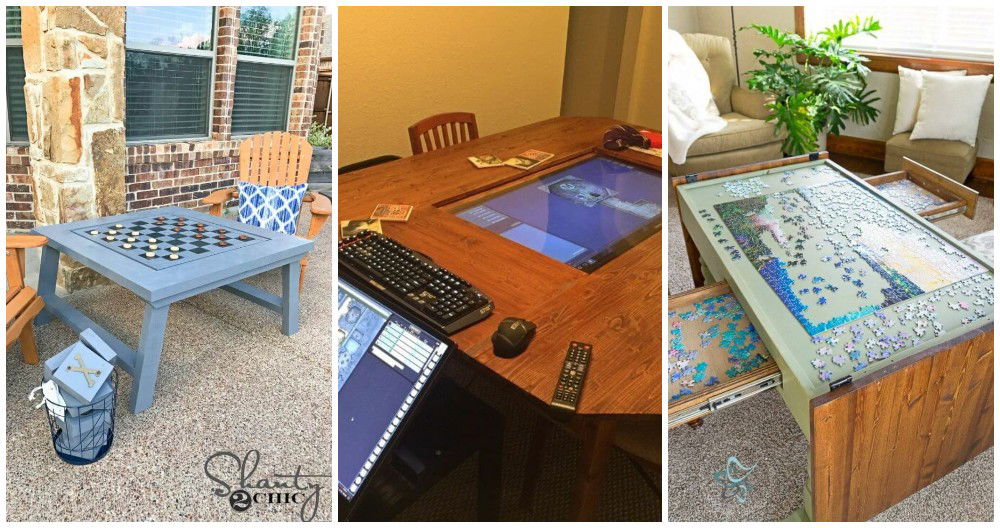
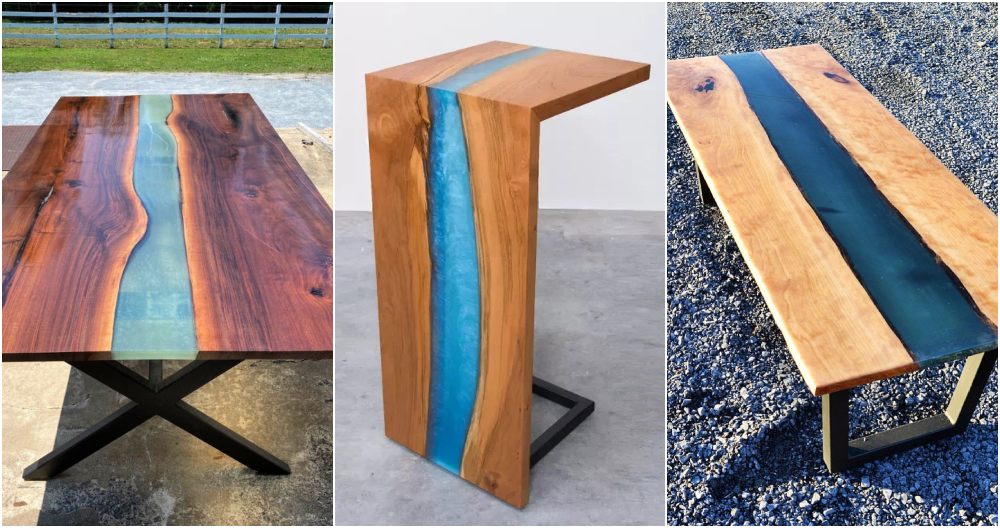
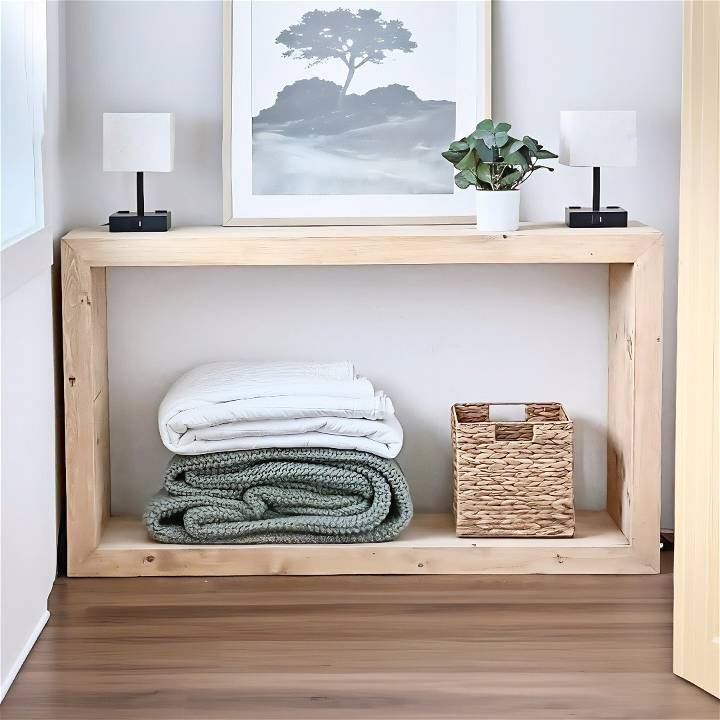
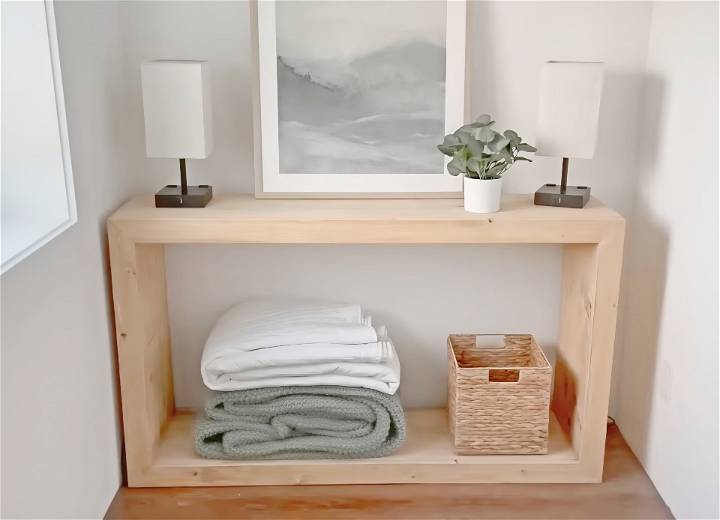
Embarking on a DIY project can sometimes feel like charting through unknown waters, but building my console table for just around $100 turned out to be one of my most rewarding journeys. I want to share with you a detailed, step-by-step guide on how I achieved this, inspired by the brilliant Ana White, with free plans and some personal tweaks to customize it to my space and needs.
Why This Project?
Wanting something both beautiful and functional within a tight budget, I stumbled upon a YouTube tutorial that seemed too good to be true. A gorgeous console table for about $100 in materials? Count me in. This project not only promised a substantial piece of furniture but also a chance to hone my woodworking skills.
Materials Needed
- 1x12 lumber and 1x3 lumber: The bulk of the console table, providing the top, sides, and legs.
- Pocket hole jig: For joining pieces without visible screws.
- Compound miter saw: Crucial for precise cuts, especially the 45-degree angles.
- Brad nailer (optional): For additional joinery support.
- Sandpaper (120 grit): For smoothing out rough edges.
- Stain and paint (optional): To finish the piece to your taste.
Each material was selected for its role in ensuring a sturdy, aesthetically pleasing console table without breaking the bank. The use of 1x12s and 1x3s offered a simple yet elegant design, while the pocket hole jig allowed for strong joints that are also beginner-friendly.
Step by Step Instructions
Learn how to build your own console table with our step-by-step instructions. From cutting wood to finishing touches, DIY has never been easier!
Step 1: Cutting the Wood to Size
After reviewing the free plans linked in the tutorial, I began by calibrating my compound miter saw to guarantee perfect 45-degree angles—a crucial step for a seamless final look. I carefully measured and cut the 1x12 and 1x3 boards according to the plan specifications.
Step 2: Building the Face Frames
The face frames form the front and back of the console table. Using a pocket hole jig, I drilled two holes on each end of the vertical face frame boards, ensuring the holes would not be visible on the assembled piece. Then, I attached the boards using one and a quarter inch pocket hole screws, building two identical frames.
Step 3: Assembling the Carcass
The carcass includes the top, sides, and bottom shelf of the console table. I started with the top, cutting both ends at a 45-degree bevel and drilling pocket holes along the long edges. Attaching it to one face frame first, I then proceeded to add the side pieces, securing everything with pocket hole screws and brad nails for additional strength.
Step 4: Adding the Bottom Shelf and Legs
The bottom shelf was straightforward, cut with square ends and fixed in place with pocket holes. Attaching the legs required a bit more finesse. I used brad nails for a clean look and screws from the bottom for stability, ensuring each leg was perfectly aligned before securing.
Step 5: Sanding and Finishing
After assembly, I sanded the entire piece with 120 grit sandpaper to prepare it for staining. I chose a Golden Oak stain for its warm, natural look, but felt it needed more character. Adding a whitewash effect with a bit of paint gave it the dimension I craved, and the result was stunning.
Design Customization Ideas for Your DIY Console Table
Building a DIY console table gives you the freedom to tailor it to your personal style and the decor of your home. Here are some design customization ideas to inspire you:
Choose Your Style
Identify your preferred style: Whether it's modern, rustic, industrial, or traditional, pick a style that resonates with you and your living space.
Select Materials and Textures
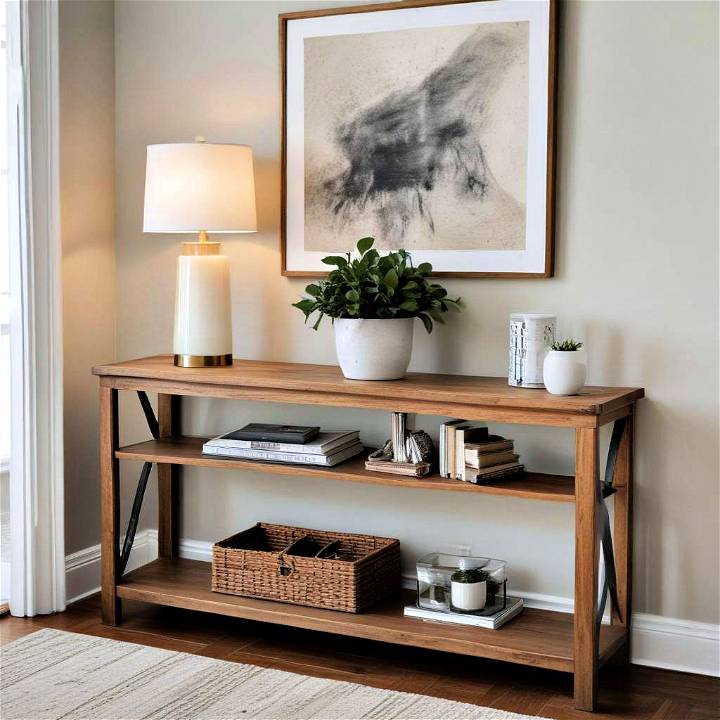
Mix and match materials: Combine wood with metal accents for an industrial look, or use glass and high-gloss finishes for a modern touch.
Color It Your Way
Experiment with colors: Go bold with a bright hue, choose a classic stain, or keep it natural to highlight the beauty of the wood.
Add Functional Features
Incorporate storage: Add drawers or shelves to keep your space organized and clutter-free.
Personalize with Decorative Elements
Accessorize: Use knobs, handles, and leg designs to add character to your table.
Finishing Touches
Protect and enhance: Finish your table with varnish, paint, or wax to protect it and give it a polished look.
Remember, the key to a successful DIY project is to make it your own. Have fun with the process and enjoy the satisfaction of building something unique for your home. Keep it simple, and don't hesitate to put your personal stamp on it!
Troubleshooting Common Issues in DIY Console Table Projects
Building a DIY console table can be a rewarding project, but it's not uncommon to encounter a few hiccups along the way. Here's how to troubleshoot some common issues:
Uneven Legs
Problem: Your table wobbles because the legs are uneven. Solution: Measure and trim the legs to equal length. Use a spirit level to ensure balance.
Wood Splitting
Problem: The wood splits when you drive in screws. Solution: Pre-drill holes to prevent splitting, and consider using wood glue for added strength.
Stain Not Adhering
Problem: The wood stain is patchy or not sticking. Solution: Sand the wood evenly before applying stain, and use a pre-stain wood conditioner.
Loose Joints
Problem: The table feels unstable due to loose joints. Solution: Tighten all connections. If necessary, reinforce with corner brackets.
Scratches and Dents
Problem: The wood surface gets scratched or dented during the build. Solution: Gently sand the affected area. Fill dents with wood filler before finishing.
By anticipating these issues and knowing how to fix them, you'll be better prepared to build a sturdy and beautiful console table. Remember, patience and careful work are your best tools.
FAQs About DIY Console Tables
Discover all you need to know about DIY console tables in this comprehensive FAQ guide. Find tips, ideas, and step-by-step instructions for your next project.
What materials do I need to build a DIY console table?
To build a console table, you'll typically need wood for the tabletop and legs, screws or nails, wood glue, sandpaper, a saw, a drill, and a measuring tape. You might also want paint or stain for finishing.
How do I ensure my console table is stable?
Make sure all legs are cut to the same length and check the joints are tight. Use a level to check the table is even. If it wobbles, adjust the legs until it's stable.
Can I customize the size of my console table?
Absolutely! Measure the space where you plan to place the table and adjust the dimensions of your design to fit perfectly.
What's the best way to finish my console table?
You can paint, stain, or varnish your console table. Sand the wood first for a smooth finish, and follow the product instructions for the best results.
How can I add storage to my console table?
Consider adding shelves beneath the tabletop or drawers for hidden storage. Plan these features into your design before you start building.
Closing Thoughts
Building this console table not only saved me money but also gave me a profound sense of accomplishment. By following each step carefully and making adjustments based on the materials I had, I ended up with a piece that fits my space perfectly. If you're on the fence about starting a DIY project like this, I encourage you to give it a try. With clear plans, the right materials, and a bit of patience, you can build something truly beautiful and unique for your home.


