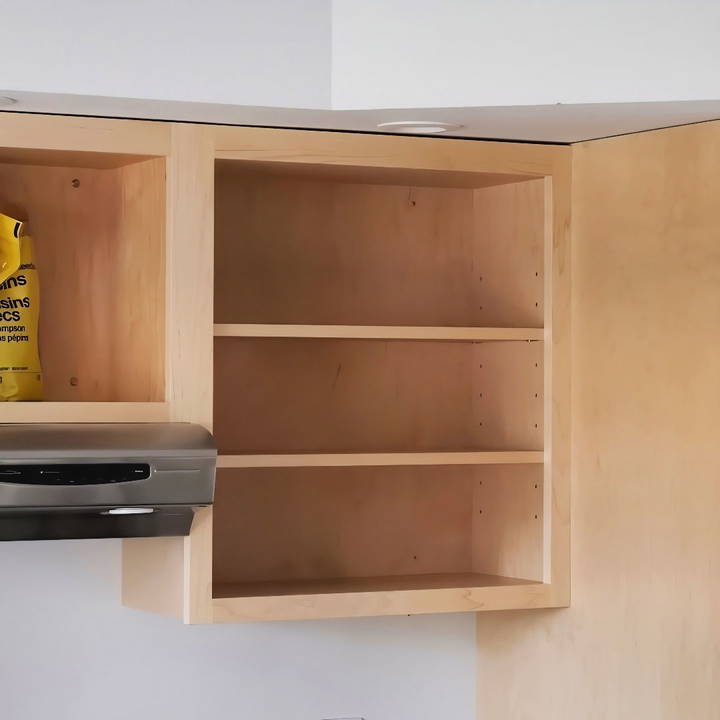
Building a DIY corner cabinet for your kitchen can seem like a daunting task, but with the right approach, tools, and materials, it becomes a manageable and rewarding project. In this guide, I'll walk you through the process of making your own corner cabinet, from cutting the plywood to the final installation. Whether you're a seasoned woodworker or a DIY enthusiast looking to improve your skills, this project is a great way to add a custom touch to your kitchen while improving storage and design.
Materials and Tools You Will Need
Before diving into the build, it's essential to have all the necessary tools and materials. Here's a list of what you will need:
Materials:
- 3/4-inch plywood sheet (preferably high-quality for durability)
- Solid maple lumber (or other hardwood) for the face frame
- Polyurethane construction adhesive
- 1 ¾-inch brad nails
- Sandpaper (220 grit)
- Water-based polyurethane for finishing
Tools:
- Circular saw (for breaking down large plywood sheets)
- Table saw (for precise cuts and bevels)
- Miter saw (for angled cuts)
- Thickness planer (for working with rough lumber)
- Clamps
- Electric planer (for fitting the cabinet perfectly to the countertop)
- Brad nailer
- Random orbit sander
- Measuring tape
- Pencil and straight edge
Step by Step Instructions
Learn how to build a DIY corner cabinet with easy, step-by-step instructions. From cutting plywood to final assembly, master every detail for a perfect finish!
Step 1: Cutting the Plywood for the Cabinet Body
The first step in constructing the corner cabinet is breaking down a 3/4-inch plywood sheet into the pieces you'll need for the cabinet body. This includes the side panels, back panels, and shelves. Start by cutting the larger sheet into more manageable pieces using a circular saw. Make sure your cuts are accurate to avoid any issues later in the assembly process.
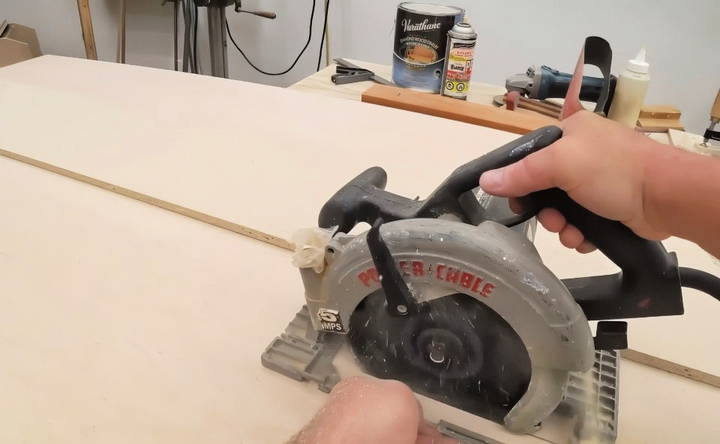
Tip: Bevel Cuts
For this particular corner cabinet, the side panels and back panels require 45-degree bevels. Adjust your table saw to the proper angle and make these cuts before moving on. A useful technique is to use a pre-cut strap at a 45-degree angle to ensure your measurements are accurate before cutting. This will allow for precise assembly later on.
It's important to cut all bevels at the same time to avoid changing the saw settings repeatedly.
Step 2: Sanding the Panels
Before assembling the cabinet, sand the inside surfaces of the plywood. This will remove any dirt or markings that may have occurred during the cutting process and ensure the veneer is smooth for finishing. Since the veneer on plywood is already relatively smooth, use a fine-grit sandpaper (220 grit) to clean up the surface without damaging the thin veneer.
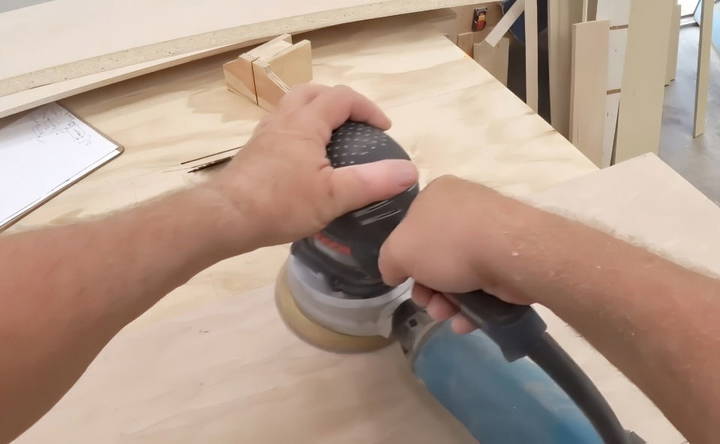
Tip: Sand Before Assembly
Sanding panels before assembly is crucial because it's much harder to reach certain areas after the cabinet is put together. Pay particular attention to areas that will be visible from inside the cabinet.
Step 3: Assembling the Cabinet Body
Once the pieces are sanded and ready, you can begin the assembly process. The back panels are attached to the side panels using polyurethane construction adhesive and brad nails. Position the back panel about 5/8 inch from the top of the side panels. This allows the face frame to sit flush with the top of the cabinet later on.
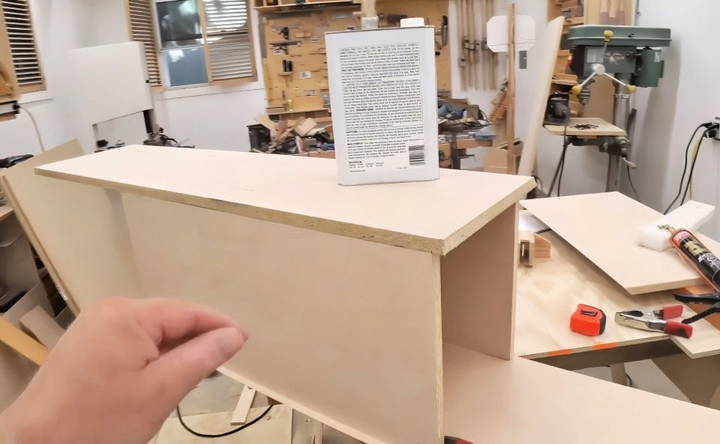
Procedure:
- Apply polyurethane construction adhesive to the edges of the side panels where they will meet the back panel.
- Use brad nails to hold the panels together while the adhesive sets.
- Clamp the assembly and allow it to dry for a few hours before proceeding to the next step.
Step 4: Making and Preparing the Face Frame
The face frame is made from solid maple lumber, which gives the cabinet a refined and professional look. Since you're working with rough lumber, it's necessary to mill the pieces to the appropriate size. Here's how to do it:
- Cut Oversize: Cut the rough lumber slightly larger than you need to account for any imperfections.
- Plane the Faces: Use a thickness planer to flatten the surfaces and ensure both faces are parallel.
- Square the Edges: To get square edges, you can either use a jointer or run the pieces through the table saw. If you don't have a jointer, the table saw will get close enough, and you can clean up the edges afterward with the planer.
To prevent snipe (a small indentation caused by planers), feed a sacrificial piece of wood through the planer before the final piece. This ensures that any snipe happens on the sacrificial board, not the maple you're using for the face frame.
Step 5: Cutting and Fitting the Shelves
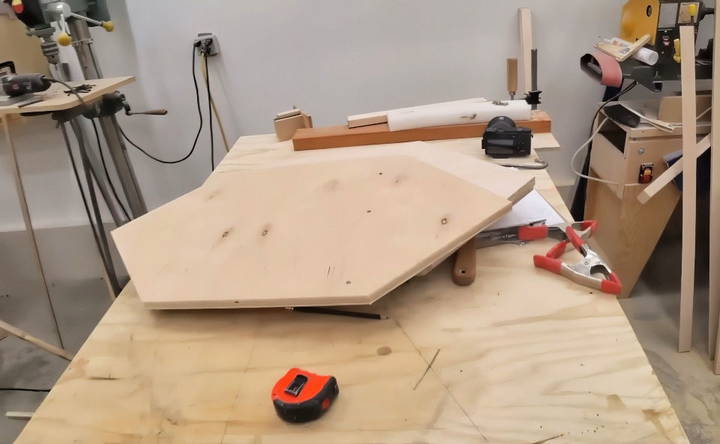
The shelves of the cabinet are also made from plywood and need to fit snugly within the frame. For this corner cabinet, the shelves have a diamond shape to match the cabinet's angled design.
Procedure:
- First Shelf as a Template: Start by cutting the first shelf and test-fitting it. Adjust as needed to ensure it fits perfectly.
- Use the Template: Once the first shelf fits correctly, use it as a template to cut the remaining shelves. This will save time and ensure consistency.
Each shelf should be sanded before installation, just like the rest of the panels.
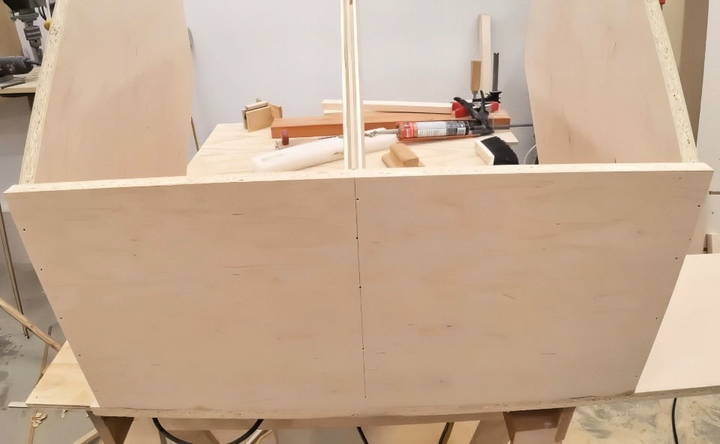
Step 6: Final Assembly of the Cabinet Body
With the panels and shelves prepared, you can proceed with the final assembly. Here's a step-by-step overview:
- Install the Bottom Shelf: Start by attaching the bottom shelf to one of the side panels using glue and brad nails. Be careful not to nail through the side panel, as this will leave visible holes that are difficult to hide.
- Middle Shelf: The middle shelf should be centered vertically. Make marks on the side panels to guide you and repeat the gluing and nailing process.
- Attach the Back Panel: Secure the beveled back panel in place using the same method of glue and nails. Run a bead of construction adhesive along the seam to ensure a strong connection.
Step 7: Installing the Face Frame
Now that the cabinet body is assembled, it's time to attach the face frame. Apply polyurethane construction adhesive along the front edge of the cabinet and use the minimum number of brad nails to hold the frame in place. Be strategic with the placement of your nails, making sure they are easy to hide later on.
Tip: Clamping for Precision
Use clamps to hold the face frame securely in place while the adhesive sets. This prevents movement and ensures a perfect alignment.
Step 8: Finishing the Cabinet
With the cabinet assembled, the next step is to apply the finish. For a sleek, professional look, use a water-based polyurethane finish. This type of finish dries quickly, is easy to apply, and offers excellent durability.
Steps for Finishing:
- Apply the first coat of water-based polyurethane and let it dry for about two hours.
- Lightly sand the surface between coats with 220 grit sandpaper to smooth any raised grain.
- Apply two more coats of polyurethane, sanding lightly between each coat for a smooth, flawless finish.
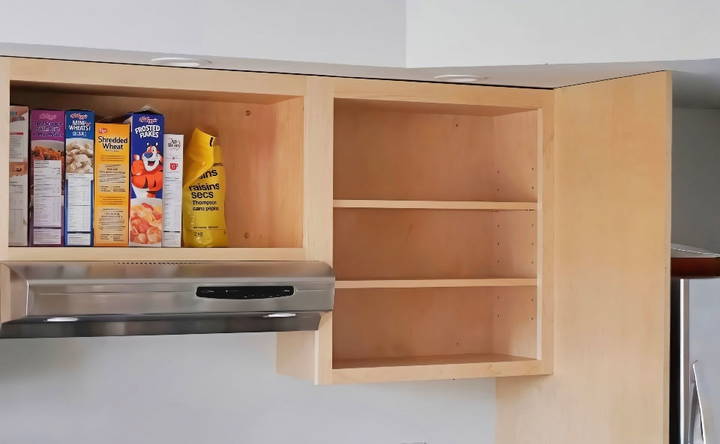
Step 9: Installing the Cabinet
Once the finish has dried, the final step is installing the cabinet in its designated corner. Here's how to install it properly:
- Fit to Countertop: Since the cabinet sits directly on the countertop, you'll need to scribe the bottom edge of the cabinet to match the contour of the countertop. Use a pencil to trace the outline and adjust it with an electric planer until the cabinet sits flush.
- Secure to the Wall: Once you're satisfied with the fit, drill pilot holes and use 2 ½-inch screws to secure the cabinet to the wall studs. Be sure to use enough screws to hold the weight of the cabinet, especially once it's filled with dishes or other items.
Final Thoughts
Building a DIY corner cabinet can seem like a complex project, but by breaking it down step-by-step, you'll find that it's not only manageable but also highly rewarding. From cutting the plywood to fitting the face frame, every part of this process allows for customization and personal touch. Plus, the satisfaction of installing a piece of furniture you built yourself in your kitchen is unbeatable.
Take your time, measure carefully, and enjoy the process of making a beautiful, functional corner cabinet.
FAQs for Building a DIY Corner Cabinet
Discover answers to your questions about building a DIY corner cabinet with our comprehensive FAQs guide. Get expert tips and step-by-step instructions today!
To ensure a perfect fit, scribe the bottom edge of the cabinet to match the countertop contour. Use a pencil to trace the outline and an electric planer to adjust the fit. You may need to take the cabinet down multiple times for adjustments.
If you don't have a jointer, use a table saw to cut the edges as close to square as possible. Afterward, you can run the edges through a thickness planer to smooth them.
To avoid snipe, use a sacrificial board. Feed this board through the planer first to eliminate the possibility of snipe on your workpiece. Another trick is to send a 2x4 alongside the main piece for additional protection.
Using 1/2-inch plywood is not recommended as it is too thin and will likely bow or twist over time. Stick with 3/4-inch plywood for better stability and longevity.
Polyurethane construction adhesive is ideal for cabinet assembly, especially for parts that might not be made of raw wood. It’s great for gap-filling and won’t drip as easily as wood glue during positioning.
Fixed shelves are simpler to build and generally more stable. Adjustable shelves require additional hardware and precise placement of shelf pins, which some find unnecessary as shelves are rarely adjusted once installed.
A water-based polyurethane is recommended for the finish. It dries quickly and doesn't have the yellowing effect of oil-based finishes, allowing the wood's natural color to shine through.
If the cabinet feels unstable, consider reinforcing it by adding support blocks at the back, such as 2x2 wood pieces. This will help distribute weight and prevent bowing.
While possible, making this cabinet without a table saw requires careful work with alternative tools like a circular saw and a miter saw. Precision is key, and using a straightedge guide can help maintain accuracy in cuts.


