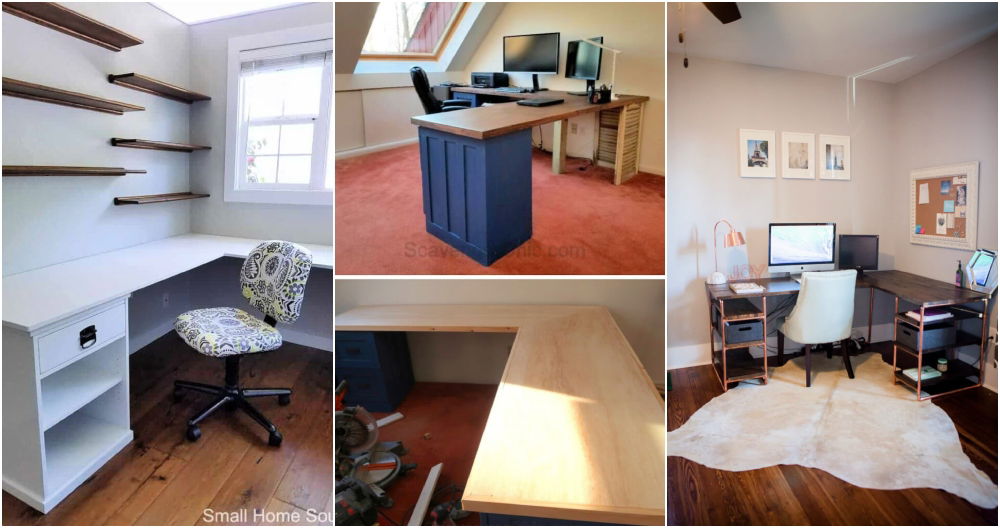
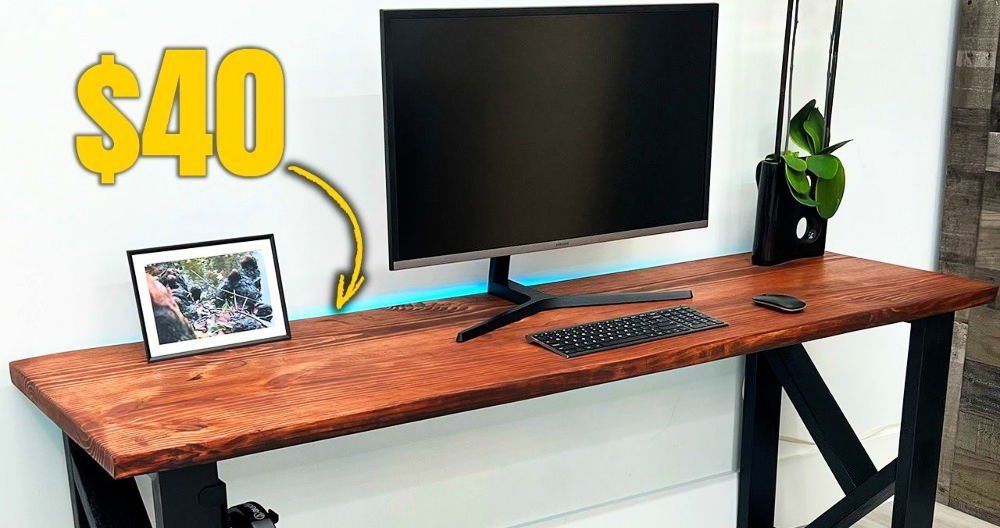
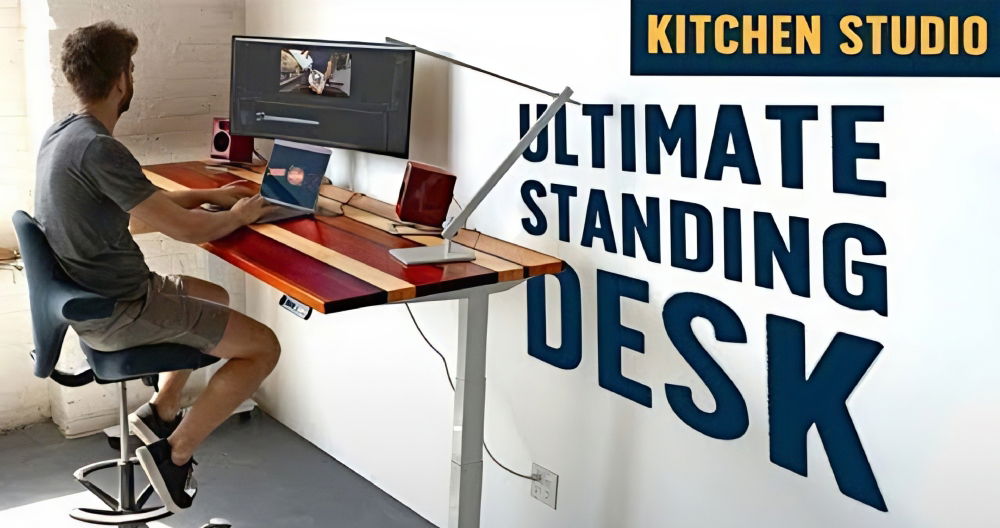
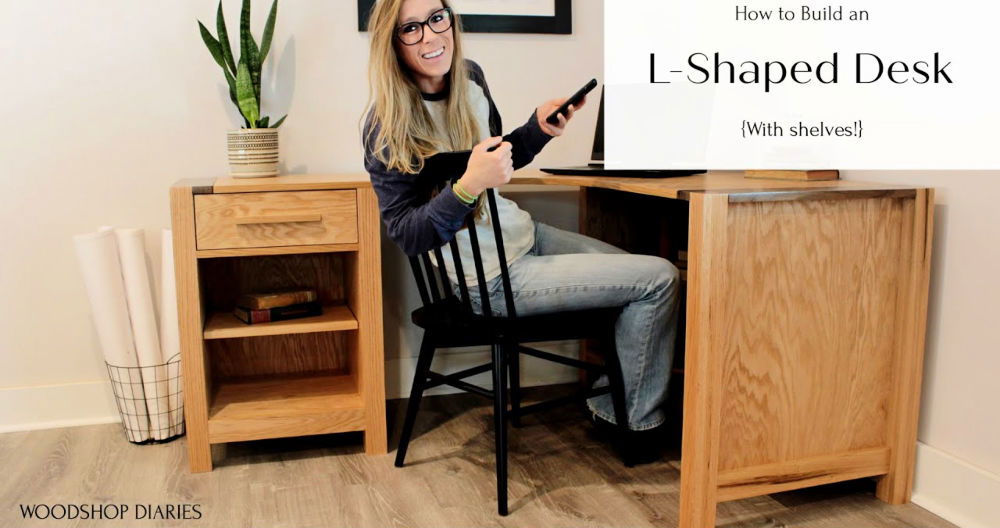
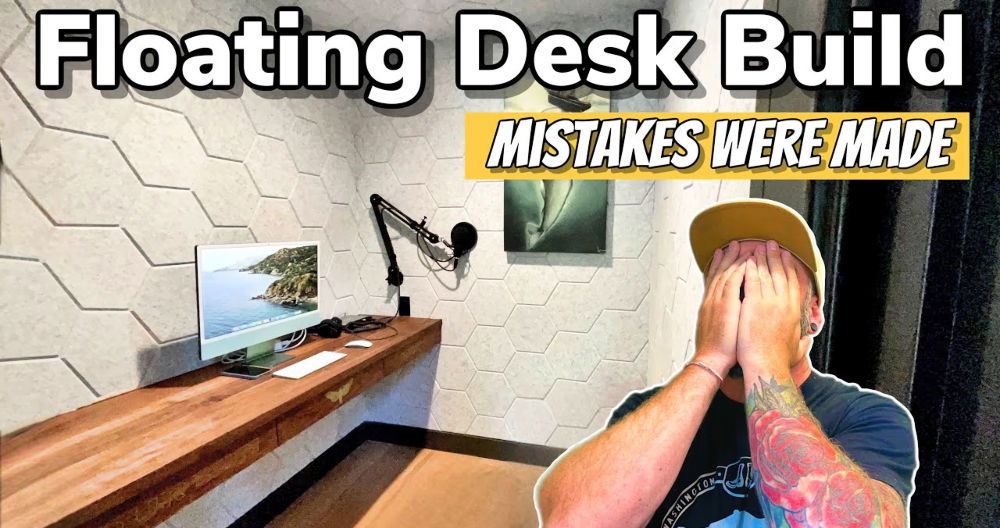
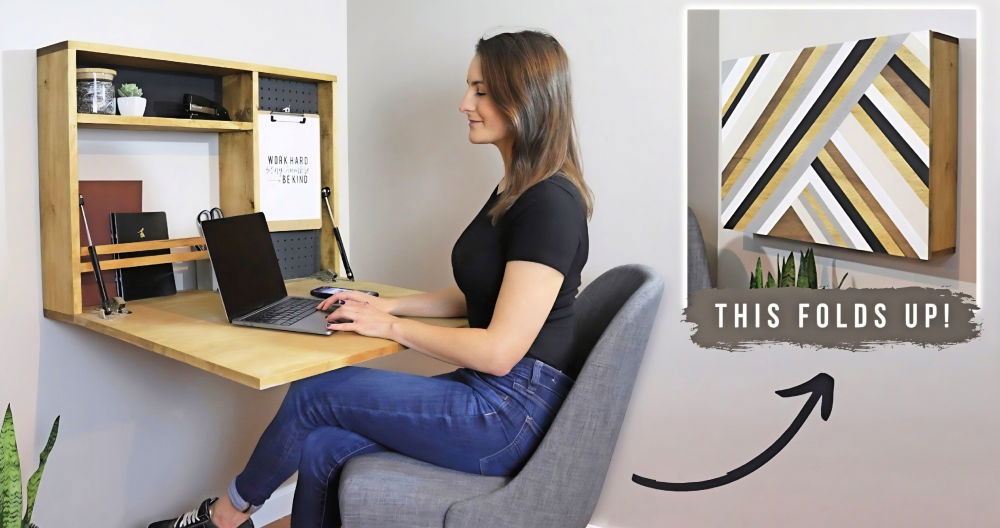
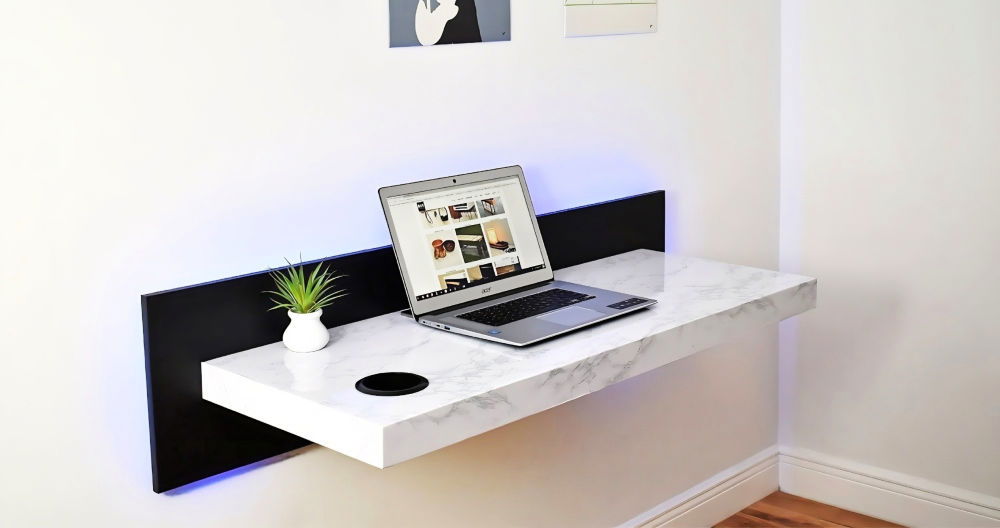
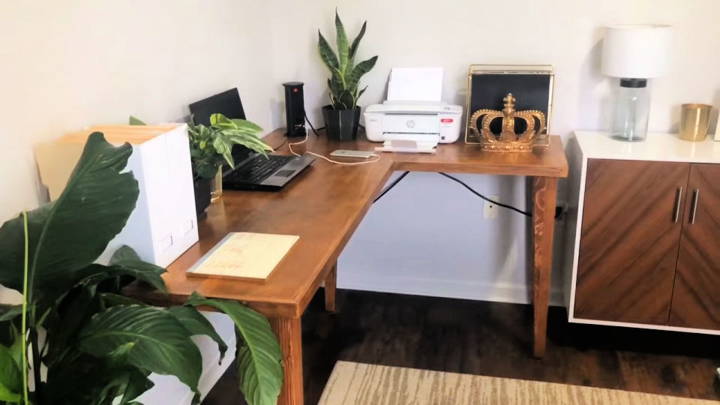
Building a DIY corner desk can be an exciting project. I remember needing a practical workspace but having limited room. The diy corner desk plans I found online were simple and easy to follow. Building the desk myself not only saved me money but also gave me a sense of satisfaction. It perfectly fits my small apartment, making my workspace more organized and efficient.
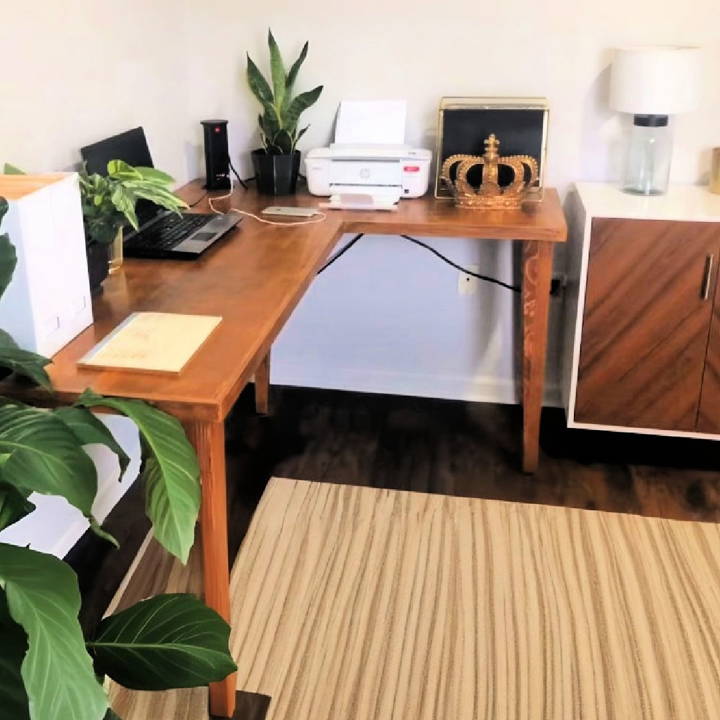
If you are struggling with space yet desperately need a dedicated workstation, a DIY corner desk could be your solution. My project turned out better than I expected, adding both functionality and a personal touch to my space.
Give it a try; the steps are straightforward, and the outcome can truly improve your small living area.
Materials Needed and Their Importance
- Eight-foot-long 2x4s - These served as the primary material for the desk legs, chosen for their durability and affordability.
- Three-quarter-inch plywood - A sturdy choice for the desk surface, providing a solid workspace.
- Wood glue & clamps - Essential for bonding 2x4s and ensuring a strong, seamless leg structure.
- Adjustable feet - Given our uneven floor, these were crucial for ensuring the desk was level.
- Pocket hole screws - These facilitated the assembly of the desk frame and attachment of the legs.
- Jigsaw & Circular saw - Necessary for the precise cutting of both the legs and the plywood top.
- Router & Template bit - Used for making a perfect hole for the pop-up power strip.
- Pop-up power strip - Added for convenient access to power outlets and USB ports right on the desk surface.
- Stain & Polyurethane - Chosen to give the desk a finished look and protect the wood.
Step by Step Instructions
Build your own stylish work area with our step by step instructions on DIY corner desk. Easy-to-follow guide for a perfect custom desk project.
Designing and Preparing the Legs
After drafting a rough design and taking measurements of our space, we decided our desk would feature tapered legs for a sleek, modern look. Laminating two 2x4s together with wood glue and letting them sit overnight was our first step. The next day, we milled the glued pairs into square posts and introduced a taper using a makeshift sled setup with our circular saw. The adjustable feet were added by drilling holes at the bottom, ensuring our desk would stand stable on the uneven floor.
Constructing the Desk Surface
Cutting the plywood to size was our next challenge. Flipping the plywood with the 'good side' down minimized tear-out when using the circular saw. We kept the design simple but opted for a popup power strip for added functionality, which required precise cutting with a router to fit it seamlessly.
Assembling the Frame and Top
To hold everything together, we cut additional strips from our plywood sheet to build a frame, securing them with pocket hole screws. This frame would support the plywood top and give extra rigidity to the desk. Gluing the surface onto the frame was nerve-wracking; ensuring it was perfectly aligned before the glue set required patience and precision.
Adding the Finishing Touches
The edge banding process involved cutting thin strips of plywood to glue around the edges of the desktop, giving it a thicker, more polished appearance. We carefully selected and stained the wood, followed by several coats of polyurethane for a durable, glossy finish. Attaching the legs was straightforward with the pocket holes we had pre-drilled, and adjustable feet enabled us to achieve a perfectly level surface on our first try.
Key Insights and Recommendations
- Patience is Key: At each step, take your time for measuring, cutting, and assembling. Mistakes often stem from rushing.
- Proper Tools Make a Difference: Investing in or borrowing the right tools can significantly impact the ease of the project and the final product's quality.
- Test on Scrap Pieces: Before cutting or drilling into your main pieces, practice or test on scraps. This saved us from making irreversible mistakes on our desktop.
- Personalization: Tailor the desk to your needs and tastes, from the dimensions to the finish. This not only makes the project more enjoyable but also ensures the final product will be something you're proud to use.
Customization Ideas for Your DIY Corner Desk
When it comes to making a DIY corner desk, customization is key to ensuring that the final product suits your personal style and meets your specific needs. Here are some ideas to inspire you:
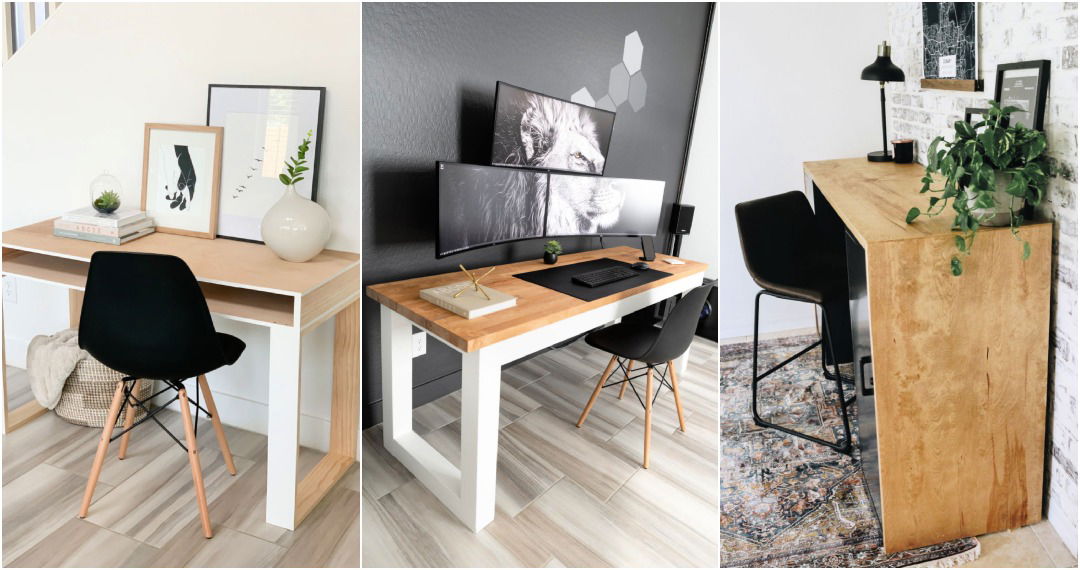
- Choose Your Style: Start by deciding on the overall look you want for your desk. Do you prefer a modern, minimalist design, or are you more inclined towards a rustic, industrial vibe? Select materials and finishes that reflect your chosen aesthetic.
- Add a Personal Touch: Incorporate elements that are uniquely you. This could be a signature color, a pattern you love, or hardware like drawer pulls and knobs that express your personality.
- Functional Features: Think about what functions your desk needs to serve. If you're a gamer, you might want built-in holders for your controllers. For artists, a tilting section for drawing or painting could be incredibly useful.
- Ergonomic Adjustments: Make sure your desk is comfortable to use. Adjustable legs can help you build the perfect height, and a keyboard tray might improve your typing posture.
- Tech-Friendly Design: In our digital age, a desk must accommodate technology. Consider adding built-in USB ports, cable management systems, or a monitor stand to keep your workspace tidy and organized.
- Maximize Storage: Utilize every inch of space by adding shelves, drawers, or hooks under the desk or along the sides. This will help keep your workspace clutter-free.
- Lighting: Good lighting is crucial. To ensure your workspace is well-lit, you can add a built-in lamp or LED strips under the shelves.
- Greenery and Decor: Don't forget to leave space for plants or decorative items that make the space feel welcoming and inspire creativity.
By considering these customization ideas, you can build a corner desk that not only looks great but also enhances your productivity and comfort.
Ergonomics and Comfort
Building an ergonomic and comfortable DIY corner desk is essential for maintaining good posture and preventing strain during long hours of work. Here's how you can ensure your corner desk is both ergonomic and comfortable:
- Desk Height: The ideal desk height is generally around 28 to 30 inches (71 to 76 cm) from the floor to the top of the desk. However, this can vary based on your height. To find your perfect height, sit down and bend your arms at a 90-degree angle; your hands should rest comfortably on the desk surface.
- Chair Selection: Choose a chair that supports your spine's natural curve. Your feet should rest flat on the floor, with your knees at a 90-degree angle. An adjustable chair can help you achieve this position.
- Monitor Placement: Position your monitor so that the top of the screen is at or slightly below eye level. To prevent eye strain, the monitor should be about an arm's length away.
- Keyboard and Mouse: Place your keyboard and mouse within easy reach and on the same surface. Your wrists should be straight and your hands at or slightly below elbow level.
- Leg Room: Ensure there's ample space under the desk for your legs to move freely. Avoid cluttering the space with storage or equipment that can restrict your movement.
- Lighting: Good lighting is crucial. Position the desk to take advantage of natural light, and add a task light if needed to avoid glare on the screen.
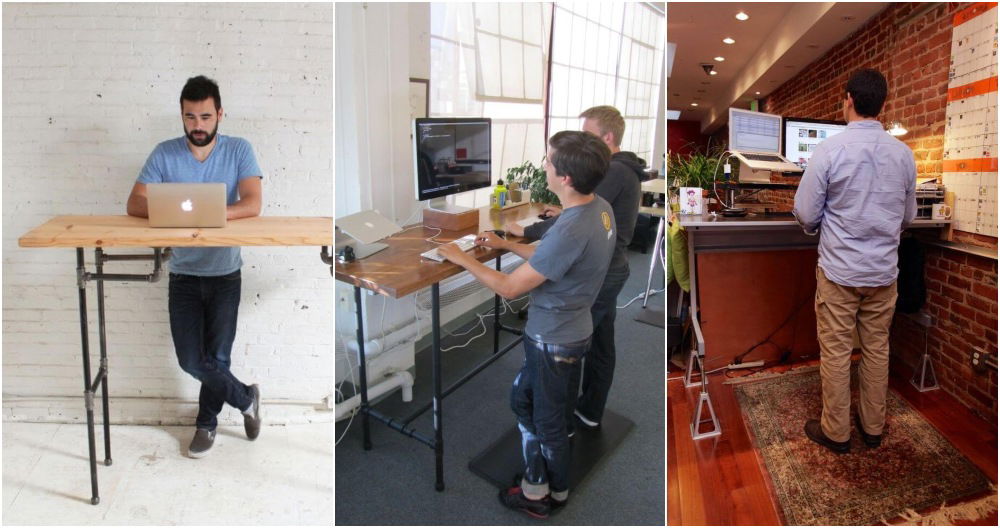
- Rest and Movement: Incorporate elements like a footrest or a standing desk converter to encourage movement and rest. Taking regular breaks to stand or walk can also help reduce fatigue.
Follow ergonomic principles to design a corner desk that looks good and supports your health.
Tech Integration
Incorporating technology into your DIY corner desk design can greatly enhance its functionality and efficiency. Here's how to do it:
- Cable Management: Keep cables organized with built-in cable ducts or clips. This will help prevent tangling and make it easier to clean around your desk.
- Power Supply: Install power strips or USB charging ports within the desk to keep all your devices charged and ready to use without cluttering your workspace with cables.
- Monitor Arms: Use adjustable monitor arms to save space on your desk surface and position your screens at the perfect angle and height for comfortable viewing.
- Wireless Accessories: Opt for wireless keyboards, mice, and headphones to reduce cable clutter and give you more freedom of movement.
- Smart Desk Features: Consider adding smart features like Bluetooth speakers or LED lighting that you can control from your phone for a high-tech, modern desk setup.
Space Optimization
Making the most of your available space is crucial, especially in smaller rooms. Here are some tips for optimizing space with your corner desk:
- Vertical Storage: Use the vertical space above and around your desk for shelves or cabinets. This keeps essential items within reach without taking up desk space.
- Under-Desk Solutions: Install drawers or a CPU holder under the desk to utilize this often-wasted space.
- Floating Desk: If floor space is limited, consider a floating desk design that attaches to the wall, freeing up the area underneath for other uses.
- Foldable Features: Add parts that can be folded away when not in use, such as a retractable keyboard tray or a fold-down desk extension.
- Corner Shelves: Utilize the corner space with custom shelves that fit perfectly and provide extra storage or display areas.
Troubleshooting Common Issues
When embarking on a DIY corner desk project, you might encounter a few hiccups along the way. Here's a guide to troubleshooting some common issues:
- Stability Concerns: If your desk wobbles, check all joints and connections. Tighten any loose screws and ensure that the desk is level. Adding triangular brackets at the corners can also increase stability.
- Wood Splitting: When working with wood, drill pilot holes to prevent splitting. Choose the correct screw size, and if you're still having trouble, try using wood glue for additional support.
- Uneven Surfaces: If your desk surface isn't even, sand down the high spots. Use a level to check your progress. For larger discrepancies, you may need to plane the wood or add shims under the legs.
- Drawer Malfunctions: Drawers that don't slide smoothly can be frustrating. Check the alignment of the slides and make adjustments as needed. Lubricating the slides can also improve movement.
- Finish Flaws: When staining or painting, always start with a clean, sanded surface. Apply thin, even coats, and allow ample drying time between layers. If drips or streaks occur, sand lightly and reapply the finish.
- Hardware Issues: If knobs or pulls are loose, it may be due to stripped screws. Replace them with larger screws or use a wood filler to secure the existing ones.
- Lack of Space: If you find that your desk doesn't have enough room, consider adding extensions that can fold down when not in use or utilize vertical space with shelves.
Anticipate common issues and know how to address them to be better prepared for DIY challenges. Patience and careful planning are your best tools.
FAQs About DIY Corner Desk
Discover answers to common questions about DIY corner desks, including materials, tools, design tips, and assembly instructions.
You can customize your corner desk by adjusting the dimensions of the plywood and boards to fit the corner where you plan to place it. You can also add shelving, drawers, or cable management features to suit your needs.
Yes, building a corner desk can be suitable for beginners. There are many plans available that cater to different skill levels, from simple designs that involve basic cutting and assembly to more complex projects with multiple components.
Absolutely! To build an eco-friendly corner desk, consider using sustainable materials like reclaimed wood. You can also minimize waste by accurately measuring and planning your cuts, and by repurposing any offcuts for other projects.
To ensure stability, make sure all joints are securely fastened with screws and wood glue. Use a level to check that the desk is even before final assembly. For added strength, consider adding corner brackets or additional support beams under the desk.
For a professional finish, sand the desk thoroughly to remove any rough spots. Apply a primer if you're planning to paint, or a stain if you prefer a natural wood look. Finish with a clear sealant to protect the wood from moisture and wear.
Conclusion
Wrapping up, making a DIY corner desk for small spaces can be both fun and rewarding. This DIY project not only helps you save space but also gives a personal touch to your workspace. Remember, customization is key to fit your specific needs. With the right materials and enthusiasm, your new DIY corner desk will perfectly suit your small space. Happy building!


