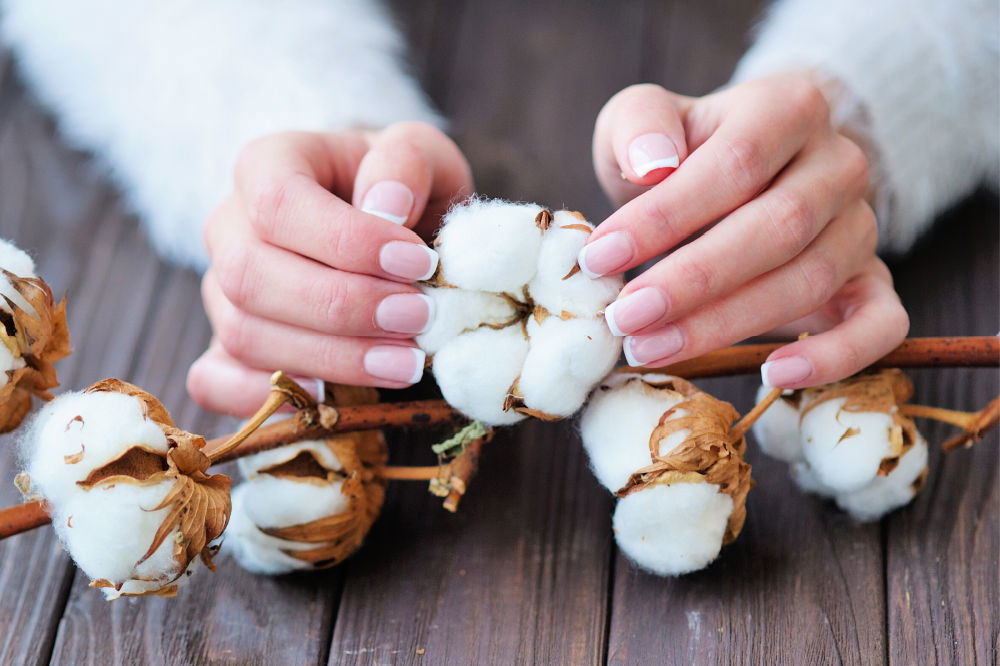
Although they’re not a popular choice for many, cotton stems are the perfect addition to bouquets. They may not be as colorful as the rest of the flowers, but cotton stems have a very long life expectancy, even with minimal care. They’re also an excellent decoration for offices on their own since cotton stems can survive in that kind of condition.
The beauty of cotton stems is that they can add a rustic charm to your interior décor, especially during the fall season. However, cotton stems can also be a little pricey most of the time. It would also be a bit impractical if you buy something for decoration, only to take it out after a few weeks.
So, instead of buying the real cotton stems, which are costly, why not make your own DIY Cotton stems instead? The steps are very easy to ensure they last. Plus, it’s way more affordable than buying the real thing.

Here are steps in making your own DIY Cotton Stems.
1) Gather the necessary materials
Here are the things you should prepare before creating your DIY cotton stems:
- Scissors
- Cotton balls
- Tree branches (if you’re going for a rustic look)
- Paper wire stems (alternative for tree branches)
- Hot glue gun
- Hot glue sticks
- Pinecones or a bag of potpourri
If you already have all these materials around your house, that’s great news! It means you get to make your own cotton stem for free. The next step shall be assembling these materials together.
2) Create plenty of cotton bolls
First, take at least three to four cotton balls. Use your hot glue gun to attach them to each other. It’s best if you glue 4 cotton balls together to really mimic the real one. Create as many cotton bolls as you can. You can create them in different sizes, too.
3) Prepare the tree branch
You can skip this step if you prefer to use paper wire stems as they don’t need much preparation. However, if you want to use real tree branches, there are a few preparations required to make it suitable for your cotton stems. You can trim a few branches off from a peach tree or any other tree with more limbs branching out. The more branches it has, the more cotton bolls you’re going to need.
Then, cut a tree branch according to your desired length. The length would depend on how you’d use it. If you’re planning to create a cotton stems bouquet, you’re going to need it at around 15-25 inches long. If you’re planning to make a cotton stem wreath, you’d only need 6 inches. Keep in mind that cutting more length than what is required is better than cutting it too short.
Hang the freshly cut branches upside down and let them dry for a week. If you prefer hanging it longer, then go ahead since there are no side effects with over-drying it. If you see the leaves have died and dried down, they’re already dry enough.
If your cut stems have too many branches, you can simply break them off. As for the leaves, you can choose to keep or remove them as well. Leaves also add a rustic touch to your cotton stem. However, most common stems have all the leaves removed, so it’s all up to you.

4) Attach the cotton bolls to the branches
Apply a small amount of glue in the bottom and middle part of the cotton bolls you made earlier. Then, attached them to the branches. Be careful on this step as there’s a tendency that the hot glue could seep through the cotton and burn your hands. You can wear gloves for safety purposes.
There are no rules on how many cotton bolls you must put in your branches. You can glue two cotton bolls in one branch or just one each. If you think the stem still looks a bit bare, add extra cotton bolls to it or the branches’ middle part. It may look weird at first, but once you collect all the stems as a bunch, they would look good all together.
5) Pull the pine cone pieces and glue them with the cotton bolls
Pull the pine cone pieces as you’ll use them as the “boll” of your cotton stem. If you’re not using pine cones, you can also use a bag of potpourri. Both are doable and can add a realistic look to your cotton stem.
Take four pieces of pine cones (or potpourri) and glue them in the bottom part of the cotton attached to the branch. Repeat this step with the rest of the cotton attached until you have filled each one with its own “bolls.”
6) Polish and seal
This is the last step for your DIY cotton stem. Polish the look of the cotton by checking if there are any unnecessary debris sticking to your cottons. Make sure each cotton boll is in a clean state. Your cotton bolls are the eye-catchers in the stem, so they have to be in their best look. To preserve your finished cotton stems, spray them with a clear acrylic spray to effectively seal all the pieces.
Wrapping Up
There you have it! Now you have your own DIY cotton stem to display in your living room or office. Not much dime was spent on this; only a little effort and creativity were needed. You can now go ahead and choose the best vase that would make your cotton stems stand out.

