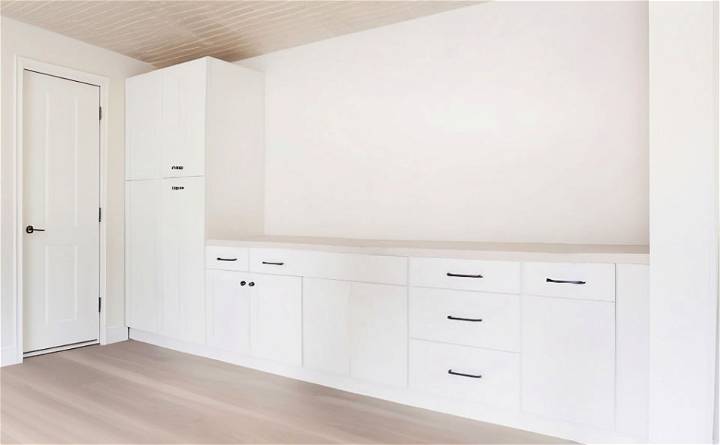
As I embarked on the journey of transforming my drab workshop into a more appealing space, I stumbled upon a challenge that tested both my creativity and budgeting skills. The need for a new, long countertop was evident, but the quotes I received left me dismayed. So, I decided to take matters into my own hands. Here's a detailed account of how I tackled this project, making a beautiful, $56 countertop from scratch.
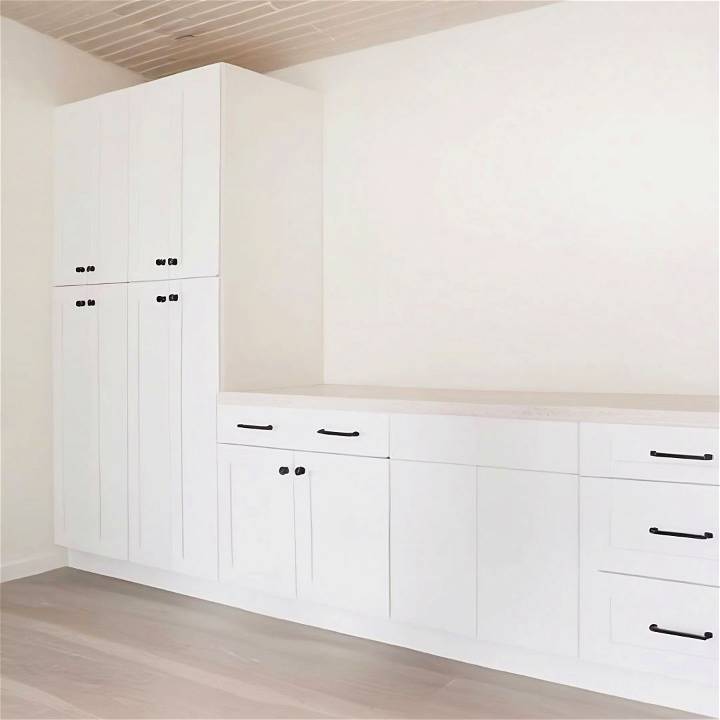
Gathering the Materials
My initial research pointed me towards using 2x10 pine boards due to their affordability and aesthetic appeal. I needed:
- 2x10 Pine Boards: I chose these for their cost-effectiveness and for the beautiful knots and grain that add character.
- Wood Glue & Pocket Screws: Essential for assembling the boards securely.
- Sander: A portable belt sander and an orbital hand sander were key to achieving a smooth, flat surface.
- Wood Filler: To fill any small gaps and ensure a seamless appearance.
- Whitewash & Polyurethane: For finishing and protecting the countertop.
- Tools: Including a circular saw, jigsaw, router, and clamps.
Each material played a crucial role in either building or finishing the countertop, making no component superfluous.
Step by Step Instructions
Making beautiful DIY countertops with our step-by-step instructions. Learn how to prepare, arrange, assemble, sand, and install your custom countertops today!
Step 1: Preparing the Boards
The first step involved evening out the thickness of the boards with a plane. While I acknowledge not everyone owns a planer, its use greatly reduced the amount of sanding required later. Next, I used a table saw to trim the boards to the desired width, ensuring each edge was smooth and square.
Step 2: Arranging and Drilling
After cutting the boards to rough lengths, I laid them out, deciding the placement based on the aesthetics of the wood grain and knots. Drilling pocket holes with my trusty Craig jig prepared them for assembly. This jig was a godsend, ensuring the holes were at the perfect depth.
Step 3: Assembling the Countertop
Using wood glue and pocket screws, I started bonding the boards lengthwise. The assembly was straightforward but required precision to maintain alignment and flatness. Clamps became my best friends during this process, holding everything tight as the glue cured.
Step 4: Sanding and Filling
Once the glue had set, it was time for sanding. Starting with a belt sander and progressively moving to an orbital sander for finer grits allowed me to achieve a smooth, even surface. Wood filler came in handy to address any minor crevices, ensuring a seamless appearance.
Step 5: Final Touches and Installation
After sanding, I trimmed the countertop to its final dimensions and used a router to round off the edges - this added a subtly refined touch. Installing the countertop was surprisingly smooth; it was a perfect fit! To attach it securely to the cabinets, I drilled screws up into the blocking from underneath, providing sturdy support without being visible.
Finishing the Countertop
Opting for a whitewash finish complemented the natural beauty of the pine while keeping the space bright and welcoming. After applying and wiping off the whitewash, I sealed the countertop with three coats of polyurethane, sanding between each coat for the best finish. This not only enhanced the look but also provided durability and water resistance.
Reflections on the Project
Ultimately, this DIY endeavor not only saved me hundreds of dollars but also instilled a sense of pride and personal achievement. Navigating the complexities of this project taught me invaluable lessons in woodworking and patience. My advice for anyone considering a similar project is to plan meticulously, never underestimate the power of sanding, and, most importantly, embrace any imperfections as part of your countertop's unique story.
Maintenance and Care Tips for DIY Countertops
Maintaining your DIY countertops is crucial to ensure they remain beautiful and functional over time. Here's a guide to help you take care of your countertops effectively:
Routine Cleaning
- Daily Cleaning: Wipe your countertops with a soft cloth or sponge and a mild detergent. For natural stone countertops, use a cleaner specifically designed for stone to avoid damaging the surface.
- Spills: Clean spills immediately to prevent staining, especially on porous materials like wood or marble. Use a blotting action rather than wiping to avoid spreading the spill.
Preventing Damage
- Use Trivets and Cutting Boards: Always use trivets under hot pots and pans to prevent heat damage. Cutting directly on the countertop can scratch the surface, so use cutting boards.
- Avoid Harsh Chemicals: Strong acids and bases can etch or discolor the countertop surface. Avoid using cleaners with bleach, ammonia, or vinegar on sensitive materials.
Dealing with Stains and Scratches
- Stains: For stubborn stains, use a paste of baking soda and water for natural stone, or a mild abrasive cleaner for laminate surfaces. Apply the paste, cover with plastic wrap, and leave overnight before rinsing.
- Scratches: Minor scratches can be buffed out with a non-abrasive pad. For deeper scratches in laminate, a repair kit can be used. For natural stone, it may be best to consult a professional.
Long-Term Care
- Sealing: Materials like granite and marble should be sealed periodically to protect against stains. Follow the manufacturer's recommendations for sealing frequency.
- Refinishing: Wood countertops can be sanded and re-oiled or resealed as needed to remove wear and restore the finish.
Professional Help
- Consult Experts: If you're unsure about how to treat a particular problem, consult a professional. They can provide advice specific to your countertop material.
By following maintenance tips, keep DIY countertops in top condition for years. Remember, regular care is key. Keep countertops clean, protected, and enjoy your DIY labor!
FAQs About DIY Countertops
When embarking on a DIY countertop project, you may have several questions. Here's a comprehensive FAQ section that addresses common queries in plain language:
What is the most durable material for DIY countertops?
The most durable materials are typically granite and quartz. They resist scratches, heat, and stains well. However, they can be more challenging to work with due to their weight and the need for special tools.
Can I install a DIY countertop over the existing laminate?
Yes, you can often install new materials like tile or thin concrete over existing laminate countertops. Ensure the surface is clean, level, and secure before starting.
How do I maintain the finish on wood countertops?
To maintain wood countertops, apply a food-safe oil or sealer regularly. This will prevent water damage and keep the wood looking fresh.
What's the best way to clean countertops without damaging them?
Use a soft cloth and a mild detergent or a cleaner specific to your countertop material. Avoid abrasive pads and harsh chemicals.
How often should I seal natural stone countertops?
Seal natural stone countertops once a year or as recommended by the manufacturer. This helps prevent stains and prolongs the life of the countertops.
Can I repair chips or cracks in my countertops?
Yes, most chips or cracks can be repaired:
- Laminate: Use a repair paste or kit.
- Stone: Epoxy kits are available for small repairs.
- Wood: Sand and reseal the affected area.
For large damages, consult a professional.
Are DIY countertops cost-effective?
DIY countertops can be cost-effective, especially if you choose materials wisely and do the installation yourself. Compare the costs of materials and consider the value of your time when deciding.
By providing clear answers to these frequently asked questions, you can help your readers feel more confident and informed as they tackle their DIY countertop projects. Remember, the goal is to be helpful and to make content that puts the reader's needs first.
Conclusion:
Wrapping up the article, it's clear that DIY countertops can transform your space on a budget. With endless possibilities and creative freedom, DIY countertops allow you to customize your home with style and functionality.


