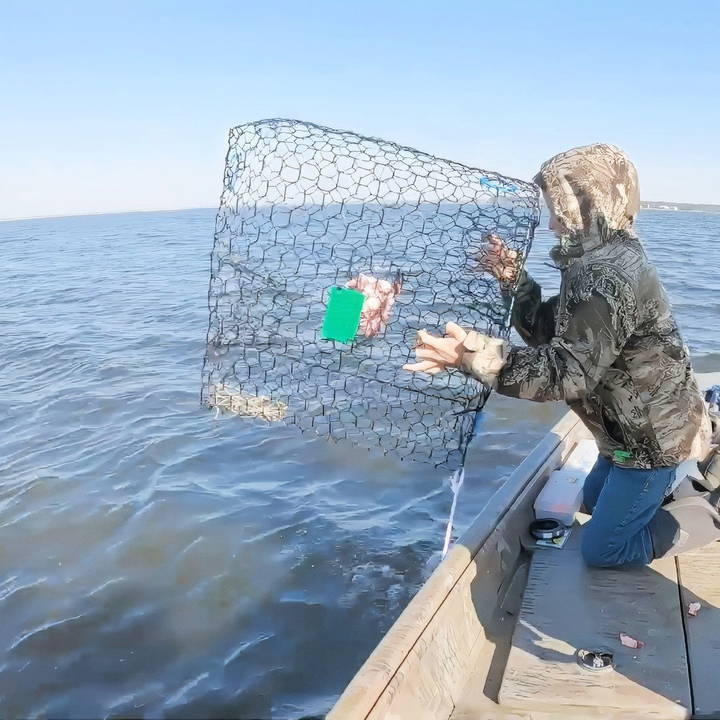
Building your own crab traps can be a rewarding and cost-effective project. Store-bought crab traps can be expensive, but making them at home allows you to make them at a fraction of the cost while tailoring the design to your needs. In this guide, you'll learn every step involved in making a DIY crab trap for recreational crabbing, especially suited for Florida. We'll cover the materials, construction process, regulations, and tips to ensure your traps are both effective and compliant.
Why Make Your Own Crab Trap?
Purchasing pre-made crab traps can quickly add up in cost, especially if you need multiple traps. By making them yourself, you can save a substantial amount of money, particularly if you're using affordable materials. Plus, DIY crab traps can be customized to the exact specifications that you prefer, which can lead to better trapping results.
For example, with a modest investment in supplies, you could build around 15 traps for about $250. This is significantly cheaper than buying individual traps at $50 or more each. DIY traps are durable, effective, and perfect for recreational crabbing.
Materials Needed for DIY Crab Traps
To get started, gather the following materials:
- Coated Hex Wire (Poultry Wire): This is essential for the trap body. A 150-foot roll costs around $125 and should be enough for multiple traps.
- Plastic Escape Rings: You'll need three rings per trap for crab escape routes. These cost about $10.
- Hog Rings: These small metal fasteners help hold the trap together. A one-pound bag of 3/8-inch rings should be sufficient and costs about $3.25.
- Trap Hooks: These are used to secure the trap door. Expect to spend around $5.50 on these.
- Bungee Cord: Approximately 1.5 feet per trap for securing the trap entry. The total cost for enough cord is about $52.50.
- Floats and Rope: Each trap needs a float marked with an “R” for recreation, totaling around $92.50 for multiple traps.
Step by Step Instructions
Learn how to make your own crab trap with step-by-step instructions. Follow Florida regulations and tips for successful, safe crabbing.
1. Cut the Trap Body and Components
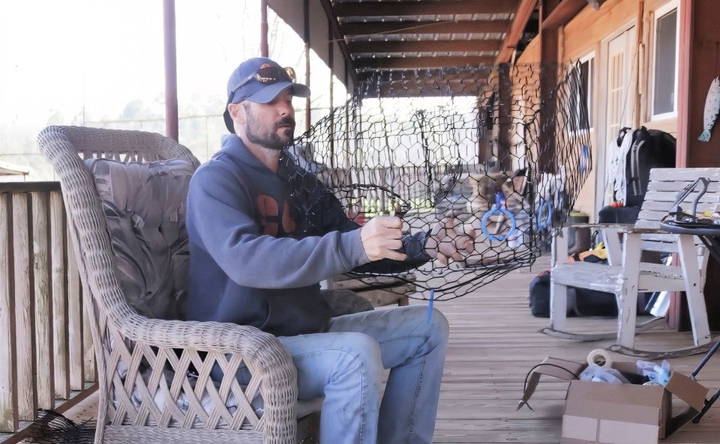
Each trap will need two pieces of hex wire, each four feet long. To ensure accuracy, count 15 hexagons along the wire as you cut. This will help you maintain consistent sizing across all traps.
- Sides of Trap: Cut two four-foot sections. These will form the trap's sides.
- Funnels: Cut two smaller pieces, each with two hexagon rows, for the funnel sections that direct crabs into the trap.
- Bait Box: For the bait box, cut a piece four hexagons tall and one foot wide, which can then be split in half to make two boxes.
2. Assemble the Trap Body
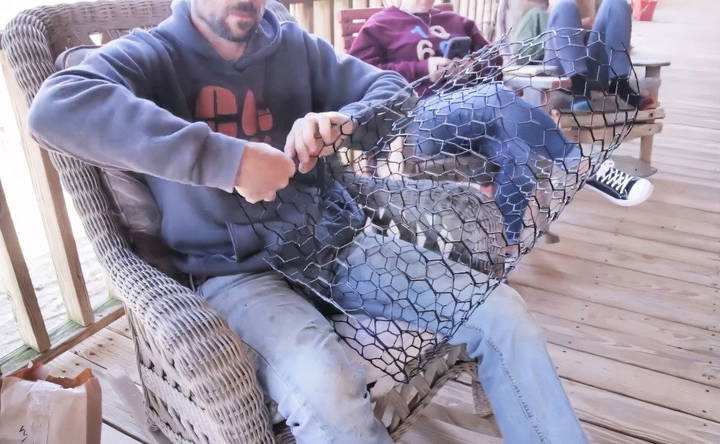
- Making the Bait Box: Fold the four-by-one-foot section to form a rectangular bait box. Secure the edges with hog rings to make a box that can be fastened inside the trap.
- Making the Funnels: Shape the smaller pieces into funnel-like entrances that taper towards the trap center. Attach them to the body of the trap using hog rings.
- Adding Stiffening Wire: This optional step involves adding a stiffening wire to one edge to reinforce the trap opening. This is especially useful for the part of the trap that will be opened and closed frequently.
3. Attach the Trap Components
Once the main body of the trap is assembled, add each component carefully:
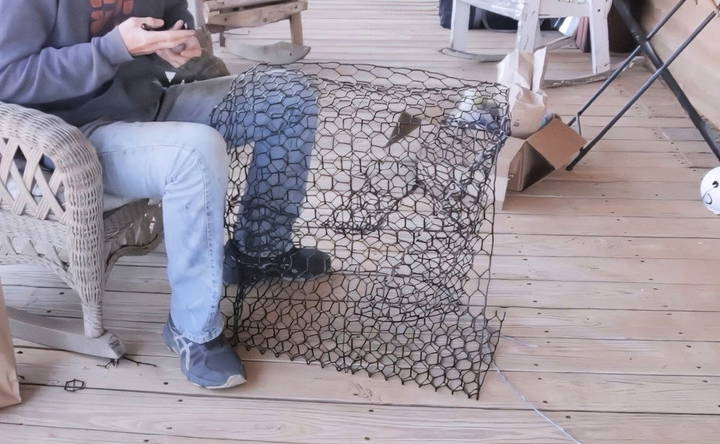
- Bait Box Placement: Place the bait box at the bottom of the trap, with a small hexagon removed to allow bait placement. The water pressure keeps the bait secure inside the box.
- Funnels: Position the funnels at each end of the trap. Ensure that they are securely fastened and angled inwards to prevent crabs from escaping.
- Trap Closure: Use a bungee cord and trap hook to make a closure on the trap door. This makes it easy to open the trap for retrieving crabs without disturbing the overall structure.
Adding Legal Requirements: Escape Rings and Degradable Windows
Each crab trap must include escape rings and a biodegradable window to meet regulations in Florida.
- Escape Rings: Florida regulations require three plastic escape rings per trap with a minimum diameter of 2 3/8 inches. Position these rings on the sides of the trap to allow undersized crabs to escape easily.
- Degradable Window: A section of the trap should be rigged with jute or similar material, making a degradable window. This ensures that if the trap is lost, the jute will eventually degrade, preventing the trap from continually capturing and killing crabs.
Florida Regulations for Recreational Crab Trapping
When crabbing in Florida, it's crucial to adhere to local regulations to avoid fines and ensure sustainable practices. Here's a summary of the key requirements:
- License Requirements: Each individual must have a saltwater fishing license with a Blue Crab Trap add-on. This license can be obtained from the Florida Wildlife Commission (FWC) website and includes a unique trap ID number.
- Trap Marking: Recreational traps must be clearly labeled with your name, address, and the FWC-issued trap ID number.
- Float Requirements: Attach a buoy to each trap with a minimum six-inch diameter, clearly marked with an “R” to signify it's for recreational use.
- Trap Limits: Each individual may set up to five traps for recreational crabbing.
- Regulations Check: Always check the FWC website for any updates, as regulations may change.
Tips for Successful Crabbing with Your DIY Trap
To make the most of your crab traps, follow these best practices:
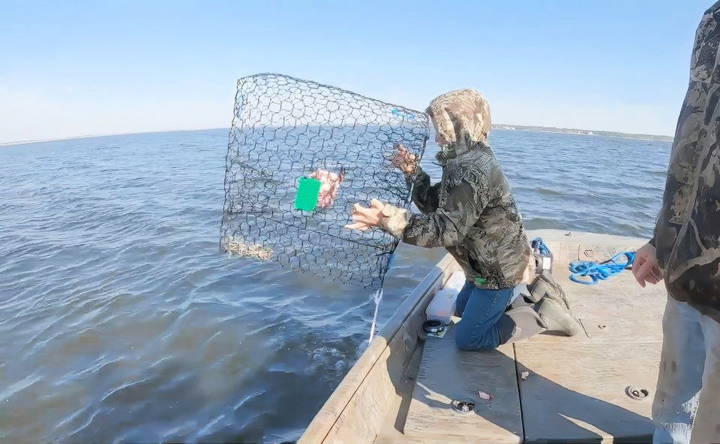
- Choose the Right Bait: Crabs are attracted to fishy-smelling baits. Popular choices include mullet, chicken necks, and fish heads. Secure the bait inside the bait box to prevent it from floating away.
- Placement and Depth: Drop the trap in areas known for crab activity, such as shallow coastal waters or estuaries. Aim for a depth of about 3-10 feet.
- Timing: Crabs are generally more active during high tides and warmer months, so plan your crabbing expeditions accordingly.
- Check Regularly: Regularly pull up your traps to prevent any potential losses and ensure crabs do not escape.
Maintenance and Care of Your Crab Traps
With proper maintenance, your DIY crab traps can last for many seasons:
- Clean After Each Use: Rinse your traps with fresh water to remove salt and debris, which can corrode metal components over time.
- Inspect Regularly: Check for any signs of wear or damage, especially around the edges and escape rings.
- Replace Worn Parts: Keep extra hog rings and bungee cords on hand so you can quickly replace any worn or damaged parts.
Cost Comparison: DIY vs. Store-Bought
Making your own traps is not only satisfying but also economical. Here's a quick cost breakdown for making 15 traps:
- Materials Total: Approximately $250 (for 15 traps).
- Cost per Trap: Around $16.67.
In contrast, store-bought traps can cost $50 each or more. By making your own, you can save over 60% per trap, which adds up significantly if you're building multiple traps.
Safety Considerations
Working with metal wire and sharp tools requires safety precautions:
- Wear Gloves: Protect your hands from cuts when handling wire and hog rings.
- Use Safety Goggles: Flying debris from wire cutting can be hazardous, so wear goggles.
- Practice Caution Around Water: Always wear a life jacket when deploying traps from a boat or in deep water.
Final Thoughts: Enjoy Your DIY Crabbing Adventure
Building and using your own DIY crab traps can be a rewarding project, especially when you see the fruits of your labor in the form of fresh-caught crabs. Not only will you save money, but you'll also gain a deeper understanding of the mechanics of crab trapping and the regulations involved in sustainable crabbing.
With these tips and instructions, you're well on your way to making high-quality traps that will make your recreational crabbing experiences both productive and enjoyable. Happy crabbing!
FAQs About DIY Crab Trap
Learn everything about DIY crab traps with our comprehensive FAQs. Discover tips, materials, and techniques for successful crabbing.
For targeting blue and stone crabs, the funnel should ideally have an inside diameter of around 2–3 inches. This size makes it accessible for these crab species to enter the trap without letting them easily escape.
In most cases, yes, especially if the trap is not attached to your boat. Regulations typically require a buoy marked with an “R” for recreational traps, as well as a tag with your trap ID and contact information. However, local rules may vary, so check with the relevant wildlife authority.
If your trap gets moved by strong tides, you can add weight by zip-tying a brick to the bottom. This extra weight will help anchor it, preventing it from being swept away during tidal shifts.
Hog rings can be easily attached using a hog ring tool, which clamps them tightly to secure trap parts. These rings hold the trap sections together effectively. You can find the correct size (3/8 inch) and use pliers to attach them if a hog ring tool isn’t available.
Yes, consider using flexible materials like thinner hex wire, which can be bent and collapsed. However, ensure that it’s sturdy enough to retain shape in the water. A foldable trap may also require additional support to maintain effectiveness.
A degradable panel, often made with jute or a similar biodegradable material, is required by law to ensure the trap doesn’t continue to capture crabs if lost. Over time, the panel will decompose, allowing trapped animals to escape. Attach it securely but avoid using non-degradable materials.
If you don't have access to fish, chicken necks or backs work well as bait, as crabs are attracted to strong odors. Just secure it in the bait box to avoid it being washed away.
For crawfish, a similar wire trap design with smaller funnels can work. Adjust the funnel size and use smaller mesh if you plan to target smaller species. Consider researching "pillow traps" for crawfish, which are well-suited for their size and habits.


