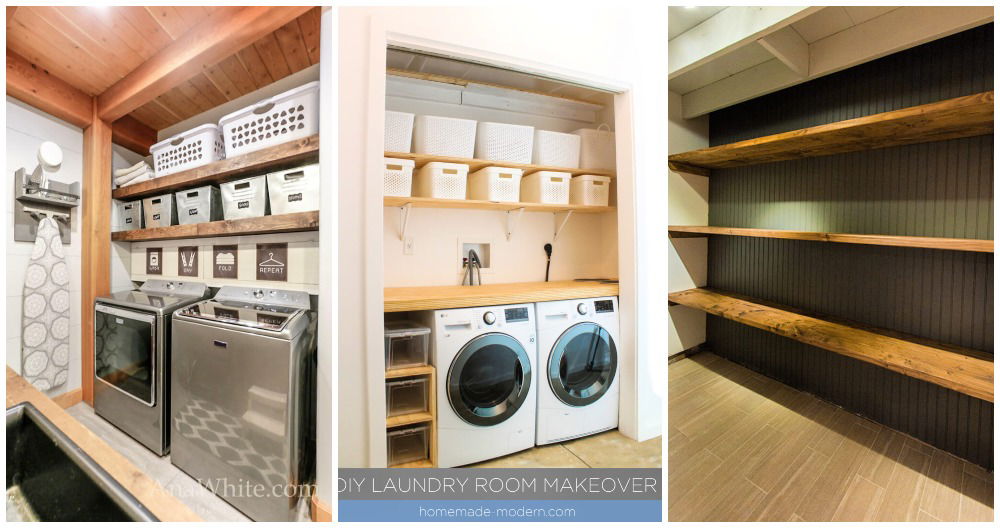
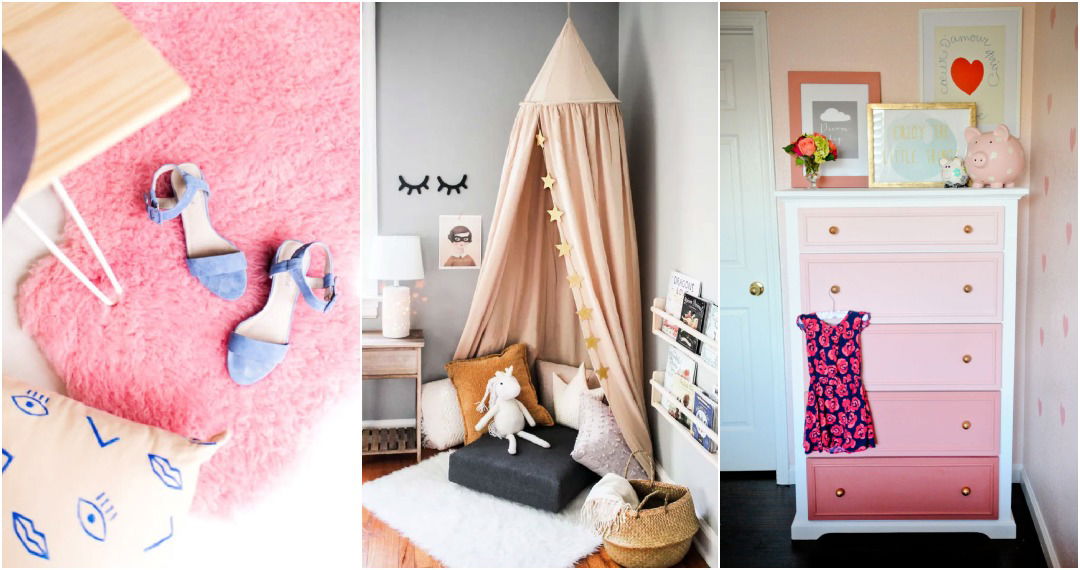
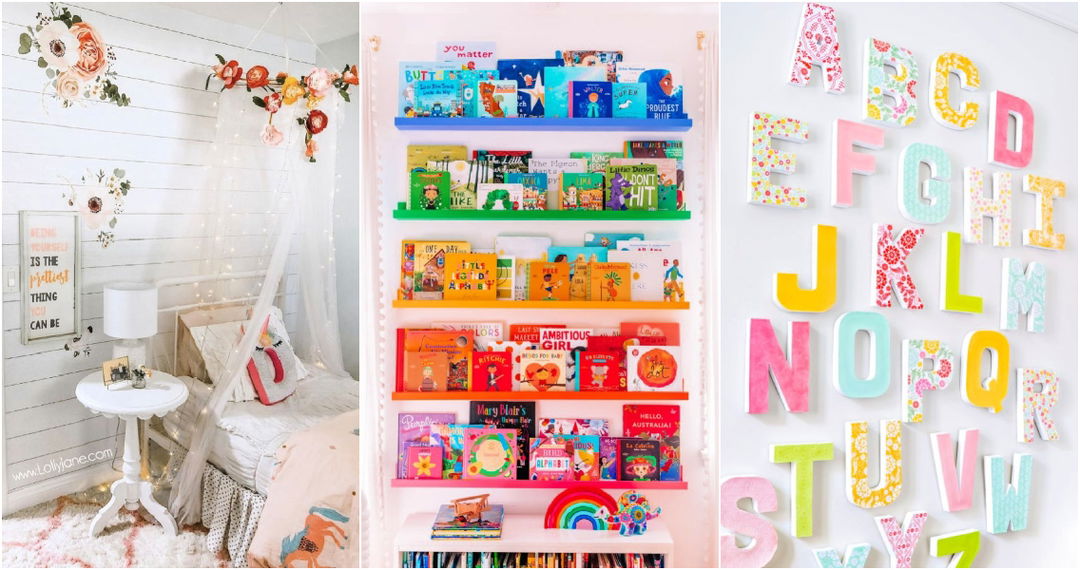
One day, I found myself frustrated with the clutter in my living room. I realized I needed a better storage solution. That's when I discovered DIY cube storage. It was a game-changer. I made my own cube shelves, and they not only organized my space but also added a touch of style.
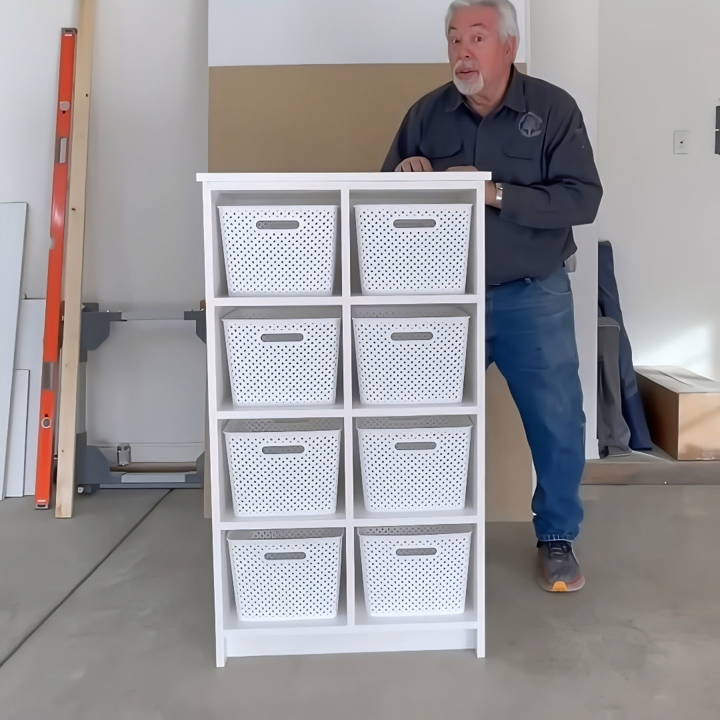
Making a DIY cube organizer turned out to be easier than I thought. I bought some materials, followed a simple guide, and buildd storage cubes that fit perfectly in every room. It was both fun and rewarding. I felt accomplished, and my home looked better.
I'm helping with this DIY cube storage, hoping to inspire you to try it yourself. You can transform your spaces too. Get started with the information provided below.
Materials Needed and Why
- 3/4-Inch Thick Melamine Board: For the framework, because it's sturdy and easy to clean.
- White Iron-On Edge Banding: To cover raw edges, giving the unit a finished look.
- Wood Glue & Screws: For assembling parts securely.
- 1/4-Inch Back Panel: Adds rigidity and completes the structure.
- Small Crown Staples: For attaching the back panel snugly.
- Table Saw & Iron: For cutting the boards and applying the edge banding.
- J Roller & File: To ensure the edge banding is firmly attached and smooth.
Step by Step Instructions
Learn how to DIY cube storage in 6 easy steps: planning, cutting, edge banding, assembling, attaching back, adding finishing touches, and inserting baskets.
Step 1: Plan and Cut
I began by sketching out my design, detailing dimensions for sides, center boards, shelves, top, and bottom pieces. After planning, I cut all parts using a table saw. Precision is key here to ensure all pieces fit together seamlessly.
Step 2: Apply Edge Banding
The raw edges of melamine can detract from the overall look, so I used white iron-on edge banding. I heated the banding with an iron, then rolled it firmly with a J roller. This step is crucial for a professional-looking finish.
Step 3: Build Dadoes and Assemble The Frame
Using my dado blade set on the table saw, I cut shallow dadoes for the shelves to slot into. The idea was to make a strong joint that would hold each piece snugly. The assembly started with the center board, attaching the top and bottom parts, followed by the shelves. I glued and nailed everything, ensuring a solid structure.
Step 4: Attach The Back Panel
A 1/4-inch back panel cut to size was then nailed onto the back of the unit. I marked the shelf positions on the panel to make sure my staples went through the panel into the shelves, providing additional stability to the unit.
Step 5: Add The Toe Kick and Top
The final structural steps included attaching a toe kick at the bottom for a polished look and laying the top piece in place. Securing the top with screws from underneath meant no visible fixings, which kept things neat.
Step 6: Insert Baskets and Admire
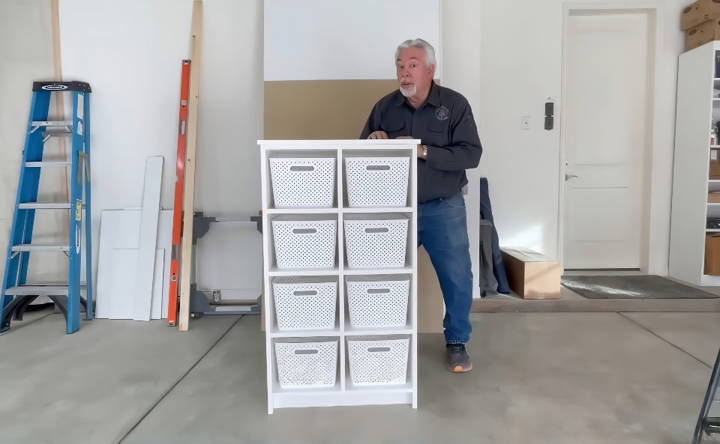
The project concluded with slipping in some baskets into the cubes. They fit perfectly, and I stood back to admire this practical and stylish addition to my home.
Personalization Ideas for DIY Cube Storage
Personalizing your DIY cube storage is a fantastic way to add a unique touch to your home decor. It's not just about storage; it's about expressing your style and making a space that feels truly yours. Here are some ideas to inspire your next project:
- Choose a Theme: Start by deciding on a theme that reflects your personality or the room's purpose. Whether it's nautical, bohemian, minimalist, or colorful, let your theme guide your choices.
- Paint Magic: A fresh coat of paint can transform your cube storage. Choose colors that complement your room or go bold with contrasting shades. Use painter's tape to build geometric patterns or stripes for added visual interest.
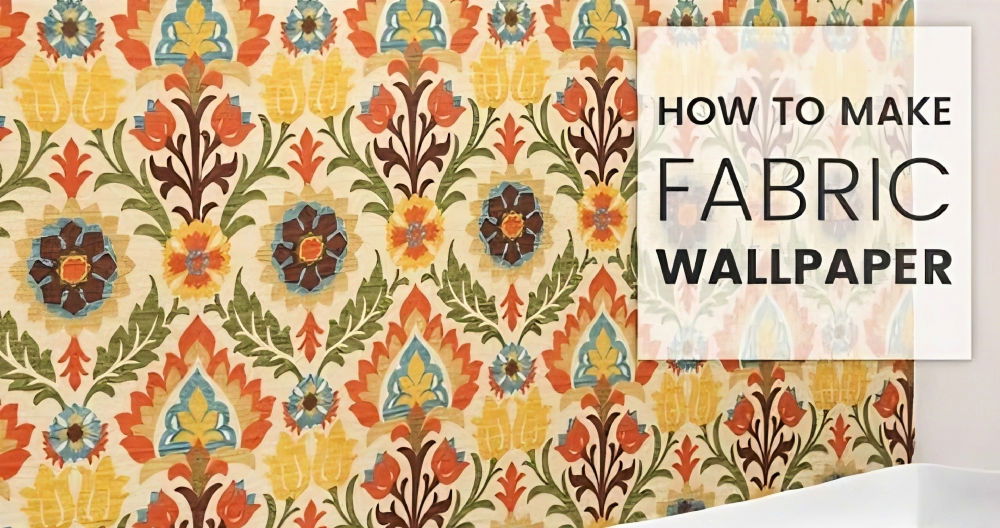
- Fabric and Textiles: Cover the back panel of your cubes with fabric that matches your curtains or upholstery. This adds texture and warmth to the room. You can also use adhesive vinyl for a quick and easy update.
- Hardware Upgrades: Swap out generic knobs or pulls with something more decorative. Vintage handles, sleek modern knobs, or even DIY leather pulls can make a big difference.
- Light It Up: Add LED strip lights under the shelves or inside the cubes for a modern look. This not only highlights your items but also adds ambient lighting to the space.
- Display Your Collections: Use your cube storage to showcase your favorite collections. Whether it's vintage cameras, travel souvenirs, or books, arranging them thoughtfully turns storage into a display.
- Mix and Match: Don't be afraid to mix different storage box designs. Combining wicker baskets with metal bins or colorful boxes can build an eclectic, yet cohesive look.
- Add Greenery: Integrate plants into your cube storage. Small potted plants or hanging terrariums bring life to your shelves and improve air quality.
- DIY Backdrops: Build backdrops for each cube using wallpaper samples, wrapping paper, or even your own artwork. This adds depth and personal flair to each section.
- Functional Decor: Use your cube storage for more than just storing items. Add a cushion on top of a lower unit to build a cozy reading nook or a place to put on shoes.
The key to personalization is to have fun and let your creativity shine. Your cube storage doesn't just have to be practical; it can be a reflection of what you love and who you are.
Safety Considerations for DIY Cube Storage
When making DIY cube storage, safety is paramount. Not only do you want your project to look good, but it also needs to be safe for everyone in your home. Here are some key safety considerations to keep in mind:
- Sturdy Materials: Choose high-quality, durable materials for your cube storage. Whether you opt for wood, plastic, or metal, ensure it can withstand the weight of the items you plan to store.
- Secure Assembly: Follow instructions carefully when assembling your cube storage. Use all the provided hardware and ensure each piece is tightly fastened. If in doubt, adding wood glue can provide extra stability.
- Smooth Edges: Sand down any rough edges or corners. This not only improves the appearance but also prevents injuries from sharp edges.
- Stable Placement: Place your cube storage on a level surface to prevent it from tipping over. If it's tall or will hold heavy items, anchor it to the wall with brackets or straps.
- Childproofing: If you have young children, consider using child-safe latches on doors or drawers to prevent them from accessing items that could be dangerous.
- Tool Safety: When building your cube storage, always wear protective gear such as safety glasses, ear protection, and a dust mask, especially during cutting, sanding, or drilling.
- Check for Recalls: Before using second-hand or older materials, check if they have been recalled due to safety issues.
By following these safety tips, you can enjoy your DIY cube storage with peace of mind, knowing that you've taken the necessary steps to ensure it's a safe addition to your home.
FAQs About DIY Cube Storage
Efficiently organize with DIY cube storage! Discover answers to common questions about making and customizing modular storage solutions.
DIY cube storage refers to the self-made organization system consisting of square compartments or cubes, which can be used for storing a variety of items. It’s a flexible and customizable solution that can fit into different spaces in your home, such as closets, living rooms, or offices.
Yes, cube storage is highly customizable. You can choose the number of cubes, their dimensions, and the overall size of the unit to fit your space. You can also paint or stain the wood, add doors, or use fabric bins to personalize your storage to your liking.
Safety is important when undertaking any DIY project. Always wear protective gear like safety glasses and gloves when cutting wood or drilling. Ensure that all screws and nails are properly secured to prevent the unit from collapsing. If you’re adding a back to your cube storage, make sure it’s securely attached to avoid it falling off.
To ensure the stability of your DIY cube storage, use sturdy materials and ensure all connections are tight. It's recommended to secure the unit to a wall, especially if it's tall or will be holding heavy items. This can prevent tipping and potential accidents.
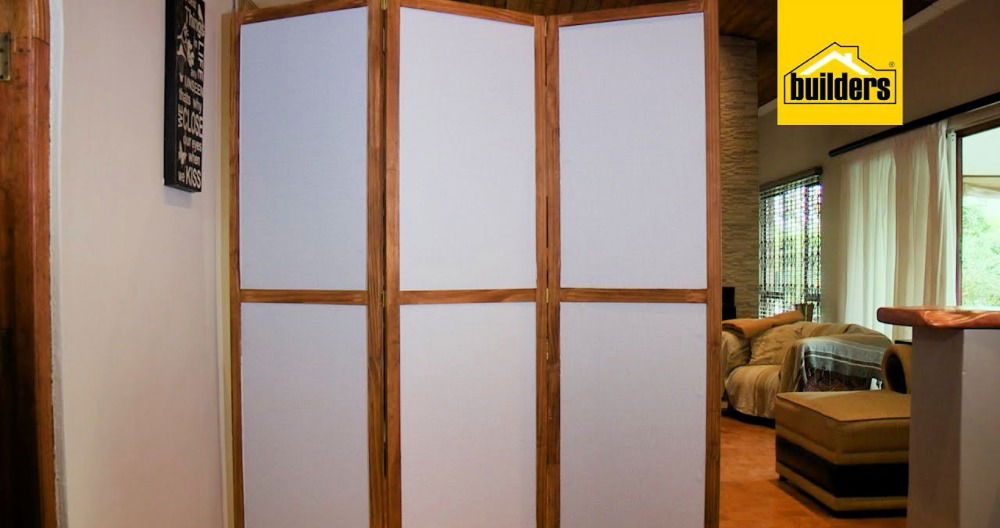
Cube storage can be used in many creative ways around your home. For instance, you can use it as a bookshelf, display for collectibles, or a room divider. Adding fabric bins or baskets can help conceal clutter and give your storage a tidy appearance. You can also customize the look with paint, wallpaper, or by attaching doors to the cubes.
Conclusion
Building your own DIY cube storage can bring both order and beauty to your home. Use these tips to make it happen.


