Curtain weights serve a practical purpose by helping drapery hang properly, reducing unwanted movement, and providing a polished, elegant look. Instead of purchasing premade weights, this guide on DIY curtain weights will show you how to make your own custom weights using basic materials. With simple steps and affordable supplies, you can add these discreet yet impactful additions to your curtains.
Why Use Curtain Weights?
Curtain weights are essential for maintaining smooth, even draping, especially with lightweight fabrics that tend to move easily. They are perfect for:
- Reducing Curtain Movement: Prevent curtains from swaying due to drafts or movement around the house.
- Achieving a Clean Look: Keep the edges of the curtain hanging straight, ensuring a polished aesthetic.
- Adding Functionality: Weighted curtains are easier to manage and open, making them ideal for both home and professional settings.
Materials Needed for DIY Curtain Weights
Making your own curtain weights is a simple process with just a few materials. Here's what you'll need:
- Lining Fabric: Scrap lining fabric works best; it should be durable enough to hold the weights without tearing.
- Recommended Size: Approximately 22 cm in depth by 50 cm in width, but you can adjust based on your needs.
- Lead Weights or Pennies: Commonly, 2p coins or lead curtain weights of around 2.5 cm in diameter are used.
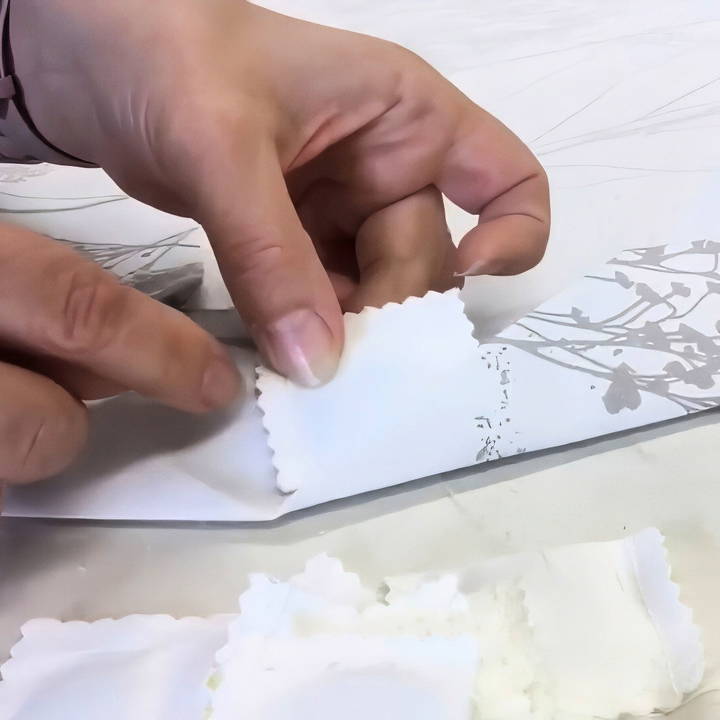
- Pinking Shears: These prevent fraying along the edges of the fabric.
- Sewing Machine and Thread: Any basic machine will work for sewing the small pockets for the weights.
- Pins and Scissors: For measuring and cutting your fabric.
Step by Step Instructions
Learn how to make DIY curtain weights with our step-by-step guide. Follow these instructions for a professional touch to your curtains.
Step 1: Prepare the Lining Fabric
- Cut the Fabric: Measure and cut your lining fabric to the appropriate size, roughly 22 cm by 50 cm, though this can vary based on how many weights you plan to make.
- Fold the Fabric in Half: Take the fabric and fold it in half lengthwise. This will give you a double layer, adding durability to each weight pocket.
Tip: Folding the fabric allows for stronger weight pockets, reducing the risk of tearing under the weight.
Step 2: Arrange and Measure for Weight Placement
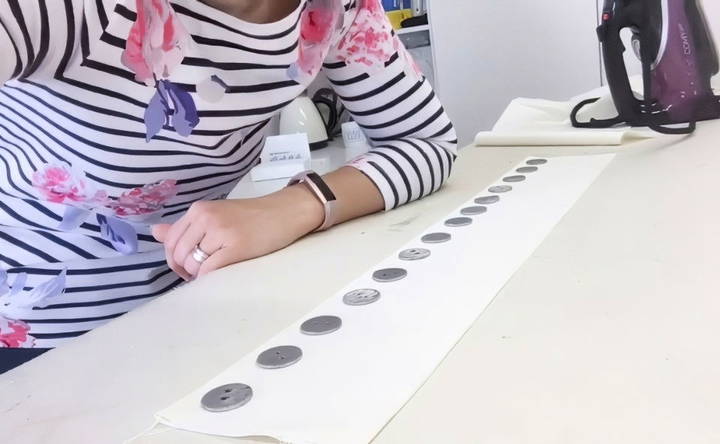
- Lay Out the Weights: Place your weights (lead discs or pennies) along the fabric to determine how many pockets you'll need.
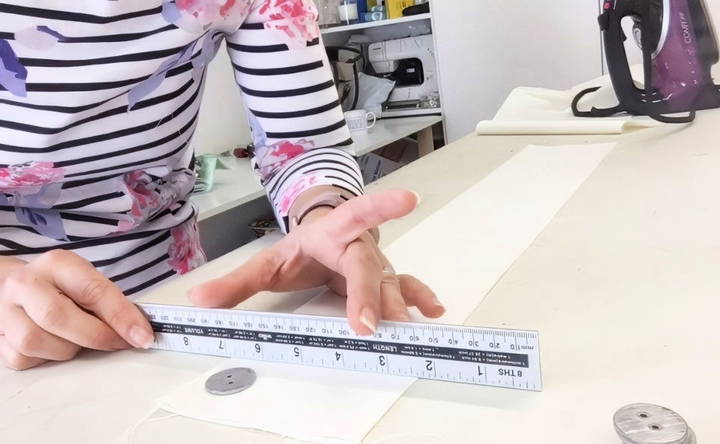
- Mark Seam Allowances: For each weight, leave about a 1 cm seam allowance on each side. This helps in making a secure pocket for each weight.
- Measure and Mark Pockets: Measure around each weight, allowing 4 cm of fabric for each pocket. This spacing will allow the weights to sit evenly without pressing too tightly against the fabric. Note: If you're using coins or smaller weights, you may need to adjust these measurements slightly to ensure a snug fit.
Step 3: Sew the Weight Pockets
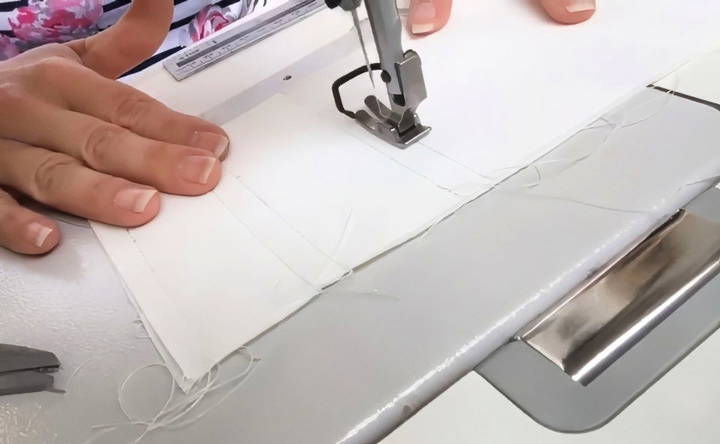
- Begin Sewing: Using your sewing machine, stitch the pockets along the marks you maked, leaving enough room to insert each weight.
- Reinforce Each Pocket: Start sewing at one end, securing each pocket with a simple stitch. Leave a gap between the rows for easier access to add weights later. Tip: Backstitch at the beginning and end of each pocket to prevent unraveling.
Step 4: Insert the Weights
- Place the Weights in the Pockets: After sewing the pockets, insert each weight individually. Make sure they sit at the bottom of each pocket.
- Test for Fit: Once all the weights are placed, check that they sit comfortably without too much movement inside each pocket.
Step 5: Secure the Weights in Place
- Sew the Open Ends: To secure the weights, stitch across the top of each pocket to close it. This ensures the weights won't fall out when the curtains are moved or cleaned.
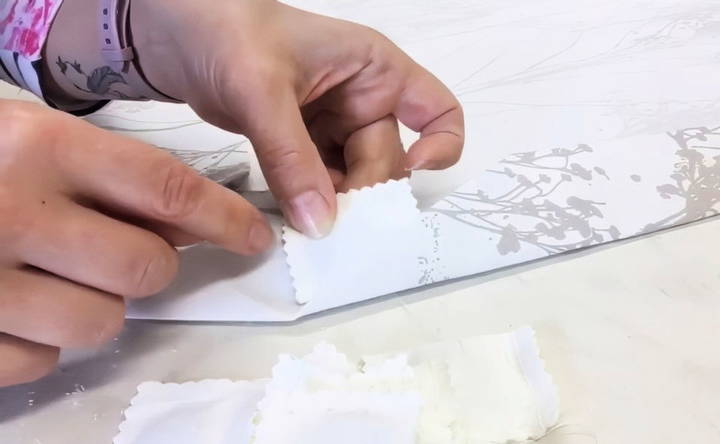
- Cut Between Each Pocket with Pinking Shears: Pinking shears prevent fraying and give each pocket a neat finish. Cut between each pocket, leaving enough fabric to keep the stitching intact.
Pro Tip: Don't worry if the pockets don't look perfectly uniform; the slight variations won't be visible once sewn into the curtain.
Adding the Weights to Your Curtains
With the weights ready, it's time to attach them to your curtains.
- Identify Placement Points: Curtain weights work best at the bottom corners and along seams in the middle, where the fabric tends to separate.
- Sew the Weight into the Curtain: Open the hem at each desired placement point, insert the weight, and stitch it securely to the fabric. Be sure to attach each weight to the back layer of the curtain fabric to keep it hidden. Tip: To maintain balance, add weights in a uniform pattern across the curtain hem.
Alternative Materials and Tips
- Using Coins as Weights: If you don't have lead weights, coins like 2p or other heavy currency can work well. Simply ensure each coin is securely wrapped in fabric before sewing it into the pocket.
- Reusable Pocket Weights: If you prefer removable weights, consider sewing the pockets with Velcro closures. This allows you to adjust the weight as needed and makes washing easier.
- Additional Weight Placement Ideas: For heavier fabrics, consider placing weights at every third or fourth seam. Lightweight fabrics typically require fewer weights, focused at the bottom corners.
Final Tips for DIY Curtain Weights
- Make Extras: If you often make curtains, consider crafting a batch of weights in one sitting. This makes it easier to add weights as needed for future projects.
- Experiment with Placement: Curtain weight needs vary by fabric and window location. Feel free to experiment with weight placement to achieve the best results.
- DIY Curtain Tape: Consider making your own curtain tape pocket from lining fabric to further customize your curtains and make it easier to attach weights.
With this guide, you now have everything you need to make your own curtain weights. From gathering materials to sewing and inserting them into your drapes, each step is simple and achievable with basic sewing tools. Not only does this method save money, but it also adds a tailored touch to your home decor. Enjoy the benefits of beautifully hanging curtains and the satisfaction of a project well done!
FAQs About DIY Curtain Weights
Discover answers to common questions about DIY curtain weights, from materials and tools to installation tips, for perfectly hanging curtains.
Yes, many household items can serve as makeshift weights. Small stones, metal washers, or even leftover bolts can work well as long as they are securely sewn into the fabric.
The weight required depends on the type of curtain fabric. For light fabrics, coins or small lead weights are usually sufficient. Heavier fabrics may need larger or additional weights along the hem.
Yes, but it's recommended to use removable weights or secure them in Velcro pockets to make laundering easier.
When sewn properly, curtain weights should not damage the fabric. Using soft lining fabric as pockets helps cushion the weights and prevent wear.


