As a beginner in woodworking myself, I understand the excitement and sometimes the intimidation that comes with starting a new project. I remember the very first time I decided to make a walnut cutting board; the process felt overwhelming. However, through trial and error, I have gathered insights and practical advice that I hope will make your journey smoother. Here, I'll guide you through making an edge grain walnut cutting board, outlining the materials you'll need and explaining why they're important at every step.
Choosing Your Wood and Type of Cutting Board
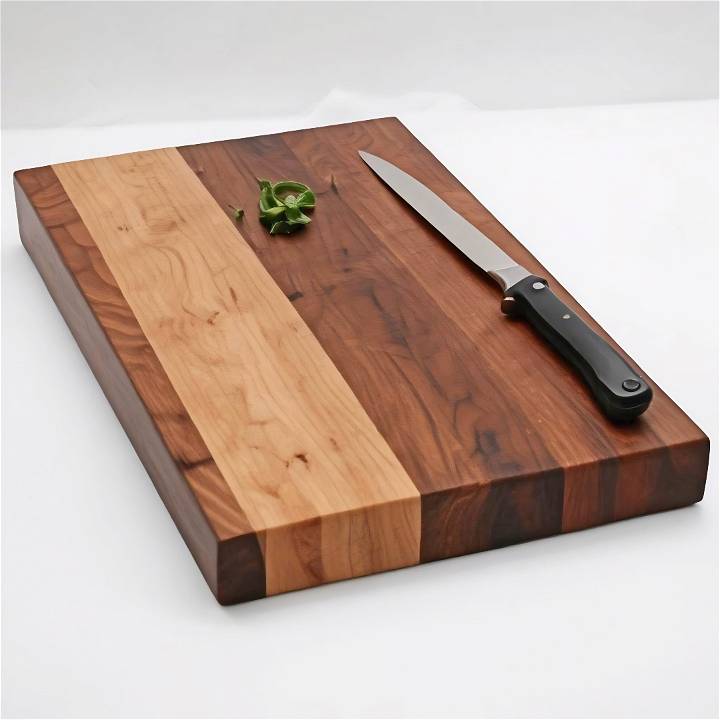
My project began with choosing the right type of wood. I opted for walnut due to its durability, tight grain, and because it's less prone to warping. Hardwoods like maple and cherry are also excellent choices for their tight grain patterns, which help in preventing bacteria accumulation and moisture absorption.
Understanding the difference between face grain, edge grain, and end grain cutting boards is crucial as it affects the appearance, durability, and knife friendliness of your cutting board. I chose to make an edge grain cutting board for its balance of sturdiness, ease of creation, and its gentle touch on knives, despite it still showing some knife marks over time.
Materials Needed
- Walnut Wood: Chosen for its durability and beautiful color after finishing.
- Saw: To cut your walnut plank to the desired lengths.
- Jointer Jig and Table Saw: Essential for making straight edges and cutting the walnut into strips.
- Planer: Ensures all your wood pieces are the same thickness and smooth.
- Titebond III Glue: This glue is waterproof and ideal for kitchenware.
- Clamps: For applying even pressure during the glue-up process.
- Sander (120 to 220 grit sandpaper): To smooth out all surfaces before finishing.
- Mineral Oil and Conditioner: Protects the wood and keeps it from drying out, maintaining its beautiful finish.
Making the Cutting Board
Learn how to make the perfect cutting board with our step-by-step guide. From cutting and gluing to sanding and finishing, create a beautiful board today!
Step 1: Cutting and Preparing the Wood
I started by cutting my walnut wood into manageable pieces — aiming for lengths of 15 to 16 inches. I then used a jointer jig to build one straight edge on each piece, which is crucial for the later glue-up process. Next, using my table saw, I ripped these pieces into strips, which determined the thickness of my cutting board. Each strip was about an inch and 3/4 wide, considering I would lose some width to planing.
Step 2: Glue-Up
Checking for flatness was my next step. I wanted to avoid gaps that could lead to food particles getting trapped or the board splitting. After ensuring each piece was flat using the jointer and planer, I arranged them side by side and applied Titebond III glue. Clamping with even pressure was vital here to avoid warping.
Step 3: Final Touches
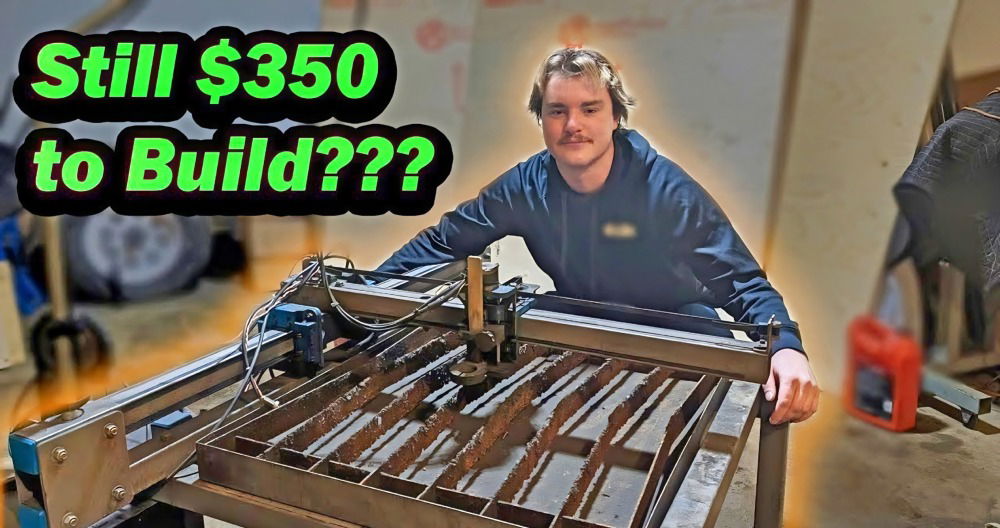
Once the glue had dried, it was time to clean up the edges using a crosscut jig. This ensured my cutting board had perfectly straight sides. At this stage, some might opt for additional customization like engraving, which requires specific tools like a CNC machine.
Step 4: Sanding and Finishing
Sanding began with a 120 grit going up to 220, making the surface as smooth as silk. I used water to raise the grain, allowing me to sand it down once more for an even smoother finish. The final step included applying several coats of mineral oil, waiting 20 minutes between each coat to absorb, and finishing off with a conditioner for added protection.
Creative Designs and Personalization
When it comes to creative cutting board designs, the possibilities are endless! Whether you're a seasoned woodworker or a beginner, adding a touch of uniqueness to your cutting board can elevate your kitchen experience. Let's explore some inspiring ideas for personalized cutting boards:
1. Custom Shapes and Silhouettes
- House-Shaped Cutting Boards: Craft a cutting board in the shape of a cozy little house. It's not only functional but also adds a charming touch to your kitchen. Imagine slicing veggies on a mini house—it's like cooking in a fairytale!
- Animal-Themed Boards: From playful cats to majestic elephants, animal-shaped cutting boards are delightful. Choose your favorite animal silhouette and build a functional piece of art. Bonus points if you add engraved paw prints or whiskers!
2. Engravings and Monograms
- Personalized Engravings: Engrave your cutting board with meaningful quotes, family names, or special dates. It could be a heartfelt message for a loved one or a witty kitchen-related saying. The engraved text adds character and sentiment.
- Monogrammed Boards: Monograms never go out of style. Carve your initials or those of a gift recipient onto the board. Monogrammed cutting boards make thoughtful wedding or housewarming presents.
3. Mixed Materials and Inlays
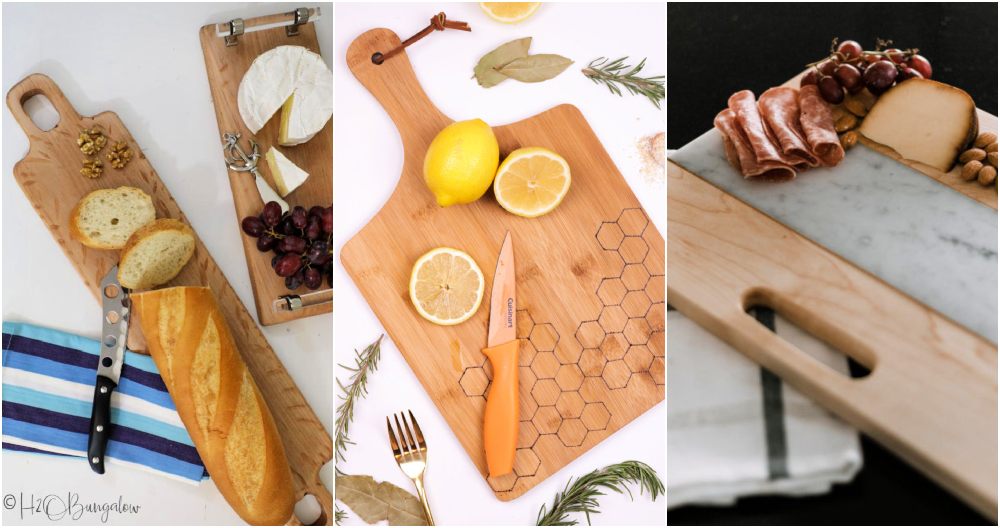
- Marble and Wood Fusion: Combine the elegance of marble with the warmth of wood. Make a cutting board with a marble inlay—perfect for serving cheeses or charcuterie. The contrast of textures is visually striking.
- Resin Art: Pour colorful resin onto your wooden cutting board to build mesmerizing patterns. The resin can mimic ocean waves, galaxy swirls, or abstract designs. It's a conversation starter during dinner parties!
4. Geometric Patterns
- Hexagonal or Chevron Boards: Break away from the traditional rectangular shape. Cut your board into hexagons or arrange wood strips in a chevron pattern. Geometric designs add flair and intrigue.
- End-Grain Chessboard: Arrange contrasting wood species (like walnut and maple) in an end-grain chessboard pattern. It's not only visually appealing but also functional—the end-grain surface is gentle on knives.
5. Herb and Spice Channels
- Integrated Herb Trenches: Carve shallow channels along the edges of your cutting board. These channels are perfect for collecting chopped herbs, garlic, or spices. No more runaway rosemary!
- Juice Grooves: Extend the channels to build juice grooves. When slicing juicy fruits or succulent meats, the grooves prevent liquids from spilling onto your countertop.
Take your time, use quality tools, and enjoy the process. Your personalized cutting board will not only serve as a kitchen workhorse but also reflect your unique style and personality!
Food Safety and Maintenance
Ensuring the safety and longevity of your cutting board involves more than just chopping vegetables—it's about maintaining a clean and hygienic surface. Let's dive into essential food safety practices and maintenance tips for your beloved cutting board:
Regular Cleaning Routine
- After Each Use: Wash your cutting board with hot, soapy water immediately after use. Use a scrub brush or sponge to remove any food particles. Rinse thoroughly.
- Avoid Prolonged Soaking: While wood is naturally antimicrobial, prolonged soaking can cause warping. Clean promptly and avoid leaving it submerged in water.
- Sanitize: To disinfect, use a solution of 1 part white vinegar to 4 parts water. Apply, let it sit for a few minutes, and rinse thoroughly.
Separate Cutting Boards for Different Foods
- Color-Coded System: Consider using different cutting boards for raw meat, poultry, fish, fruits, and vegetables. This prevents cross-contamination.
- Plastic vs. Wood: Plastic boards are easier to sanitize, while wood has natural antimicrobial properties. Choose based on your preference.
Oil and Condition Your Wooden Board
- Seasoning: Wooden cutting boards benefit from occasional oiling. Use food-safe mineral oil or beeswax. Apply a thin layer and let it soak in overnight.
- Avoid Olive Oil: Olive oil can turn rancid and affect the taste of your food. Stick to mineral oil or specialized cutting board oils.
Knife-Friendly Surfaces
- End-Grain Boards: If you have an end-grain cutting board, your knives will thank you. The wood fibers close up after each cut, preserving blade sharpness.
- Avoid Glass and Hard Surfaces: Glass and hard plastic boards can dull knife edges. Stick to wood or softer materials.
Juice Grooves and Drip Channels
- Grooves for Juices: Some cutting boards have built-in grooves around the edges. These collect juices from fruits, meats, and veggies, preventing mess on your countertop.
- Easy Cleanup: Empty the grooves after use and wash thoroughly.
Signs It's Time for Replacement
- Deep Grooves and Cuts: Deep knife marks can harbor bacteria. If your board looks like a topographical map, it's time for a new one.
- Warped or Cracked: Warping or cracks compromise the board's stability. Replace it to avoid accidents.
- Odor: Persistent odors (especially from strong foods like garlic or onions) indicate it's time for a fresh board.
Remember, a well-maintained cutting board not only keeps your kitchen safe but also enhances your cooking experience. Treat it with care, and it'll serve you faithfully for years to come!
FAQs About DIY Cutting Boards
Discover answers to all your questions about DIY cutting boards. From materials to designs, get expert tips for crafting the perfect kitchen accessory.
1. How Thick Should My Cutting Board Be?
Aim for a thickness of 3/4 inch (about 2 centimeters). This provides a sturdy surface without being too heavy. Thicker boards can be cumbersome, while thinner ones may warp over time.
2. How Do I Clean and Maintain My Cutting Board?
- Cleaning: Wash your cutting board with hot, soapy water after each use. Scrub away food particles and rinse thoroughly.
- Sanitizing: Disinfect with a solution of 1 part white vinegar to 4 parts water. Let it sit briefly, then rinse.
- Oil: Occasionally apply food-safe mineral oil to keep the wood hydrated and prevent cracks.
3. Can I Use Different Woods Together?
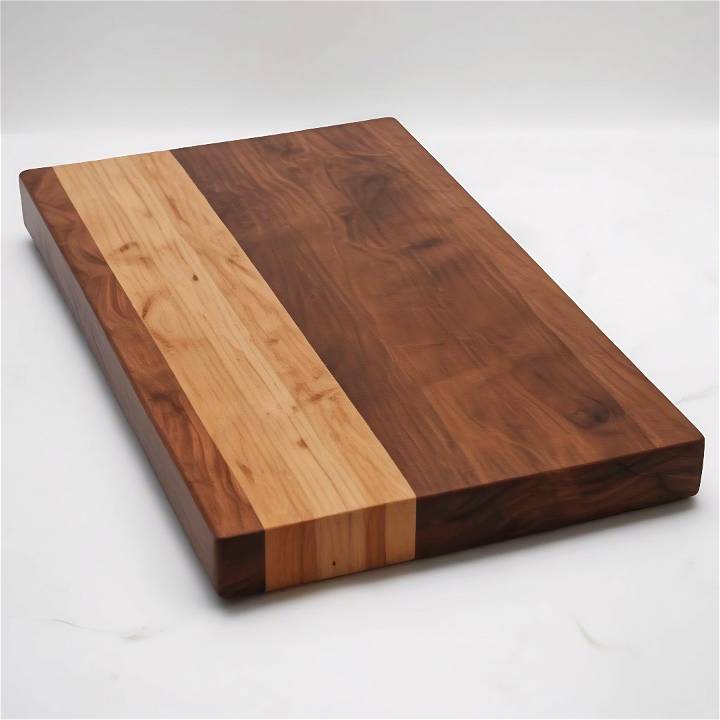
Absolutely! Mixing different wood species builds visual interest. Just ensure that all pieces are of similar thickness for even glue-up. Consider contrasting colors like walnut and maple for an eye-catching effect.
4. What About End-Grain vs. Edge-Grain Boards?
- End-Grain: These boards have the ends of wood fibers facing up. They're gentle on knives and hide cut marks well.
- Edge-Grain: The long edges of wood strips are glued together. Edge-grain boards are easier to make and maintain.
5. How Do I Prevent Warping?
- Cut Longer Strips: Before gluing, cut your strips at least 1 inch longer than the final length. This way, you won't need perfect alignment during assembly.
- Tune Up Your Table Saw: Ensure precise cuts by checking blade alignment and fence parallelism.
- Dry Run: Practice the glue-up without adhesive to identify any issues before committing.
Remember, a well-crafted cutting board not only enhances your kitchen but also makes meal prep a joy!
Conclusion
Making your first cutting board can be a rewarding endeavor. It requires patience, a bit of elbow grease, and attention to detail. By following these steps, not only did I end up with a functional kitchen tool, but I also gained confidence in my woodworking skills. Remember, the beauty of DIY projects lies in the journey of creation as much as in the finished product. Don't be afraid to make mistakes, learn from them, and most importantly, enjoy the process.


