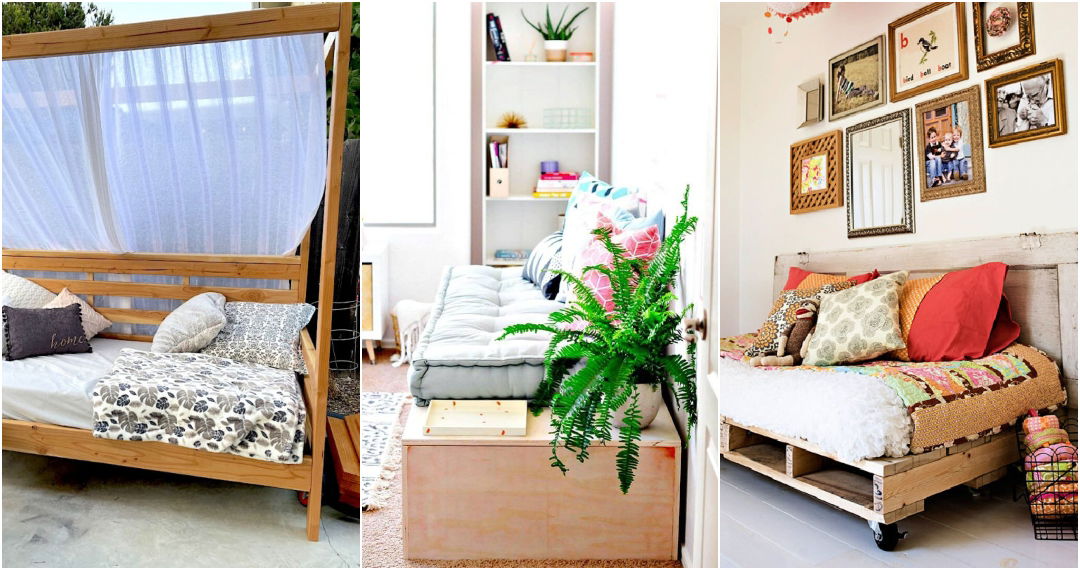
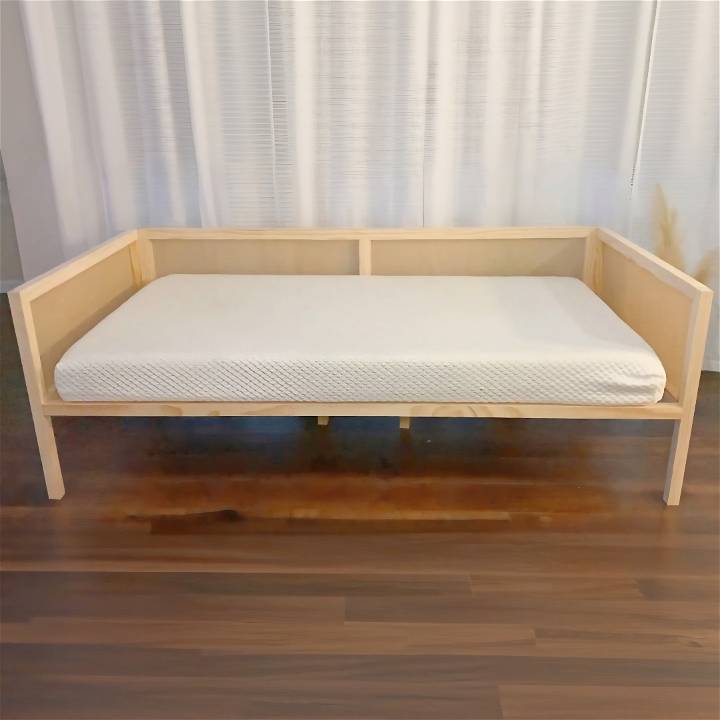
Making a cozy and stylish space in my home has always been a passion of mine. When I stumbled upon a chic Boho daybed design inspired by a high-end furniture store, I knew I had to try and rebuild the look without breaking the bank. This project became a labor of love, combining my love for DIY with a tight budget, and I'm excited to share every step of the journey, hoping it will inspire and guide you in building your own beautiful daybed.
Gathering the Materials: A Trip to the Hardware Store
Living on a budget meant I had to be smart about sourcing my materials without compromising quality. I made my way to the local Home Depot, armed with a list and a strict budget in mind. The foundation of the project, two by twos for the frame, needed to be sturdy yet affordable. Here's why quality matters: Opting for straight, warp-free wood ensures the longevity and durability of the furniture. The total cost for the lumber ended up being around $115 - a fraction of the cost of the inspiration piece which was priced at $1249!
Step by Step Instructions
Learn how to build a DIY daybed on a budget with our step-by-step instructions. Save money and make a stylish piece for your home.
Cutting and Preparing: The Devil is in the Details
Having unloaded the lumber at home, I meticulously went through my measurements, drawing inspiration from the CB2 website, which had kindly provided the dimensions for the daybed. This step was crucial for two reasons: precision ensures stability and aesthetics, ensuring all pieces fit perfectly together. Aided by a handsaw and a measuring tape, I transformed raw wood into the skeleton of my future daybed.
Constructing the Frame: Where Stability Meets Style
Building the back and the sides of the bed first, I used a pocket hole jig to join the wood pieces. This method was not only straightforward but also provided the structure with the strength it needed to support weight. Each piece of wood and every pocket hole added was a step closer to bringing my vision to life. This stage taught me the importance of patience and precision - as rushing through this could lead to a wobbly end product.
Adding Character: The Burlap Caning
The original design featured a cane backing, which was beyond my budget and hard to come by locally. Resourcefulness led me to burlap as an alternative, a decision that saved my project. Priced at only seven dollars, the burlap added a rustic, Boho charm to the bed, not to mention it was far easier to handle and attach to the frame. This adaptation was a reminder that sometimes, constraints can lead to creative, budget-friendly solutions that don't compromise the aesthetic.
The Final Touches: Assembly and Finishing
With the frame constructed and the burlap in place, the final assembly began. Attaching the sides to the back tightly with long screws assured the bed's steadiness. Then, I focused on disguising the hardware and connections with wood filler and burlap trim, ensuring a clean and finished appearance. This attention to detail was about pride in my work and building a piece that looked as good as it was functional.
To support the mattress, I added a front board matching the back in length and laid horizontal supports across it. This step was essential for transforming the frame into a functional daybed capable of supporting a mattress (and its occupants). The total spent on these additional supports was around fifteen dollars, a small price for a crucial component of the project.
Reflection and Costs: Bringing the Vision to Life
In total, my project came to around $167, a significant saving compared to the original $1249 price tag. This process reaffirmed my belief that with a little creativity, elbow grease, and patience, stunning home decor is achievable on a modest budget.
The Big Reveal and Final Thoughts
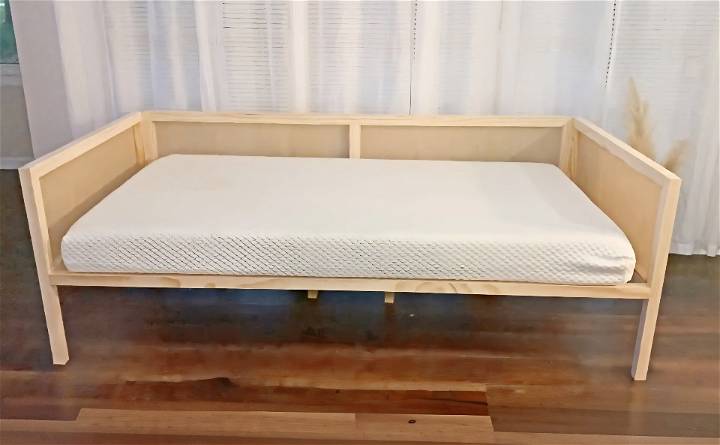
The transformation was astounding. What started as a pile of lumber and a roll of burlap had turned into a stylish, cozy daybed that enhanced my space's aesthetics and functionality. Every glance at the daybed fills me with pride, knowing the work and love poured into every step.
Takeaways for Fellow DIY Enthusiasts
- Preparation is Key: Spend time planning and sourcing quality materials. This foresight pays off in the ease of construction and the quality of the final product.
- Be Resourceful: Don't be afraid to substitute materials. Innovations can lead to cost savings without sacrificing style.
- Patience Pays Off: Rushing can lead to mistakes. Take your time, especially with measurements and cuts.
- Enjoy the Process: Embrace every challenge as an opportunity to learn and improve your skills.
Building this daybed was more than a project; it was a journey of self-discovery, creativity, and patience. I hope my experience inspires you to tackle your own DIY adventures, proving that with a bit of ingenuity, you can transform your space into a sanctuary that reflects your style and personality.
Customization Ideas for Your DIY Daybed
When it comes to building a personalized and unique daybed, the possibilities are endless! Here are some creative customization ideas to elevate your DIY daybed project:
Fabric Upholstery
Consider adding fabric upholstery to your daybed. This not only enhances comfort but also adds a touch of elegance. Choose a durable fabric that complements your room's color scheme. Whether it's a cozy linen, a vibrant pattern, or a classic velvet, upholstery can transform your daybed into a stylish statement piece.
Pillow Pizzazz
Don't underestimate the power of pillows! Layering different-sized throw pillows can instantly make your daybed more inviting. Mix and match textures, colors, and patterns. Opt for lumbar pillows for lower back support and larger square pillows for lounging. Pro tip: Use pillow covers with zippers for easy washing.
Storage Drawers or Baskets
Maximize functionality by incorporating storage drawers or baskets into the daybed design. These hidden compartments can hold extra blankets, books, or even kids' toys. Install them underneath the mattress platform or along the sides. Remember to choose hardware that complements the overall aesthetic.
Built-In Charging Station
In our tech-savvy world, having a charging station nearby is essential. Build a discreet charging nook within your daybed. Install a power strip with USB ports, and drill a small hole in the back panel for cable management. Now you can recharge your devices while lounging comfortably.
Trundle Bed Option
If your daybed serves as a guest bed, consider adding a trundle bed mechanism. A trundle bed is a hidden pull-out bed that slides beneath the main daybed. It's perfect for accommodating overnight guests without taking up extra space. Make sure the trundle mattress is comfortable and easy to access.
Paint or Stain Accents
Give your daybed a fresh look by painting or staining specific parts. For instance:
- Accent Legs: Paint the legs in a contrasting color (e.g., matte black against natural wood).
- Headboard or Backrest: Stain the backrest slats for a rustic feel.
- Side Panels: Add a geometric pattern using stencils and paint.
Attach a Reading Lamp
Build a cozy reading nook by attaching a swing-arm wall lamp to the side of your daybed. Adjustable lamps allow you to direct light where needed. Whether you're catching up on a novel or browsing your tablet, good lighting enhances the experience.
Outdoor Daybed Conversion
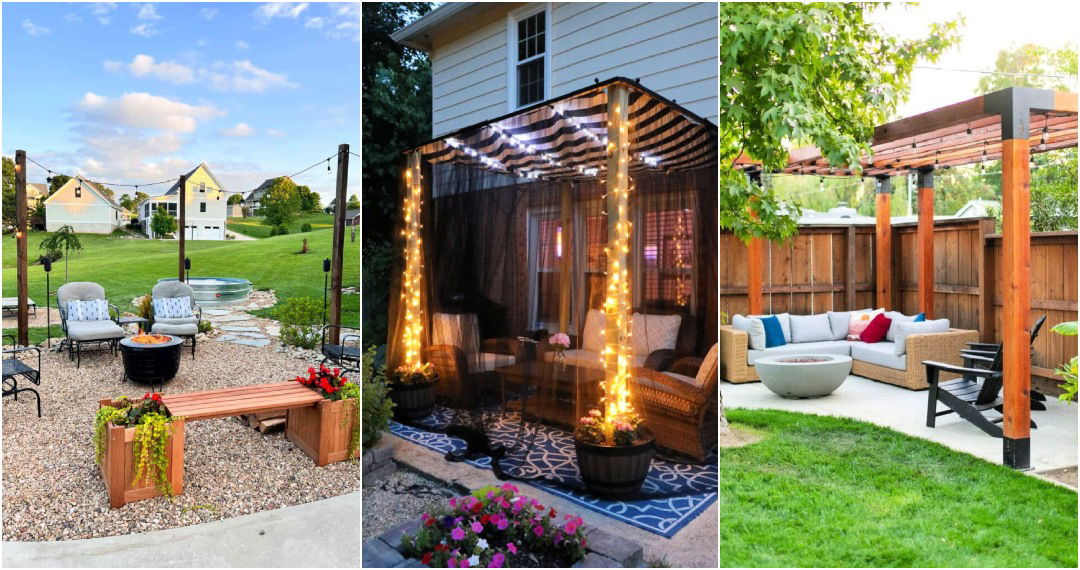
If your daybed is on a covered porch or patio, consider weatherproofing it. Use outdoor-friendly materials like teak, cedar, or treated pine. Add weather-resistant cushions and pillows. Now, you have a relaxing outdoor retreat for lazy afternoons.
FAQs About DIY Daybeds
Discover the answers to your burning questions about DIY daybeds - from design ideas to construction tips, we've got you covered!
1. What Is a DIY Daybed?
A DIY daybed is a versatile piece of furniture that serves as both a sofa and a bed. It's typically designed for lounging during the day and can easily transform into a comfortable sleeping spot at night. You can build your own daybed using simple materials and basic woodworking skills.
2. Why Choose a DIY Daybed?
- Cost-Effective: Building your own daybed is often more budget-friendly than purchasing a ready-made one.
- Customization: DIY daybeds allow you to personalize the design, size, and finish according to your preferences.
- Space-Saving: Daybeds are ideal for small spaces, as they combine seating and sleeping functions in one piece.
- Guest Accommodation: A daybed can double as a guest bed when needed.
3. Can I Customize My DIY Daybed?
Absolutely! Here are some customization ideas:
- Upholstery: Add fabric or foam padding for extra comfort.
- Storage Drawers: Incorporate hidden drawers for storage.
- Paint or Stain: Customize the color to match your decor.
- Trundle Bed: Include a pull-out trundle for guests.
4. How Do I Maintain My DIY Daybed?
- Cleaning: Regularly dust and wipe down the wood.
- Stain or Paint Touch-Ups: Address any scratches or fading.
- Mattress Care: Rotate the mattress periodically.
- Hardware Check: Tighten screws and inspect joints.
Remember, your DIY daybed is a reflection of your creativity and practicality. Enjoy building and lounging!
Conclusion:
Wrapping up, making a DIY daybed can be a fun and rewarding project for any home. By following these simple steps and using the right materials, you can bring comfort and style to your living space with ease.


