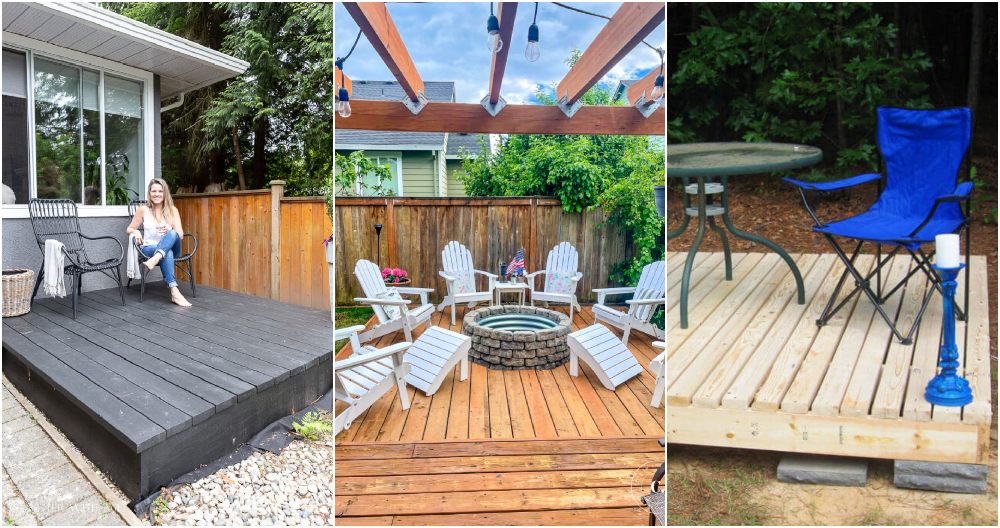
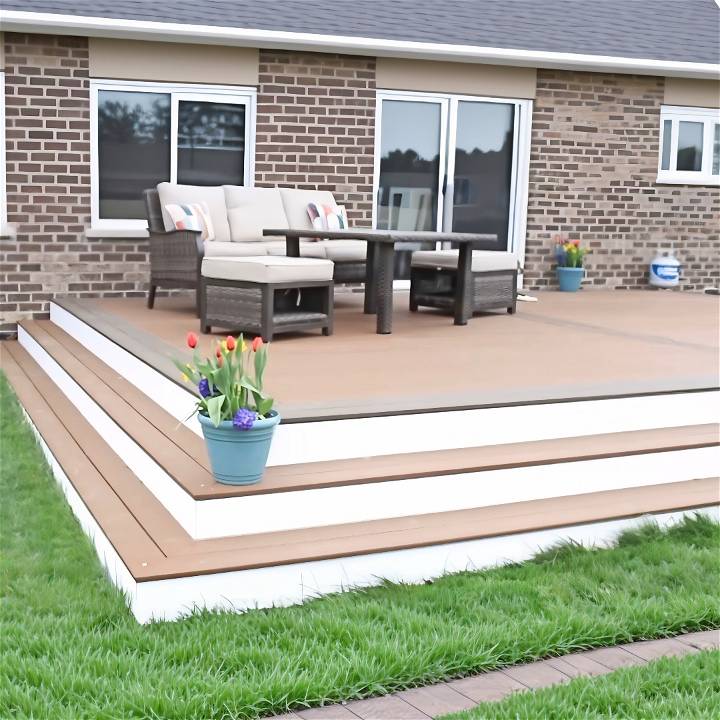
Building a DIY deck was something I've always wanted to tackle. After dealing with the unsightly view of my dog's chosen spot right outside the door, I decided it was time. Here's my journey of transforming the back of my home with a low-level deck covered in composite decking. Every step felt like a challenge, but with patience and hard work, it transformed into a space my family and I enjoy every day.
Starting with the Basics: Planning and Materials
Choosing the right materials was crucial. I opted for traditional pressure-treated lumber for the frame and composite decking for the surface. Composite decking, like Trex, offered me the look and feel of wood without the high maintenance.
Materials Needed:
- Grass killer
- Batten boards and string for layout
- Pressure-treated lumber
- Composite decking
- Concrete for frost footings
- Lag bolts, galvanized nails, hurricane straps for framing
- Landscape fabric and gravel for weed prevention
- Tools: Gas auger, post level, nail gun, circular saw
Each material plays a pivotal role in making a sturdy and lasting deck. For instance, the pressure-treated lumber provides a robust structure that can withstand the elements, while the composite decking promises a maintenance-free surface that looks good as new with just a rinse.
Step-by-Step Guide
Learn how to build your own DIY deck with this step-by-step guide. From preparing the ground to adding finishing touches, DIY your dream deck today!
Step 1: Preparing the Ground
First, I sprayed the entire lawn area with grass killer to prevent any weeds from popping up through my new deck. It's a crucial step to avoid future headaches and maintain a clean look.
Step 2: Laying Out the Deck
Laying out the deck was all about accuracy. Using batten boards and string, I marked out the perimeter of the deck, ensuring it was perfectly square by measuring diagonally between opposite corners. Adjusting the strings as needed, I ended up with a precise layout.
Step 3: Digging and Setting the Posts
Renting a gas auger saved my back during this process. After calling 811 to ensure I wouldn't hit any utility lines, I dug the holes for my posts, keeping them deep enough to go below the frost line. Each post was set in concrete to provide a stable foundation.
Step 4: Framing the Deck
Framing was surprisingly enjoyable. I laid out my pressure-treated lumber, cut to size, around the perimeter, and constructed a sandwich beam in the middle to support the length of the deck. Using lag bolts, I secured everything in place, ensuring a sturdy structure.
Step 5: Installing Composite Decking
Before laying down the decking, I spread landscape fabric and covered it with gravel to prevent weeds. The composite decking installation began with making a border, mitering corners, and using hidden deck fasteners for a clean look. The fasteners were easy to use and provided a seamless finish.
Step 6: Adding Finishing Touches
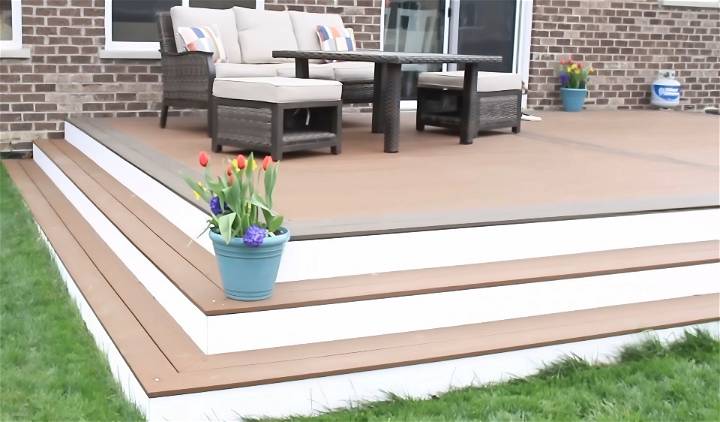
The final steps involved building steps and railings for safe and easy access to the deck. Using the same composite material guaranteed a cohesive look. Detailing with fascia and additional trim gave the project a polished finish.
Challenges and Solutions
The most challenging part was adjusting to unexpected issues, such as the concrete step near the door. Building a detailed plan and staying flexible allowed me to work around them, like notching joists to fit perfectly. Additionally, dealing with heavy materials solo required creativity, like using temporary supports to hold lumber in place.
Looking back, the effort was worth every drop of sweat. Not only have I buildd a functional space for my family, but I also learned a great deal along the way. For anyone considering a similar project, remember that planning, patience, and a little hard work can lead to amazing results.
Tips for DIY Deck Builders
- Always call 811 before digging.
- Invest in quality materials for longevity.
- Take your time with planning and layout for success.
- Don't be afraid to adjust your plans as needed.
Building this deck was more than just a project; it was a learning experience that showed me the value of patience, planning, and perseverance. Not only did I build a beautiful outdoor space, but I also provided my family with a place to make memories for years to come.
Creative Deck Design Ideas
When it comes to designing your deck, creativity knows no bounds! Whether you're starting from scratch or looking to revamp an existing deck, these innovative ideas will elevate your outdoor space. Let's explore some inspiring concepts that combine aesthetics, functionality, and practicality.
1. Multi-Level Decks
Why settle for one level when you can have two or more?
Multi-level decks build visual interest and provide distinct zones for various activities. Here's how to make the most of this design:
- Entertainment Level: Dedicate one level for entertaining guests. Install a grill, outdoor seating, and perhaps a mini bar. This area becomes your go-to spot for hosting gatherings and enjoying meals al fresco.
- Relaxation Nook: A few steps up, build a cozy nook with comfortable lounge chairs or a hammock. This elevated space offers privacy and a serene atmosphere for reading, napping, or stargazing.
- Sunset Deck: At the highest level, design a sunset deck. Install a bench or a swing where you can unwind while watching the sun dip below the horizon. It's the perfect spot for romantic evenings or quiet reflection.
2. Curved Edges
Straight lines are classic, but curves add flair and soften the overall look. Consider the following:
- Curved Railings: Instead of traditional straight railings, opt for gently curved ones. They build a graceful flow and enhance safety without sacrificing style.
- Curved Decking: If your deck wraps around a tree or follows the contours of your landscape, embrace the curves. Curved decking boards add elegance and mimic natural shapes.
3. Built-In Seating and Storage
Maximize space by incorporating built-in features:
- Built-In Benches: Along the perimeter of your deck, build benches with storage underneath. These serve as seating during gatherings and provide discreet storage for cushions, gardening tools, or outdoor games.
- Planter Boxes: Integrate planter boxes into the railing or deck edges. Fill them with colorful flowers, herbs, or succulents. Not only do they beautify the space, but they also build a sense of enclosure.
4. Ambient Lighting
Extend your deck's usability into the evening with thoughtful lighting:
- String Lights: Drape string lights across the deck or along the railing. They add a magical ambiance and make your outdoor area inviting after dark.
- Solar Path Lights: Line the edges of your deck with solar-powered path lights. They illuminate walkways and define the deck's boundaries.
5. Pergolas and Shade Structures
Pergolas not only provide shade but also serve as architectural focal points:
- Pergola with Vines: Install a pergola over part of your deck and train climbing vines to grow on it. The interplay of sunlight and foliage builds a captivating play of light and shadow.
- Retractable Canopy: For flexible shade, consider a retractable canopy. It allows you to adjust the coverage based on the sun's position.
Remember, your deck design should reflect your lifestyle, preferences, and natural surroundings. Whether you're envisioning a cozy retreat or an entertainment hub, let your creativity flourish!
FAQs About DIY Deck
Get answers to all your DIY deck questions in our comprehensive FAQs guide. Learn tips, tricks, and expert advice for building your dream deck.
1. How Do I Plan the Deck Layout?
- Measure Your Space: Determine the available area for your deck.
- Consider Functionality: Think about how you'll use the deck—entertaining, dining, or relaxation.
- Sketch the Design: Build a rough sketch with dimensions, including stairs, railings, and any features you want.
2. What Tools Do I Need for Deck Construction?
- Circular Saw: For cutting lumber.
- Drill/Driver: Essential for assembling the deck.
- Level and Square: Ensure accurate measurements.
- Post Hole Digger: Needed for digging footings.
- Deck Screws and Fasteners: Choose corrosion-resistant options.
3. How Do I Build a Sturdy Deck Frame?
- Footings: Dig holes for footings, pour concrete, and insert posts.
- Ledger Board: Attach a ledger board to your house (if applicable).
- Joists: Install joists perpendicular to the ledger board.
- Beams: Place beams on top of the posts to support the joists.
4. What About Deck Safety?
- Railings: Install sturdy railings around the deck perimeter.
- Stairs: Build safe and well-anchored stairs with proper handrails.
- Inspect Regularly: Check for loose boards, protruding nails, and rot.
5. How Can I Enhance My Deck's Aesthetics?
- Color and Stain: Choose a deck stain or paint that complements your home.
- Outdoor Furniture: Add comfortable seating, tables, and cushions.
- Plants and Lighting: Incorporate potted plants and outdoor lighting for ambiance.
Remember, safety, durability, and aesthetics go hand in hand when making your DIY deck.
Conclusion:
In conclusion, building a DIY deck can be a rewarding project that adds value to your home and provides a space for relaxation and entertainment. Follow our tips and tricks for a successful build!


