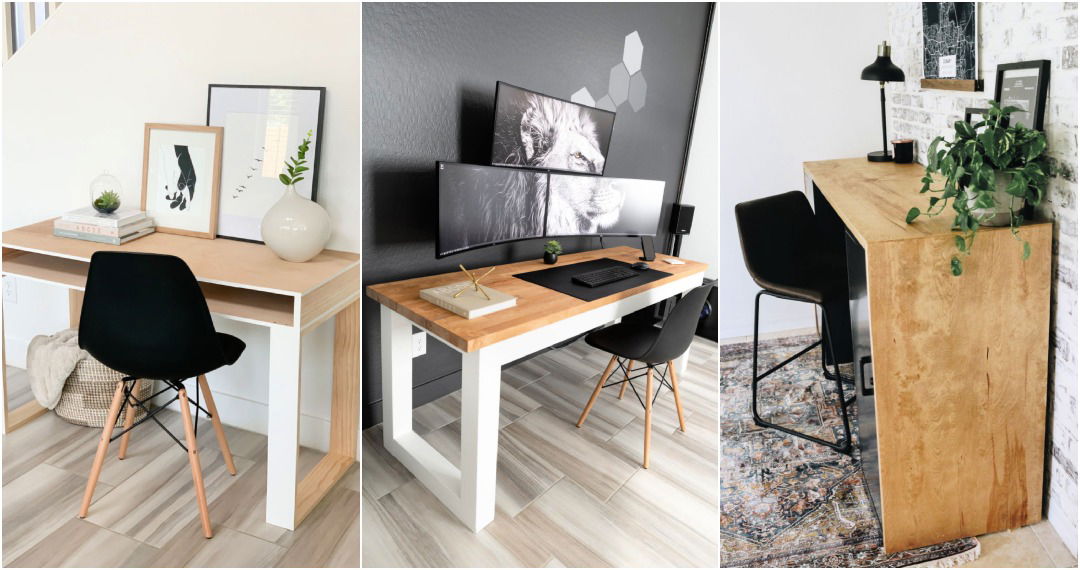
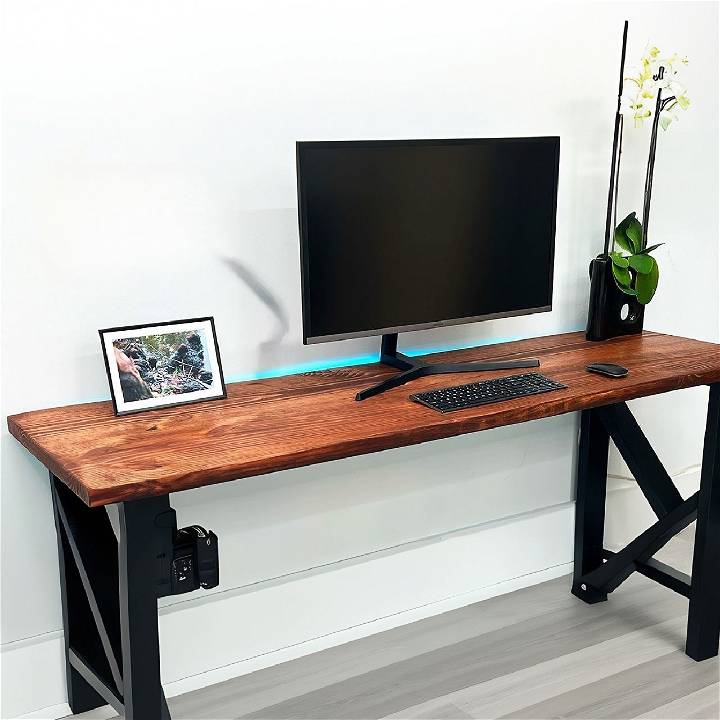
Building furniture from scratch can seem daunting, especially when you're on a tight budget. However, I recently took on the challenge to build a less-than-$40 stylish desk, utilizing minimal tools and materials easily found at a local home center. Here's my step-by-step guide to inspire and equip you to make your own budget-friendly, stylish desk.
Materials Needed and Why
- Dimensional Lumber (2x4s, 2x12s): Essential for the desk's structure and top. Affordable and readily available.
- Dow Stick: Initially intended for joinery but opted for pocket hole joinery instead. Still useful for other projects.
- Pocket Hole Jig: Makes joinery easier and more professional-looking, even for beginners.
- Wood Glue and Screws: To ensure sturdy construction that lasts.
- Sandpaper (120 grit): For smoothing rough surfaces and rounding over corners.
- Stain, Paint, and Wood Filler: To finish the desk beautifully and hide any imperfections.
- LED Strip (optional): Adds a modern touch and improves functionality.
Step by Step Instructions
Learn how to build a DIY desk step by step with detailed instructions from preparing the lumber to adding aesthetic touches and applying finishes.
Step 1: Preparing the Lumber
First, I cut my 12-foot piece of lumber in half to make it manageable and fit into my vehicle. I then attempted to join these pieces to build the desk top. Despite a persistent gap, sanding the edges helped me achieve a fit I was satisfied with.
Step 2: Making the Joinery
I decided to use a pocket hole jig for simplicity and efficiency. It was a game-changer, especially for those wary of traditional dowel joinery. After drilling the holes, I applied wood glue and clamped the pieces together, followed by securing them with 2 and 1/2 inch screws.
Step 3: The Sanding Marathon
Sanding took a bit of elbow grease, but it was crucial for smoothing out the rough lumber and rounding the corners. This step ensures a sleek, touchable finish.
Step 4: Assembling the Frame
With the top set aside, I focused on the frame, drilling additional pocket holes for secure attachment. This part of the process underscores the importance of a stable foundation for your desk.
Step 5: Adding Aesthetic Touches
To enhance the desk's look, I added angled braces not for structural integrity but for style. Simple wood glue was surprisingly sufficient for attaching these elements.
Step 6: Applying Finishes
Skipping the pre-stain conditioner, I directly applied stain to the desk top. The process was surprisingly forgiving and yielded a rich, even color. For the frame, I used an old can of paint I had, proving that you don't need fresh supplies to achieve a fresh look.
Pro Tip: Wood Filler Magic
For any cracks or imperfections, I buildd a DIY wood filler using sanding dust and wood glue. It was an effective and cost-efficient way to achieve a seamless finish.
Step 7: Final Touches
I mounted the base to the top with screws, ensuring everything was properly centered. As an optional step, I added an LED strip below the top for a modern flair and subtle ambiance.
What I Learned and Tips for Success
- Preparation Is Key: Have all materials and tools ready before starting. Planning ahead reduces stress and mess.
- Imperfections Add Character: While aiming for perfection, remember that small flaws can add uniqueness to your DIY project.
- LEDs Are Worth It: If up against a wall, adding an LED strip can transform your desk from ordinary to extraordinary.
- Budgeting Smartly: Keeping costs down doesn't mean cutting corners on quality. Use what you have, and buy only what you need.
I spent under $40 on lumber and utilized existing materials for the finish and extras. This project reinforced the value of creativity, patience, and resourcefulness.
Customization Tips for Your DIY Desk
Building a desk that meets your personal needs and reflects your style can be a rewarding DIY project. Here's how you can customize your DIY desk for both functionality and aesthetics.
- Identify your style preference. Do you lean towards modern minimalism, rustic charm, or industrial ruggedness? Your desk's design should resonate with the overall decor of your space.
- Think about functionality. What will you use the desk for? If you're a gamer, you might want integrated holders for your headphones and controllers. For artists, a tiltable surface could be beneficial.
- Add personal touches. Use colors that you love, add patterns with stencils, or incorporate elements that reflect your hobbies and interests.
- Prioritize ergonomics. The height of the desk and the distance to your monitor can make a big difference in comfort. Adjustable legs can be a great addition to find the perfect height.
- Incorporate storage. Drawers, shelves, or hidden compartments help keep your workspace tidy and your essentials within reach.
- Make it tech-friendly. Consider built-in USB ports or a cable management system to keep your desk clutter-free.
- Select quality materials. Choose durable materials that can withstand daily use and are easy to clean.
- Easy Updates. Use components that can be easily swapped out, like removable desk pads or clip-on accessories, so you can refresh the look without a complete overhaul.
By considering these customization tips, you can build a desk that not only looks great but also serves your specific needs.
FAQs About DIY Desks
When embarking on a DIY desk project, it's natural to have questions. Here are answers to some common queries to help you get started on the right foot.
What is the ideal height for a DIY desk?
The ideal height for a DIY desk is typically between 28 to 30 inches from the floor to the top of the desk. This range suits most people, but if you're taller or shorter, you might want to adjust accordingly.
How can I ensure my DIY desk is stable?
To ensure stability, use sturdy materials and secure connections. Brackets, screws, and quality wood or metal can make a big difference. Also, consider adding a fifth leg at the back center if the desk is long.
What materials are best for a DIY desk?
The best materials for a DIY desk depend on your needs and style. Solid wood is durable and aesthetically pleasing, while plywood is cost-effective and versatile. For industrial looks, metal frames are a great option.
How can I make my DIY desk more ergonomic?
To make your desk ergonomic, focus on adjustability. Adjustable legs and monitor stands can help you achieve the perfect height. Also, ensure that there's enough space under the desk for your legs to move freely.
Can I integrate technology into my DIY desk?
Absolutely! You can integrate technology by adding built-in power strips, USB ports, and cable management systems. These features will help keep your workspace organized and your devices powered.
Conclusion
Building a budget-friendly, stylish desk isn't just about saving money; it's about the satisfaction of making something functional and beautiful with your own hands. Whether you're a seasoned DIYer or a novice looking to start a new hobby, this project is accessible and rewarding. Dive in, make it your own, and remember that the journey is just as important as the finished product.


