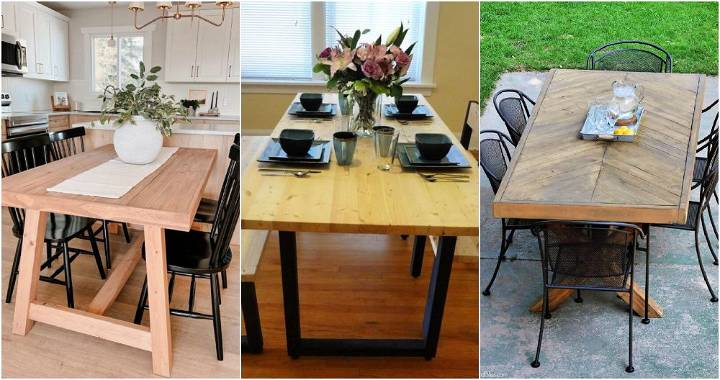
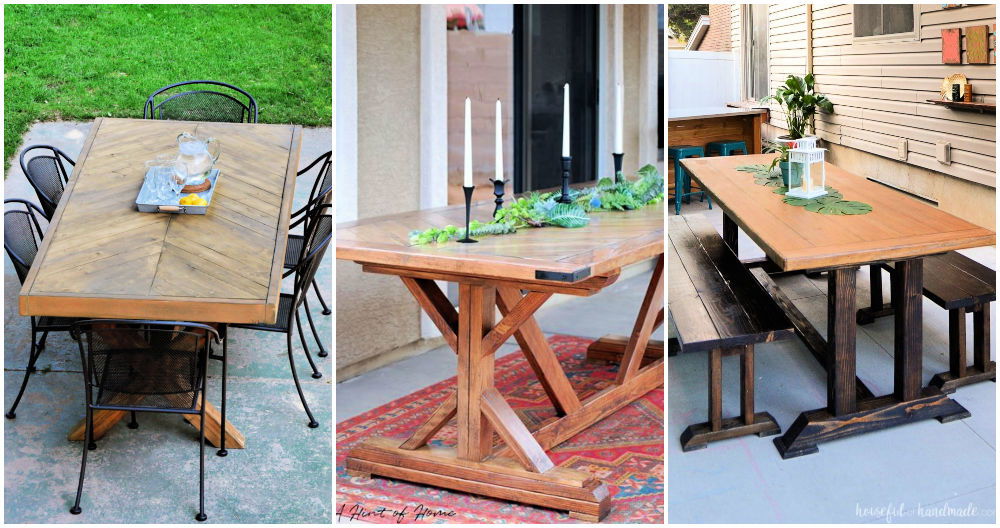
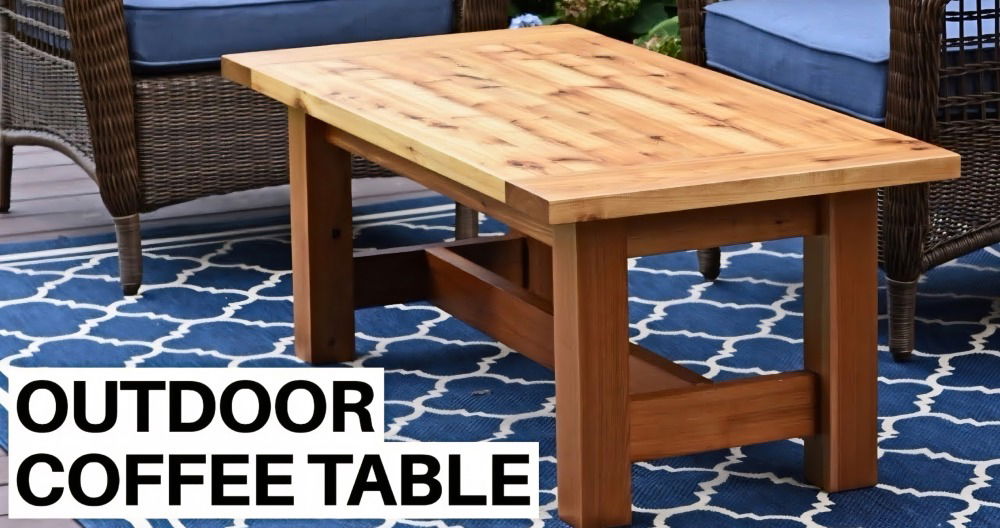
As a person with a soft spot for DIY projects and a tighter budget, the idea of making my own dining room table from scratch seemed both exhilarating and daunting. After stumbling upon a straightforward guide that promised a modern dining room table using only construction lumber, I was ready to take on the challenge. The process was enriching, and in hopes of sharing what I've learned, I present to you a step-by-step recount of my journey to building a sleek, modern dining room table without breaking the bank.
Gathering Materials
The materials list was simple and resonated with my practical side. Construction lumber was the star of the show – an affordable option that doesn't skim on quality if treated correctly. I needed:
- Construction lumber for the tabletop and legs.
- Wood glue and screws for assembly.
- Clamps to hold the pieces together while the glue dries.
- Sandpaper and a hand planer are used to smooth the surfaces.
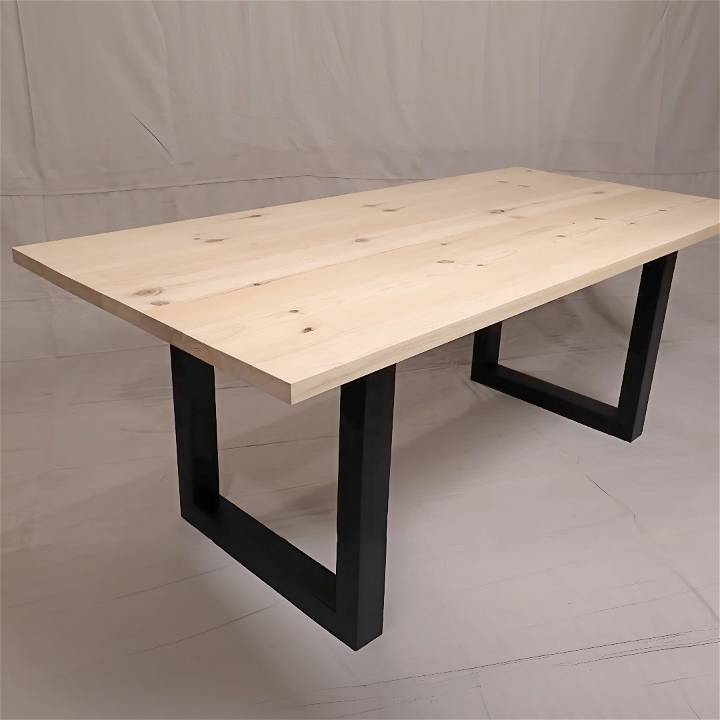
- A black matte paint for the legs for that chic, modern twist.
- Crystal clear matte finish polyurethane to protect the wood.
Each item was selected carefully. The lumber was cost-effective and sturdy, held together with glue, screws, and clamps. Sandpaper and paint were used for a sleek finish.
Step by Step Instructions
Learn how to build your own DIY dining table from scratch with our step-by-step instructions. Prepping lumber, assembling tabletop, making legs, sanding & finishing - it's all covered here!
Step 1: Prepping the Lumber
I began by planning the construction lumber to clean up the surfaces, removing any mill marks or imperfections. This step was crucial for a high-quality finish, and while it required some elbow grease, it set the foundation for a smooth tabletop and legs.
Then, I trimmed the boards to length, using a table saw to ensure crisp edges. This precision would pay off later when assembling the pieces, as it guaranteed a level, uniform table.
Step 2: Assembling the Tabletop
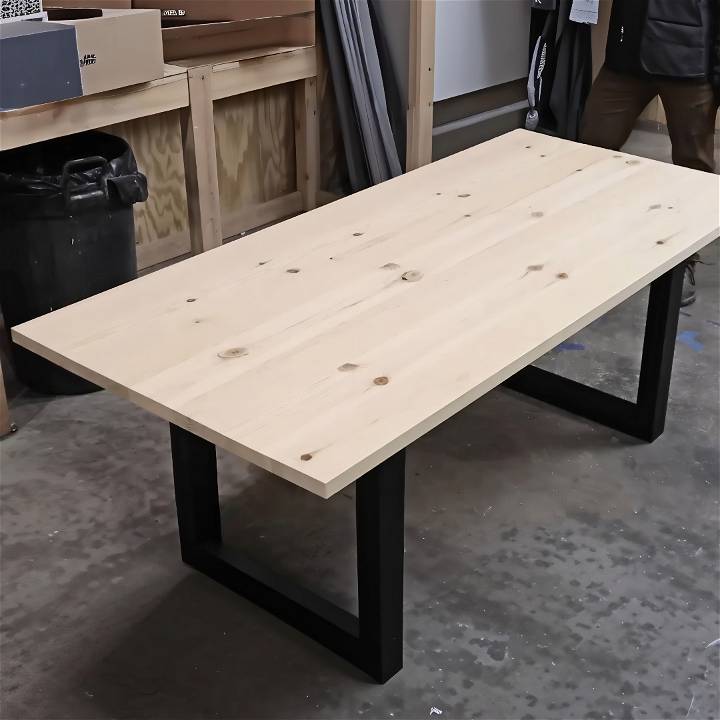
With my boards prepped and edges crisp, I laid out my tabletop to get a visual before gluing. This dry lay was an opportunity to rearrange any pieces for the best aesthetic flow. Once satisfied, I applied a generous amount of wood glue along each edge, then placed clamps along the length to hold the boards tightly together. Ensuring the tabletop was level and without gaps was paramount, and the clamps helped achieve a seamless surface.
Step 3: Building Sturdy Legs
For the legs, I wanted durability and a chic appearance. I planed additional construction lumber, then cut them to the desired length for legs before running them through the table saw to square off the edges. Assembly involved making square frames reinforced with pocket holes—a design choice inspired by its simplicity and strength. Once assembled, I filled any imperfections with wood filler, sanded them down for a smooth finish, and painted them matte black for a modern flair.
Step 4: Sanding and Finishing
The most time-consuming but rewarding part was the sanding process. Starting with a chisel to remove dried glue, I moved on to a hand planer and, finally, a belt sander. This incremental approach, from coarse to fine, helped achieve a beautifully smooth surface ready for finishing.
I chose a crystal clear matte finish polyurethane to protect the wood while maintaining its natural look. Applied in two coats with a light sanding in between, it provided the table with a durable finish that's resistant to daily wear and tear.
Step 5: Final Assembly
With the tabletop and legs complete, it came the moment to bring all the elements together. Following precise measurements, I drilled holes into the table's underside, securing the legs with bolts that allowed for easy disassembly if needed. The final step was attaching metal C-channel supports underneath to prevent any potential warping of the wood over time – a small but crucial detail for the table's longevity.
Design Customization Ideas for Your DIY Dining Table
Building a DIY dining table gives you the freedom to tailor it to your personal style and the specific needs of your space. Here are some ideas to inspire your design:
Choose Your Style
Identify your preferred style. Do you lean towards modern minimalism, rustic charm, or classic elegance? Your table can reflect this. For a modern look, think clean lines and sleek finishes. For a rustic vibe, consider reclaimed wood and a natural edge.
Select the Shape and Size
Think about the shape and size that best fits your space. A rectangular table is traditional and offers ample space, while a round table can build a cozy atmosphere and is great for smaller rooms.
Pick the Materials
Select materials that not only look good but are also durable. Hardwoods like oak, maple, and walnut are long-lasting choices. If you're on a budget, softwoods like pine can be a cost-effective alternative.
Add Functional Features
Consider functional features like extendable leaves for extra guests or built-in storage for tableware. These can make your table more versatile and practical.
Personalize with Color
Personalize with color. Stain the wood to highlight its natural beauty, or paint it to match your room's color scheme. Remember, darker colors can give a sense of warmth, while lighter colors can make a space feel larger.
Decorative Details
Add decorative details like intricate leg designs or a patterned tabletop. These can turn your table into a statement piece.
Finishing Touches
Don't forget the finishing touches. A final coat of varnish or sealant not only protects your table but can also enhance its appearance.
By focusing on these aspects, you can design a DIY dining table that reflects your personality and enhances your home. Keep it simple, prioritize quality, and enjoy the process!
Common Mistakes to Avoid in DIY Dining Table Projects
When embarking on a DIY dining table project, it's crucial to be aware of common pitfalls that can occur. Avoiding these mistakes will help ensure a successful and satisfying outcome.
Choosing the Wrong Wood
Selecting the appropriate wood is vital. Hardwoods like oak, maple, and walnut are durable and ideal for dining tables. Softwoods can be used but are less resistant to scratches and dents.
Ignoring Wood Movement
Wood expands and contracts with changes in humidity. Account for wood movement in your design to prevent cracks or warping.
Skimping on Tools and Materials
Using the right tools and quality materials is non-negotiable. Invest in good-quality saws, drills, and sanders. Don't compromise on hardware like screws and brackets.
Overlooking Measurements
Measure twice, cut once. Precise measurements are the foundation of any successful DIY project. Inaccurate measurements can lead to a wobbly or uneven table.
Forgetting to Sand and Finish
Sanding is essential for a smooth surface, and finishing protects your table. Don't rush these steps. Apply a sealant or varnish to protect the wood from stains and water damage.
Neglecting Safety
Safety should be your priority. Always wear protective gear like goggles and gloves, and work in a well-ventilated area.
By steering clear of these common errors, you'll be on your way to crafting a beautiful, sturdy dining table that will be the centerpiece of many memorable gatherings.
FAQs About DIY Dining Tables
Discover all you need to know about DIY dining tables, from materials to assembly, in this comprehensive FAQ guide. Start your project today!
What is the best wood to use for a DIY dining table?
The best wood for a DIY dining table depends on your budget and style preference. Hardwoods like oak, maple, and walnut are durable and ideal for a long-lasting table. For a more budget-friendly option, pine is a good choice but is softer and more prone to damage.
How do I ensure my dining table is stable?
To ensure stability, make sure all joints are securely fastened and the table base is properly proportioned to the tabletop. Use quality hardware and consider adding additional support like aprons or braces under the table if necessary.
Can I make a dining table if I'm new to woodworking?
Yes, even if you're new to woodworking, you can make a dining table. Start with a simple design and choose pre-cut wood or kits that require minimal tools. There are many tutorials and plans available that cater to beginners.
How do I protect my DIY dining table from stains and scratches?
Protect your dining table by applying a finish like polyurethane, varnish, or wax. These finishes build a protective layer that helps prevent stains and scratches. For daily maintenance, use placemats and coasters, and wipe up spills promptly.
What tools do I need to build a dining table?
The basic tools you'll need include a saw for cutting the wood, a drill for making holes, screws and a screwdriver for assembly, sandpaper or a sander for smoothing the wood, and clamps to hold pieces together while you work. As you gain experience, you may want to invest in more specialized tools.
Conclusion
The pride I felt upon completing this table was immeasurable. Not only had I crafted a functional piece of furniture, but I'd also instilled it with a sense of personal achievement. This project proved that, with a bit of patience and elbow grease, making a beautiful modern dining room table from simple materials was not only possible but profoundly satisfying.
Reflecting on the journey, my hope is that this guide serves not only as an instruction but as an inspiration for your own DIY adventures, showing that beautiful, high-quality furniture is within reach, no matter your budget.


