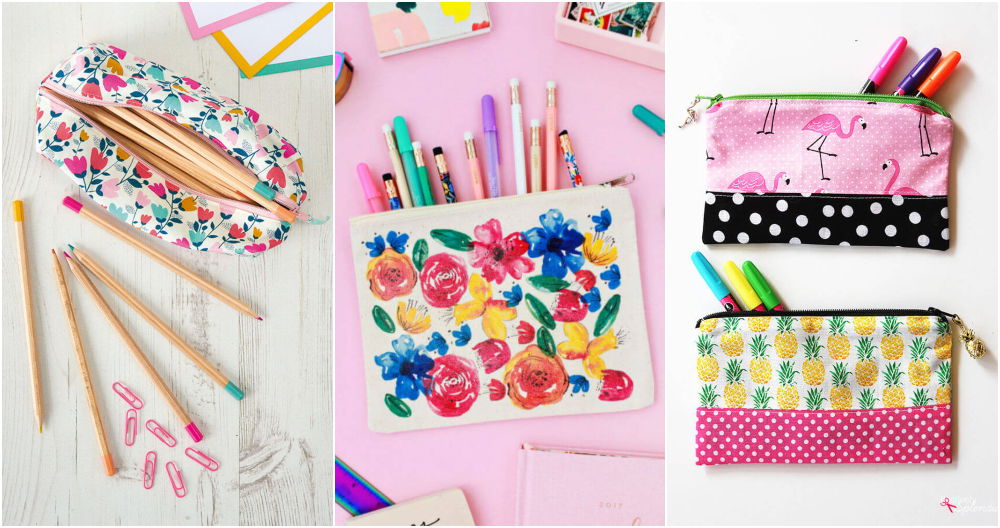
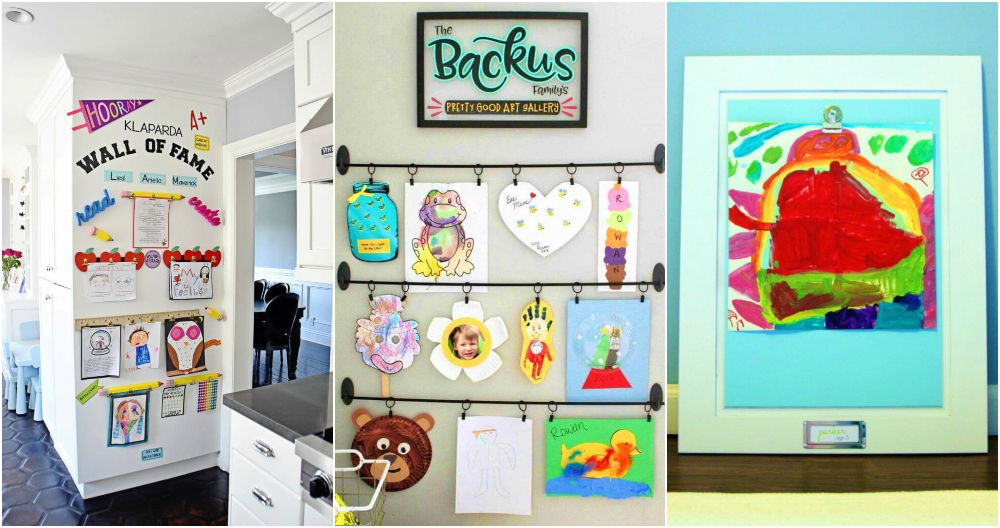
Making your own DIY display case is a fantastic way to showcase your treasures. Whether you want to display collectibles, art, or other cherished items, a display case can make them stand out beautifully. In this guide, you'll learn step-by-step instructions on how to build a display case from scratch using simple materials and basic tools. It's an easy and rewarding project suitable for any skill level.
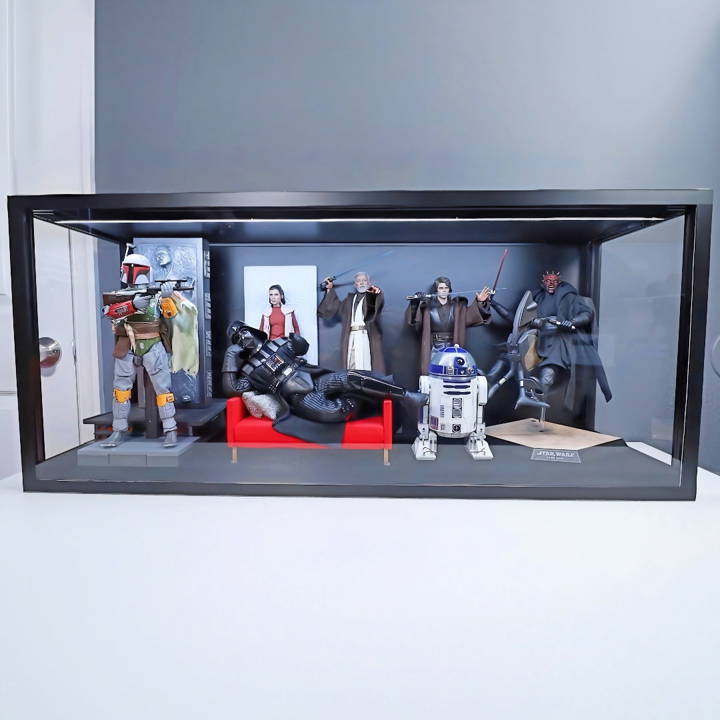
Building a display case yourself allows you to customize it to fit your specific needs and style. This article will provide detailed directions and tips on how to make a display case that complements your home décor. From selecting materials to the final assembly, you'll find everything you need to complete your project successfully.
Ready to start? Let's move on to the materials and tools needed for your DIY display case project.
Materials Needed and Why
- V-Slot Aluminum Extrusions: For the frame, chosen for their structural integrity and ease of assembly.
- M5 Steel Flat Washers and Cap Screws: For securing the frame together, ensuring a sturdy build.
- Wood Board & Velvet Fabric: For the shelf, offering a plush backdrop against which my collectibles could stand out.
- PVC Foam Sheet & Acrylic Sheets: For the back panel and doors, providing durability and clear visibility while protecting from dust.
- LED Light Strips: To illuminate the display, highlighting the showcased items.
- French Cleat System: For wall mounting, chosen for its reliability in supporting heavy loads.
Step by Step Instructions
Learn how to build a DIY display case with our step-by-step guide. From frame to shelves and lighting, build a stunning showcase for your treasures.
Building the Frame
The adventure started with measuring and cutting the aluminum extrusions to fit the desired dimensions of the case. With precise measurements in hand and materials from a recommended supplier, the cutting and drilling process was smoother than anticipated, bolstering my confidence in the project. Ensuring the frame was both lightweight and strong enough to be wall-mounted was paramount, so I opted for a combination of 2020 and 2040 V-slot extrusions for optimal balance.
The Shelf: Function Meets Elegance
Fabricating the shelf was a fulfilling blend of woodworking and creativity. After cutting the wood to size, I decided to upholster it with velvet fabric, lending an elegant touch to the display. The plush fabric not only enhanced the appearance but also provided a soft surface for the collectibles, minimally reducing the risk of scratches or damage.
Panels and Lighting: The Finishing Touches
Building the back panel and doors from PVC foam and acrylic sheets, respectively, required a steady hand and a bit of creativity, especially when cutting to size and ensuring they fit snugly without gaps. Installing LED lights was the game-changer, transforming a simple case into a professional-grade display that brought my collectibles to life in a soft, ambient glow.
Mounting: The Moment of Truth
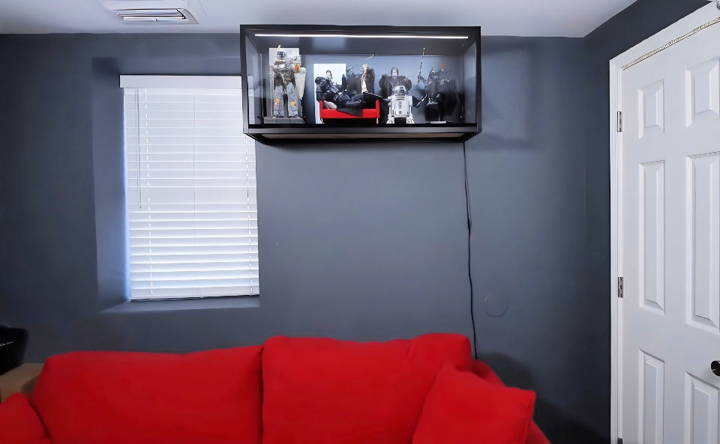
Employing a French cleat system for mounting was a learning curve, but it proved to be exceptionally secure and manageable. It was crucial to distribute the weight evenly across the wall, avoiding any potential mishaps. Following careful planning and a touch of anxiety, the case fit perfectly against the wall, remaining sturdy and aligned.
Customization Tips for Your DIY Display Case
A DIY display case lets you showcase treasures while expressing your style and enhancing home decor. Here are customization tips to personalize it:
- Choose Your Theme Start by deciding on a theme that reflects the contents of your display case or your personal aesthetic. Whether it's vintage, modern, or rustic, your theme will guide your customization choices.
- Selecting Materials The materials you choose can greatly affect the look and feel of your display case. Consider using reclaimed wood for a rustic touch or high-gloss acrylic for a sleek, modern look. Glass shelves are classic, but you can also use mirrored or colored acrylic for a different effect.
- Paint and Finish A fresh coat of paint can transform your display case. Go for a color that complements your room or makes a bold statement. Use finishes like matte, satin, or gloss to achieve the desired look.
- Lighting Good lighting can highlight your display items and draw attention to your case. LED strips offer a bright, energy-efficient option. You can choose from white lights or colored options for different effects.
- Decorative Accents Add decorative elements such as molding, trim, or etching to give your case character. These details can turn a simple case into a piece of art.
- Hardware The hardware on your display case, like hinges and handles, can be both functional and decorative. Brass fittings can add a classic touch, while sleek steel can give a modern vibe.
- Background Consider lining the back of your display case with fabric, wallpaper, or a painted design. This can add depth and interest to your display.
- Adjustability Incorporate adjustable shelves or hooks to accommodate items of various sizes. This flexibility allows you to update your display easily.
- Protection If you're displaying valuable or delicate items, consider adding locks or using UV-protective glass to safeguard your collection.
Enjoy your DIY project, and let your creativity flow. These tips will help you make a display case that's both useful and showcases your personality.
Troubleshooting Common Issues with DIY Display Cases
When crafting your own display case, you might encounter a few hiccups along the way. Here's a guide to help you troubleshoot some of the most common issues, ensuring your display case turns out just as you envisioned.
Foggy Glass or Acrylic
- Solution: If your glass or acrylic panels look foggy, it could be due to residue from adhesives or cleaners. Use a microfiber cloth and a specialized acrylic cleaner to gently clean the surface.
Uneven Shelves
- Solution: Shelves that aren't level can detract from your display. Check that your case is on a flat surface. If the issue persists, adjust the shelf supports or add shims under the case to level it out.
Weak Joints
- Solution: If the joints of your case feel weak, reinforce them with corner brackets or additional screws. For wooden cases, wood glue can provide extra stability.
Scratches on Surfaces
- Solution: Light scratches can often be buffed out with a polishing compound. For deeper scratches, you may need to replace the affected panel.
Doors Not Closing Properly
- Solution: Check the hinges and ensure they're tightly screwed in. If the door is still misaligned, adjust the hinge placement or add magnetic catches for a secure close.
Dust Accumulation
- Solution: To minimize dust, ensure all gaps are sealed. Use weather stripping around doors and make sure the case is well-ventilated to prevent static, which attracts dust.
Lighting Issues
- Solution: If your lights aren't working, first check the power source and connections. Replace any burnt-out LED strips or bulbs. Consider using a lower voltage if overheating occurs.
Structural Integrity
- Solution: For a sturdier build, use thicker panels and robust framing materials. Ensure all components are cut precisely and fit snugly before assembly.
Moisture Inside the Case
- Solution: Moisture can be a sign of poor sealing or high humidity. Use silica gel packets to absorb moisture and check that your case is properly sealed against the elements.
Fix these common issues to make your DIY display case beautiful and functional. Patience and attention to detail are key to solving problems during your project.
Safety Considerations for Building a DIY Display Case
When embarking on a DIY project to build a display case, safety should always be your top priority. Here are some key safety considerations to keep in mind to ensure that both the building process and the finished product are safe for everyone.
Work Area Safety
- Keep It Clean: Maintain a clean and organized workspace to avoid accidents.
- Proper Lighting: Ensure your work area is well-lit to avoid mishaps while using tools.
Tool Safety
- Use Tools Correctly: Always use tools according to their instructions and wear appropriate safety gear, like gloves and goggles.
- Check Tools Before Use: Inspect your tools for damage before each use to prevent malfunctions.
Material Handling
- Lift Properly: When lifting heavy materials, use your legs, not your back, to prevent injury.
- Store Materials Safely: Keep materials stored securely to prevent them from falling or causing tripping hazards.
Chemical Safety
- Ventilation: Work in a well-ventilated area when using adhesives or paints to avoid inhaling fumes.
- Read Labels: Always read and follow the safety instructions on any chemicals or materials you use.
Electrical Safety
- Inspect Cords: Check for frayed cords or damaged plugs on any electrical equipment.
- Water and Electricity: Keep electrical tools and cords away from water to prevent electric shock.
Child and Pet Safety
- Keep Out of Reach: Store tools and materials out of reach of children and pets.
- Secure the Case: Once built, ensure the display case is stable and secure to prevent tipping.
Glass and Sharp Edges
- Handle With Care: Wear gloves when handling glass or acrylic to prevent cuts.
- Smooth Edges: Sand down any sharp edges on wood or metal to make them safe to touch.
Final Product Safety
- Stable Shelving: Make sure shelves are securely fastened and can bear the weight of displayed items.
- Secure Mounting: If mounting your case on a wall, use appropriate anchors and brackets to hold it firmly in place.
Follow these safety tips to build your DIY display case confidently, ensuring it's safe for home or office use.
FAQs About DIY Display Case
Discover answers to common questions about DIY display case creation, including materials, measurements, and design tips.
To protect your collection from dust, consider using glass or clear acrylic panels for the sides of your display case. Ensure all edges are sealed properly with silicone or a similar sealant. Adding a door or removable panel with a tight fit can also help keep dust out.
Absolutely! You can customize the size and shape of your display case to fit any space. Measure the area where you want to place the case and adjust the dimensions of your materials accordingly. You can also add shelves or dividers to organize your items effectively.
Different collectibles may require different display methods. For example, diecast cars can be displayed on shelves with individual slots, while baseballs might be best in cube-shaped holders. Consider the size and nature of your collectibles when designing your display case.
Adding lighting can enhance the visual appeal of your display case. LED strip lights are a popular choice as they are energy-efficient and can be placed discreetly. Plan the wiring and position of the lights to ensure even illumination of your items.
Maintaining and cleaning your DIY display case is essential to keep it looking great and your items displayed inside it in pristine condition. Use a microfiber cloth to wipe down the glass or acrylic panels to avoid scratches. For tougher stains, a solution of mild soap and water can be used. Avoid using harsh chemicals or abrasive cleaners as they can damage the materials. Regular dusting will also help maintain the clarity of the display case.
Final Thoughts and Reflections
Wrapping up, making a DIY display case to showcase your treasures is a rewarding project. With this guide on how to build a display case, you can easily protect and display your cherished items. This straightforward and fun project adds a personal touch to any room while providing a beautiful way to keep memories alive. So, grab your tools and crafting supplies and start your display case project today!


