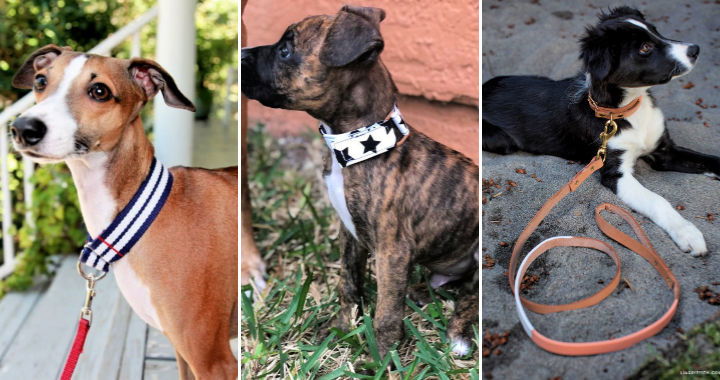
Making a DIY dog collar is a fun and rewarding experience. I remember when I first made one for my furry friend, Max. We both enjoyed the process, and it strengthened our bond. Using a simple dog collar pattern, I was able to make something both stylish and functional. Friends admired Max's unique collar, asking where I got it.
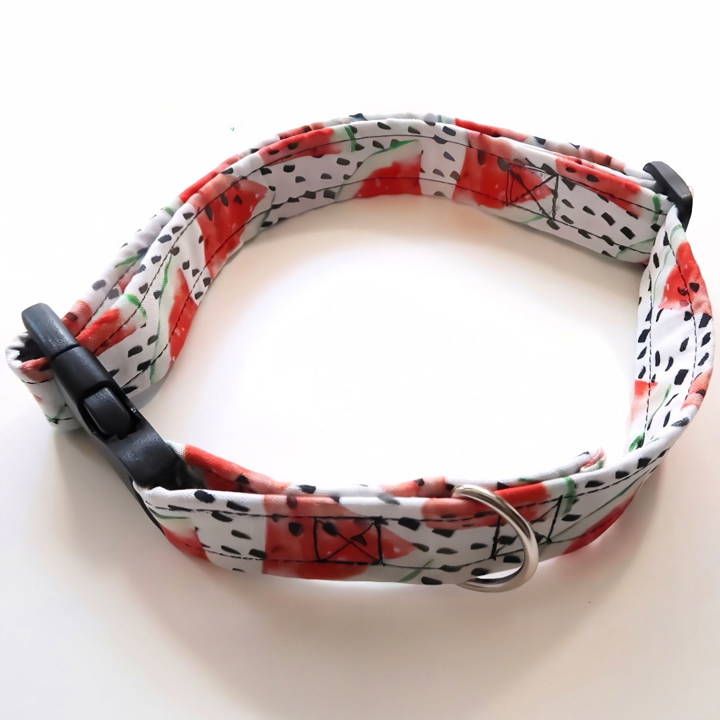
Following clear steps, I learned how to make a dog collar from scratch. I gathered the materials, such as fabric, buckle, and thread. The instructions were straightforward and easy to follow. Max's new collar fit perfectly and was comfortable for him to wear. If you want to try your hand at making one, this DIY dog collar will surely help you make something wonderful.
Why Make Your Own Dog Collar?
Before diving into the materials and steps, let's talk about why making your own dog collar is worth the effort. First, it allows you to personalize your dog's collar, giving them a unique piece that stands out. Plus, it's a fantastic way to ensure the collar fits perfectly and is comfortable for your dog. Finally, it's a rewarding project that strengthens the bond between you and your pet as you spend time making something just for them.
Materials Needed
- Nylon Webbing Strap: The backbone of the collar, providing strength and durability. I chose a 1-inch strap for my medium-sized dog.
- Buckle: Essential for easily putting on and removing the collar.
- Tri-Glide: Allows for adjustability in the collar's size.
- D-Ring: For attaching a leash or ID tags.
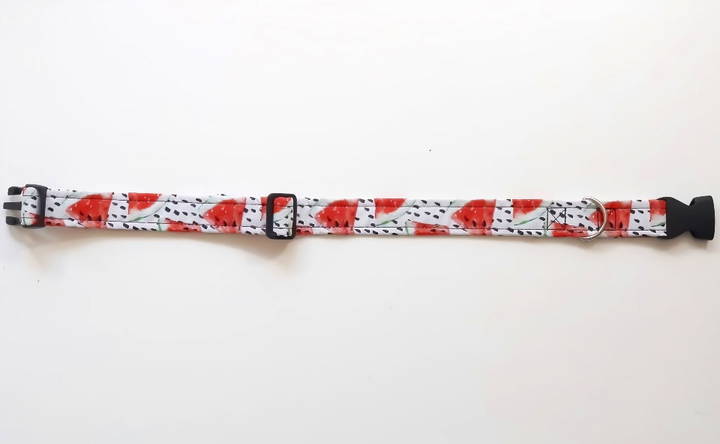
- Cotton Fabric: To cover the nylon strap for aesthetic purposes. Choose a design that reflects your dog's personality!
- Sewing Supplies: A sewing machine, thread, scissors, and a lighter for burning the strap ends to prevent fraying.
Step by Step Instructions
Learn how to make dog collars at home with easy steps! Perfect for DIY enthusiasts and pet lovers seeking unique pet accessories.
Preparing the Materials
- Cut the Webbing: Measure your dog's neck and cut the nylon webbing strap accordingly, adding a few extra inches for adjustments. I cut mine to 33 inches. Use a lighter to slightly melt the ends to prevent fraying.
- Cut the Fabric: The fabric should be slightly wider than the strap to allow for folding. I cut mine about 3.75 inches wide.
Sewing the Fabric onto the Strap
- Position the Fabric: Fold one end of the fabric over by an inch and iron it flat. This will be where you start enveloping the nylon strap.
- Wrap the Strap: Center the nylon strap under the folded part of the fabric, then fold the other side of the fabric over the strap, enclosing it entirely. Use binder clips to hold the fabric in place.
- Sew: Carefully sew around the edges of the fabric, securing it to the strap. Remember to fold in the edges at the ends for a clean finish.
Assembling the Collar
- Attach the Tri-Glide and Buckle: Slide the strap through the tri-glide, then through the pronged side of the buckle, following the back-and-forth threading technique for stability.
- Secure the Strap: Adjust the strap through the tri-glide to make a loop and sew it securely. I recommend stitching a strong rectangle with an X through it for extra durability.
- Add the D-Ring and Buckle: Slide the D-ring onto the strap, then thread the strap through the other side of the buckle. Secure the strap by sewing as before, ensuring the D-ring is trapped in place.
Finishing Touches
Adjust the collar to fit your dog's neck snugly but comfortably, and you have a custom, hand-made dog collar!
Customization Ideas for Dog Collars
Making a customized dog collar can be a fun and rewarding project. It's a way to show your love for your pet and give them a unique accessory that stands out. Here are some ideas to help you personalize a dog collar:
- Choose the Right Material: Start by selecting a material that is durable and comfortable for your dog. Nylon and leather are popular choices, but you can also consider recycled materials for an eco-friendly option.
- Add Some Color: Pick colors that complement your dog's fur. You can dye the fabric yourself or choose from a variety of colored materials available in the market.
- Get Creative with Patterns: Use stamps or stencils to add patterns to the collar. From paw prints to stars, the possibilities are endless.
- Personalize with Name Tags: Attach a name tag with your dog's name and your contact information. You can get these engraved or even make one yourself with some basic tools.
- Incorporate Beads or Charms: Add some beads or charms for a bit of sparkle. Make sure they are securely fastened to avoid any choking hazards.
- Reflective Elements for Safety: If your dog is often out after dark, add reflective tape or stitching to the collar to increase visibility.
- Comfort is Key: Ensure that any additions to the collar do not irritate your dog's skin or interfere with their movement.
The goal is to make a collar that is not only visually appealing but also comfortable and safe for your pet to wear.
Troubleshooting Common Issues
When making a dog collar, you might encounter a few hiccups along the way. Here's how to solve some of the most common issues:
The Collar is Too Tight or Too Loose
- Solution: Measure your dog's neck before you start, and add about two inches for comfort. Always check the fit before finalizing the collar.
The Buckle Keeps Unfastening
- Solution: Ensure you're using a high-quality buckle. Test different types to find one that's secure and easy to use.
The Fabric is Fraying
- Solution: Use a fray-preventative solution on the edges or choose a tightly woven fabric. Sealing the edges with a flame is also effective, but be careful.
The Decorations Fall Off
- Solution: Double-check that all embellishments are pet-safe and securely attached. Use strong adhesives or stitching rather than glue.
The Collar Isn't Standing Out
- Solution: Add contrasting colors or reflective strips to make it more noticeable. Personalized tags can also add flair.
The Collar Gets Dirty Quickly
- Solution: Select materials that are easy to clean or machine washable. Consider darker colors or patterns that hide dirt well.
Anticipate these issues and know how to address them to make a durable, attractive dog collar your pet will love. Patience and attention to detail are key for a high-quality, customized collar.
Safety Tips for Dog Collars
Ensuring the safety of your pet is paramount when selecting or making a dog collar. Here are some essential safety tips to keep in mind:
- Proper Fit is Crucial: A collar should be snug enough that your dog can't slip out of it, but loose enough to fit two fingers between the collar and your dog's neck.
- Material Matters: Choose materials that are non-irritating and non-toxic. Nylon, leather, and neoprene are commonly used for their durability and comfort.
- Breakaway Buckles for Cats: If you're making a collar for a cat, use a breakaway buckle that opens under pressure to prevent them from getting caught on objects.
- Regular Checks: Inspect the collar frequently for signs of wear and tear. A worn-out collar can break unexpectedly and may no longer be safe.
- Reflective or Light-Up Collars: For pets that go outside at night, consider using reflective materials or LED lights to make them more visible to drivers.
- Avoid Choking Hazards: Ensure that any decorations or attachments on the collar do not pose a choking risk. Everything should be securely fastened.
- ID Tags: Always include an ID tag with your contact information, so your pet can be returned to you if they get lost.
By following these guidelines, you can help keep your furry friend safe and secure. Remember, a good collar is one that combines safety, comfort, and style.
FAQs About How to Make Dog Collars
Discover the common questions and expert answers on how to make dog collars, covering materials, techniques, and tips for DIY pet projects.
Measure your dog’s neck with a flexible tape measure. Add 2 inches to this measurement for comfort. This is the length of webbing you’ll need. For the width, 1 inch is standard for most collars, but you may adjust based on your dog’s size.
Cut the fabric to be slightly wider than the webbing and long enough to wrap around it. Iron the fabric flat and fold the edges towards the center. Cut the webbing to the measured length and use a lighter to lightly singe the ends to prevent fraying.
Step 1: Center the fabric on the webbing and sew it in place.
Step 2: Attach the tri-glide to one end of the webbing.
Step 3: Sew one side of the buckle to the opposite end of the webbing.
Step 4: Slide the D-ring onto the webbing and then the other side of the buckle, forming a loop.
Step 5: Sew the buckle in place, ensuring the D-ring is secured between the buckle and the webbing.
Check the fit: The collar should be snug but not tight. You should be able to fit two fingers between the collar and your dog’s neck.
Quality materials: Use high-quality buckles and webbing for durability, especially if your dog pulls.
Regular inspection: Check the collar regularly for signs of wear and tear and replace it if necessary.
Absolutely! Personalizing your dog collar can be a fun way to reflect your dog's personality. Here are some ideas:
Embroidery: Add your dog's name or a cute design with embroidery.
Beads: Sew on beads for a decorative touch. Make sure they are securely attached.
Paint: Use non-toxic fabric paint to add patterns or designs.
Charms: Attach small charms or pendants to the D-ring for some bling.
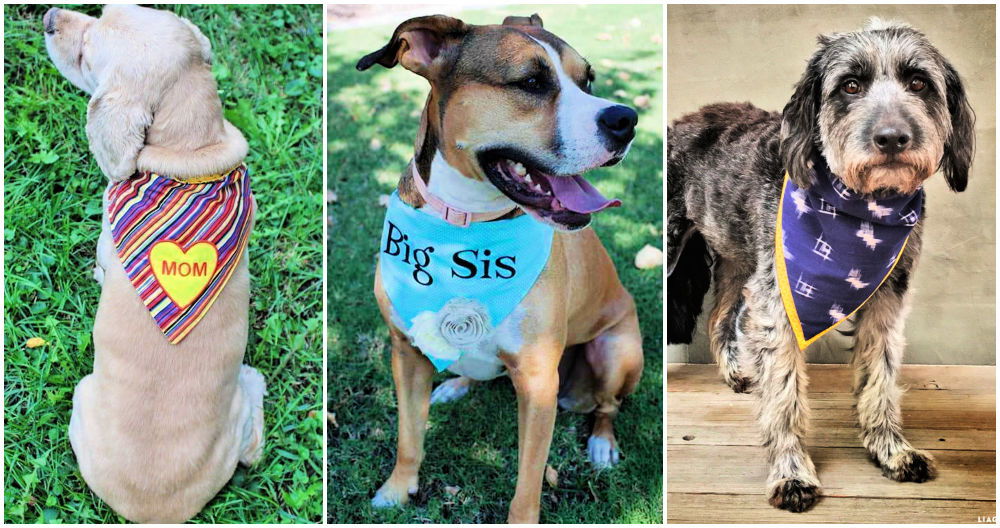
Bandanas: Slide a bandana onto the collar for a quick change of style.
Lessons Learned
Wrapping up, making a DIY dog collar is a fun and rewarding project for any pet owner. By following this guide on how to make a dog collar, you can make a unique and stylish accessory for your furry friend. Pet lovers will undoubtedly appreciate the personal touch and effort put into this creation.


