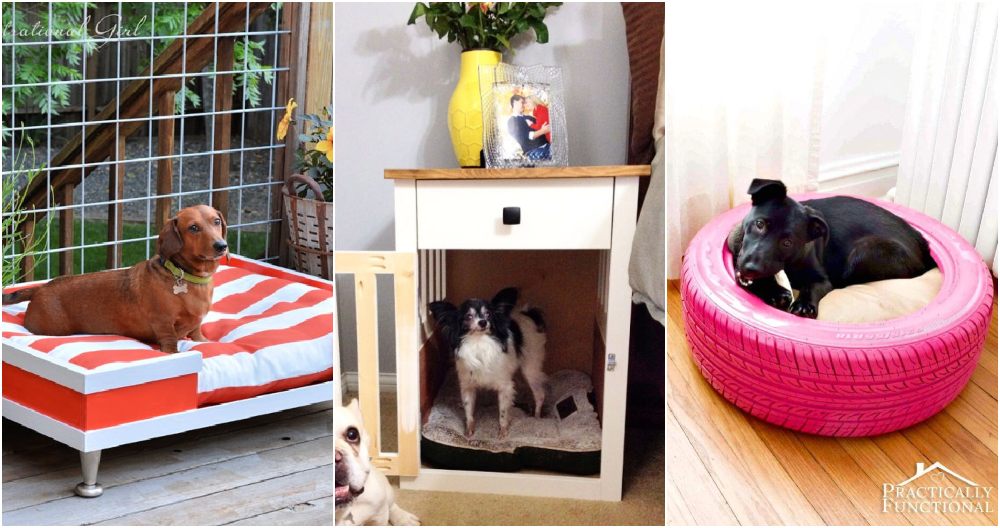
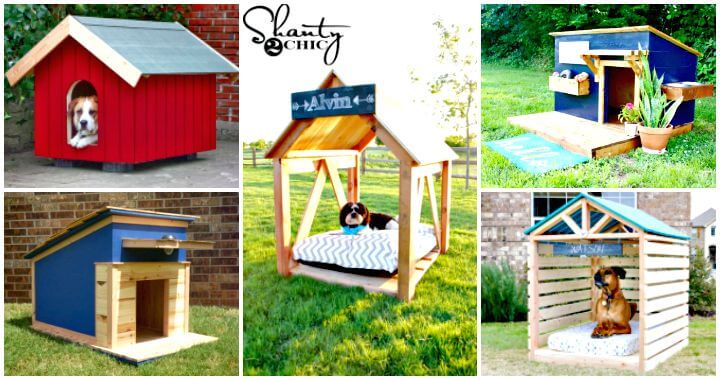
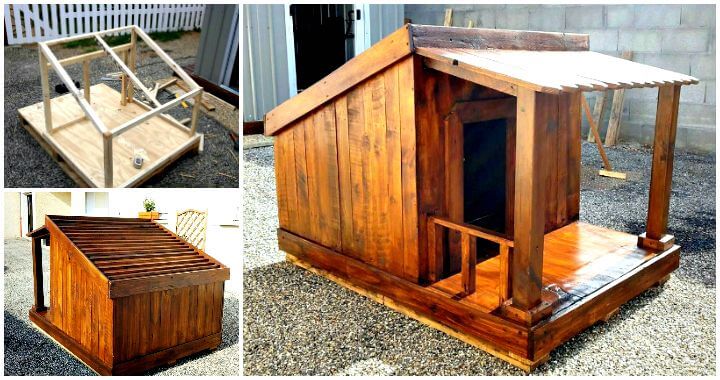
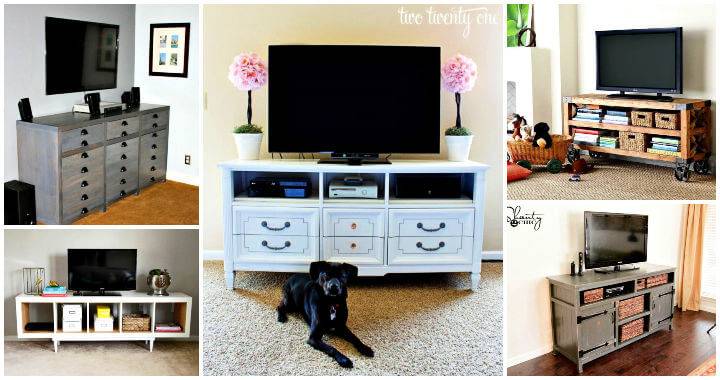
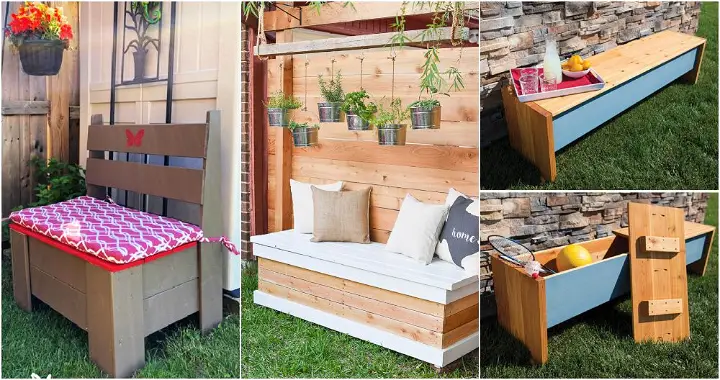
Building a DIY dog crate can seem like a big project, but it's really a way to show love for your pet. With some basic tools and a little bit of time, you can make a comfortable and safe space for your dog. This project is perfect for any dog owner who wants to build a personalized space that fits their pet's size and the style of their home. By choosing to build it yourself, you have the control to make sure it's just right.
Getting started on your DIY dog crate doesn't have to be overwhelming. We're here to guide you through every step, ensuring you know exactly what materials you need, the best techniques to use, and how to customize the crate for your furry friend's needs. This intro will lay the foundation for a fun and satisfying project.
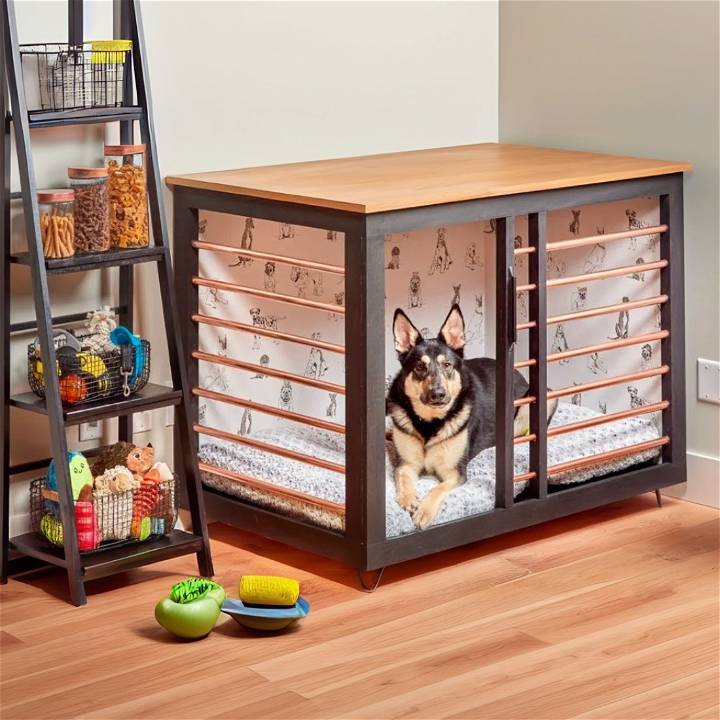
So, let's get ready to build a special spot that your dog will love to call their own. Keep reading to find out how you can make this project a success.
How to Build a Dog Crate - Step by Step Guide
Learn how to build a dog crate with our step-by-step guide. Perfect for DIY enthusiasts looking to make a comfortable space for their furry friend.
What You Need
- 3/4 inch plywood
- Saw (Circular saw or handsaw)
- Drill and bits
- Glue (Wood adhesive)
- Screws
- Miter saw (optional for precision cuts)
- Copper pipes (3/4 inch diameter)
- Steel wool
- Soft blow hammer
- Spacer (2.5 inches wide)
- Peel and stick wallpaper (optional for decoration)
- Hairpin legs (4 inches)
- India ink (optional for staining)
- Edge banding
- Iron
- Finish (paint or sealant)
- Desktop fasteners (figure eight shaped)
Step by Step Instructions
Learn how to build a DIY dog crate with our step-by-step guide below:
Step 1: Sizing the Crate
First, consider the size of your dog. Add four inches to both the length and height of your dog to determine the appropriate size for the crate. Ensure to accommodate a bed inside the crate, choosing a size that best fits.
Step 2: Cut the Plywood
Using 3/4 inch plywood, cut out the base, sides, and back of your crate. Fasten these pieces together with wood glue and screws to form the crate's structure.
Step 3: Building the Face Frames
Measure and cut the inner and outer styles of the front and side face frames. Ensure precision by stacking and cutting them simultaneously if possible. Glue the styles along the edges, utilizing a 2.5-inch spacer for correctly positioning the boards.
Step 4: Preparing the Copper Pipes
Mark intervals of four inches on the inside of the styles for the copper pipes. Drill 3/4 inch holes at these marks. Before fitting the pipes, polish them with steel wool to remove any markings and enhance their appearance. Secure the pipes and rails with a soft blow hammer, glue, and nails.
Step 5: Assemble the Crate
Attach the side and front panels to the crate structure with glue and nails. Ensure the corners are properly aligned for a clean finish.
Step 6: Install the Door and Legs
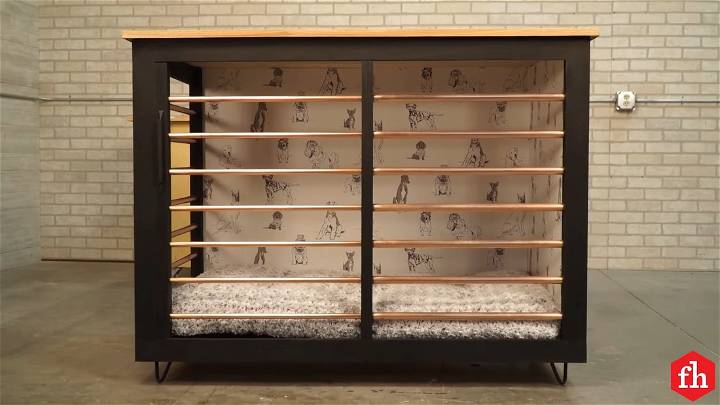
For the door mechanism, utilize copper pipes with a half-inch diameter, ensuring they fit snugly. Once the door functionality is confirmed, attach the hairpin legs to each corner of the crate and consider staining the crate with India ink for a refined look.
Step 7: Adding Finishing Touches
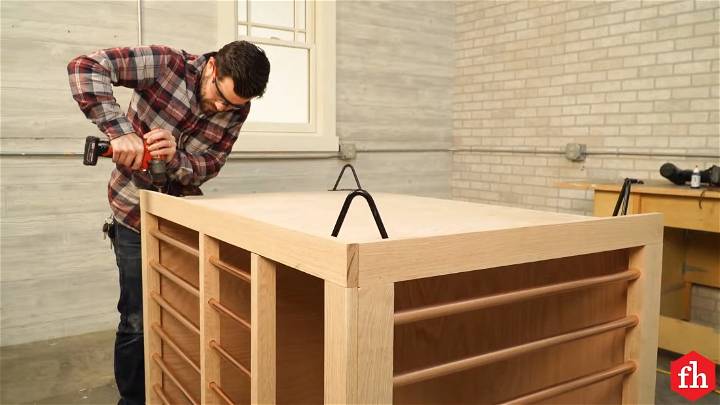
Apply peel and stick wallpaper to the interior walls of the base for aesthetic purposes. Lastly, secure the top of the crate with figure-eight-shaped desktop fasteners, applying finish coats to protect the wood.
Maintenance and Decoration
Once assembled, regular maintenance of your DIY dog crate is essential. Cleaning and inspecting the crate for any loose screws or damaged parts will ensure its longevity and safety for your dog. Decorative elements such as pillows, toys, and a comfortable bed will make the crate a welcoming place for your pet.
Video Tutorial
For a step-by-step video tutorial on building a DIY dog crate, watch this helpful video on YouTube: Build a DIY Dog Crate.
It pairs well with this written guide, providing a visual complement to the techniques discussed, making the crafting process even more accessible and understandable.
By following these steps, you'll build not just a functional space for your dog, but a piece of furniture that adds to the charm and comfort of your home.
Safety Precautions
When building a DIY dog crate, safety should be your top priority. Here are some important safety tips to keep in mind:
Personal Safety
- Wear Protective Gear: Always wear safety goggles to protect your eyes from flying debris. A pair of work gloves can protect your hands from splinters and cuts, and ear protection is recommended when using loud power tools.
- Use Tools Correctly: Make sure you are using each tool correctly. Misuse can lead to accidents. If you’re unsure, refer to the tool’s manual or look up tutorials online.
Pet Safety
- Choose Safe Materials: Ensure all materials used are safe for your pet. Avoid treated woods that may contain harmful chemicals. Also, ensure there are no sharp edges or small parts that your pet could chew off and swallow.
- Ventilation: Ensure the crate has adequate ventilation. This is especially important if you plan to use the crate for transportation.
- Size: The crate should be large enough for your pet to stand, turn around, and lie down comfortably. But it shouldn’t be so big that your pet could hurt themselves by being tossed around during transportation.
Safety first! Your pet is a part of your family, and their safety is just as important as yours.
Customization Ideas
Making your DIY dog crate unique and comfortable for your pet can be a fun and rewarding process. Here are some ideas to customize your dog crate:
Comfort
- Bedding: Add a comfortable bed that fits well within the crate. This will make the crate more inviting and comfortable for your dog.
- Toys: Consider adding a few of your dog’s favorite toys to the crate. This can help your dog associate the crate with positive experiences.
Aesthetics
- Paint: Painting the crate can give it a personal touch and help it blend in with your home decor. Use pet-safe paint to ensure your dog’s safety.
- Crate Cover: A stylish crate cover can not only make the crate more visually appealing but also provide your dog with a sense of security.
Functionality
- Food and Water Bowls: If your dog spends a significant amount of time in the crate, consider adding attachable food and water bowls.
- Wheels: Adding wheels can make the crate easy to move around, especially if it’s a larger crate.
The goal is to make the crate a safe, comfortable, and inviting space for your dog.
Troubleshooting Guide
Building a DIY dog crate can come with its own set of challenges. Here are some common problems you might encounter and their solutions:
Problem: Wood Splintering
Solution: If you find the wood is splintering when you cut it, ensure your saw blade is sharp. Dull blades can cause the wood to splinter. Also, applying masking tape on the cutting line can help reduce splintering.
Problem: Misaligned Parts
Solution: If the parts of your crate are not aligning properly, double-check your measurements. Even a small error can lead to misalignment. Using a carpenter’s square can help ensure accurate angles.
Problem: Difficulty Attaching Hardware
Solution: If you’re having trouble attaching the hardware, like hinges or latches, make sure you’re using the right size screws. If the screws are too big, they may not fit, and if they’re too small, they may not hold the hardware securely.
Problem: The crate is Wobbly
Solution: If your crate is wobbly, check to make sure all your joints are secure. You may need to tighten any screws or add additional reinforcement.
It’s okay to make mistakes. What’s important is learning from them and finding solutions.
FAQs About DIY Dog Crate
Find everything you need to know about DIY dog crates with our comprehensive FAQs. Get expert tips and advice for building the perfect crate for your pup.
What materials do I need to build a DIY dog crate?
You’ll need wood planks, screws, a saw, a drill, and safety equipment like gloves and goggles. The exact materials may vary depending on your design.
How big should the dog crate be?
The crate should be big enough for your dog to stand, turn around, and lie down comfortably. However, it shouldn’t be so big that your dog could hurt themselves by being tossed around during transportation.
Can I use any type of wood for the crate?
It’s best to use untreated, pet-safe wood for the crate. Treated woods may contain chemicals that could be harmful to your pet.
How do I ensure the crate is safe for my dog?
Make sure there are no sharp edges or small parts that your dog could chew off and swallow. Also, ensure the crate has adequate ventilation.
Can I paint the crate?
Yes, you can paint the crate to match your home decor. However, make sure to use pet-safe paint.
How can I make the crate comfortable for my dog?
You can add a comfortable bed and some of your dog’s favorite toys to the crate. This will make the crate more inviting for your dog.
Conclusion:
Wrapping up, building a DIY dog crate can be a fun and rewarding project for any pet owner. With the right tools and materials, you can build a customized space for your furry friend. Be sure to follow the steps carefully for a successful outcome!


