As a dog owner, ensuring the safety and containment of our furry friends is a top priority. Like many, I've been on a journey to build a reliable DIY dog fence. Let me walk you through the process that transformed my backyard into a secure haven for our canine family members, offering practical advice and insights along the way.
Understanding the Need for a Quality Dog Fence
When my wife and I first got married, we bought the best fence we could afford. However, as time went on, we noticed it had several flaws. The gaps between the picket wires were wide, allowing smaller dogs from neighboring yards to slip through. We tried patching it with mesh and electric wires, but it wasn't a long-term solution. I realized then that we needed a more robust design to keep our dogs safe and secure.
Choosing the Right Materials
Discover expert tips on choosing materials for your mesh fencing with small apertures and hinged joint footer to ensure security and durability.
Mesh Fencing with Small Apertures
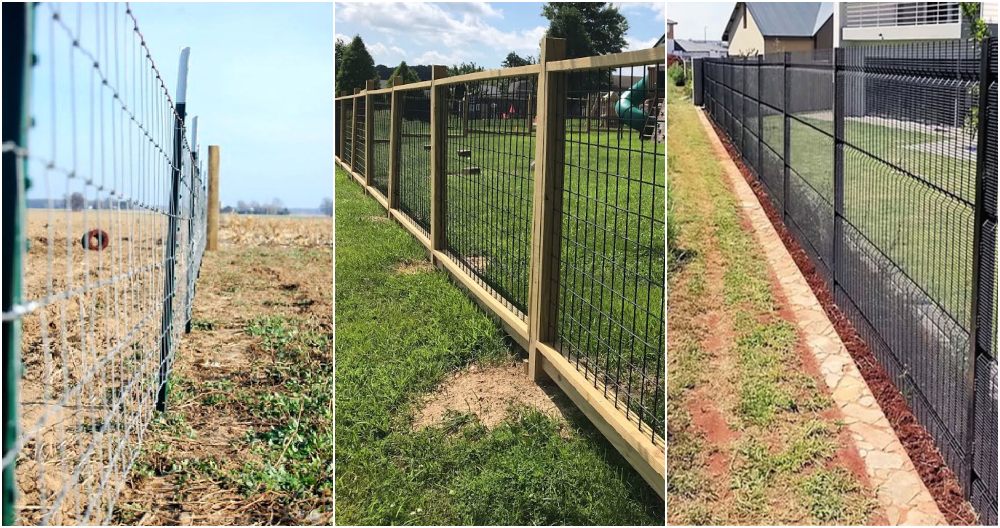
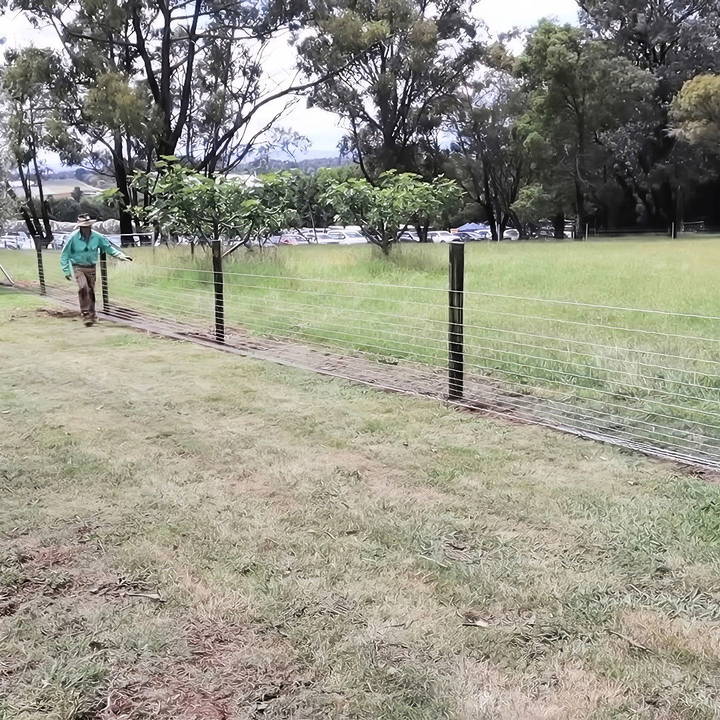
We chose the Murray 13915 stiff stay mesh. Its small apertures ensure that even the smallest dogs cannot squeeze through, providing an extra layer of security.
- Why this is needed: Small apertures prevent both our dogs from escaping and neighbors' dogs from intruding.
Hinged Joint Footer
A 30 cm wire footer, designed to lie flat on the ground, became a game changer.
- Why this is needed: The footer prevents dogs from digging under the fence, which was a common escape tactic for our clever pooch.
Step by Step Instructions
Learn how to build a DIY dog fence with our step-by-step guide, from removing the old fence to securing the new one. perfect for any terrain!
Step 1: Removing the Old Fence
Before installing the new fence, we had to dismantle the old one, starting with the electric wires. We carefully removed and coiled up the old wire for recycling. An essential lesson here is not to reuse rusty wire as it loses its structural integrity and becomes prone to snapping.
- Why this is important: Recycling old materials is environmentally friendly, and it is crucial to remove rusty wires to ensure the new fence's durability.
Step 2: Preparing the Fence Line
We took advantage of redoing the fence to remove a blind corner that existed due to a tree. A straight fence line is easier to manage and strain, minimizing the risk of animals getting caught.
- Planning tip: Always maintain a straight fence line and avoid unnecessary corners.
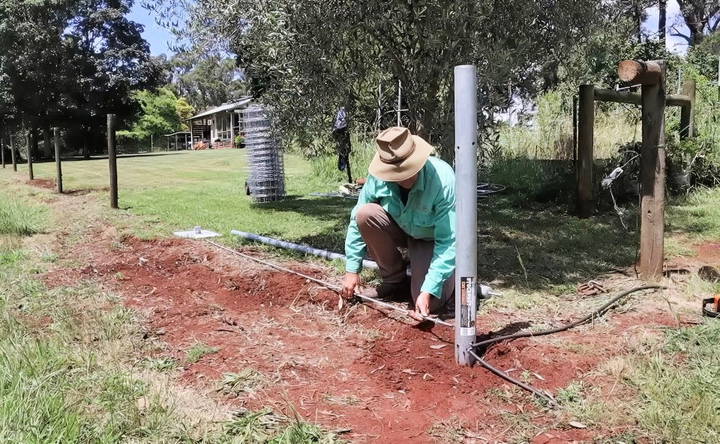
Step 3: Installing New Steel End Assemblies
We replaced the old end assembly with a strong steel end assembly. It only took a few minutes by hand.
- Why this is needed: Steel end assemblies provide robustness and ensure the fence holds up over time.
Step 4: Rolling Out the New Mesh
We rolled out the mesh, making sure that the smaller apertures were at the bottom of the fence. This is crucial to setting up the fence correctly from the start.
- Tip: Keep the apertures aligned correctly to avoid having to redo large sections of the fence.
Step 5: Attaching and Strain Management
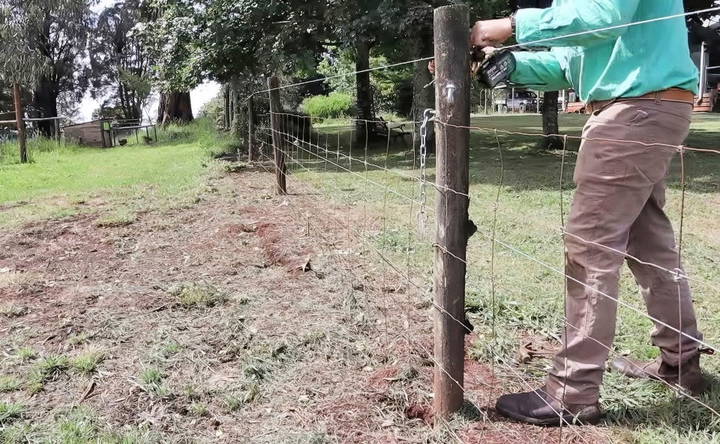
Tying off the fence can be tricky, especially when dealing with small apertures. Here's a quick hack: tie the top wire first, lift the fence, and use a pin-in-the-post technique to tie the bottom wire off the ground. This avoids unnecessary dirt interaction.
- Why this is needed: Ensures that the mesh is strained properly without getting tangled with the ground.
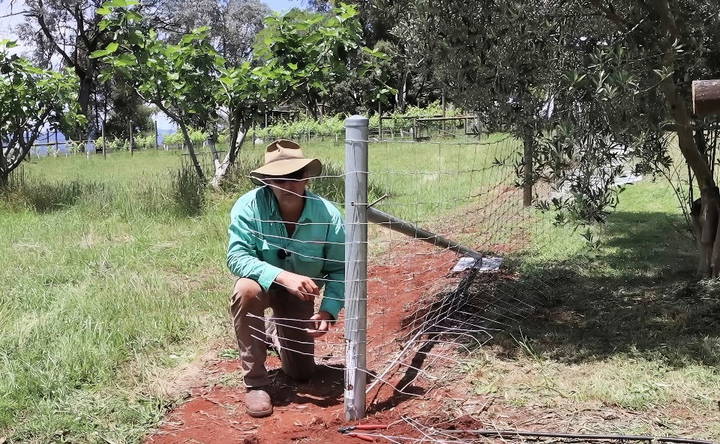
Step 6: Straining the Mesh
Using wedgelock strainer boards was effective. These boards are quick to assemble and disassemble, saving time and hassle. We ensured even tension throughout the fence by aligning the picket wires straight with the strainer boards.
- Why this method: Keeps tension consistent along the fence, preventing sagging or unevenly strained areas.
Step 7: Finalizing the Tension
With the mesh in place, strain adjustment is critical. The fences have strain indicators; these help gauge whether you've reached the optimal tension. The wire crimps should be about half their original size.
- Key insight: Proper tensioning provides flexibility, essential for the fence to adapt to ground undulations.
Securing the New Fence
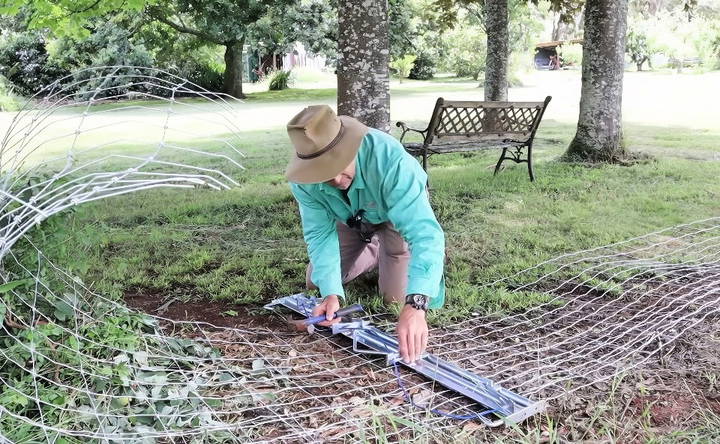
The final stages involved using D's fencing clips to secure the mesh to the posts. This method is chosen over staples because it allows for easy future maintenance or replacement.
- Why clips over staples: Clips are easier to remove, reducing damage to fence posts and facilitating easier modifications in the future.
Dealing with Terrain Challenges
In areas where the skirt wasn't lying flat due to loose soil, we used pegs to hold it down temporarily until the grass grows through.
- Why pegs: Secures the skirt temporarily without affecting the natural growth of ground cover that will eventually hold it down.
Reflecting on the Building Process
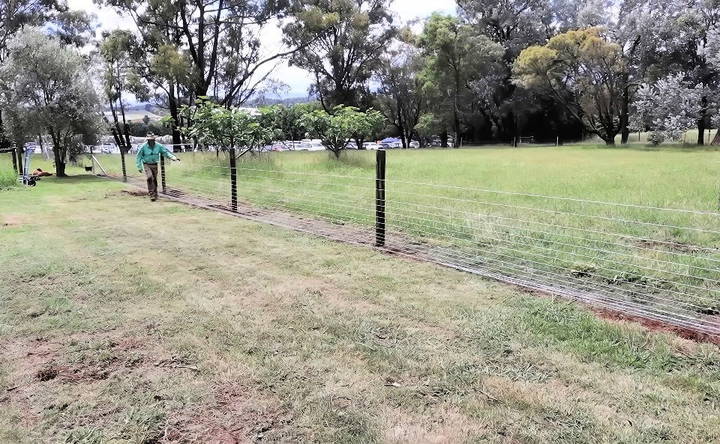
Building this fence was a worthwhile investment of time and resources. It not only looks neat but also provides the peace of mind knowing our loved pets are safe.
Additional Tips and Advice
- Research Your Options: Take time to understand different fencing materials and designs. Your choice should align with the landscape and the behavior of your dogs.
- Plan for Durability: Investing in high-quality materials like rust-resistant wires saves on long-term repairs and maintenance.
- Be Eco-Conscious: By reusing old posts and recycling, you're reducing waste and your environmental footprint.
- Stay Compliant: Follow local regulations concerning fencing height, materials, and methods to avoid fines or having to redo work.
Customization Ideas for Your DIY Dog Fence
Customizing your DIY dog fence can make it more functional and visually appealing. Here are some ideas to help you build a fence that suits your needs and enhances your yard.
Decorative Elements
Adding decorative elements can make your fence blend seamlessly with your garden or yard. Consider these options:
- Paint or Stain: Use weather-resistant paint or stain to match your fence with your house or garden decor.
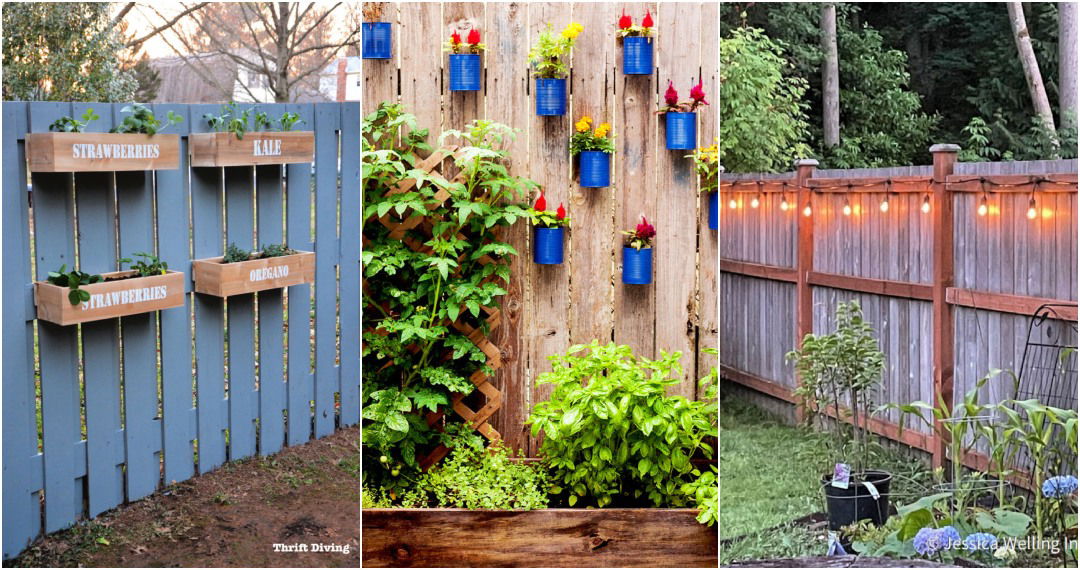
- Planters and Vines: Attach planters to the fence or grow climbing plants like ivy or jasmine. This adds greenery and can make the fence look more natural.
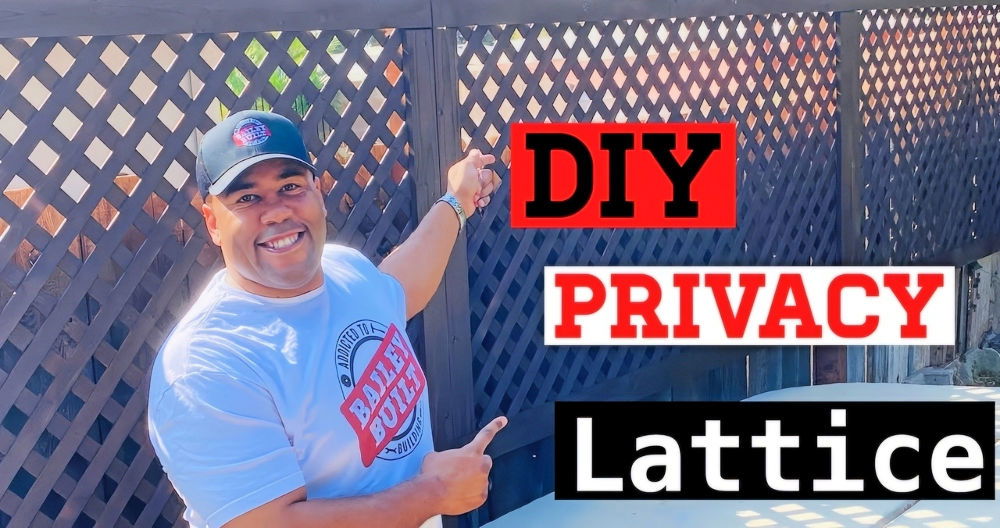
- Decorative Panels: Incorporate decorative panels or lattice work. These can add a touch of elegance and provide partial visibility.
Functional Additions
Enhance the functionality of your fence with these additions:
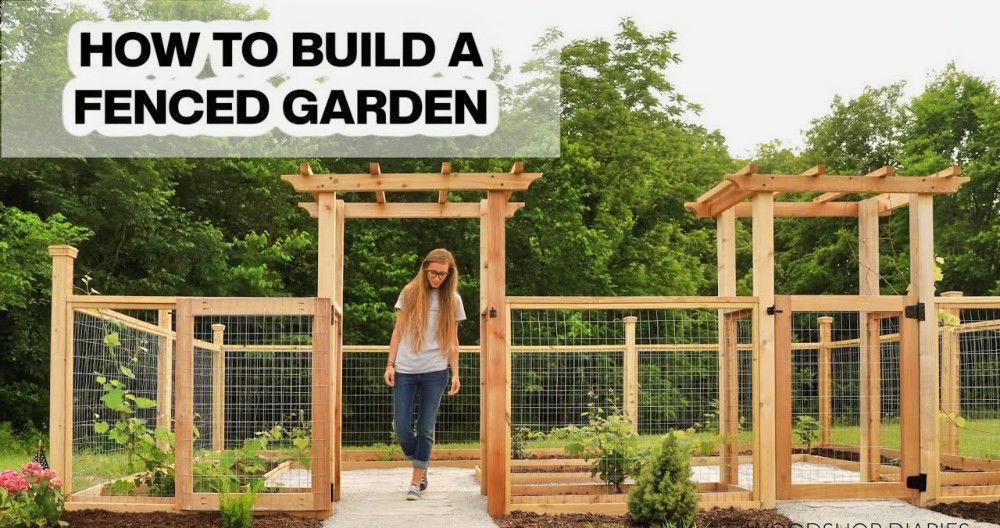
- Gates: Install gates for easy access. Ensure they are secure and have a locking mechanism to prevent your dog from escaping.
- Dog Windows: Build small windows at your dog's eye level. This allows your dog to see outside without jumping or climbing.
- Shaded Areas: Add a shaded section using a tarp or pergola. This provides a cool spot for your dog to relax on hot days.
Personal Stories
Sharing personal stories or case studies can inspire and guide others. Here are a few examples:
- Success Stories: Share stories of other dog owners who have successfully built and customized their fences. Highlight the challenges they faced and how they overcame them.
- Before and After Photos: Include photos showing the transformation of a yard with a customized fence. This visual aid can motivate readers to start their own projects.
Safety Enhancements
Safety is crucial when customizing your fence. Consider these tips:
- Secure Latches: Use sturdy latches on gates to prevent your dog from opening them.
- Smooth Edges: Ensure there are no sharp edges or protruding nails that could harm your dog.
- Height Adjustments: Adjust the height of the fence based on your dog's size and jumping ability. Taller fences are better for larger or more agile dogs.
Eco-Friendly Options
Opt for eco-friendly materials and practices to reduce your environmental impact:
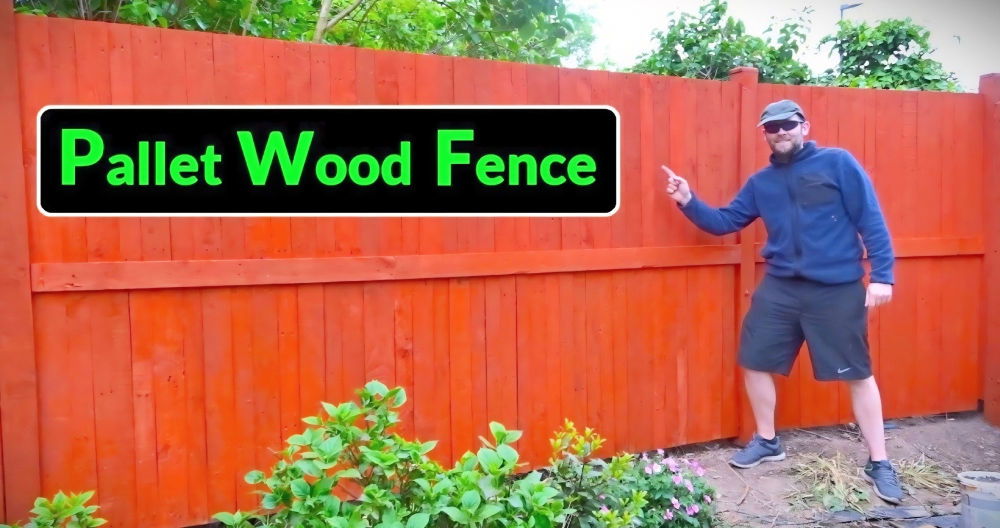
- Recycled Materials: Use recycled wood or metal for your fence. This is both sustainable and cost-effective.
- Natural Barriers: Incorporate natural barriers like hedges or bushes. These can complement your fence and provide additional security.
- Solar Lighting: Install solar-powered lights along the fence. This enhances visibility at night and is energy-efficient.
By incorporating these customization ideas, you can build a DIY dog fence that is not only functional but also enhances the beauty and safety of your yard.
Common Mistakes to Avoid When Building a DIY Dog Fence
Building a DIY dog fence can be a rewarding project, but it's important to avoid common mistakes that can compromise its effectiveness and safety. Here are some key pitfalls to watch out for:
1. Inadequate Planning
- Skipping Measurements: Failing to measure your yard accurately can lead to buying too much or too little material. Always measure twice to ensure you have the correct dimensions.
- Ignoring Local Regulations: Check local building codes and regulations before starting. Some areas have specific requirements for fence height and materials.
2. Using Insufficient Materials
- Weak Posts: Using posts that are too short or not sturdy enough can cause the fence to lean or collapse. Ensure posts are deep enough in the ground and made from durable materials.
- Inadequate Fasteners: Using the wrong type or insufficient number of fasteners can weaken the fence. Use weather-resistant screws or nails and ensure they are properly secured.
3. Improper Installation
- Incorrect Post Spacing: Placing posts too far apart can make the fence unstable. Follow recommended spacing guidelines based on the type of fence you are building.
- Uneven Ground: Not accounting for uneven ground can result in gaps at the bottom of the fence. Adjust the fence height to follow the contour of the land.
4. Neglecting Safety Features
- Sharp Edges: Ensure there are no sharp edges or protruding nails that could injure your dog. Smooth out any rough areas and cover sharp points.
- Unsecured Gates: Gates should have secure latches to prevent your dog from escaping. Regularly check and maintain gate latches to ensure they are functioning properly.
5. Lack of Maintenance
- Ignoring Wear and Tear: Regularly inspect your fence for signs of wear and tear. Replace any damaged sections promptly to maintain the fence's integrity.
- Weather Damage: Weather can take a toll on your fence. Treat wood fences with sealant to protect against moisture and rot. For metal fences, check for rust and repaint as needed.
6. Overlooking Training
- Not Training Your Dog: Even the best fence won't work if your dog isn't trained to respect it. Spend time training your dog to understand the boundaries and not to dig under or jump over the fence.
7. Budget Mismanagement
- Underestimating Costs: DIY projects can sometimes cost more than expected. Plan your budget carefully and include a buffer for unexpected expenses.
- Cutting Corners: Trying to save money by using cheaper materials can lead to a less durable fence. Invest in quality materials to ensure your fence lasts.
By avoiding these common mistakes, you can build a DIY dog fence that is safe, durable, and effective. Proper planning, quality materials, and regular maintenance are key to a successful project.
FAQs About DIY Dog Fences
Discover answers to the most common questions about DIY dog fences, from materials to installation, ensuring a safe environment for your pet.
Building a DIY dog fence can save you money and allow you to customize the fence to fit your yard and your dog’s needs. It also gives you the flexibility to choose materials that suit your budget and aesthetic preferences. Additionally, a DIY project can be a rewarding experience and provide a sense of accomplishment.
To ensure your fence is secure:
Choose the right height: Make sure the fence is tall enough to prevent your dog from jumping over. Typically, a height of 4-6 feet is recommended.
Check for gaps: Ensure there are no gaps that your dog can squeeze through.
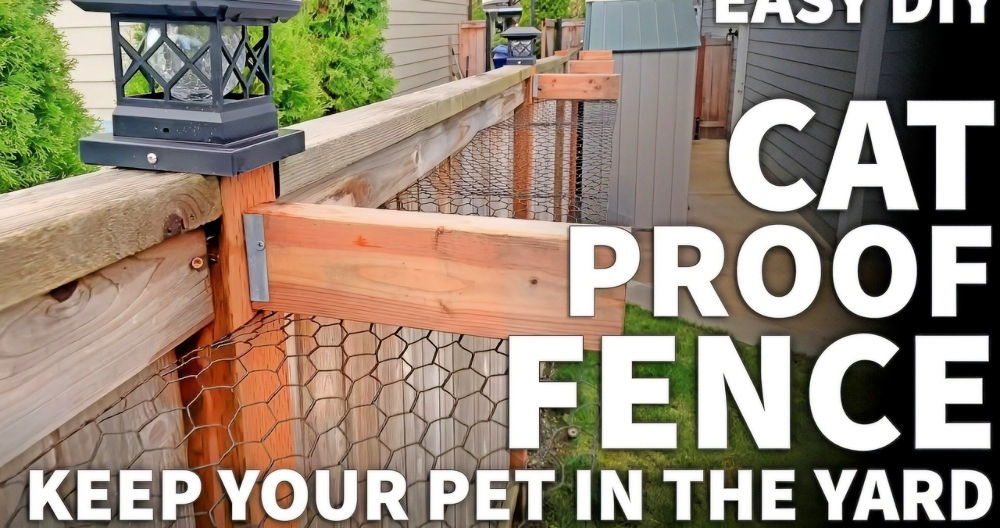
Anchor the fence: Secure the fence firmly into the ground to prevent your dog from digging underneath.
Use sturdy materials: Opt for durable materials that can withstand your dog’s attempts to escape.
Common mistakes to avoid include:
Not measuring properly: Always measure your yard accurately to ensure you buy the right amount of materials.
Using weak materials: Avoid using flimsy materials that your dog can easily break or chew through.
Ignoring local regulations: Check local building codes and regulations before starting your project to ensure your fence complies with any height or material restrictions.
Not considering your dog’s behavior: Tailor the fence to your dog’s specific behaviors, such as digging or jumping.
Maintaining your DIY dog fence ensures it remains effective and safe for your dog. Here are some tips:
Regular inspections: Check your fence regularly for any signs of wear and tear, such as loose boards, rust, or broken wires.
Repair promptly: Fix any damage as soon as you notice it to prevent your dog from escaping.
Clean the fence: Remove any dirt, debris, or vegetation that might accumulate on or around the fence. This helps to prevent damage and keeps the fence looking good.
Treat wooden fences: If you have a wooden fence, apply a weatherproof sealant annually to protect it from the elements.
Check the ground: Ensure the ground around the fence remains level and free from holes that your dog could dig under.
Yes, you can build a DIY dog fence for a large yard, but it will require more planning and materials. Here are some tips to help you manage a larger project:
Plan your layout: Measure your yard accurately and plan the layout of your fence. Consider dividing the yard into sections if it's very large.
Choose cost-effective materials: For large areas, materials like wire mesh or PVC can be more affordable than wood or metal.
Use durable posts: Ensure you use sturdy posts, such as metal or treated wood, to support the fence over a larger area.
Consider an electric fence: If a physical fence is too costly or impractical, an electric fence can be a good alternative for large yards.
Get help: Building a fence for a large yard can be a big job. Consider enlisting friends or family to help with the construction.
Conclusion
I hope my experiences and the steps outlined here provide the guidance needed to undertake your DIY dog-proof fencing project. Investing the effort initially saves heartbreak and hassle in the long run. Whether it's preventing escape or keeping unwanted visitors out, building a reliable fence enhances both the safety of your pets and the harmony within your neighborhood.


