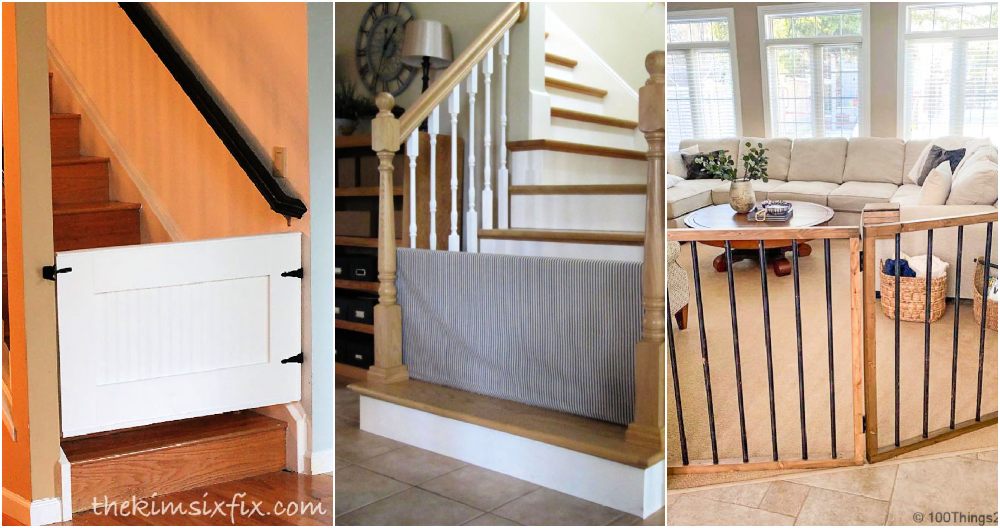
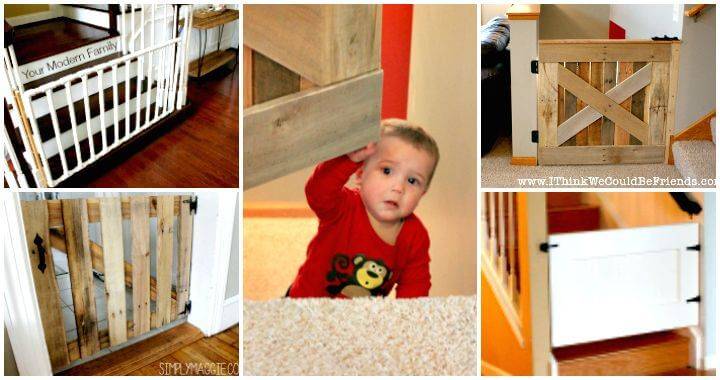
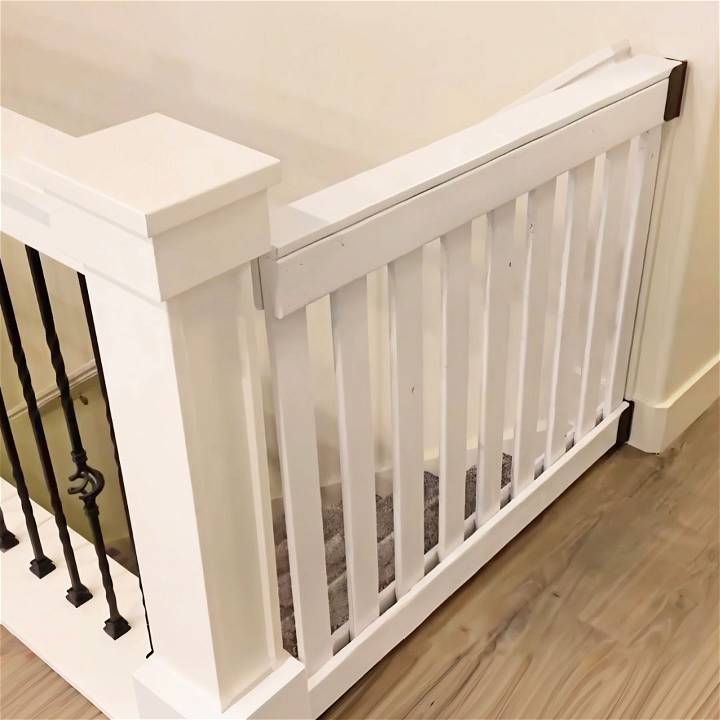
I've always been a bit of a DIY enthusiast, always on the lookout for my next project. This time, it was driven by necessity. With a toddler eager to explore and a curious dog, I found myself in need of a baby gate. But, not just any gate. I wanted something that was not only functional but also blended well with our home's aesthetic. That's when I stumbled upon a fantastic tutorial and decided to embark on making a super simple baby/dog gate myself. Let me walk you through how I did it, step by step.
Materials You'll Need and Why
Before diving into the actual building process, here's a list of materials and tools you'll need. It's essential to understand why each item is necessary, so you're fully prepared.
- Wood: The type is up to you, but make sure it's sturdy enough to act as a barrier. I opted for pine due to its blend of strength and affordability.
- Wood Glue and Nails/Screws: These are crucial for assembling the gate securely. Wood glue adds an extra layer of adhesion between the pieces, and nails or screws will hold everything together firmly.
- Hinges and Latch: These will allow your gate to open, close, and lock. Choose sturdy ones to ensure the gate functions smoothly and safely.
- Measuring Tape, Square, and Saw: Accuracy is key in this project. These tools will help you make precise measurements and cuts.
- Drill (if you don't have a nail gun): A drill can be used for making pilot holes for screws or nails, ensuring a cleaner finish.
Step by Step Instructions
Learn how to build a DIY dog gate with our easy step-by-step instructions. Keep your furry friend safe and contained in no time!
Step 1: Measure Your Space
The first step is measuring the space where you intend to place the gate. It's crucial to get the height and width right to ensure your gate fits perfectly. These measurements will guide you in purchasing the right amount of wood and cutting it to the correct dimensions.
Step 2: Use the Baby Gate Calculator
This might sound high-tech, but it's straightforward, thanks to a helpful online calculator I found. By entering my measurements into the calculator, it told me precisely how much wood I needed and what cuts to make. This tool was a game-changer, making the planning process much smoother.
Step 3: Cutting and Assembling the Frame
After getting my wood cut to the right dimensions, I started assembling the outer framework of the gate. Applying wood glue to the ends of the horizontal pieces and attaching them to the vertical spindles, I ensured everything was aligned precisely using a square. Then, either using a nail gun or a drill, I secured each connection point. Getting the frame squared is crucial at this stage.
Step 4: Test Fitting and Planning for Hinges and Latch
Before going any further, I did a test fit to ensure the gate's width and height were correct. Then, I figured out where I wanted to place the hinges and latch. This step saved me a lot of trouble later, as it allowed me to make any necessary adjustments before finalizing the assembly.
Step 5: Installing the Gate
I mounted a backing board to the wall, ensuring it was screwed into a stud for maximum support. This gave the hinges something solid to attach to and ensured the gate would swing open and close smoothly. Spacers helped maintain the gate's position as I attached the hinges, making sure it was level and at the correct height.
Mounting the Latch and Making Adjustments
Finally, after attaching the gate to the wall, I focused on installing the latch mechanism. Ensuring the latch lined up properly when the gate closed was critical for the gate's functionality. A small wooden stop at the bottom ensured perfect alignment with each use.
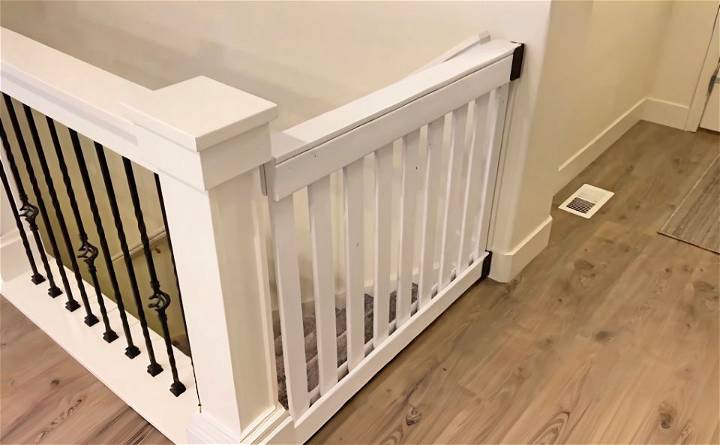
The result? A sturdy, functional, and aesthetically pleasing baby/dog gate that blends seamlessly with our home. It's more than just a barrier; it's a testament to the power of DIY and the satisfaction of making something tailored precisely to your needs.
Importance of Dog Gates
Dog gates are a simple yet effective way to build boundaries within your home for your furry friend. They serve multiple purposes, from keeping your pet safe to helping with house training. Here's why incorporating a dog gate into your home can be beneficial:
- Safety First: Dog gates prevent your pet from accessing potentially dangerous areas like kitchens or staircases. They act as a barrier, ensuring your dog stays in a secure space while you're busy or away.
- Training Aid: Gates can be an invaluable tool in house training. They help establish clear boundaries, making it easier for your pet to understand where they can and cannot go.
- Peace of Mind: With a dog gate, you can have peace of mind knowing your pet won't escape or get into trouble in another part of the house. This is especially useful if you have guests who might be uncomfortable around dogs.
- Flexibility: Unlike permanent barriers, dog gates are usually adjustable and portable. You can move them around as needed, which is great for renters or anyone who likes to change their space frequently.
- Designs for Every Home: There's a wide variety of dog gates available to match your home's decor. From sleek, modern designs to more traditional looks, you can find a gate that not only serves its purpose but also complements your style.
Choose the right dog gate by considering your dog's size, home layout, and desired permanence. Find the perfect gate for a happy pet and safe home.
Safety Tips for DIY Dog Gates
When making a DIY dog gate, safety is paramount. Not only for the well-being of your pet but also to ensure the gate functions effectively and securely. Here are some safety tips to keep in mind:
- Measure Twice, Cut Once: Accurate measurements are crucial. A gate that's too small leaves gaps a pet can squeeze through, while one that's too large won't be secure. Measure the intended space for your gate carefully before cutting any materials.
- Choose Appropriate Materials: Select materials that are strong enough to withstand your dog's size and behavior. If your dog is a chewer, avoid toxic paints or softwoods that could splinter.
- Securely Fasten Components: Ensure all parts of the gate are securely attached. Loose screws or weak hinges can lead to accidents. Regularly check the gate for any signs of wear and tear.
- Avoid Sharp Edges: During construction, sand down any rough edges or corners. This prevents injuries to both you and your pet.
- Test the Gate: Before letting your dog use the gate, test it to make sure it's stable and operates as intended. Push on it gently to ensure it doesn't topple over or come loose.
- Consider Your Dog's Abilities: Keep in mind your dog's jumping or climbing abilities. The gate should be high enough to prevent escape and without horizontal bars that could aid climbing.
Installation Location: Install the gate away from stairs or high drop-offs to prevent your dog from jumping over and injuring themselves.
By following these tips, you'll make a safe DIY dog gate that's functional and secure. The time and effort you invest will keep your pet safe in the long run.
Final Thoughts
Building this DIY dog gate from scratch was incredibly rewarding. It was a practical solution to a common problem and a fun weekend project. The key takeaway here is that with the right materials, a bit of planning, and some elbow grease, you can build something both useful and beautiful. Plus, you get a sense of accomplishment from a project.


