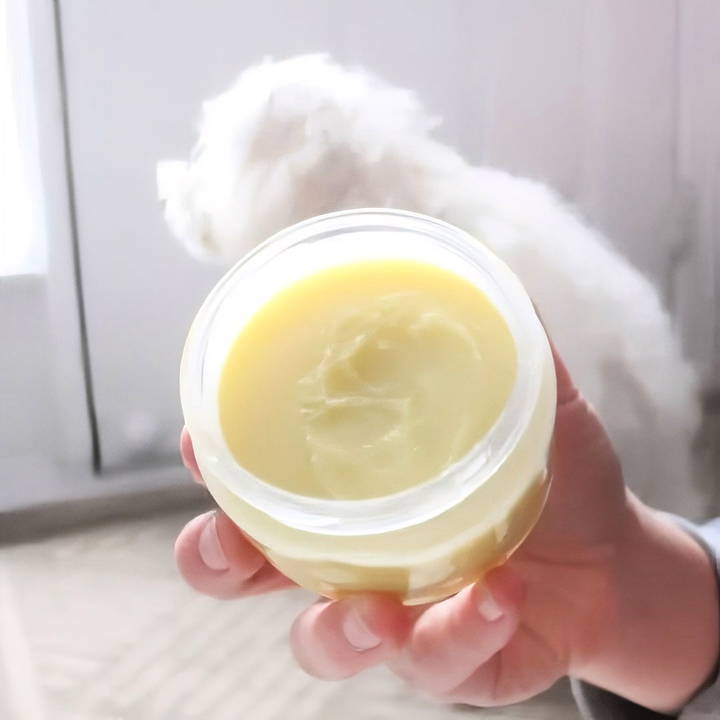
Winter can be tough on your dog's paws, with salt and ice taking a toll on their sensitive pads. This DIY dog paw balm recipe provides a natural, protective layer that soothes and shields against harsh conditions. Made with simple ingredients, this balm is easy to prepare and highly effective for both cold and warm weather.
Why Your Dog Needs Paw Balm
Dog paw pads can be surprisingly delicate. Ice, salt, and cold in winter, and hot pavements in summer, can cause discomfort and even injury. Regularly applying a paw balm not only provides a barrier against these elements but also moisturizes the pads, helping to prevent cracks and dryness.
Benefits of DIY Dog Paw Balm
- Affordable and Easy to Make: Store-bought balms can be costly, and homemade balms let you control the ingredients, ensuring they're free from harsh chemicals.
- Customizable: You can adjust the balm to your dog's specific needs by tweaking the ingredients.
- Natural Ingredients: The recipe uses common, pet-safe ingredients, so you know exactly what's going on your pup's paws.
Ingredients You'll Need
This simple recipe requires only a handful of ingredients, all of which are pet-friendly and provide beneficial properties for your dog's paws:
- 4 tablespoons of Olive Oil: Moisturizes and provides a natural barrier.
- 4 tablespoons of Coconut Oil: Known for its antibacterial and moisturizing qualities.
- 2 tablespoons of Shea Butter: Adds deep hydration and helps in soothing cracked paws.
- 4 teaspoons of Beeswax: Makes a protective layer to lock in moisture and provide a buffer against environmental factors.
You'll also need a small tin or container to store your finished balm. Many of these ingredients are readily available at craft stores, health food stores, or online.
Step by Step Instructions
Learn how to make DIY dog paw balm with our step-by-step guide. Follow easy instructions to protect and soothe your pet's paws naturally.
Step 1: Prepare Your Workspace and Gather Ingredients
Set up your workspace near the stove with a small saucepan, a spoon for stirring, and a tin or small container to pour the balm into. Gather all your ingredients in one place to make the process smooth.
Step 2: Measure Out the Ingredients
Measure the following:
- 4 tablespoons of olive oil
- 4 tablespoons of coconut oil
- 2 tablespoons of shea butter
- 4 teaspoons of beeswax
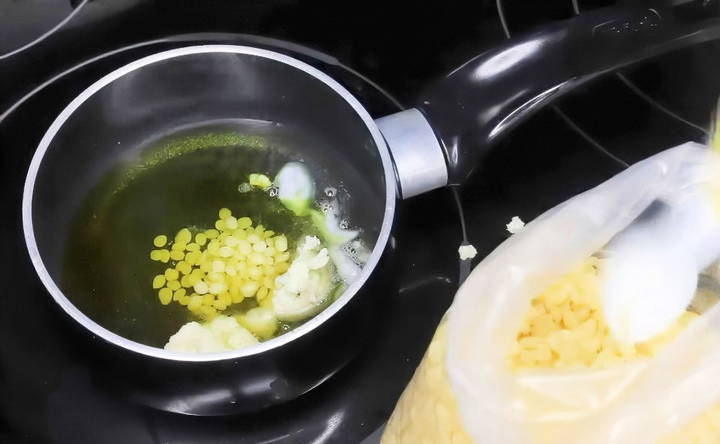
Accurate measurements will ensure the balm has the right consistency and that each ingredient provides its full benefit.
Step 3: Melt the Ingredients Together
- Place the saucepan on low heat.
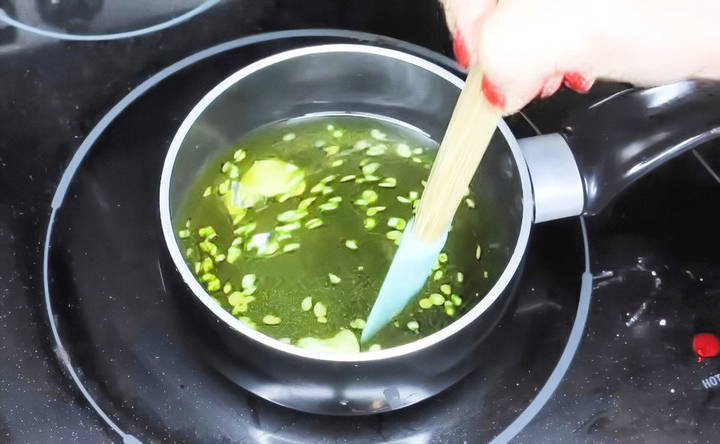
- Add the olive oil, coconut oil, shea butter, and beeswax to the pan.
- Stir the mixture consistently as it heats, making sure the beeswax melts completely. This step may take a few minutes as beeswax has a higher melting point than the oils and butter.
- Once all ingredients are melted and well-mixed, remove the saucepan from heat.
Step 4: Pour the Balm into a Container
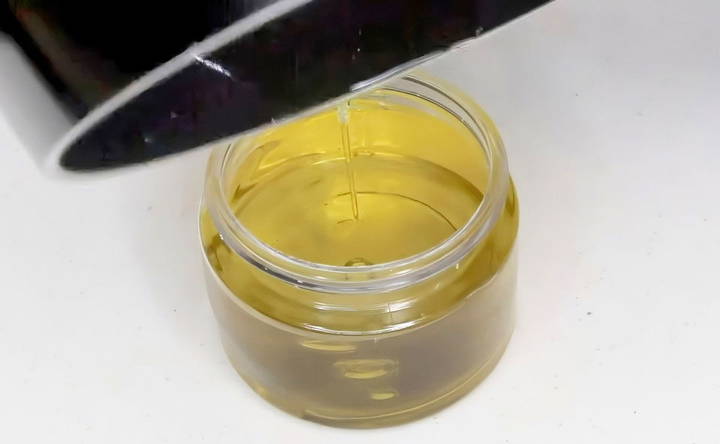
Carefully pour the hot mixture into a small tin or container. If you're making a larger batch, you can use multiple tins for easy storage and distribution.
Step 5: Let the Balm Solidify
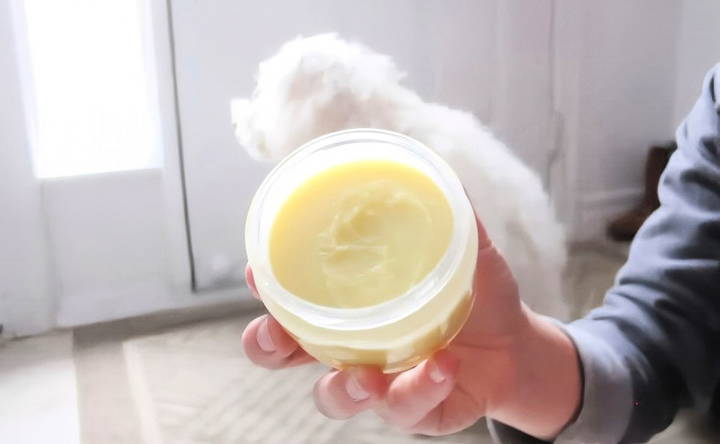
Allow the balm to cool at room temperature until it solidifies. Once cool, it's ready for use! You can store the balm at room temperature, but keep it away from direct sunlight to prevent melting.
How to Use the Paw Balm on Your Dog
Now that your balm is ready, you have two easy application options:
- Direct Application: Dip your dog's paw directly into the balm tin, then gently massage the balm into each pad. This method works well for dogs with larger paws or those comfortable with having their feet handled.
- Finger Application: Take a small amount of balm on your fingers and rub it onto each pad. This method is ideal for smaller dogs or those who are skittish about having their paws dipped.
When and How Often to Use the Paw Balm
Apply the balm before and after walks during winter to protect against salt and cold. In warmer months, apply before walks on hot pavement. For regular maintenance, use the balm a few times per week, even if your dog doesn't go outside frequently.
Customizing Your DIY Dog Paw Balm
Once you're comfortable with the basic recipe, you can try customizing it:
- Add Vitamin E Oil: A few drops of vitamin E oil enhance moisturizing properties and help promote healing.
- Essential Oils: If your dog isn't sensitive to essential oils, you can add one drop of lavender or chamomile oil for extra soothing properties. Avoid oils that can be toxic to dogs, like tea tree oil.
- Increase Beeswax for a Firmer Balm: If you want a balm with a firmer texture, slightly increase the amount of beeswax.
Storage Tips for Your Dog Paw Balm
Store the balm in a cool, dry place. If you live in a warm climate, you may want to refrigerate it to keep it solid. Since all ingredients are natural, the balm has a long shelf life of several months when stored properly.
Safety Tips and Precautions
- Check for Allergies: Before applying, test a small amount on your dog's skin to ensure there's no adverse reaction.
- Avoid Overuse: While the balm is safe, too much product can make your dog's paws slippery, so use sparingly.
- Observe for Any Changes: Watch your dog after application to make sure they're not excessively licking the balm. Coconut oil and olive oil are safe, but moderation is key.
Final Thoughts
This DIY dog paw balm is a simple and effective way to keep your dog's paws protected all year round. Not only does it shield their pads from environmental elements, but it also keeps them moisturized and free from cracks. By making your own balm, you're providing your pet with a safe, natural, and affordable solution for paw care. Plus, you'll enjoy the satisfaction of knowing exactly what ingredients are keeping your pup's paws healthy!
FAQs About DIY Dog Paw Balm
Discover essential FAQs about DIY dog paw balm. Learn how to make, apply, and benefits for healthy pet paws effortlessly.
With proper storage, your paw balm should last up to six months. However, if you notice any changes in smell or texture, it’s time to make a fresh batch.
Yes! This balm works on dry noses, elbows, or any rough patches of skin.
While occasional licking is safe, try to distract your dog after application so the balm has time to absorb fully. Coconut oil and olive oil are non-toxic for dogs, but excessive ingestion may cause mild digestive upset.
Absolutely! This balm is gentle and moisturizing, making it great for human use as well. Just be mindful that it’s formulated primarily for dogs’ needs.
The balm typically lasts between 12 to 18 months. To maximize shelf life, store it in a cool, dry place away from direct sunlight. Refrigerating the balm can extend its freshness, especially in warmer climates.
Yes, the balm is safe for dogs even if they lick it. The ingredients—olive oil, coconut oil, and beeswax—are non-toxic. However, moderate licking is best to allow time for absorption.
If you lack shea butter, you can substitute it with cocoa butter or mango butter. Both provide similar moisturizing properties, but note that shea butter has a higher melting point, which helps keep the balm solid.
Yes! This balm can also be used on dry dog noses or even on rough skin patches like elbows. Its moisturizing and protective properties make it versatile for multiple uses.
While the balm can provide some protection from mild heat, it’s not a substitute for protective dog shoes. On very hot surfaces, the balm may melt or wear off, so it’s better suited for moderate protection.
It’s best to use food-grade or organic coconut oil and pure beeswax to ensure quality and avoid impurities. These types are widely available and safe for your dog.
Yes, this balm is also safe for cats. However, as with dogs, test a small amount first to ensure they don’t have an adverse reaction.
For hygiene, it's better to scoop a small amount of balm with a clean utensil and apply it to your dog's paw by hand. This prevents contamination and keeps the balm cleaner for longer.
Due to its natural ingredients and lack of water, mold is generally not an issue with this balm. Proper storage in a cool, dry place will help prevent any spoilage.


