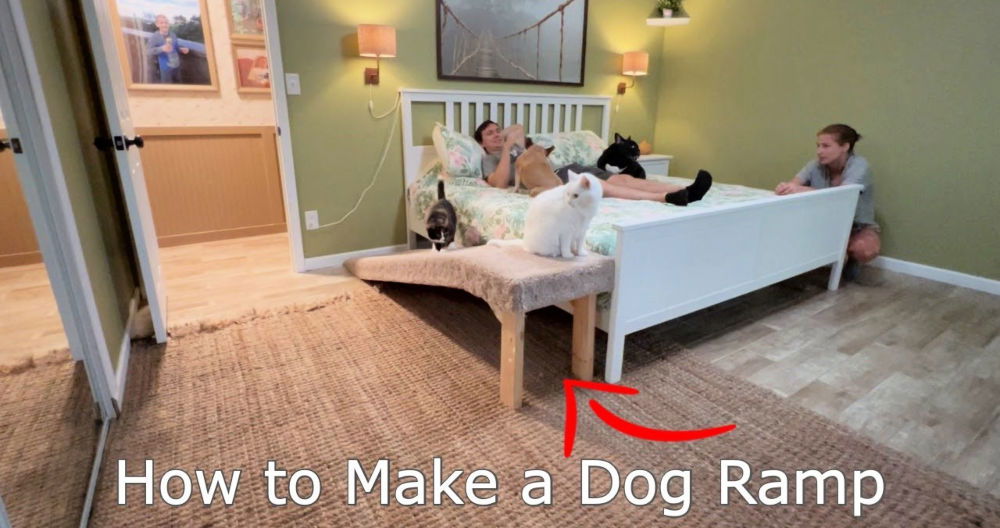
If you're looking for a way to help your dog reach higher surfaces, building a custom set of dog stairs can be an ideal solution. This project is not only functional but can also match your home decor. Whether your dog is aging, injured, or simply a small breed, these DIY dog stairs can provide the extra support they need to climb safely.
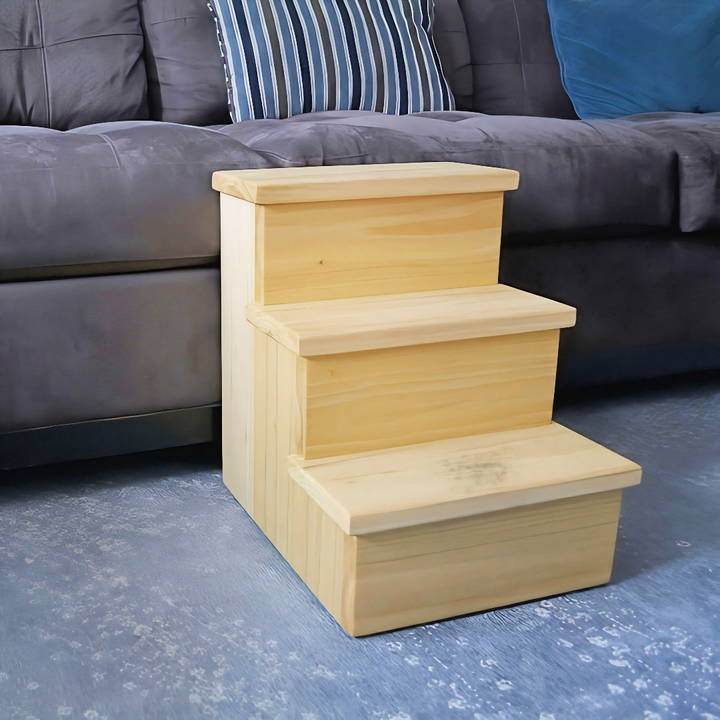
In this article, we'll cover everything you need to know to build your own set of dog stairs. Using materials like poplar or even plywood, this project can be tailored to your budget and style preferences. We'll take you through each step of the process, from gathering materials to applying the finishing touches.
Materials and Tools Needed
Before getting started, it's essential to gather the right materials and tools. This will ensure your project runs smoothly and efficiently.
Materials:
- Wood: For this project, 5/4 S4S poplar was used, which is thicker and more durable than standard wood. However, you can use cheaper options like plywood for a budget-friendly alternative. Some builders opt for edge banding to give plywood a finished look.
- Wood glue: To hold the pieces together.
- Pocket screws: Used to secure the stairs and risers.
- Biscuits: Size 10 biscuits for panel assembly.
- Rubber feet: These will be attached to the bottom of the stairs to prevent them from sliding or scratching the floor.
- Oil finish: A natural oil finish, such as Rubia Monocoat, helps to enhance the wood grain while protecting the surface.
Tools:
- Miter saw: For breaking down lumber into manageable pieces.
- Table saw: Used to rip the wood to the correct dimensions.
- Biscuit joiner: To cut slots for the biscuits.
- Clamps: To hold glued pieces together while they set.
- Cordless router: To add a smooth round-over edge to the exterior sides.
- Sander: For smoothing the surfaces after assembly.
- Drill with pocket hole jig: Essential for drilling pocket holes for the screws.
- Measuring tools: A tape measure or ruler to ensure accuracy.
Step by Step Instructions
Learn how to build DIY dog stairs with this step-by-step guide, from measurements and cutting to finishing touches. Perfect for small or senior dogs!
Step 1: Rough Measurements and Cutting the Lumber
Begin by taking rough measurements based on the size of your dog and the height you need the stairs to reach. For example, if your dog needs to climb onto a bed, measure the distance from the floor to the top of the mattress.
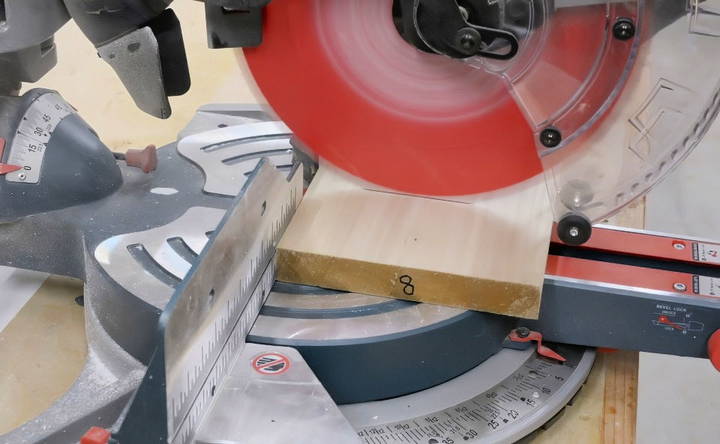
Once you have your measurements, break down the lumber into manageable sizes using a miter saw. This will make it easier to handle as you proceed with the project.
Step 2: Rip the Boards to Final Width
Next, use the table saw to rip the wood to the final width. This will give you the side panels, treads, and risers. Make sure each piece is uniform and smooth for easy assembly later on.
Step 3: Biscuit Joinery for Side Panels
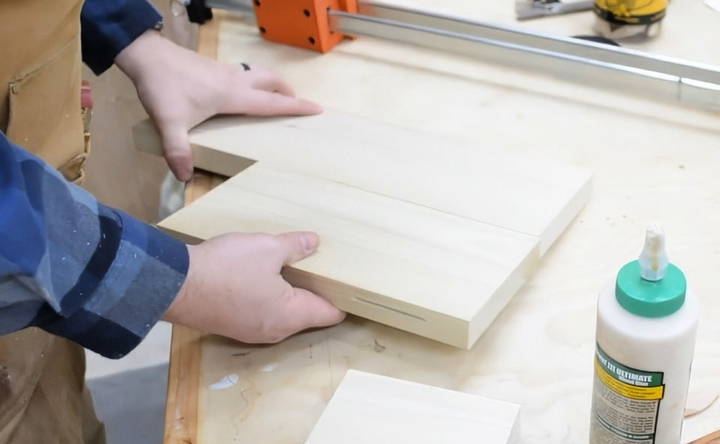
The side panels are constructed from three individual pieces. To connect these pieces, you'll need to use a biscuit jointer to build slots for the biscuits. Apply glue and insert size 10 biscuits into the slots, then clamp the pieces together. Let the glue set for a few hours before moving on.
The use of biscuits adds strength to the joints and ensures that the panels are aligned perfectly.
Step 4: Sanding the Panels
Once the glue has dried, remove the clamps and begin sanding the panels. Start with 80-grit sandpaper to remove rough spots, then switch to 120-grit for a smoother finish. Proper sanding is important as it ensures a polished, professional look once the project is complete.
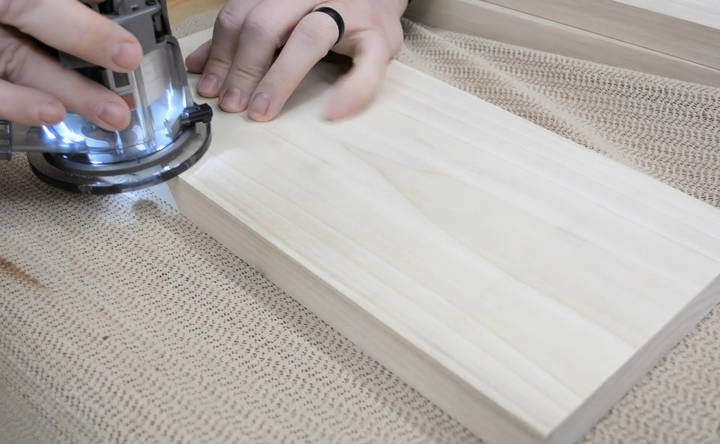
Step 5: Routing the Edges
Using a cordless router, put a slight round-over on the exterior edges of the panels. This not only softens the sharp edges but also gives the stairs a more refined appearance. After routing, sand out any burn marks or rough spots left by the router.
Step 6: Drilling Pocket Holes
Before assembling the stairs, drill pocket holes for attaching the treads and risers. Pocket screws are a great choice for this project because they build a strong connection that is hidden from view, giving the stairs a seamless appearance.
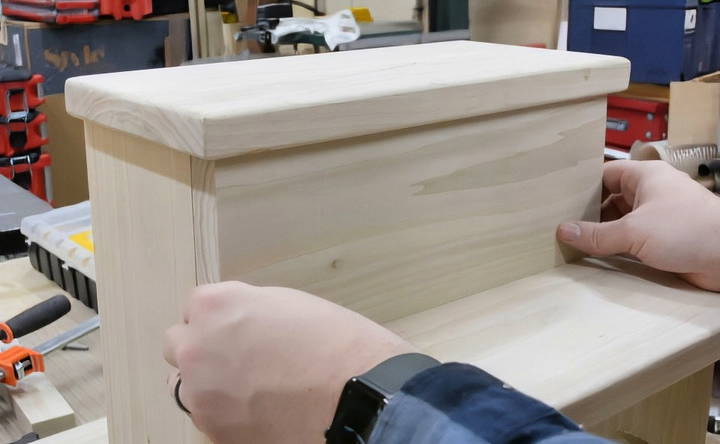
Step 7: Assembling the Treads and Risers
Now it's time to assemble the stairs. Start by attaching the treads to the side panels using pocket screws. Make sure the treads are evenly spaced for consistency. After the treads are secured, measure the space between the bottom of one tread and the top of the next to ensure the risers fit snugly.
Apply wood glue and screw the risers in place. This will complete the basic structure of the stairs.
Step 8: Adding Support Spreaders
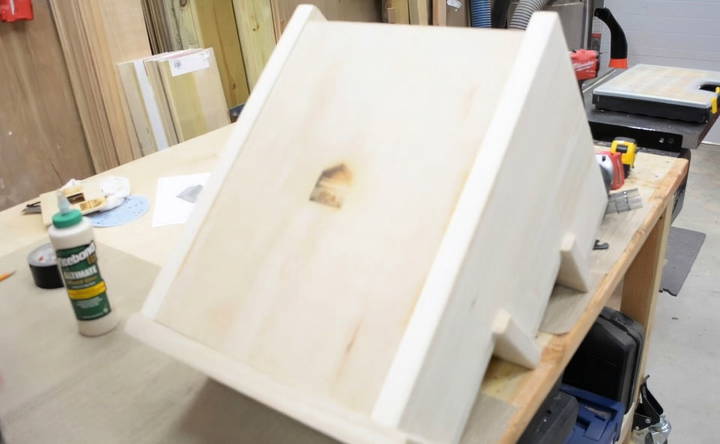
To prevent the stairs from wobbling or shifting, add support spreaders between the side panels. These spreaders will stabilize the structure and ensure that the stairs remain sturdy, even with regular use.
Step 9: Attaching the Back Panel
Cut and attach a back panel to the stairs. This piece will further stabilize the structure and give it a finished look. Use screws and glue to secure the panel in place.
Step 10: Applying the Finish
Once the assembly is complete, it's time to finish the stairs. Apply a generous amount of natural oil finish (like Rubia Monocoat) to bring out the grain of the wood and protect the surface. Use a white floor pad to spread the oil evenly across the surface.
After applying the oil, wipe off any excess to prevent pooling. This step not only enhances the appearance of the stairs but also adds durability.
Step 11: Attaching Rubber Feet
Finally, attach rubber feet to the bottom of the stairs. These feet will prevent the stairs from sliding on smooth surfaces like hardwood floors and protect your floors from scratches.
Alternative Material Options
While poplar was used in this project for its durability and aesthetic appeal, it may be overkill for smaller dogs. If you're building stairs for a lighter dog or looking for a more budget-friendly option, plywood is a great alternative.
Using plywood reduces the cost of materials while still allowing you to build a solid and sturdy structure. You can finish plywood edges with edge banding to give the stairs a polished look similar to hardwood.
Customization Options
One of the best things about DIY dog stairs is that they are highly customizable. Here are a few ways to make your stairs unique:
- Size Adjustments: Tailor the height and depth of the stairs to your dog's needs. Larger dogs may require wider treads, while smaller dogs can benefit from narrower steps.
- Wood Stain or Paint: You can paint or stain the wood to match your home decor. Consider using non-toxic paints or finishes, especially if your dog is prone to chewing on things.
- Carpeted Steps: Adding carpet to the treads provides additional grip for your dog, making the stairs safer to climb. Choose a carpet that is easy to clean and matches the style of your home.
- Storage Options: If you want to get creative, you can incorporate storage compartments into the design. The steps can double as pull-out drawers or hinged compartments for storing toys or other pet supplies.
Final Thoughts
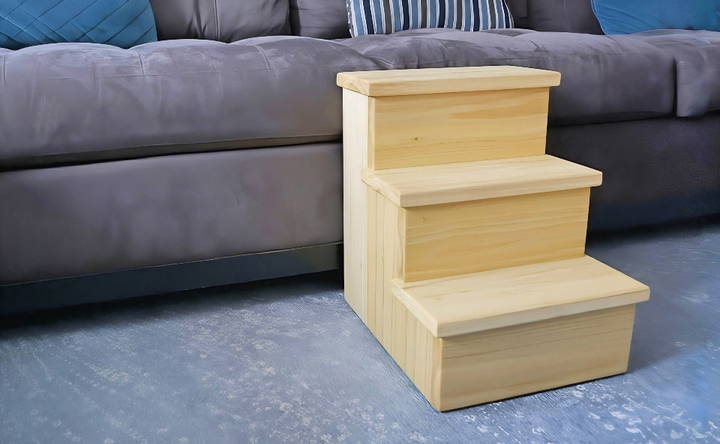
Building your own set of dog stairs is not only a rewarding project, but it can also improve your pet's quality of life. By following the steps outlined in this guide, you can build sturdy, durable stairs that are customized to your dog's needs and your home's style.
The key to success is careful planning and attention to detail. From selecting the right materials to applying the final finish, each step plays a vital role in building a functional and beautiful piece of furniture. Whether you're building for a tiny dog or a larger breed, these stairs will offer years of reliable use.
So, grab your tools, gather your materials, and get started on this DIY woodworking project. Your dog will thank you!
FAQs About DIY Dog Stairs
Discover answers to common questions about DIY dog stairs. Get tips, guidance, and solutions for building safe, homemade pet steps.
Measure the height of the surface your dog needs to reach, such as a bed or couch, and consider your dog's size. A small dog may need shorter steps, while a large dog will require wider and taller steps. Adjust the tread and riser height accordingly.
Yes, you can. While the tutorial uses advanced tools, simpler alternatives include a circular saw for cutting, a hand drill for assembly, and basic sanding by hand or with a small sander.
Poplar is strong and durable but may be overkill for small dogs. Plywood is a cost-effective alternative and can be finished with edge banding or painted for a neat look.
The total time depends on your skill level and tools. If using all tools mentioned, it can take several hours including cutting, assembly, and finishing. If you're using basic tools, expect it to take longer.
No, a biscuit joiner adds strength, but you can use screws or wood glue for simpler assembly. Pocket holes and screws are commonly used for fastening steps securely.
Yes! You can paint, stain, or upholster the stairs to match your home décor. Adding non-slip tape or carpet to the treads will make them safer for your dog to climb.
Attaching non-slip rubber feet to the bottom or applying non-skid tape to the steps can help. Carpeted treads also provide additional traction, especially for older or smaller dogs.
If pocket screws and biscuits are too complex, you can use wood glue and standard screws for assembly. Just ensure the steps are well-secured and properly aligned.
Yes, but ensure the stairs are wider and sturdier by using thicker wood and additional supports like more spreaders or stronger risers to handle the weight of larger dogs.
Yes, you can use a handsaw or circular saw as an alternative. Though it may take longer, these tools are effective for cutting wood to size. Make sure your cuts are accurate to ensure the stairs fit together properly.


