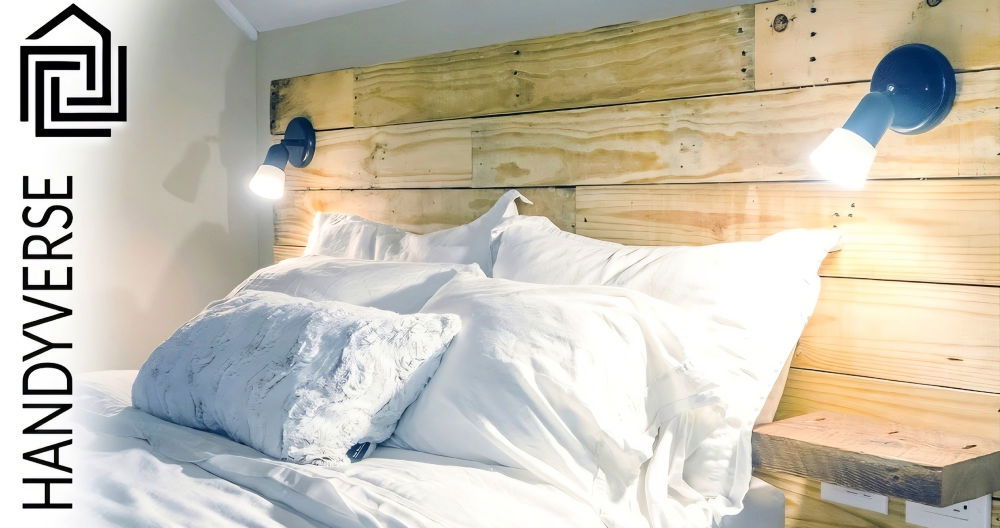
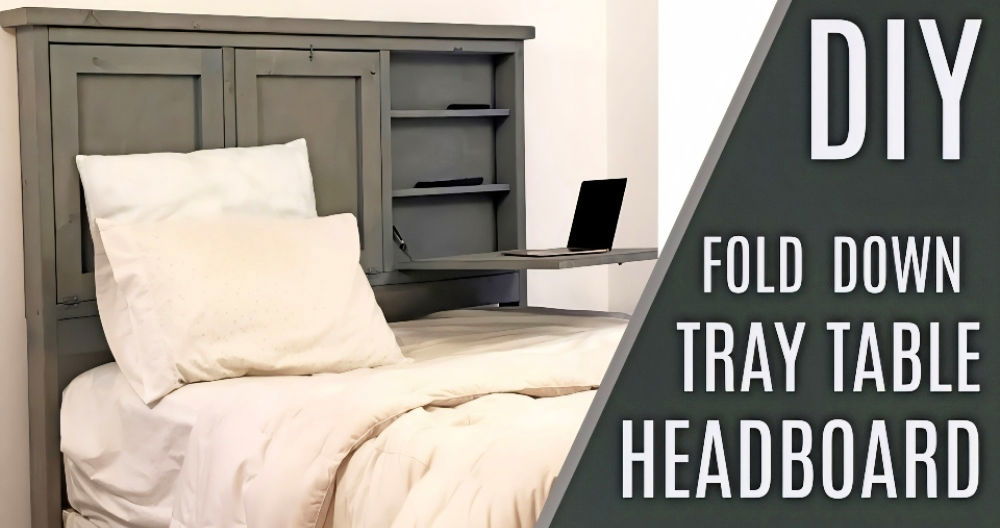
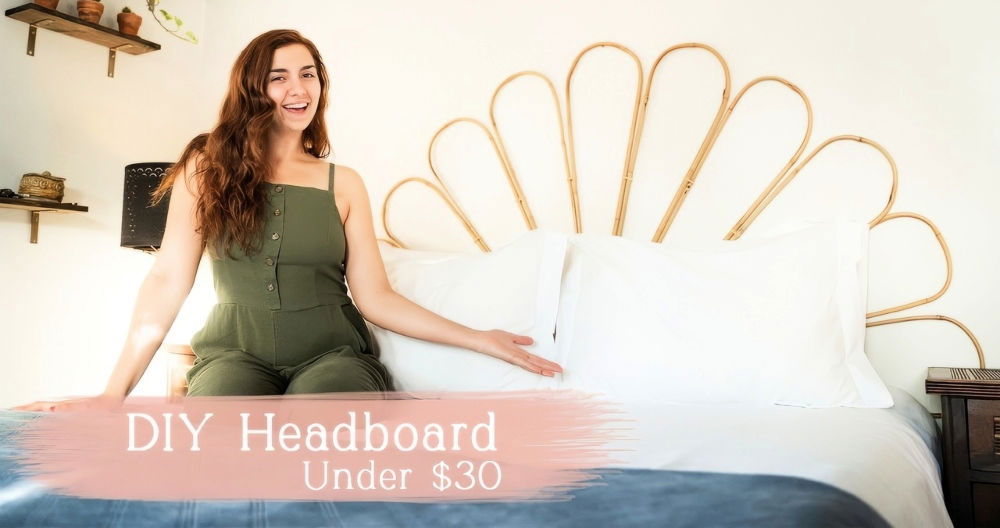
Making a personalized and functional headboard for your dorm room doesn't have to break the bank. In fact, with just $50 and a little time, you can craft a headboard that reflects your style and adds a cozy touch to your space. This guide provides an easy, step-by-step approach to making a DIY dorm headboard with a simple project that takes just 30 minutes to complete. Let's get started!
Materials You'll Need
Before starting, gather all the materials you'll need. Most of the supplies can be found at Home Depot, Joann's Fabrics, and Walmart. Here's your shopping list:
- Wood: A piece of wood measuring 40 inches by 32 inches. You can pick this up from Home Depot.
- Egg carton mattress topper: This can be found at Walmart. A twin extra-long size will work perfectly.
- Spray adhesive: For sticking the foam to the wood.
- Cotton batting: Available at Joann's Fabrics. Get a piece that's doubled up and at least 4 feet in length.
- Fabric: Choose something durable and stylish—faux leather, velvet, or any fabric you prefer. This will serve as the outer layer of the headboard.
- Staple gun and staples: You'll need this to secure the cotton and fabric to the board.
- Scissors: For cutting the foam, batting, and fabric.
Optional Materials for Customization:
- Quilting supplies: If you want a quilted effect, grab some nails, washers, a hot glue gun, and decorative gems.
- Wooden legs: If you want to add legs to your headboard, you can also get wood pieces cut to size, nails, and screws.
Once you have everything, it's time to get started!
Step by Step Instructions
Learn how to make a stylish DIY dorm headboard with these step-by-step instructions. Customize with unique fabrics, quilting, or paint.
Step 1: Prepare Your Foam
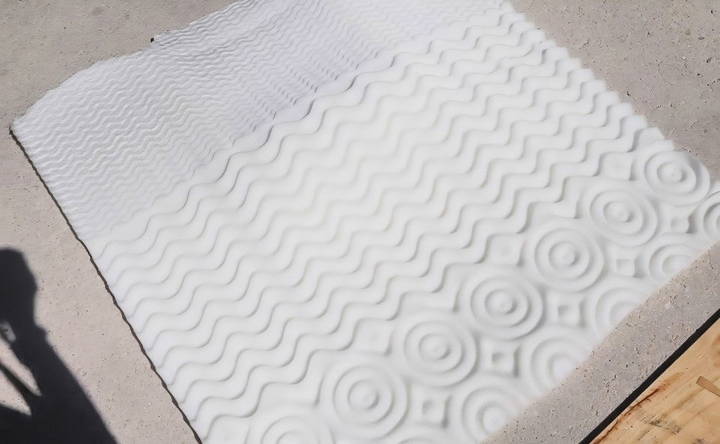
The first step involves preparing the foam, which provides the cushioning for your headboard. The egg carton mattress topper is affordable and works great for this purpose.
- Unfold the foam: Lay it flat and carefully peel off any stickers that might be attached. Be cautious, as you don't want to rip the foam.
- Cut the foam in half: With the foam laid out lengthwise (twin extra-long), cut it directly down the middle. You'll end up with two equal pieces.
Step 2: Attach the Foam to the Wood
With your foam ready, the next step is to adhere it to your wooden board using spray adhesive.
- Apply spray adhesive: Spray a generous amount of adhesive onto the wooden board. Make sure to cover the entire surface evenly.
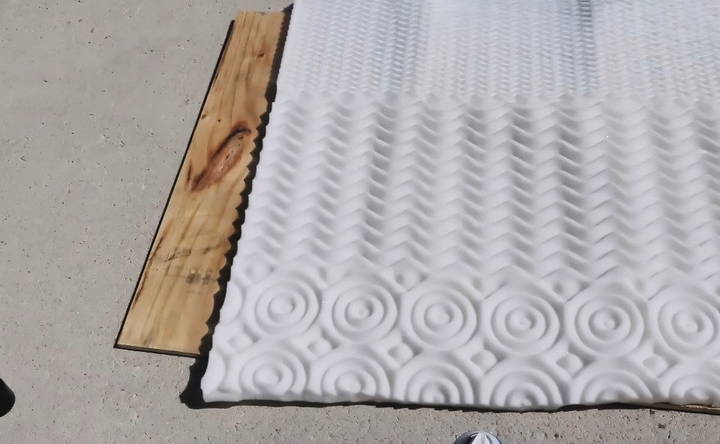
- Position the foam: Place the flat side of one foam piece onto the wood, smoothing it out to remove any air bubbles. Ensure the foam covers the board as much as possible.
- Layer the foam: Now, place the second piece of foam on top of the first, with the textured sides facing each other. The top layer should be flat, making a smooth surface.
Step 3: Add Cotton Batting for Extra Cushioning
Now that your foam is securely attached to the wood, it's time to add an additional layer of softness with cotton batting.
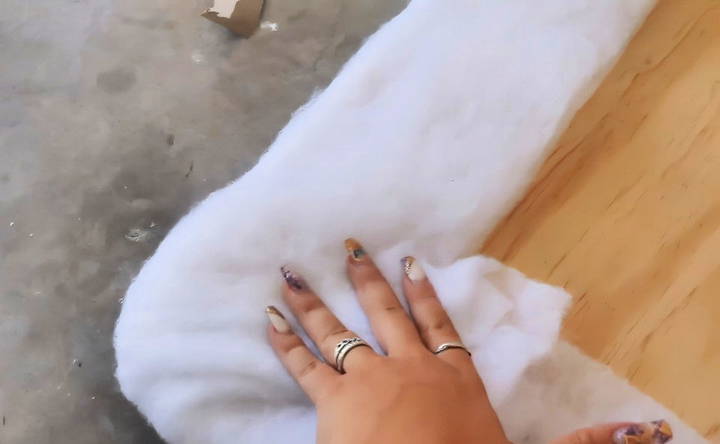
- Drape the cotton over the foam: Take your cotton batting, which should already be doubled up, and drape it evenly over the foam-covered board.
- Secure the batting: Flip the board over so the wood side is facing up. Pull the batting tightly over the edges of the board and secure it with the staple gun. Start from the middle of each side, pulling the batting taut, and staple it at 10 to 15 points on each side. The goal is to ensure the batting is smooth and snug without any wrinkles.
Step 4: Wrap the Fabric Around the Headboard
With the batting in place, it's time to cover your headboard with the fabric of your choice. This is the step where your headboard really begins to take shape.
- Drape the fabric over the batting: Make sure your fabric is large enough to cover the entire surface of the headboard, including the edges.
- Flip the board again: With the fabric draped over the batting, flip the board over so the wood side is on top.
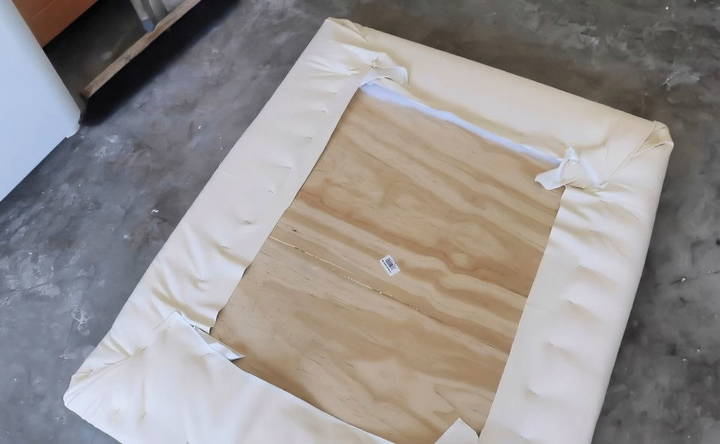
- Staple the fabric: Pull the fabric tightly over the edges, similar to how you did with the batting. Use your staple gun to secure the fabric in place along the edges, making sure it's pulled taut to avoid any wrinkles or loose sections. Be more precise with the fabric than you were with the batting, as this will be the outermost layer of your headboard.
Step 5: Deal with the Corners
Corners can be tricky, but with a little patience, you can make them look neat and professional.
- Fold the fabric at the corners: Start by pulling the fabric tight at the corner and making a series of small folds, tucking each fold underneath the last to build a smooth, finished look.
- Staple securely: Once you're satisfied with the appearance of the corner, staple the fabric in place. Don't be afraid to use several staples to ensure it's secure.
- Trim excess fabric: If there's any extra fabric hanging down, feel free to trim it away or staple it down for a cleaner look. The excess fabric can also add a little extra cushioning on the back of the headboard to prevent it from banging against the wall.
Step 6: (Optional) Add Legs to Your Headboard
If you want to add legs to your headboard for additional height, this step is relatively simple but entirely optional.
- Get wooden pieces for legs: Pick up two long pieces of wood (about 2 inches wide) from Home Depot and have them cut to the desired length.
- Attach the legs: Nail or screw the legs to the back of your headboard. You can also use screws and a screwdriver to make the attachment more secure.
- Attach to the bed: Once you're in your dorm room, you can use zip ties to attach the headboard to your bed frame.
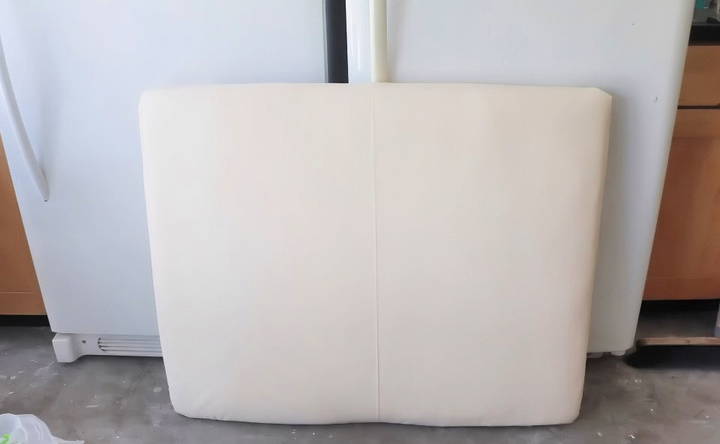
Customization Ideas
Once you've built the basic headboard, there are several ways you can customize it to make it your own. Here are a few ideas:
Quilting
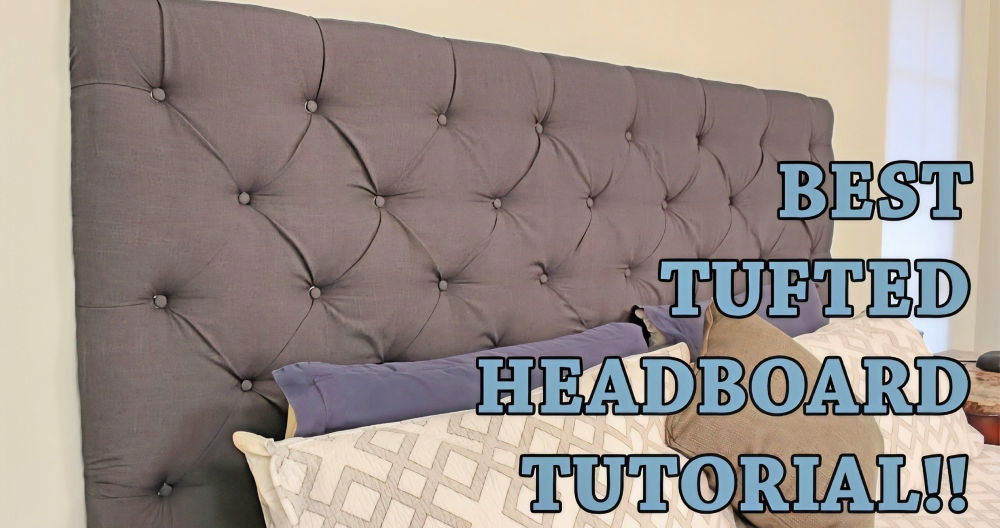
If you want a tufted, quilted look, this step will give your headboard a more polished and luxurious appearance.
- Use nails and washers: Measure out where you want the tufts to be on your headboard and mark those spots. Hammer nails with washers into those spots to secure the fabric in place.
- Add decorative gems: If you want a glamorous look, hot glue small gems or buttons over the washers to build a quilted effect.
Different Fabrics
You're not limited to faux leather. Consider using:
- Velvet for a soft, luxurious texture.
- Canvas for a more casual, rustic look.
- Bold prints to add personality and style.
Paint the Wood Frame
If any part of your wood frame is visible (especially if you skip the cotton batting), you can paint or stain the wood to match your dorm room's color scheme.
Final Thoughts
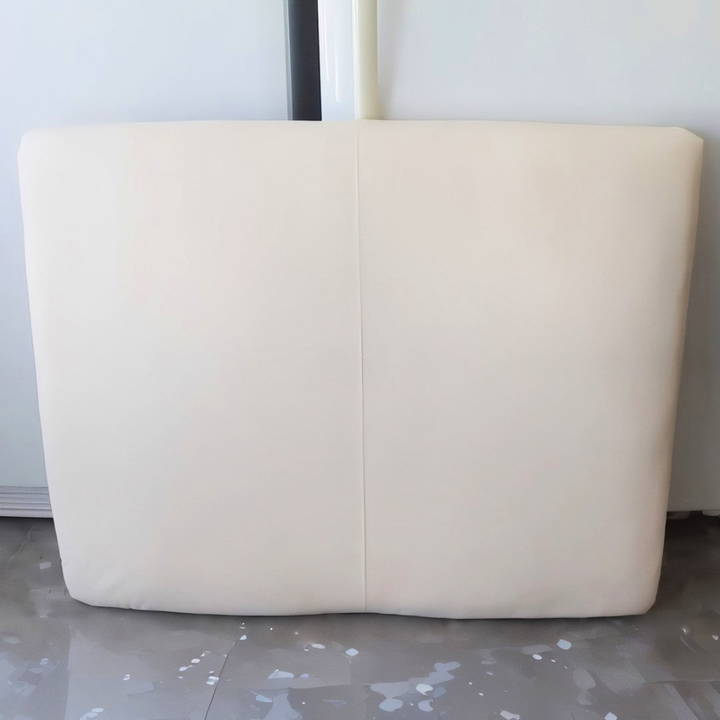
Building a DIY dorm headboard is a fantastic way to personalize your space without spending a fortune. Not only is it budget-friendly, but it also allows you to build a custom piece that reflects your personal style. Whether you go for a simple fabric finish or opt for a quilted, tufted design, this project is easy to complete and doesn't require any advanced skills.
In just 30 minutes, you can transform a basic piece of wood into a stylish and functional headboard that will make your dorm room feel more like home. So, grab your materials, follow the steps, and enjoy the process of making something both beautiful and practical!
If you have any questions about the process, feel free to ask, and happy DIY-ing!
FAQs About DIY Dorm Headboard
Discover answers to FAQs about DIY dorm headboards and learn how to easily build your own stylish and affordable dorm room decor.
You can use any type of plywood or MDF (medium-density fiberboard) for the headboard. At Home Depot or similar stores, you can usually find precut pieces in standard sizes. For this project, you’ll need a piece measuring around 40 inches by 32 inches, which you can have cut to size at the store if necessary.
Yes, you can adjust the measurements based on your bed size. For a twin bed, 40 inches by 32 inches works well, but for larger beds, increase the dimensions proportionally. Just ensure the foam and fabric also fit your adjusted size.
For cinder block walls, you can’t use traditional nails. Instead, try using adhesive hooks designed for heavy loads, or Command Strips. Alternatively, if you’ve added legs to your headboard, simply zip-tie the legs to your bed frame.
Yes, it’s possible to skip the spray adhesive and directly staple the foam to the wood. This method can save time, and according to some users, it works just as well without compromising the firmness or appearance of the headboard.
For a standard twin bed, the recommended dimensions for a headboard are about 40 inches wide and 32 inches high. These measurements allow the headboard to fit comfortably behind the bed without overwhelming the space.
A helpful tip is to sit on the board while stapling the fabric. Your body weight compresses the foam, and when you’re done, the foam will rebound, pulling the fabric tighter for a smooth and professional finish.
Yes, you can substitute cotton batting with a crib quilt or similar padding. This option can be more budget-friendly and still provide the cushion needed for a headboard. Just ensure it’s securely stapled to the wood to avoid shifting.
Absolutely! This headboard project is beginner-friendly and requires only basic tools like a staple gun and scissors. Many have completed it in about 30 minutes to an hour. Don't hesitate to ask for help if you're unsure, especially with cutting the wood or stapling.


