Looking to organize your drawers in a personalized and budget-friendly way? DIY drawer dividers are the perfect solution to transform your cluttered spaces into models of efficiency. With simple materials and a bit of creativity, these custom solutions can make finding your essentials easier while keeping your belongings neatly separated. This guide is crafted to provide you with a comprehensive step-by-step approach to making your own drawer dividers, making the process understandable and achievable for everyone.
Our walkthrough covers everything from selecting the right materials, measuring your space, to the final installation of your dividers. Plus, we'll dive into some creative ideas for customization and share important safety tips to ensure your project is both successful and enjoyable. Whether your goal is to streamline your kitchen utensils, organize office supplies, or tidy up cluttered vanity drawers, this guide has you covered. Stay tuned to discover how to enhance your home organization with 25 DIY drawer divider ideas that reflect your personal style and meet your specific needs.
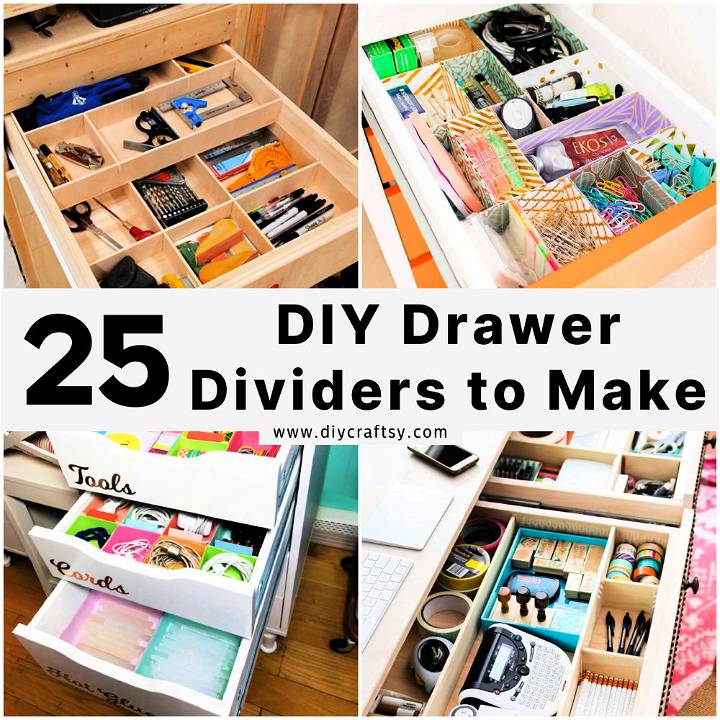
Why Make DIY Drawer Dividers?
Learn the benefits of making DIY drawer dividers to organize your space efficiently and stylishly. Find out how to make your own dividers now!
- Saves Money: Buying pre-made drawer organizers can add up quickly, especially if you need several. DIY dividers often utilize materials you already have at home, like cardboard or scrap wood, making them a cost-effective solution.
- Custom Fit: Not all drawers are maked equal. DIY dividers allow you to make a storage solution that perfectly fits your drawer's dimensions and your storage needs, eliminating wasted space.
- Improves Organization: With custom dividers, everything has its place. This not only makes finding items easier but also keeps your drawers neat over time. Say goodbye to rummaging through cluttered drawers!
- Increases Productivity: A well-organized space can drastically reduce the time you spend looking for items. This is especially true in areas like the office or kitchen, where efficiency is key.
- Enhances Creativity: Designing and making your drawer dividers lets you tap into your creative side. Choose materials and designs that reflect your personal style, adding a unique touch to your space.
- Environmentally Friendly: By repurposing materials or using sustainable options, you're contributing to a greener planet. It's a small step towards reducing waste and promoting sustainability.
- Personal Satisfaction: There's a certain satisfaction that comes from making something useful with your own hands. Completing a DIY project can boost your mood and give you a sense of accomplishment.
The goal is to make a system that works for you. DIY drawer dividers are a simple, cost-effective way to enhance the functionality of your space, making everyday tasks just a little easier.
DIY Drawer Dividers: A Step-by-Step Guide
Organizing your drawers can dramatically increase your storage space and make it easier to find what you need. With a DIY approach, you can customize dividers to fit your drawers perfectly. This guide outlines a simple and budget-friendly way to make your own drawer dividers, inspired by a tutorial from Ana White.
Materials Needed
- C-channel (aluminum, half-inch thick)
- Select pine board (half-inch thick, or plywood as an alternative)
- Half-inch long wood screws
- Drill bit (slightly smaller than the screw head)
- Phillips bit
- Jigsaw (with a metal cutting blade)
- Clamps (for holding materials in place)
- Eye and hearing protection
Step 1: Planning and Measurement
First, measure the inside dimensions of your drawer to determine how much material you'll need. Decide on the height and number of divisions you want. This will guide you on how much C-channel and wood you need to purchase.
Step 2: Preparing the C-Channel Brackets
Cut the C-channel into 2.5-inch long pieces. Each divider will need two brackets. After cutting, drill two screw holes at one end of each bracket. This can be easily done with a jigsaw equipped with a metal cutting blade - aluminum cuts smoothly.
Step 3: Attaching the Brackets
Choose where you want your dividers in the drawer and attach the brackets to the drawer's bottom, using the wood screws. Ensure they are spaced correctly, as these will hold your dividers in place.
Step 4: Cutting the Dividers
Measure the distance between the two brackets, accounting for the screw heads, to cut your select pine board or plywood. A miter saw is ideal for this, but a jigsaw can work too. Cut the divider to fit snugly between the brackets.
Step 5: Installing the Dividers
Slide your cut dividers into the installed C-channel brackets. If everything fits well, your drawer should now have neat sections. You can add as many dividers as needed, either parallel or perpendicular to each other, based on your organizing needs.
Customization and Further Ideas
This DIY method is versatile. Feel free to adapt it to larger drawers, closets, and even for organizing plates, Tupperware, or stationery. The principle remains the same and is easily customizable based on your specific needs.
Safety Tips
Always wear appropriate safety gear when working with power tools. This includes eye and hearing protection. Also, secure materials with clamps when cutting or drilling to prevent slippage.
Video Tutorial
For a step-by-step video tutorial on making DIY drawer dividers, watch this helpful video by Ana White. It pairs well with this written guide, enriching your understanding with a practical demonstration of the mentioned techniques. Watch now to see the process in action, bringing clarity to the DIY steps provided here. Watch the Tutorial Here
This guide, combined with the video tutorial, offers a comprehensive overview for anyone looking to tackle the project of making DIY drawer dividers. Whether it's for your kitchen, bathroom, or bedroom, this simple project can help organize your space efficiently and affordably.
FAQS About DIY Drawer Dividers
Find answers to commonly asked questions about making and using DIY drawer dividers to help you organize your space more effectively.
What materials can I use to make DIY drawer dividers?
You can use a variety of materials for DIY drawer dividers, such as:
- Cardboard from old boxes
- Scrap wood or plywood
- Foam board
- Acrylic sheets
- Thick cardstock
Choose based on availability, the specific needs of your project, and personal preference.
How do I measure and cut drawer dividers to fit my drawers?
- Measure the inside width, depth, and height of your drawer.
- Decide on the layout and number of dividers you need.
- Cut your material to size using these measurements. For wood, use a saw; for cardboard or foam board, a craft knife works well.
Always double-check your measurements before cutting to ensure a good fit.
Can I make adjustable drawer dividers?
Yes, adjustable drawer dividers are possible and ideal for changing storage needs. To make adjustable dividers:
- Use materials like pegboard and dowels for easy repositioning.
- Make slots in wooden dividers that allow you to move or add panels.
- Consider tension rods for a tool-free option.
How do I ensure the dividers stay in place?
Several methods can help secure your dividers:
- Use double-sided tape or adhesive strips for a non-permanent solution.
- Screw or nail dividers into place for a more permanent solution (mainly for wooden dividers).
- Design dividers that fit snugly between the drawer walls to avoid the need for adhesives.
Can I make drawer dividers for any type of drawer?
Absolutely! DIY drawer dividers can be customized for any drawer, including kitchen, office, bathroom, and even workshop drawers. Just ensure your chosen material is suitable for the drawer's contents (e.g., use moisture-resistant materials in bathrooms).
What are some creative ideas for decorating DIY drawer dividers?
Get creative with your dividers by:
- Painting or staining wood dividers to match your decor
- Covering cardboard or foam board dividers with decorative paper or fabric
- Using washi tape or decals for a fun and easy decorative touch
This customization can add a personal touch to your organization project.
How can I make eco-friendly drawer dividers?
For an environmentally friendly approach, consider:
- Repurposing materials you already have, such as cardboard boxes or scrap wood
- Using sustainable materials like bamboo plywood
- Avoiding single-use plastics or non-recyclable materials
This way, you not only organize your space but also do your part for the planet.
25 DIY Drawer Dividers (Learn How to Make Drawer Dividers)
Discover how to make 25 DIY drawer dividers for easy organization with our step-by-step guide. Say goodbye to cluttered drawers for good!
1. Drawer Organizer in 30 Minutes on a Budget
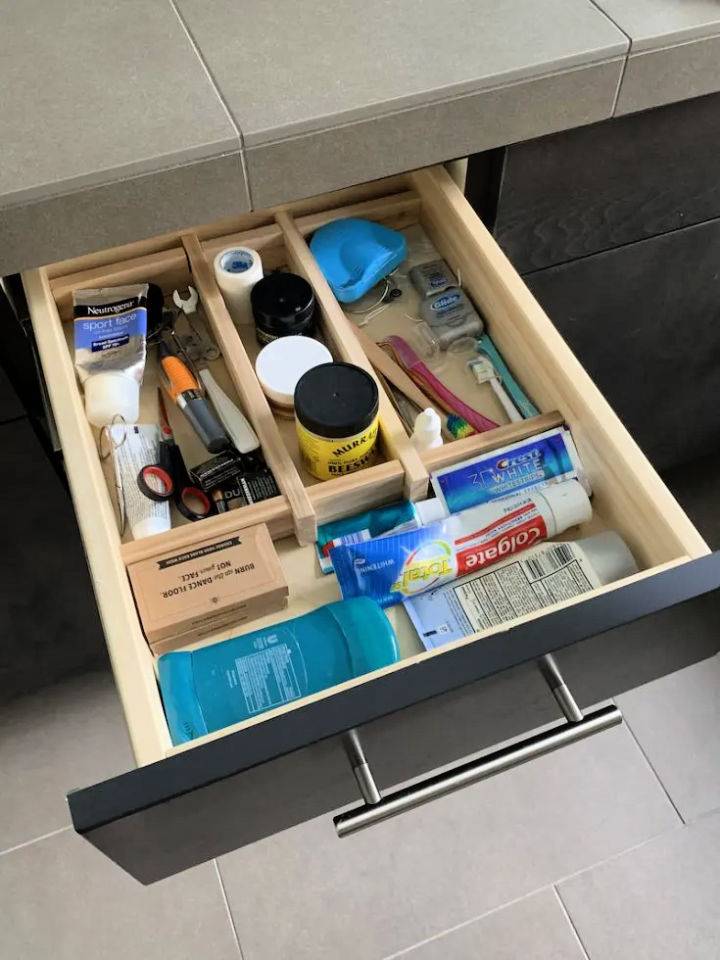
Transform your cluttered drawer into an oasis of organization with this DIY Drawer Organizer tutorial that you can craft in a mere 30 minutes, using just scraps of wood! Perfect for those on a budget and seeking a thrifty makeover, this project is beginner-friendly and requires no nails or screws. Follow these simple steps to customize your space and keep everything in its rightful place, without spending a fortune. For a detailed guide and more inspiring projects, visit DIYCandy.com. Start organizing smarter, not harder, today!
2. DIY Wooden Drawer Organizer
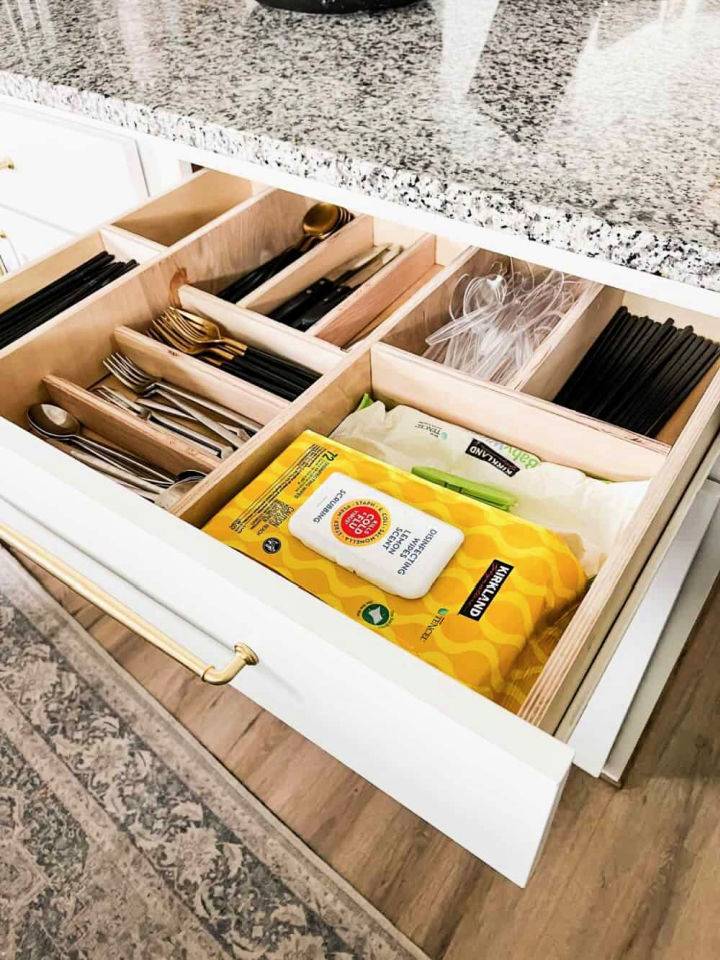
Transform your chaotic kitchen drawers into a haven of organization with a simple yet effective DIY wooden drawer organizer. No more digging through cluttered drawers! Follow the straightforward guide at Love & Renovations to make a custom solution that brings joy and efficiency to your everyday kitchen use.
Utilizing Weldwood Instant Wood Adhesive for assembly, this project is not only quick but also requires minimal tools. Perfect for anyone wanting to enhance their kitchen storage effortlessly. Plus, it's an excellent way to repurpose scrap wood. Dive into DIY and make your kitchen drawers beautifully organized today!
3. Kitchen Utensil Drawer Dividers
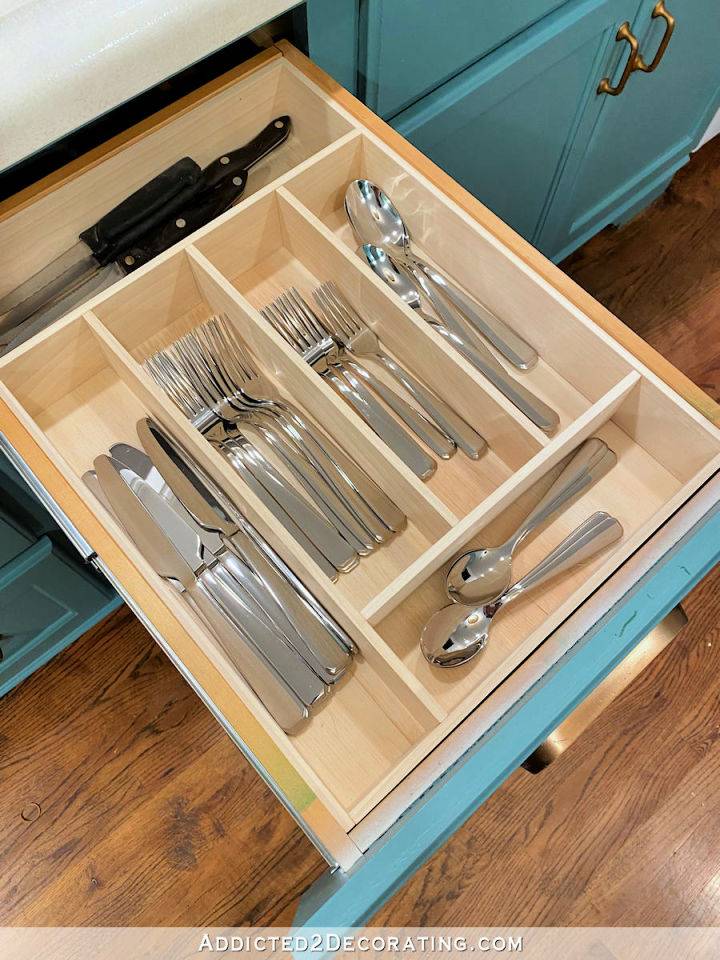
Revamp your kitchen drawers with this inspiring DIY project! Tired of the chaos? Transform your utensil drawers from cluttered to custom-organized spaces. It's simpler than you think. Discover the step-by-step guide on making kitchen utensil drawer dividers, using basic materials like project boards and wood glue. This do-it-yourself approach tailors your space to suit your needs, eliminating unused gaps and making every utensil easily accessible. Start building a neater, more functional kitchen today. For full instructions, visit Addicted 2 Decorating.
4. How to Make a Drawer Dividers
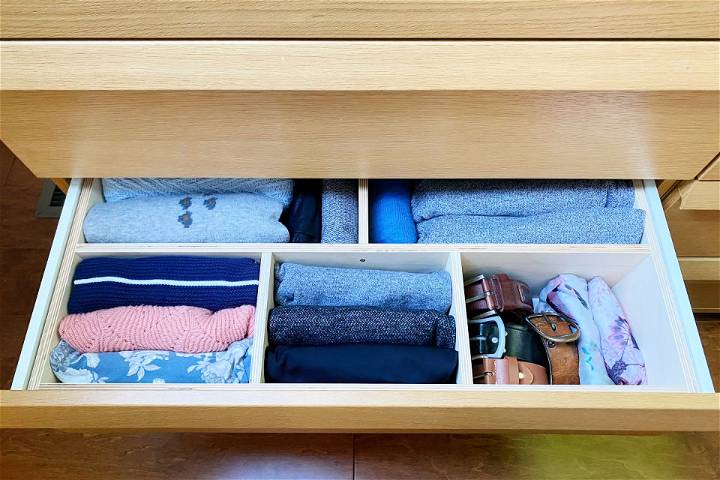
Transform chaotic drawers into organized havens with this easy-to-follow guide for building DIY drawer dividers. Perfect for any drawer needs, these custom dividers are your solution to misplaced items. Spend 2 to 5 hours and an estimated $20 - $80 for a clutter-free space. Ideal for beginners, this project requires minimal tools and plywood to make effective storage solutions. Embrace tidiness and make the most out of your space following these steps on Family Handyman.
5. Easy DIY Drawer Organizers
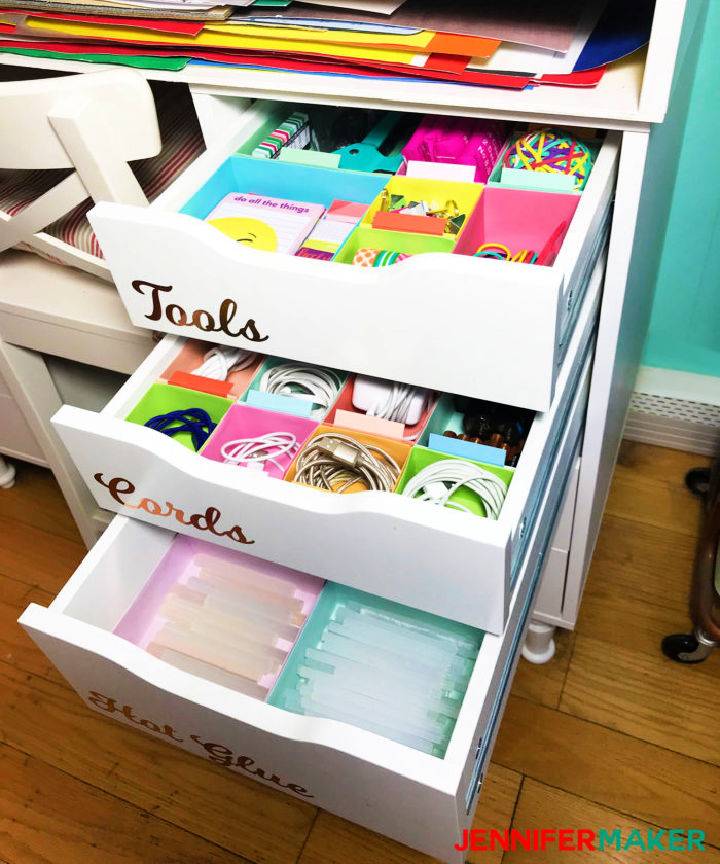
Transform your cluttered drawers into models of organization with handmade DIY drawer dividers. Say goodbye to chaotic storage spaces by crafting dividers that fit not just IKEA Alex drawers but almost any drawer size. With simple materials like cardstock and glue, you can make durable, customizable drawer organizers.
These DIY dividers also feature tabs for easy labeling, making it a breeze to keep items sorted and find what you need at a glance. Dive into this project with a helpful tutorial that guides you through every step, ensuring organized drawers that bring joy and ease to your daily routine.
6. Making a Drawer Organizers
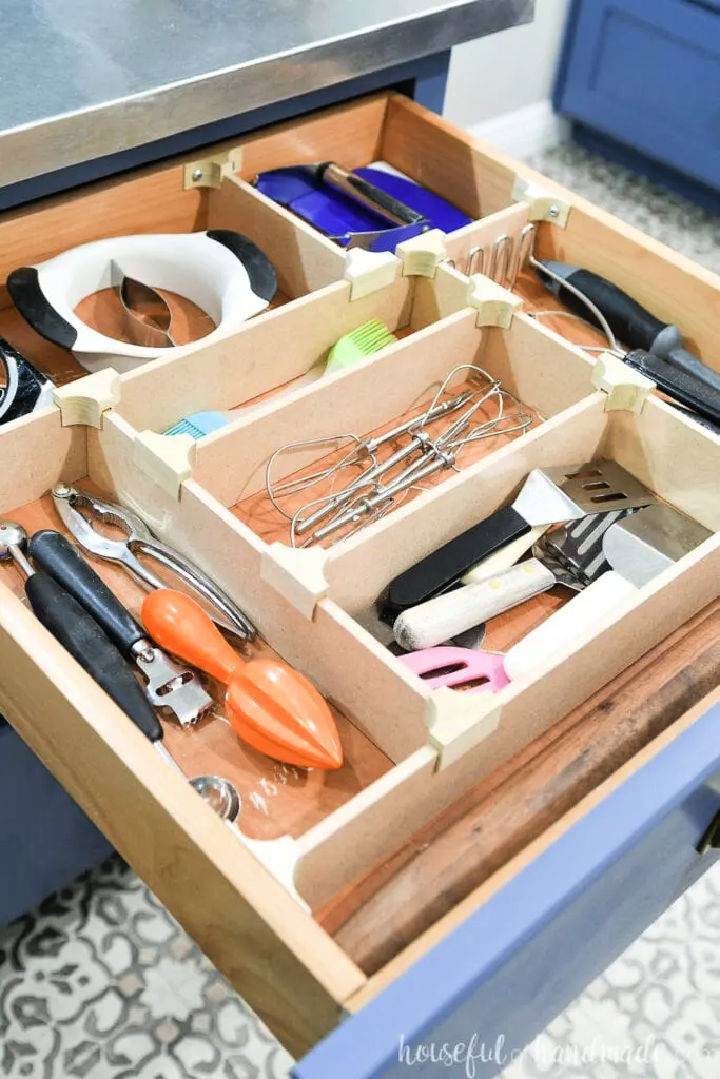
Transform your cluttered drawers into a haven of organization with these easy-to-follow DIY drawer dividers. Unveil the secret to perfectly organized spaces at Houseful of Handmade. With simple tools and materials, learn how to craft custom dividers that stay put, no matter how hard those drawers get yanked open. Plus, discover a nifty knife holder to keep blades safely stowed. Ideal for any home looking to add a touch of order with a personal touch.
7. DIY Drawer Dividers With a Sliding Tray
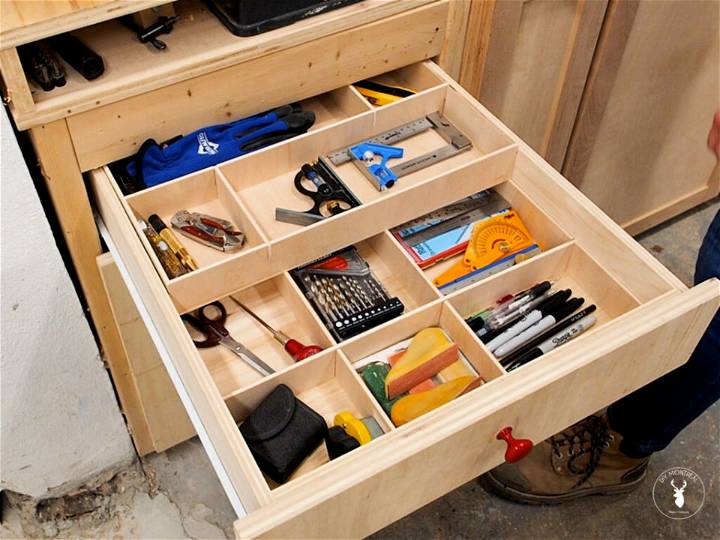
Transform your chaotic workshop drawers into a marvel of organization with this step-by-step guide on constructing DIY drawer dividers and a sliding tray. Perfect for making use of every inch of space and keeping your tools and accessories neatly arranged. Dive into the tutorial to learn how easy it is to tweak your storage solutions, enhance accessibility, and reclaim lost vertical space simply using plywood or MDF. Say goodbye to clutter and hello to efficiency in your workshop today!
8. Super Easy Drawer Dividers
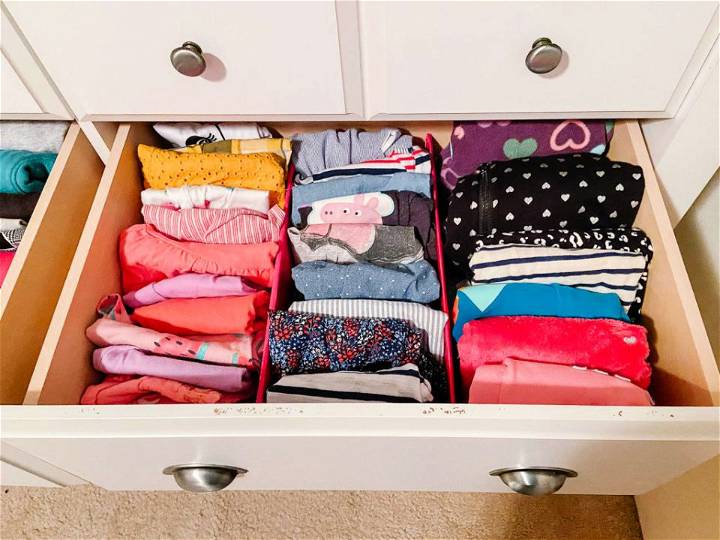
Transform your cluttered drawers into organized bliss with these DIY drawer dividers from Small Stuff Counts. Cheap and super easy to make, these dividers use materials like old cardboard boxes, making them both eco-friendly and wallet-friendly. Perfect for keeping small items, like baby clothes, neatly separated, you'll be amazed at how something so simple can make your space much more functional. Follow this guide to declutter, measure, cut, wrap, and install your way to tidier drawers without spending much. Say goodbye to messy drawers and hello to organized space!
9. Make Your Own Drawer Dividers
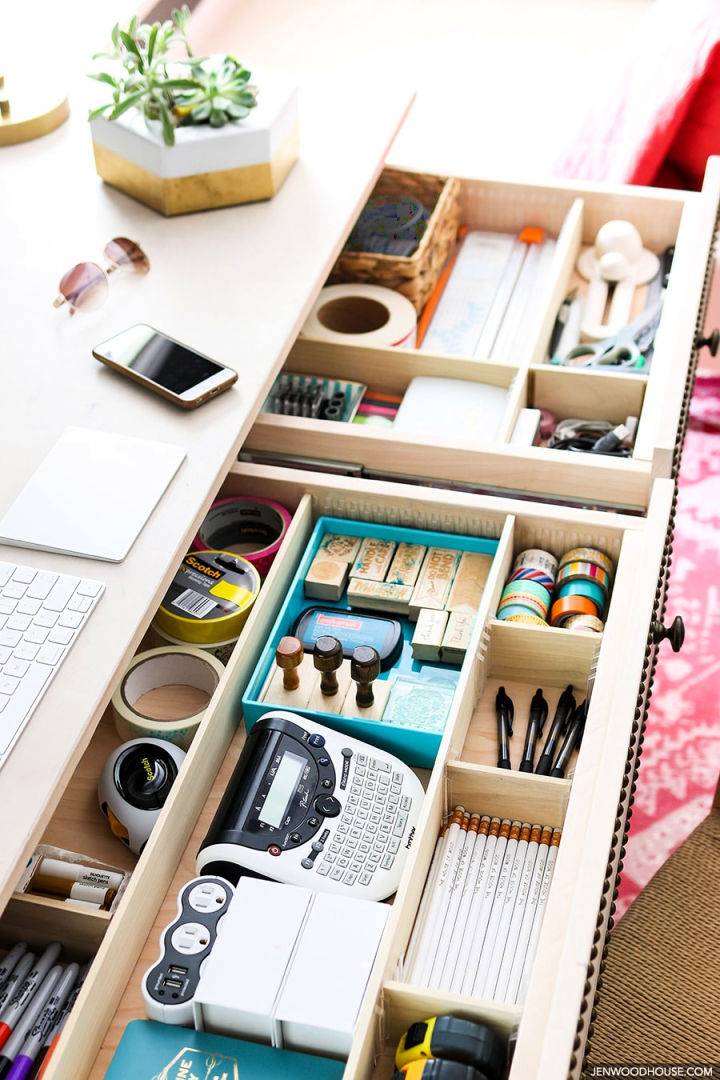
Tidy up your workspace with a simple and effective solution! Learn how to make your own DIY drawer dividers over at Jen Woodhouse's blog. It's a fantastic way to keep your desk drawers organized without any hassle. This method is not only easy to follow but also transforms how you store your essentials. Get started today and make your space more efficient and organized!
10. How to Make a Drawer Dividers
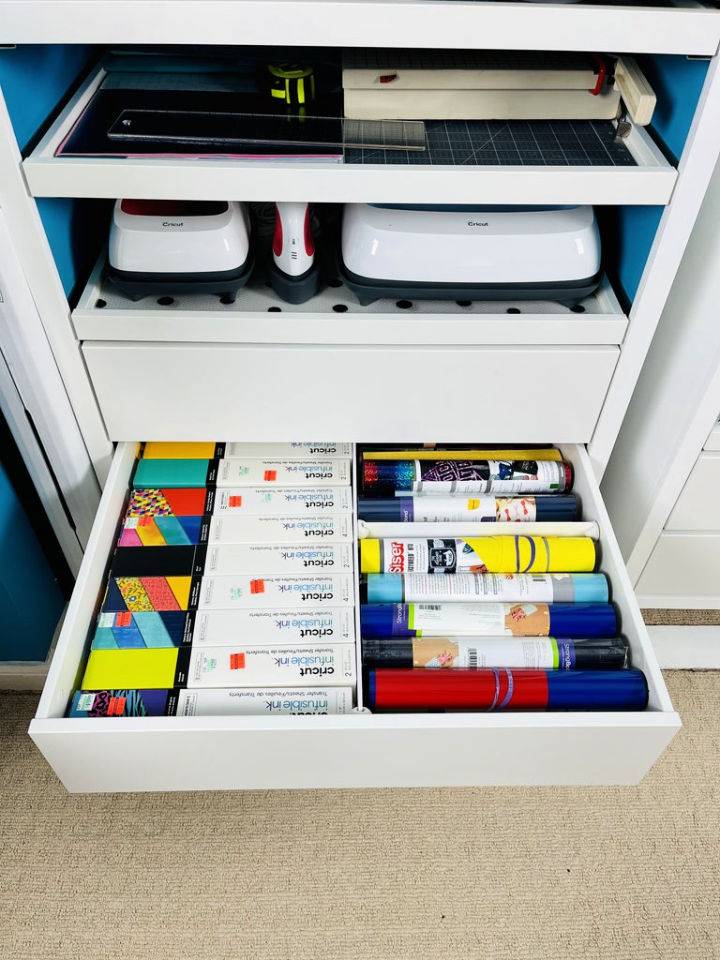
Transform your cluttered drawers into a masterpiece of organization with our simple DIY guide on making your own drawer dividers. No need to sift through messy drawers anymore! Our instructive and engaging tutorial at Instructables walks you through making customizable, cost-effective dividers that will keep your craft supplies neatly separated and easy to find. Perfect for crafters of all levels, this accessible project will help you maximize space and streamline your craft stash in no time.
11. DIY Drawer Dividers Out of Cardboard
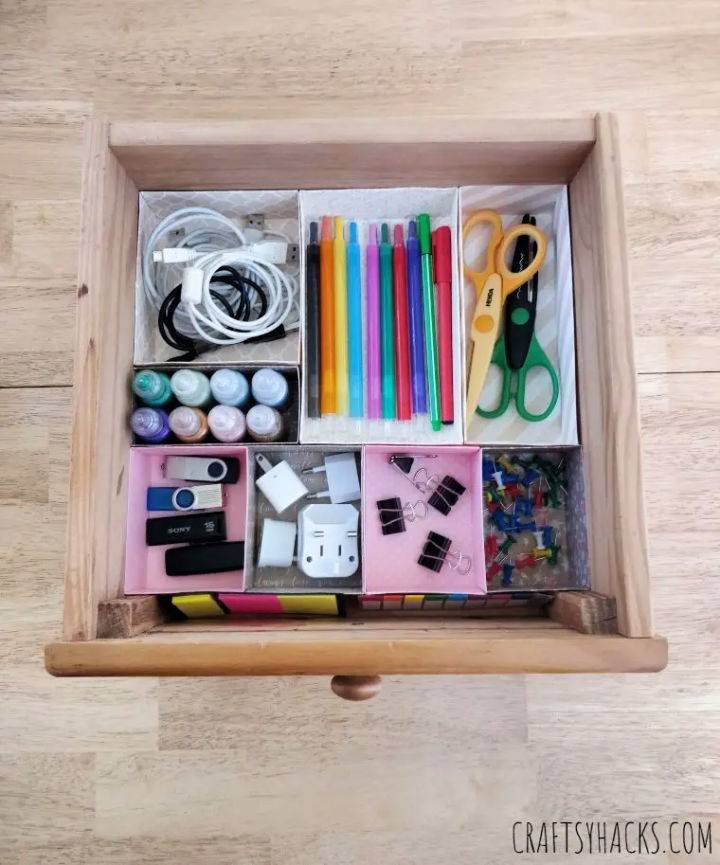
Transform your chaotic drawers into organized havens with these simple DIY cardboard drawer dividers. Ideal for keeping your office space tidy without breaking the bank, this project is not only affordable but also a rewarding way to declutter. Follow our step-by-step guide to craft your own dividers using basic supplies like cardstock, glue, and a craft knife. Perfect for everyone who loves a neat workspace, this fun activity promises a clutter-free drawer in just 2 hours. Start crafting today and enjoy the benefits of an organized drawer!
12. How to Build a Drawer Divider
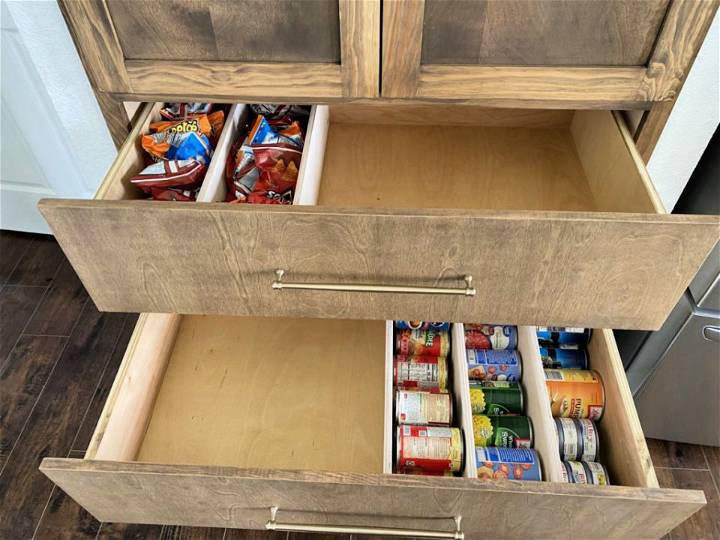
Transform those chaotic drawers into neatly organized spaces with easy-to-make DIY Drawer Dividers. Say goodbye to cluttered storage areas with a do-it-yourself solution that's both quick and customizable. In under 15 minutes, reclaim your drawers and tailor them to your needs.
Start by emptying out that neglected drawer, measuring for precision, and cutting your dividers from simple materials like plywood. A miter saw, and a drill is your primary tools, alongside the innovative Kreg Pocket Hole 720Pro for effortlessly precise joints. Perfect for kitchen organization or any drawer in desperate need of order. For a detailed guide on making cost-effective, custom drawer dividers, visit Sawdust2Stitches.
13. Cheap DIY Drawer Dividers
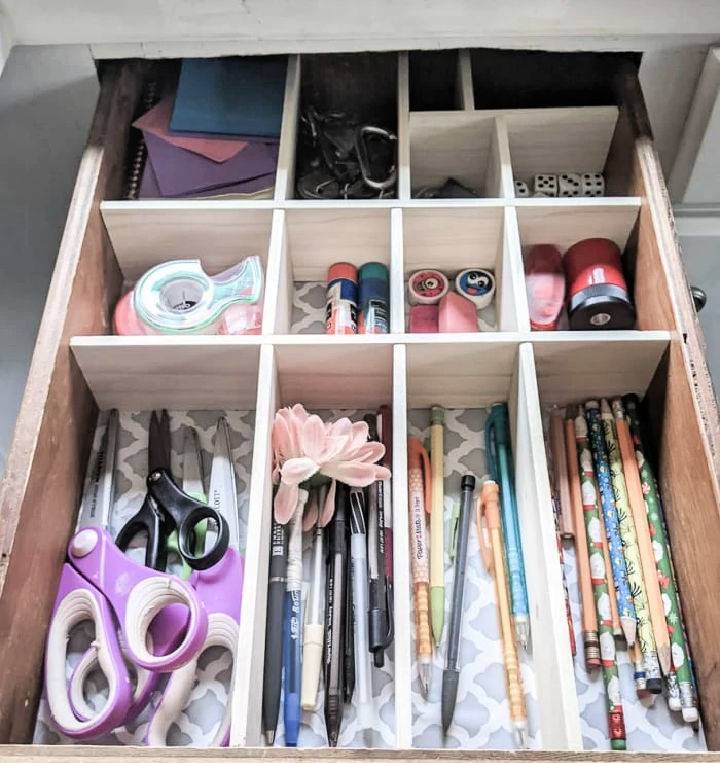
Transform your cluttered drawers into organized havens with this simple and cost-effective DIY. These easy-to-make drawer dividers can be tailored to fit any drawer size, ensuring everything has its place. Say goodbye to messy junk or silverware drawers. With minimal supplies and a little time, organize everything from kitchen utensils to office supplies. Perfect for those seeking a practical, removable solution for cleaner, more efficient drawers. Follow this straightforward guide for a clutter-free space today!
14. DIY Desk Organizing Drawer Dividers
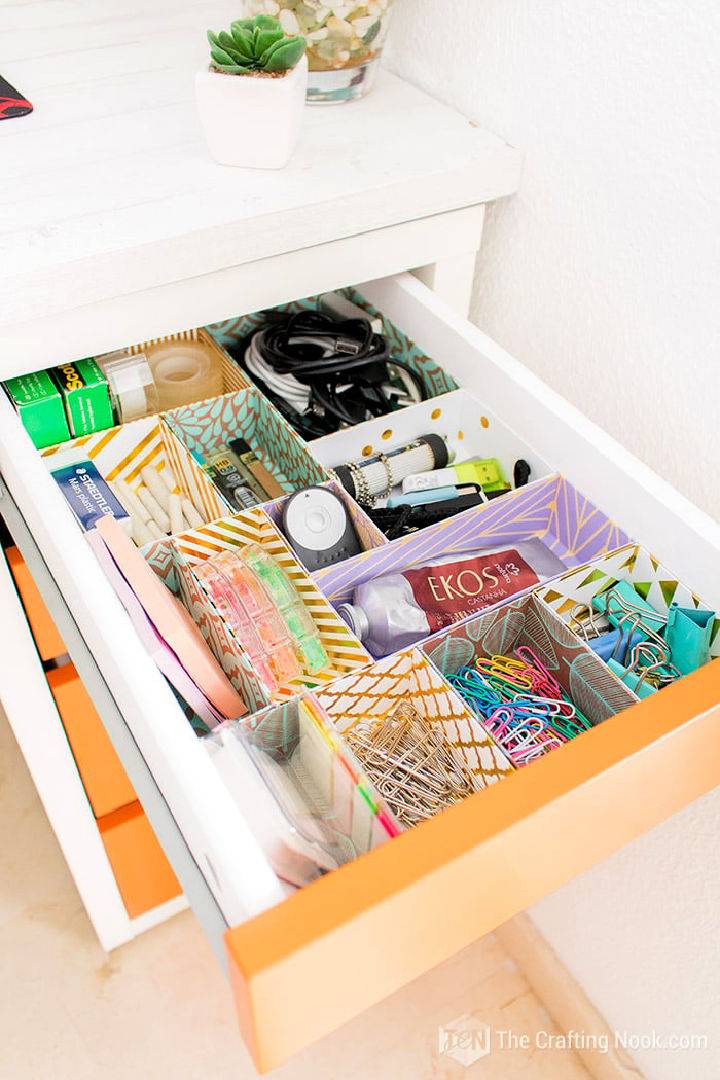
Transform your cluttered desk drawers into neatly organized spaces with our simple DIY drawer dividers guide. All you need are some basic supplies like cardstock, glue, and a few tools. This highly customizable project lets you make dividers that perfectly fit your needs, maximizing every inch of space. It's a game-changer for accessing and maintaining an orderly workspace. For a step-by-step tutorial on making these functional and pretty drawer dividers, visit The Crafting Nook. Say goodbye to messy drawers and hello to improved productivity!
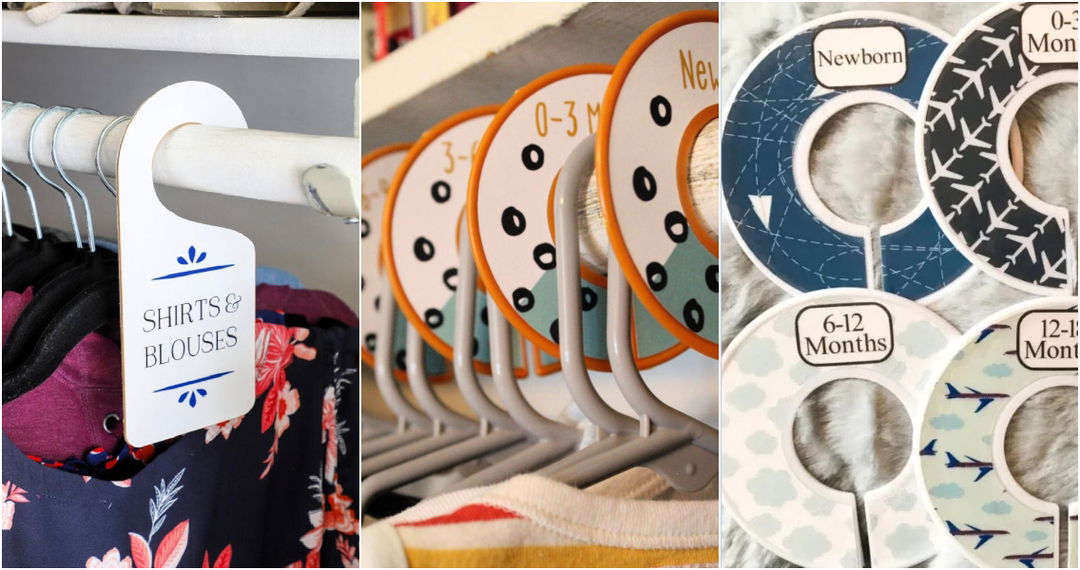
Closet Dividers: Give your baby's closet a beautiful makeover with these easy-to-install, affordable baby closet dividers. They're quick to set up, and they'll keep clothes off the floor and neatly organized.
15. Pull Out Drawer Dividers for Water Bottles
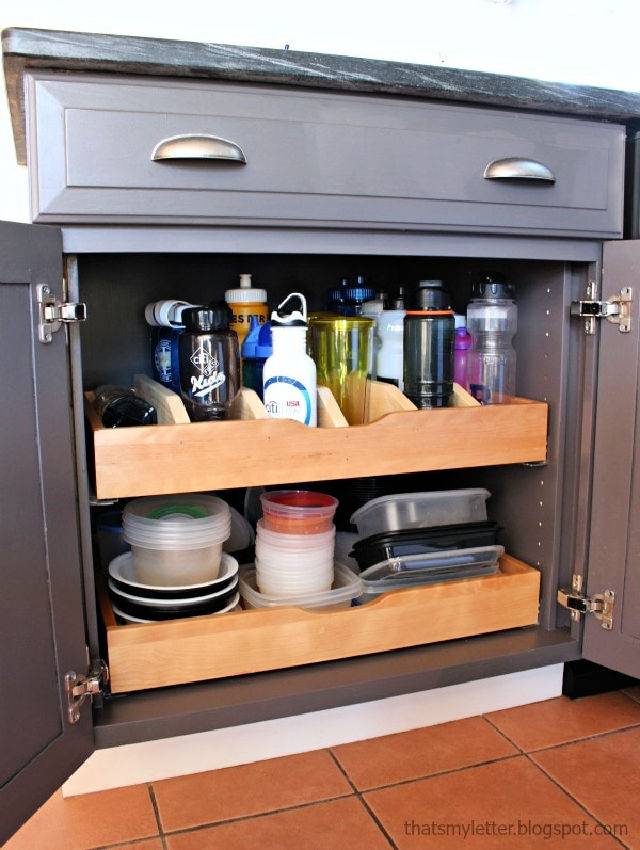
Tired of water bottles cluttering your kitchen? Say goodbye to chaos and hello to an organization with DIY pull-out drawer dividers! Jaime Costiglio shares a game-changing solution for a tidy space. Crafted with simplicity and practicality, these dividers transform a messy cabinet into an orderly haven, making each bottle easily accessible. Perfect for the January organizing frenzy or any time you crave decluttered serenity. Ready to streamline your space? Begin your project today with a helpful guide at Jaime Costiglio's.
16. Wooden Kitchen Drawer Organizer
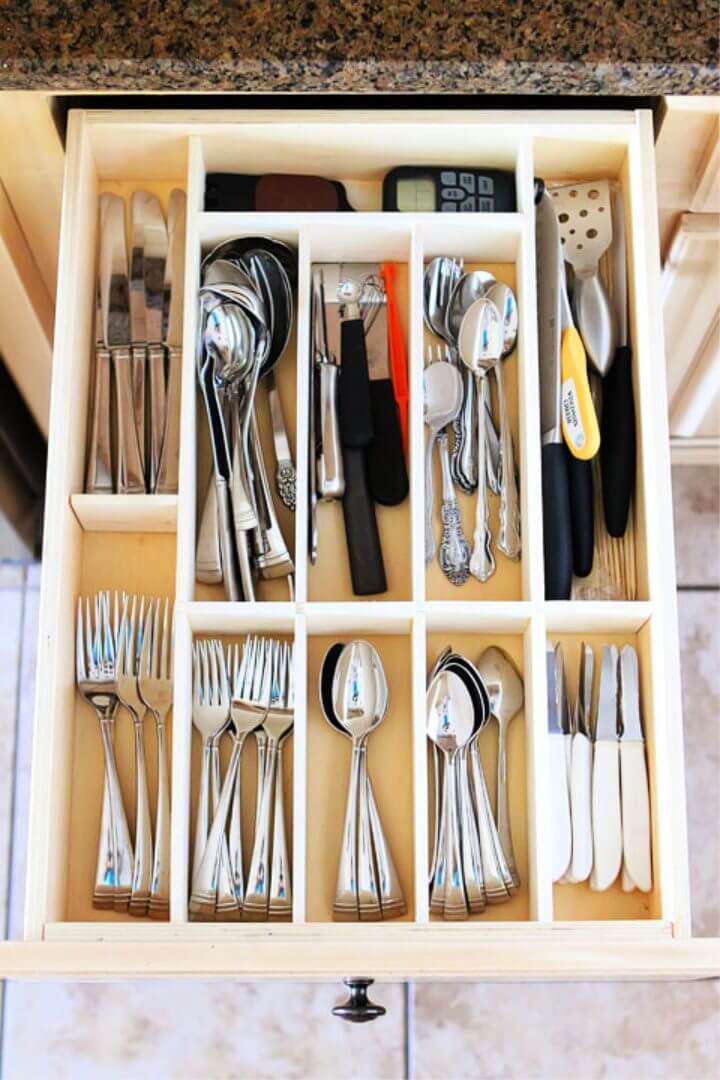
Discover the simple joy of a clutter-free kitchen with this DIY Kitchen Drawer Organizer guide. Learn how to transform your chaotic kitchen drawers into neatly organized spaces for under $10. This guide is perfect for anyone, even if DIY isn't your forte. No more digging through a tangled mess of utensils! Follow easy steps to make custom, removable drawer dividers that fit your storage needs perfectly. Bring order to your kitchen with this budget-friendly project today!
17. Easy DIY Wood Drawer Dividers
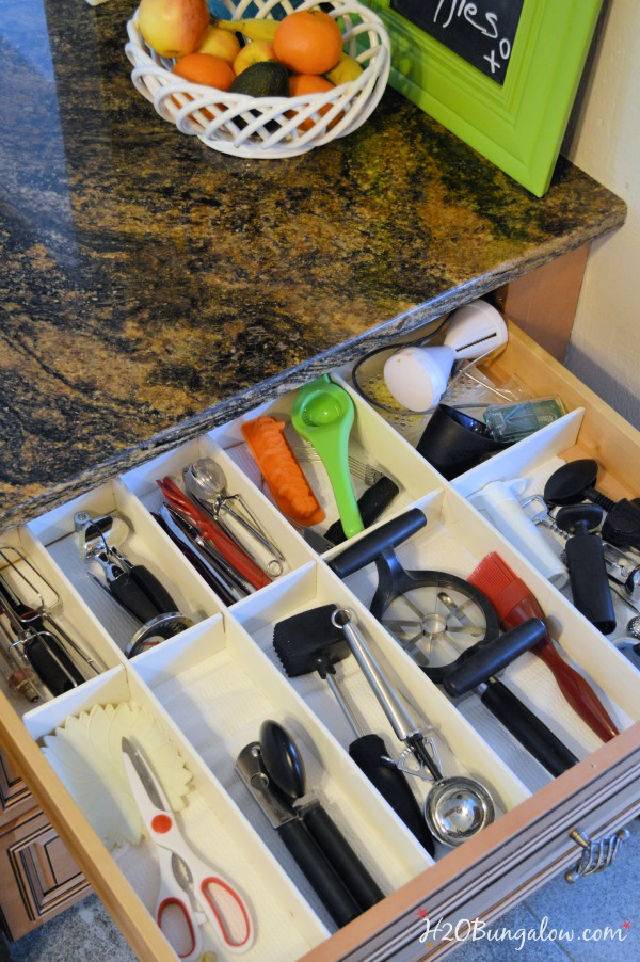
Transform your cluttered kitchen drawers into an oasis of organization with your own DIY wood drawer dividers. Say goodbye to ineffective plastic bins. With some basic plywood and a little crafting, you can make elegant, custom drawer organizers. These dividers are not only simple to make but also add a touch of sophistication to any drawer space.
Perfect for those with limited kitchen storage, these dividers ensure everything has its place, from silverware to cooking gadgets. For a step-by-step guide on how to make these space-saving wonders, visit H2OBungalow. Measure, cut, and assemble—your kitchen drawers will thank you!
18. Free and Easy DIY Drawer Dividers
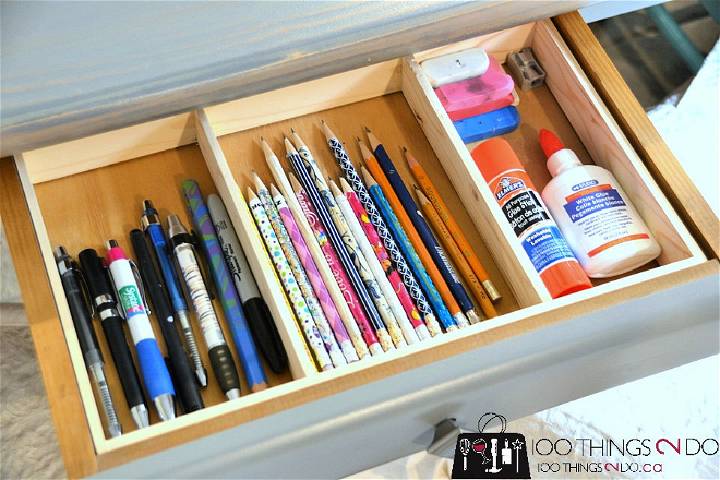
Transform your cluttered drawers into a vision of organization without spending a dime! Discover a brilliantly simple DIY solution for making custom drawer dividers using repurposed materials and a touch of creativity. Perfect for bringing order to chaos, these easy-to-make dividers can enhance any drawer space, from the kitchen to your workspace. Ready to tidy up in record time? Follow this engaging and straightforward guide at 100Things2Do.ca for an efficient, cost-free organizing hack. Say goodbye to drawer disarray today!
19. Dollar Store DIY Bathroom Drawer Organization
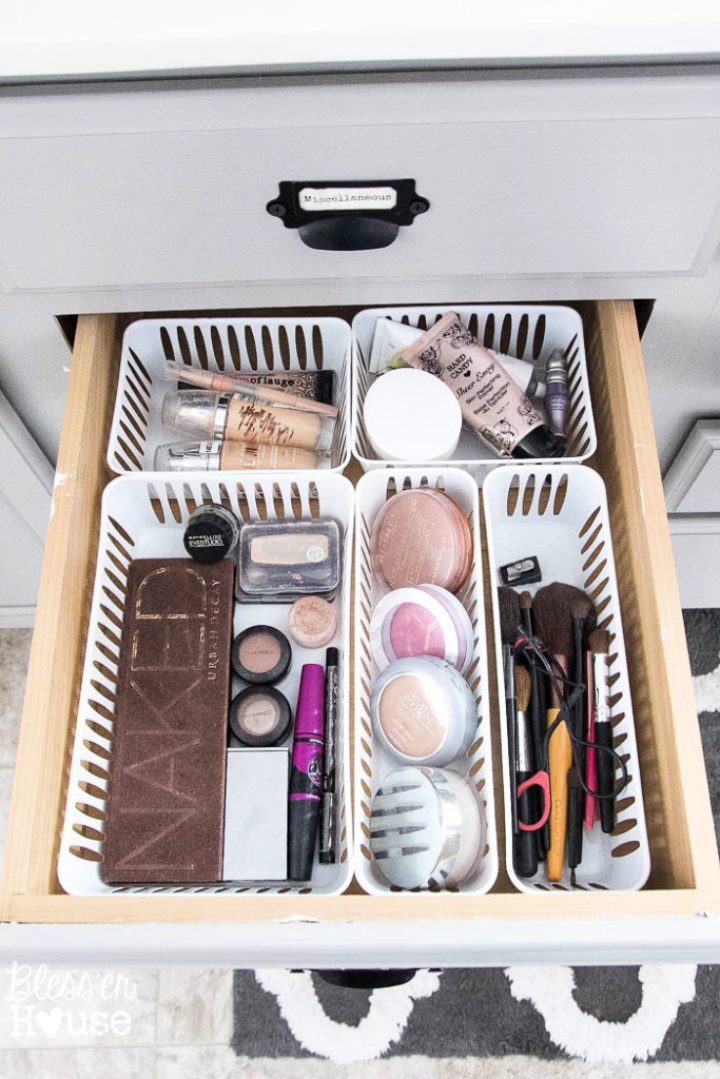
Transform your bathroom drawers from cluttered to curated without breaking the bank! Learn how with budget-friendly finds from your local dollar store. Dive into an inspiring and straightforward guide to making your bathroom space as orderly as it is stylish, at a fraction of the cost. For a step-by-step tutorial that brings organization and charm to your home, visit The Summery Umbrella. Perfect for anyone eager to tidy up on a tight budget!
20. DIY Makeup Drawer Dividers
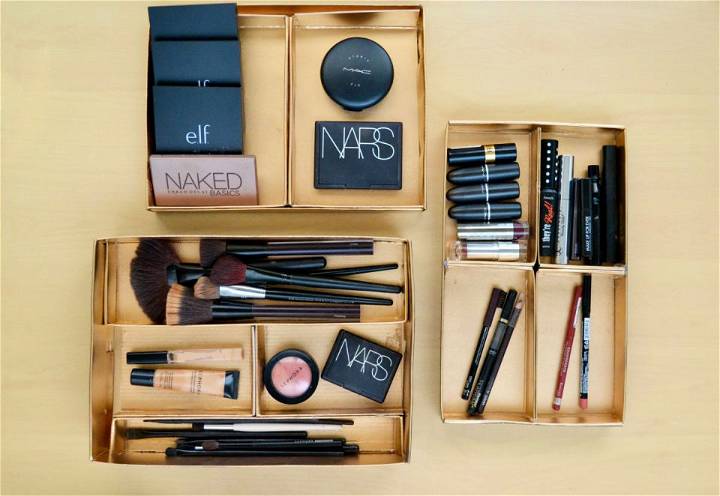
Transform your cluttered makeup drawer into an oasis of organization with this ingenious DIY Makeup Drawer Divider tutorial. By creatively repurposing old shoebox tops, you can craft bespoke dividers that not only tidy up your space but also add a touch of personal flair.
This project is as straightforward as it is rewarding, requiring only basic supplies like a hot glue gun, craft knife, scissors, and perhaps a splash of metallic spray paint for that luxe finish. Perfect for arranging makeup, nail polish, or any small items, these dividers promise to reinvent your drawers in no time. Dive into the full guide by clicking here: DIYs.com
21. Build Wood Drawer Dividers
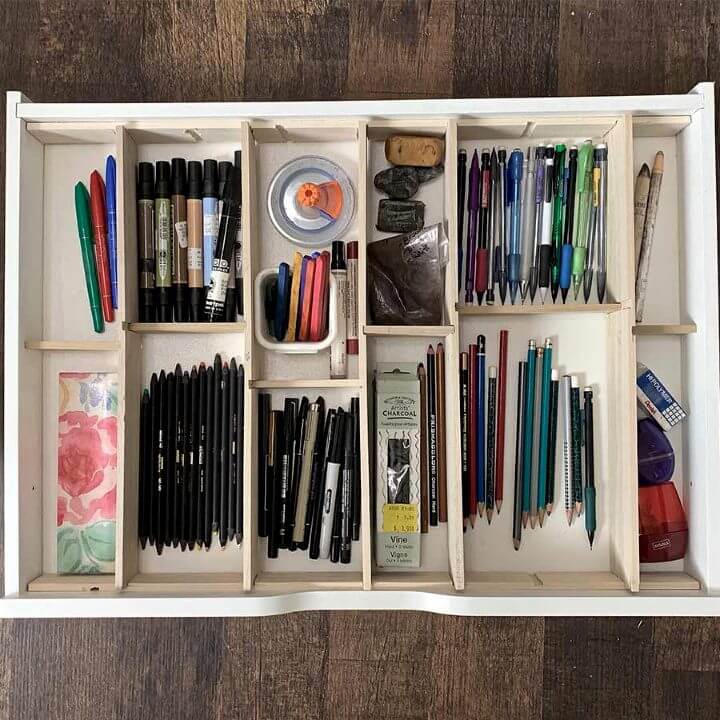
Transform your cluttered drawers into neatly organized spaces with this easy-to-follow DIY tutorial on making adjustable wood drawer dividers. Ideal for anyone keen on improving their home organization, this guide requires simple tools like a Dremel for routing and a miter saw.
Perfect for fixing sagging Ikea Alex drawers and customizing spaces for all your storage needs. Experience a seamless process from start to finish, ensuring your items are perfectly compartmentalized. For detailed instructions, a materials list, and actionable steps, visit ArtsyPrettyPlants. Elevate your home organization game today!
22. Drawer Dividers to Organize Your Craft Supplies
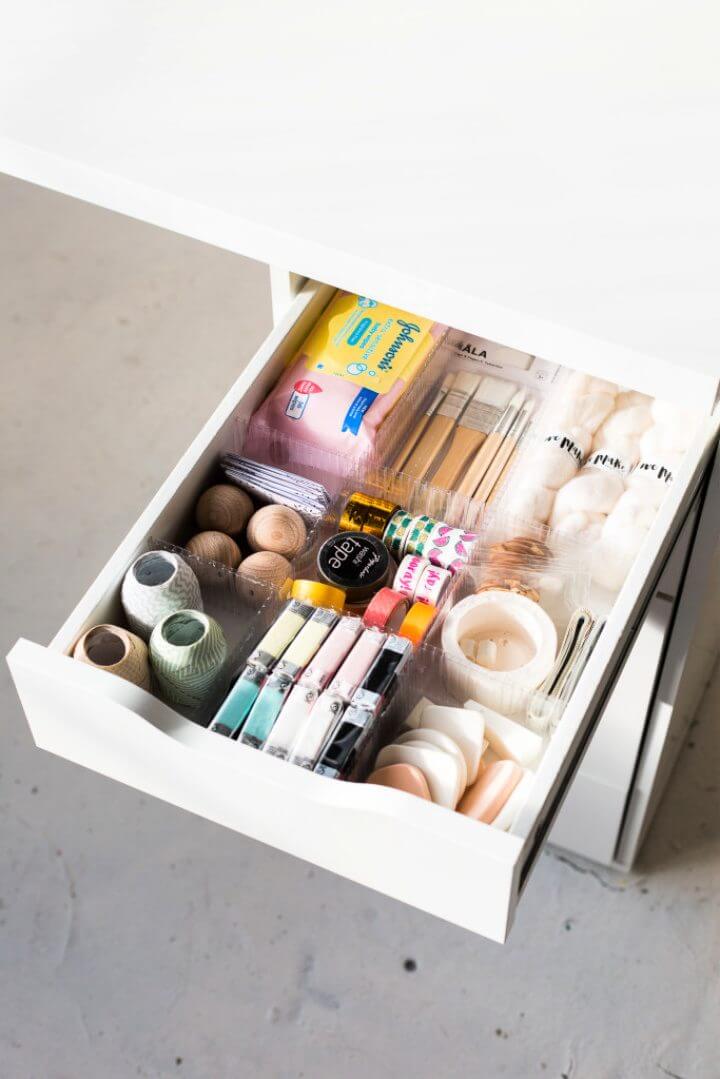
Transform your cluttered drawers with this ingenious DIY solution for organizing craft supplies! Fall for DIY showcases an affordable and custom way to keep your crafting materials in check. Using corrugated plastic sheets, a retractable knife, and a ruler, you can make adaptable dividers for any drawer size.
This method is not only cost-effective but ensures your supplies stay neatly sorted, making them easier to find and use. Perfect for artists, this technique can also be applied to organize stationery, kitchen tools, or even makeup supplies. Get started and make every drawer in your home a model of organization!
23. Make Your Own Drawer Dividers

Tame your cluttered drawers with a personalized touch using DIY drawer dividers! Perfect for drawers that standard organizers don't fit, this easy project is the solution for keeping everything in its place while adding charm. From kitchens to bedrooms, clear the chaos and find joy in organization. Ready to start? Visit Burkatron for the full guide and make your home tidier today.
24. Wooden Drawer Organizing Dividers
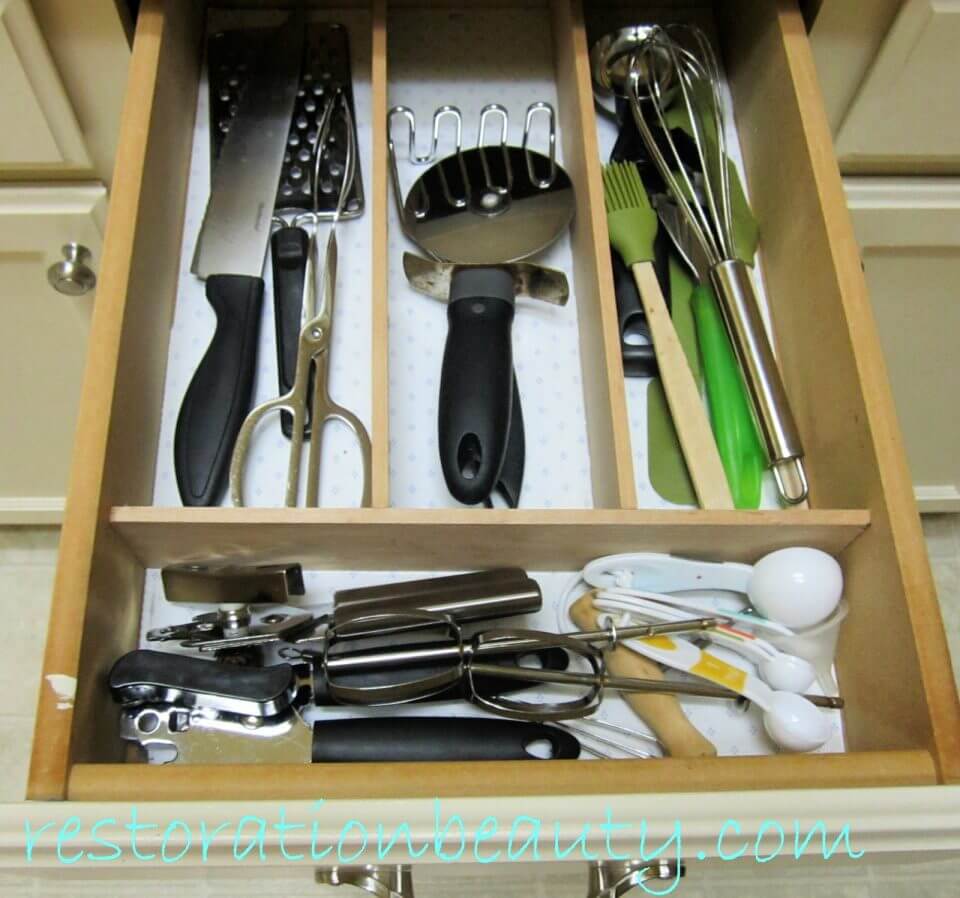
Revamp your cluttered drawers with a simple and cost-effective solution! Learn how to craft DIY wooden drawer organizers for under $10 at RestorationBeauty. Perfect for the kitchen, but versatile for the office or bathroom too. With basic tools and materials, this guide offers a step-by-step approach to making custom dividers, maximizing space and accessibility. Say goodbye to messy drawers and hello to orderly storage without breaking the bank.
25. How to Make a Drawer Organizer
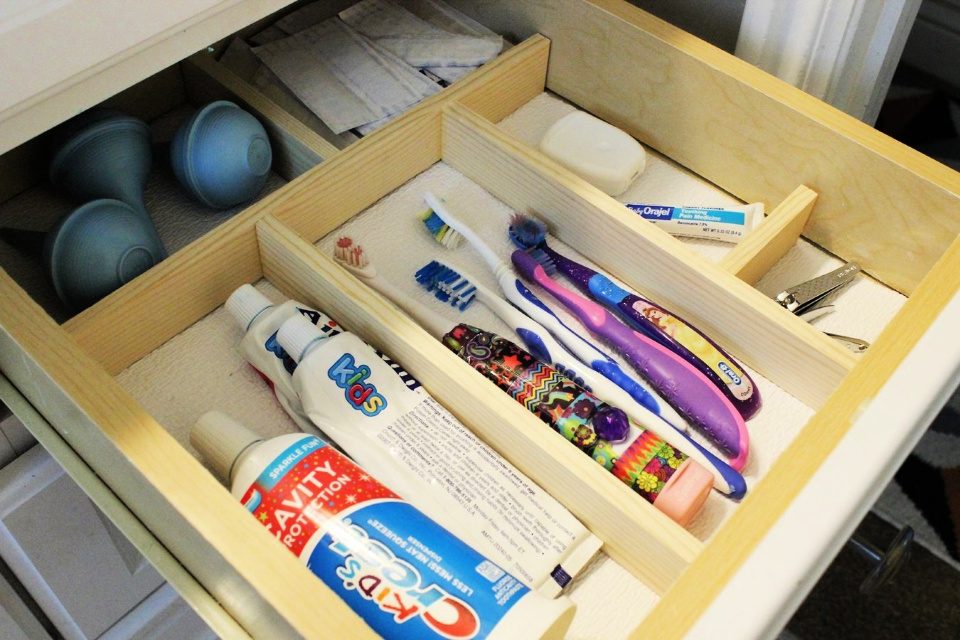
Elevate your home organization with a simple and budget-friendly solution! Our DIY Drawer Organizer tutorial guides you through making a functional space, one drawer at a time, for $10 or less. Learn to measure, plan, and assemble using affordable materials. Perfect for any room, this project ensures everything finds its place, reducing clutter. Ready for a neater home? Follow our easy instructions for sustainable organization.
Conclusion
In conclusion, mastering the craft of making DIY drawer dividers is a rewarding endeavor that not only enhances the organization of your space but also lets your creativity shine. Through this guide, you've acquired valuable insights on everything from selecting the right materials to executing your project with precision.
Remember, the beauty of DIY ideas like making drawer dividers is that customization is limitless—allowing you to tailor solutions perfectly suited to your needs and aesthetic preferences. As you put these tips into practice, you'll soon enjoy the satisfaction of a clutter-free, beautifully organized drawer space. So, grab your tools and let's get started on transforming your drawers into models of efficiency and style with 25 DIY drawer dividers.


