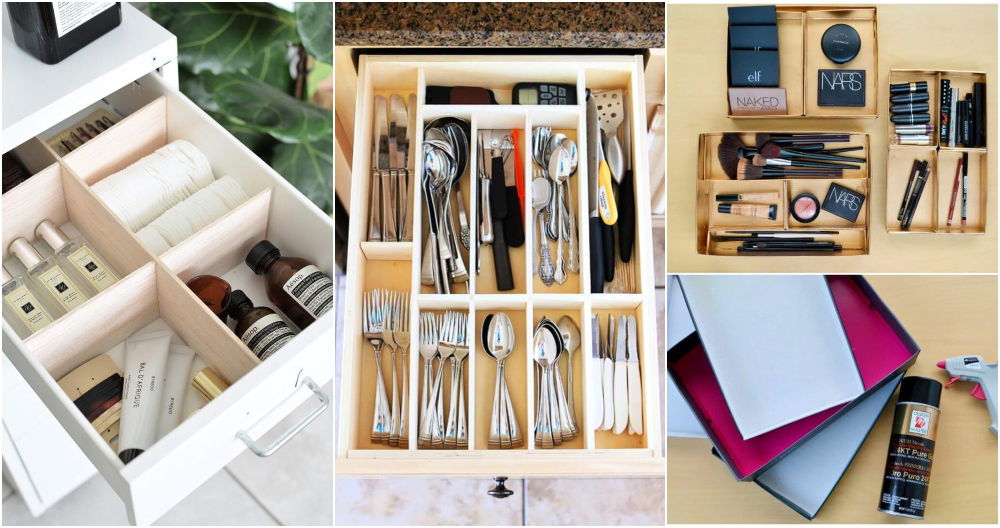
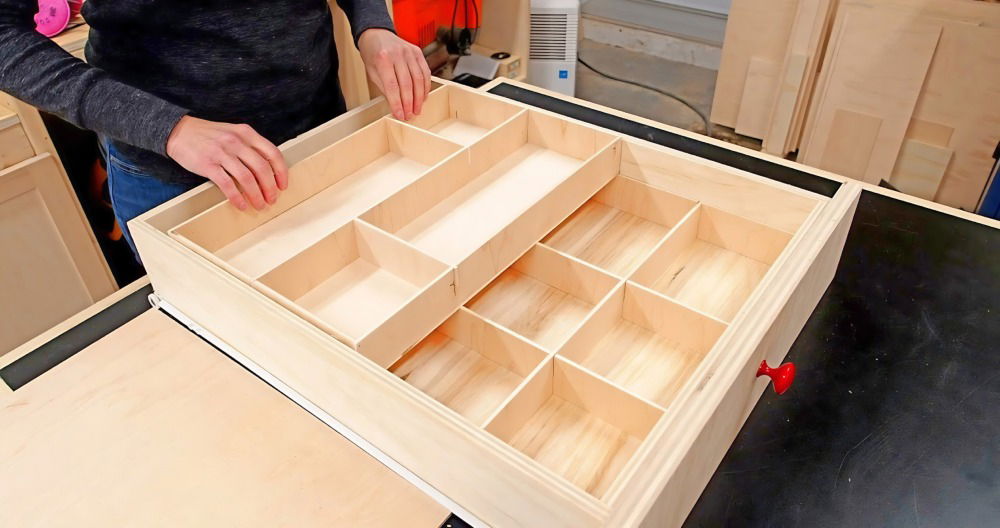
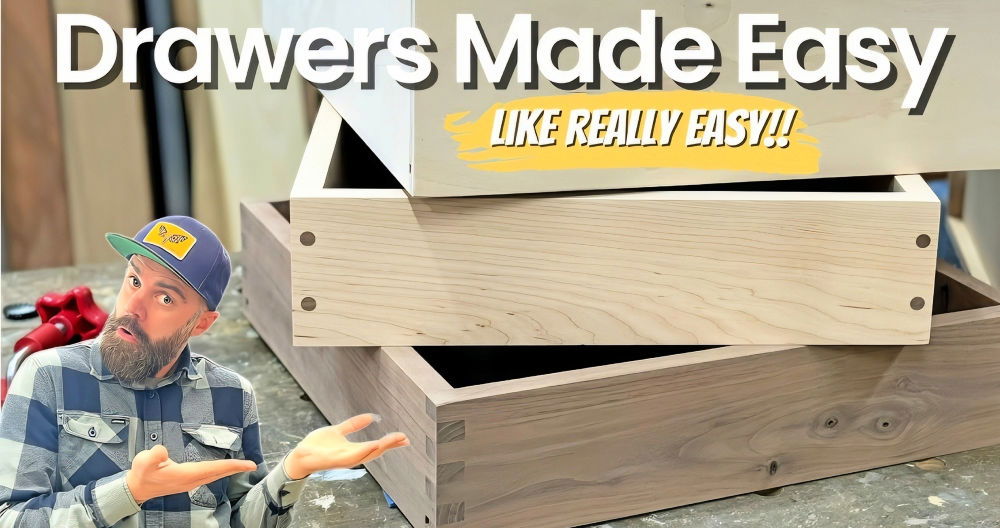
If you're into woodworking, you've likely encountered full-extension DIY drawer slides at some point. These metal drawer slides allow you to pull a drawer out completely, making it easy to access everything inside. While metal slides are efficient, they can be complex to make on your own, and purchasing multiple pairs can become costly. But did you know you can create your own wooden full-extension drawer slides at home? It’s a challenging yet rewarding project that allows for customization and cost savings.
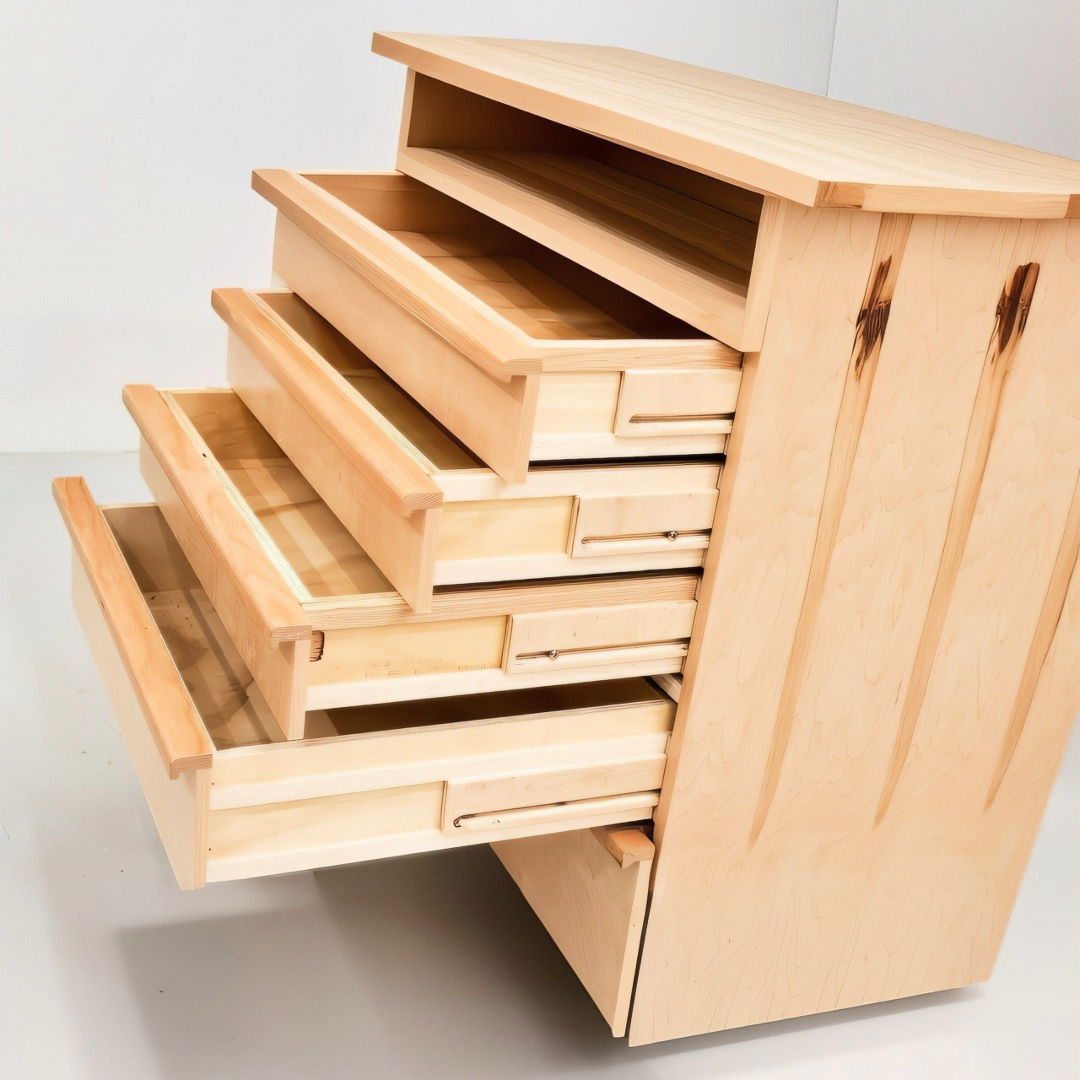
I’ll walk you through how to make these slides from plywood, sharing some tips, insights, and lessons learned from the process.
Materials and Tools Needed
Here’s what you’ll need to get started:
- Plywood: This is your main material. The key to success is ensuring it's a uniform thickness.
- Router with half-inch bit: To cut slots into the plywood.
- Table saw: For cutting runners and the slides themselves.
- Water-based polyurethane: Used for coating and making the slides smoother.
- Marking Guide: This helps to properly align and drill holes in both the cabinet and drawer.
- Drill with a 5/32-inch bit: For making screw holes.
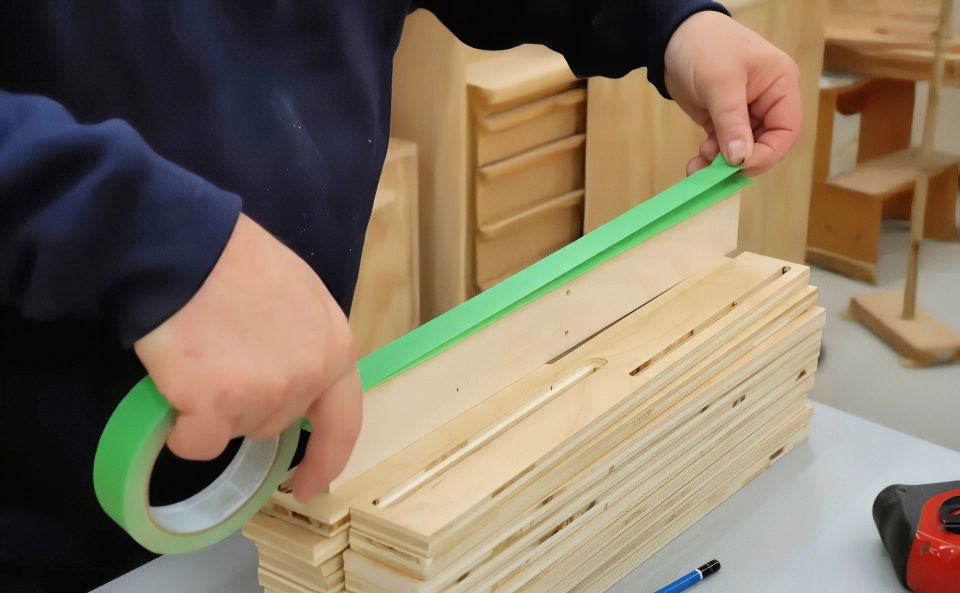
- Masking tape: Used to give clearance between the slides and runners.
- Number 10, three-quarter-inch machine screws: For attaching the slides.
Step by Step Instructions
Learn how to make DIY drawer slides with our step-by-step instructions. From cutting plywood to installing the slides, we cover everything you need!
Step 1: Why Plywood?
Using plywood has several advantages. First, it saves you from needing to plane the wood down to an even half-inch thickness. Plywood’s uniformity makes it ideal for precise projects like drawer slides. However, it’s essential to use good quality plywood. MDF, for example, is too weak structurally after the necessary slots are cut, so you’ll want to stick with either plywood or solid wood. For the best strength, hardwood is preferred over softwood, but softwood can still work if that’s all you have on hand.
In my experience, sanding the edges of the plywood after cutting helps smooth out any rough spots or chip-outs, giving you a better finish and overall function.
Step 2: Cutting the Blanks
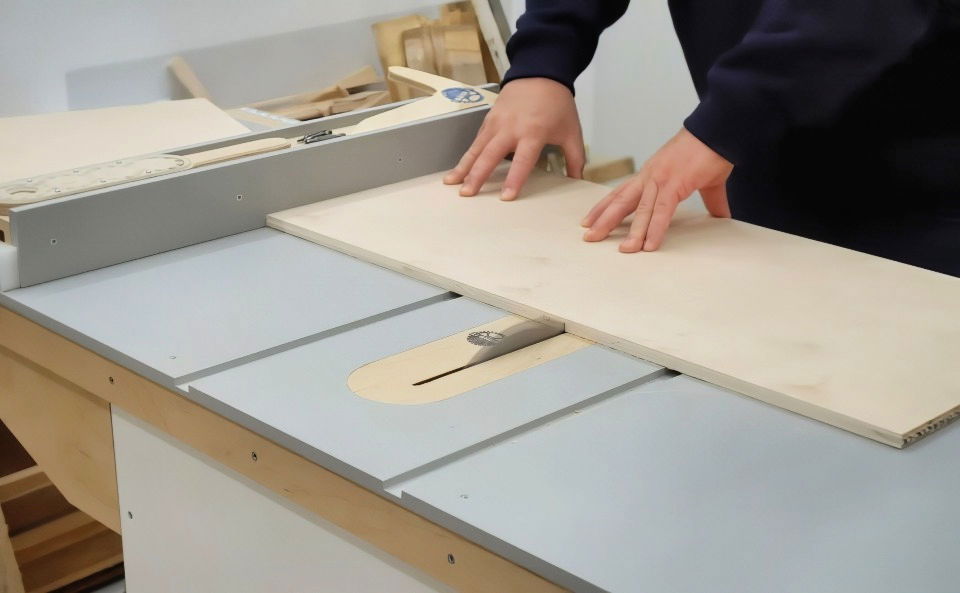
Once you’ve chosen your plywood, cut out the blanks for the drawer slides. These blanks will form the base of the slide system, and they should all be cut to the same dimensions at once. This avoids inconsistencies that can arise from cutting them individually. I chose to make mine 17 ¼ inches long, but one of the advantages of making your own slides is that you can adjust the length based on your needs.
I recommend cutting all the pieces in one go to streamline the process, and it’s crucial to double-check your measurements to avoid mistakes.
Step 3: Routing the Slots
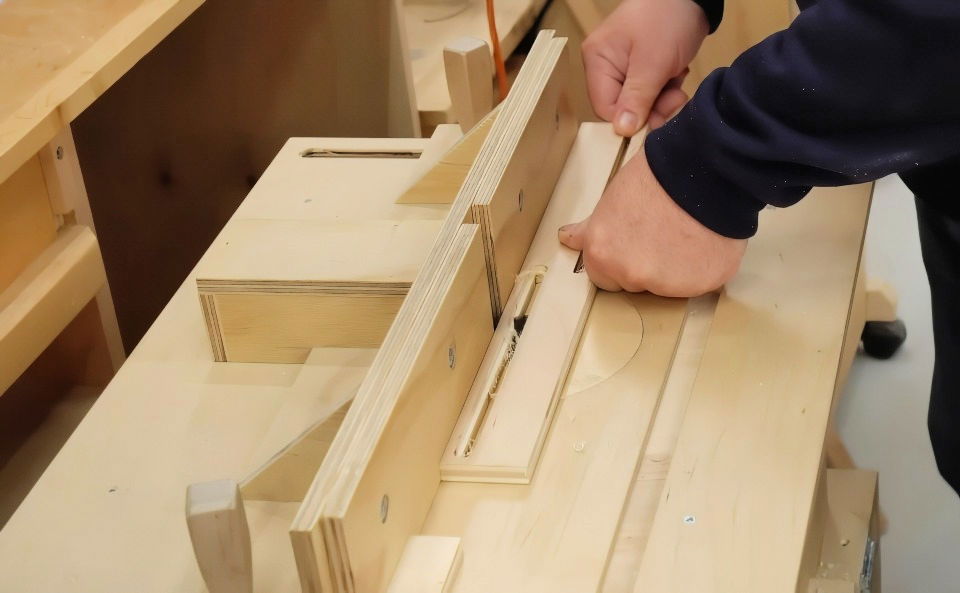
Now that the blanks are cut, it’s time to route the slots that allow the drawer slide to operate smoothly. I used a half-inch bit in my router to cut the slots to a depth of a quarter-inch.
I recommend setting up a stop block on the router table to control the length of the cut and prevent over-cutting. The slot needs to be precise and should stop at the right point. You’ll have to repeat this for all the pieces.
Then, switch the setup for the opposite side of the plywood, as the slots need to be on opposing edges. Once all the pieces are slotted on both sides, it’s time to sand everything down again to eliminate any splinters or rough edges around the slots.
One important note: I always make a spare slide just in case one piece splits or warps during the process. I had a slide that splintered on me, and having a spare saved me time and effort.
Step 4: Applying Polyurethane for Smoothness
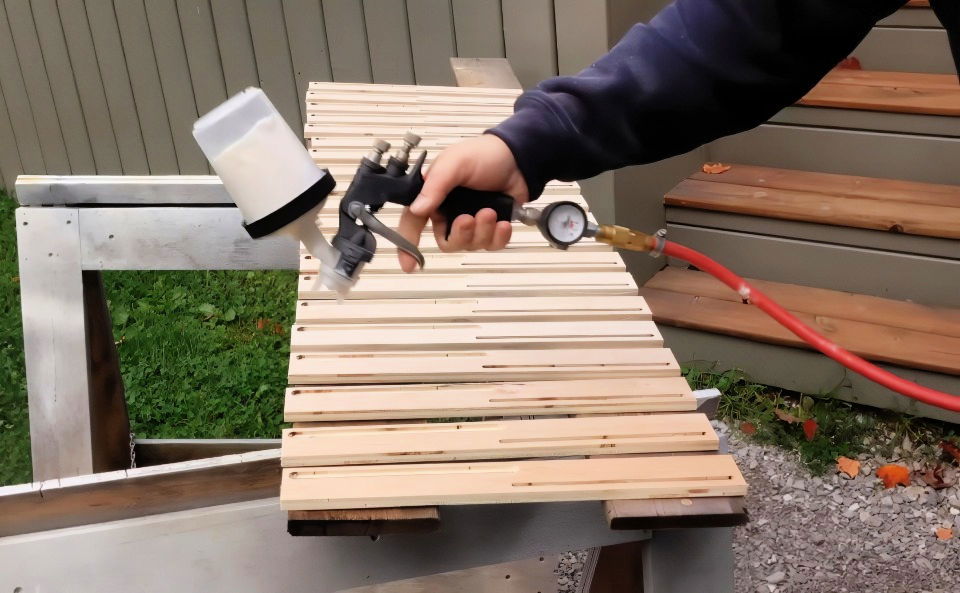
After sanding the slots and edges, it’s time to coat the slides with water-based polyurethane. This is one of the most crucial steps because the polyurethane ensures that the slides operate smoothly once installed.
I recommend spraying on two coats, lightly sanding the edges between coats. If you don’t have a sprayer, no worries—you can clamp the slides together and paint on the polyurethane with a brush. Just be sure to coat all sides, focusing especially on the edges.
Step 5: Creating a Marking Guide
To ensure that the runners align perfectly with the slides, you’ll need to create a marking guide. This guide is essentially a blank slide without any slots, with holes drilled in the correct locations. This will help mark where the screws should go when you install the slides into the cabinet and onto the drawer.
I drilled my holes at 8 5/8 inches (since my slides are 17 ¼ inches long) and ½ inch down from each edge. Using the marking guide saves you from measuring each time, ensuring that the installation is uniform and precise.
Step 6: Cutting and Preparing the Runners
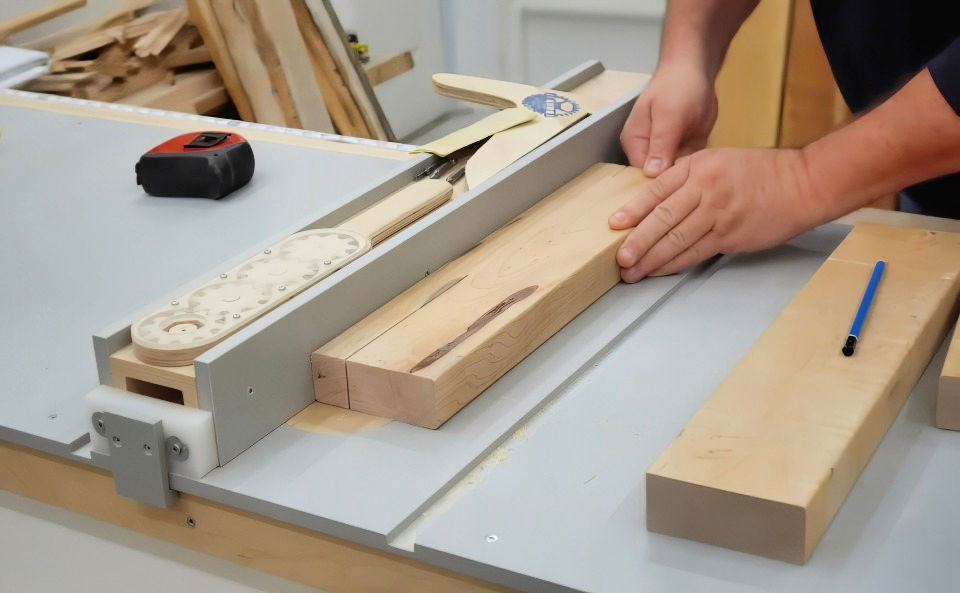
For the runners, I used maple scraps I had lying around. The runners need to be the same length as the slides, so I cut mine to 17 ¼ inches. I set the width of each runner to three-quarters of an inch. After cutting the pieces, I sanded the side that would be in contact with the drawer slide, making it as smooth as possible.
One alternative is to use a thickness planer to get the runners to the exact thickness. However, if you don’t have a planer, sanding will work just as well. The key is to get two pieces that fit together perfectly at half an inch thick. This thickness is standard for most ball-bearing drawer slides, so if you want to switch between wooden and metal slides, you won’t have to adjust the size of your drawer or cabinet parts.
Step 7: Installing the Slides
Now it’s time to install the slides and runners. Imagine you’re looking at the inside of a cabinet. Start by attaching one runner to the inside face of the cabinet, aligning the smooth, sanded side with the edge of the panel. You can use glue and short pins to hold it in place.
Next, take the marking guide and use it to drill the bottom hole in the cabinet. This ensures that the screw will line up perfectly when you install the slide. Repeat the process to install the upper runner, making sure everything is level.
Once the runners are in place, attach the slide to the cabinet using the drilled hole and a machine screw. Make sure the slide moves freely before moving on to the drawer.
Step 8: Installing the Drawer Slides
The process for the drawer side is very similar. Attach the bottom runner to the side of the drawer using glue and pins, then use the marking guide to drill the top hole. Once the runners are in place, attach the slide to the drawer with another machine screw.
Ensure everything is aligned and that the drawer moves smoothly. You should have a bit of clearance at the top and bottom of the drawer to allow for smooth sliding.
Advanced Techniques
Explore advanced techniques for custom wooden drawer slides and full extension slides to enhance your cabinetry projects.
1. Custom Wooden Drawer Slides
Creating custom wooden drawer slides can add a unique touch to your furniture projects. Here’s a simple guide to help you make your own:
Materials Needed:
- Hardwood strips (e.g., oak or maple)
- Sandpaper
- Wood glue
- Screws
- Finish (e.g., varnish or wax)
Cutting the Wood:
- Measure the length and width of your drawer.
- Cut two strips of hardwood for each side of the drawer.
- Ensure the strips are smooth by sanding them down.
Assembling the Slides:
- Attach one strip to the side of the drawer using wood glue and screws.
- Attach the other strip to the inside of the cabinet or furniture piece.
- Make sure the strips align perfectly to allow smooth sliding.
Finishing Touches:
- Sand the edges to remove any rough spots.
- Apply a finish to protect the wood and enhance its appearance.
2. Full Extension Slides
Full extension slides allow you to pull the drawer out completely, providing better access to its contents. Here’s how to install them:
Materials Needed:
- Full extension drawer slides
- Screws
- Measuring tape
- Screwdriver
Preparation:
- Measure the length of the drawer and the cabinet.
- Choose slides that match these measurements.
Installation:
- Attach the slides to the sides of the drawer.
- Ensure they are level and aligned.
- Attach the corresponding slides to the inside of the cabinet.
- Test the drawer to ensure it slides smoothly and fully extends.
Adjustments:
- If the drawer doesn’t slide smoothly, check the alignment.
- Make any necessary adjustments to ensure a perfect fit.
Using these advanced techniques, you can improve your furniture's functionality and appearance with basic tools and materials.
Maintenance and Care
Proper maintenance and care of your DIY drawer slides can extend their lifespan and ensure smooth operation. Here’s a comprehensive guide to help you keep your drawer slides in top condition:
1. Regular Maintenance
Ensure your equipment runs smoothly with regular maintenance: cleaning, lubrication, and inspection. Maximize performance and prevent breakdowns.
Cleaning:
- Frequency: Clean your drawer slides every few months.
- Method: Use a soft cloth to wipe away dust and debris. For metal slides, a damp cloth can be used, but ensure they are dried thoroughly afterward to prevent rust.
Lubrication:
- Frequency: Lubricate the slides every six months or as needed.
- Method: Apply a small amount of silicone spray or a dry lubricant to the moving parts. Avoid using oil-based lubricants as they can attract dust and grime.
Inspection:
- Frequency: Inspect the slides every few months.
- Method: Check for any signs of wear and tear, such as rust, bending, or loose screws. Address any issues immediately to prevent further damage.
2. Common Repairs
Find common repairs including fixing sticking drawers, realigning misaligned slides, and replacing damaged slides for smooth, functional furniture.
Fixing Sticking Drawers:
- Problem: Drawers that stick or are difficult to open and close.
- Solution: Clean and lubricate the slides. Check for any obstructions or misalignment and adjust as necessary.
Realigning Misaligned Slides:
- Problem: Drawers that do not sit properly or are uneven.
- Solution: Loosen the screws on the slides, realign them, and then retighten the screws. Ensure the slides are level and parallel.
Replacing Damaged Slides:
- Problem: Slides that are bent, rusted, or broken.
- Solution: Remove the damaged slides and replace them with new ones. Make sure to choose slides that match the size and type of the original ones.
3. Tips for Longevity
Discover essential tips for the longevity of your items: avoid overloading, use gently, and protect from moisture. Ensure lasting quality with these simple steps!
Avoid Overloading:
- Tip: Do not overload your drawers as this can strain the slides and cause them to wear out faster. Check the weight capacity of your slides and stay within the recommended limits.
Gentle Use:
- Tip: Open and close drawers gently to avoid putting unnecessary stress on the slides. Encourage family members to do the same.
Protect from Moisture:
- Tip: Keep your drawer slides dry to prevent rust and corrosion. In humid environments, consider using moisture absorbers in your drawers.
These tips ensure your DIY drawer slides stay functional and reliable, saving you time and money on maintenance and repairs.
FAQs About DIY Drawer Slides
Discover the top faqs about DIY drawer slides to enhance your cabinetry projects. Get expert tips on installation, types, and maintenance.
There are several types of drawer slides you can use for your DIY projects:
Side-Mounted Slides: These are attached to the sides of the drawer and the cabinet. They are visible when the drawer is open.
Under-Mounted Slides: These are attached to the bottom of the drawer and are hidden from view. They provide a clean look.
Center-Mounted Slides: These are mounted underneath the center of the drawer. They are less common but can be useful for specific designs.
Ball-Bearing Slides: These provide smooth and quiet operation. They are durable and can handle heavier loads.
Wooden Slides: These are traditional and can be made from wood. They are often used in custom furniture.
Soft-close drawer slides have a mechanism that slows down the drawer as it closes, preventing it from slamming shut. This mechanism usually includes:
Hydraulic Dampers: These control the speed of the drawer as it closes.
Springs: These help pull the drawer closed gently.
Installation: Soft-close slides are installed similarly to regular slides but may require additional space.
To measure for replacement drawer slides:
Remove the Drawer: Take the drawer out of the cabinet.
Measure the Length: Measure the length of the drawer from front to back.
Measure the Width: Measure the width of the drawer opening inside the cabinet.
Check the Depth: Ensure there is enough depth in the cabinet for the new slides.
Full-extension drawer slides allow the drawer to open fully, giving you access to the entire drawer. They are ideal for deep drawers where you need to reach items at the back. These slides are available in various types, including side-mounted and under-mounted.
If your drawer isn’t sliding smoothly, try these steps:
Clean the Slides: Remove any dust or debris from the slides.
Lubricate: Apply a small amount of lubricant or paraffin wax to the slides.
Check Alignment: Ensure the slides are properly aligned and adjust if necessary.
Tighten Screws: Make sure all screws are tight and secure.
Final Thoughts and Tips
Building wooden full-extension drawer slides is not a quick or easy project, but it’s incredibly satisfying. One of the biggest benefits is that you can customize the length to fit your exact needs. Plus, it adds a personal touch to any piece of furniture you build.
Remember, the key to success is precision at every step, from cutting the blanks to routing the slots and sanding the edges. Taking your time with these details will make the difference between a slide that works smoothly and one that sticks.


