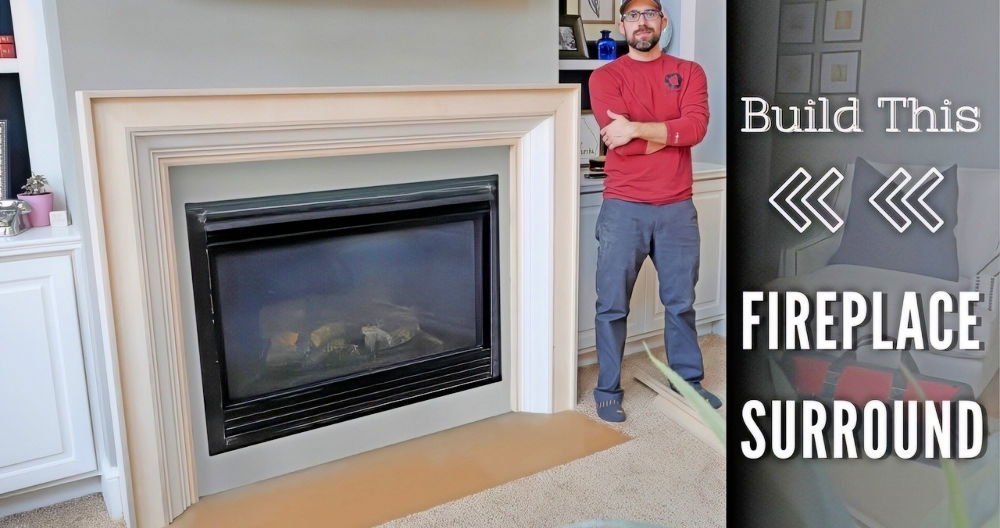
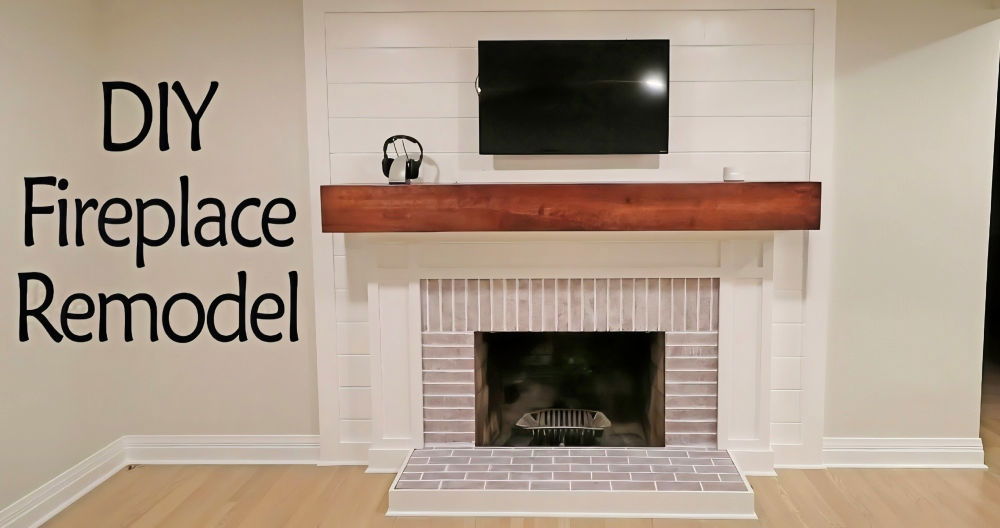
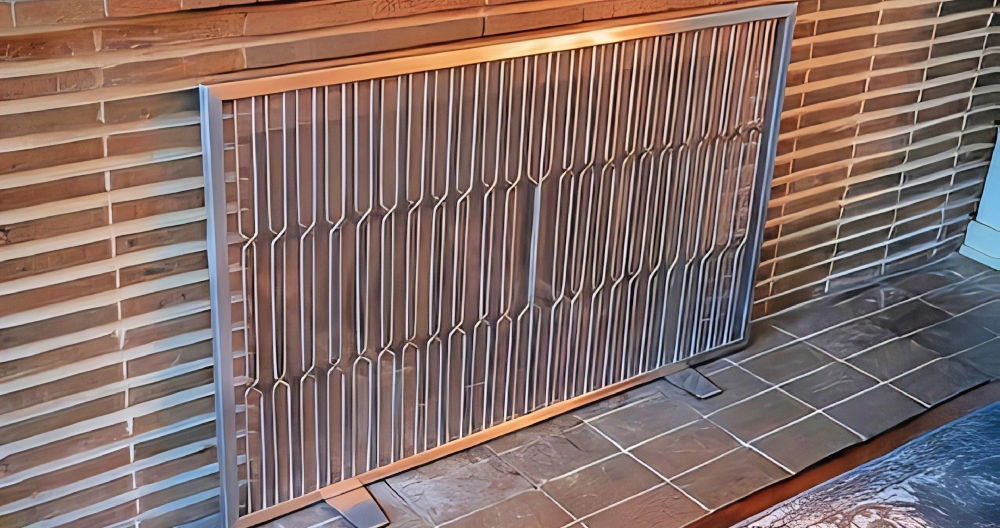
Starting a DIY electric fireplace project was something I always wanted to try. My living room needed a cozy upgrade without spending too much. I began researching electric fireplace framing plans online, finding lots of inspiration and useful tips. It looked challenging, but I was excited to get started and make my home more inviting.
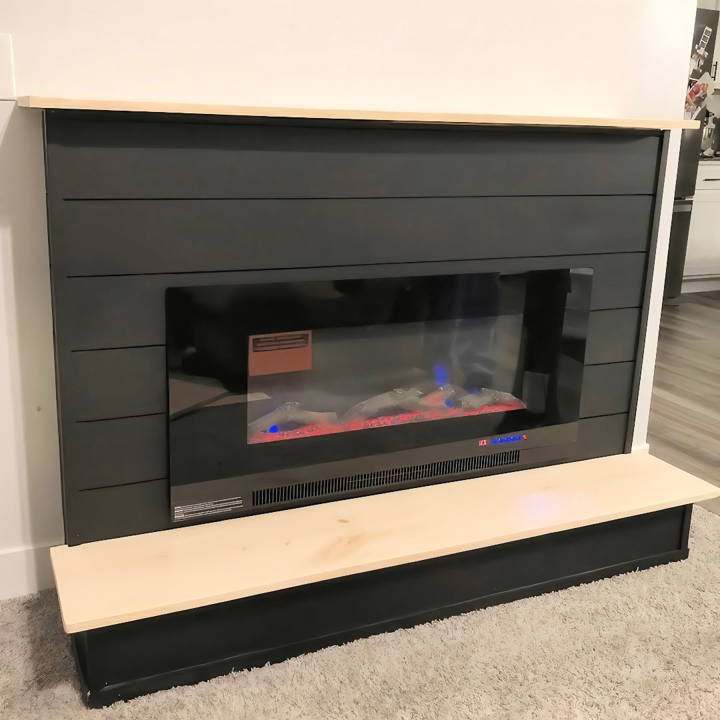
After gathering the materials and tools, I started building the frame. It was important to measure everything precisely for a snug fit. I followed the plans carefully and double-checked each step. With patience and attention to detail, I completed the framing in a weekend. You can see, taking these steps will indeed help to begin crafting your own fireplace.
By sharing my experience, I hope to inspire you to start your own DIY electric fireplace project. This guide will make the process clear and encouraging, step by step. You can definitely achieve a warm and stylish result on a budget. Let's begin the journey to a more cozy and beautiful home.
Preparation and Materials
Find out the essential materials needed for preparation. Discover the list of supplies required for successful project completion.
Materials Needed:
- 1x6 Common Board
- Wood screws
- 2x4 lumber for the frame
- An electric fireplace (I used an Amazon Basics model)
- MDF boards for decorative molding
- Paint
- Brad nails and brad nailer
- Shiplap boards
- Jigsaw for cutting
- Impact driver
Each material was chosen with care to ensure the build was sturdy and aesthetically pleasing. The common board and 2x4 lumber form the skeleton of your fireplace, providing the necessary support for the electric unit and the decorative elements. An electric fireplace is obviously essential; I opted for an Amazon Basics model for its blend of quality and value. MDF boards offer easy-to-cut yet durable options for molding, while shiplap adds that cozy, cottage-style charm to the facade. Tools like the brad nailer and impact driver make assembly quicker and less tedious.
Step by Step Instructions
Make your own cozy electric fireplace with our step-by-step DIY instructions. From planning to final touches, transform your space effortlessly.
1. Planning and Initial Setup
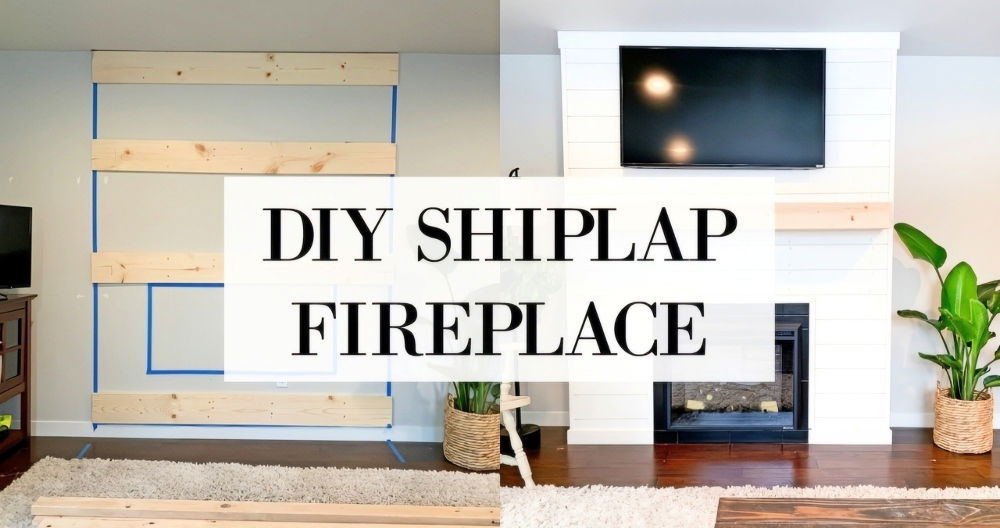
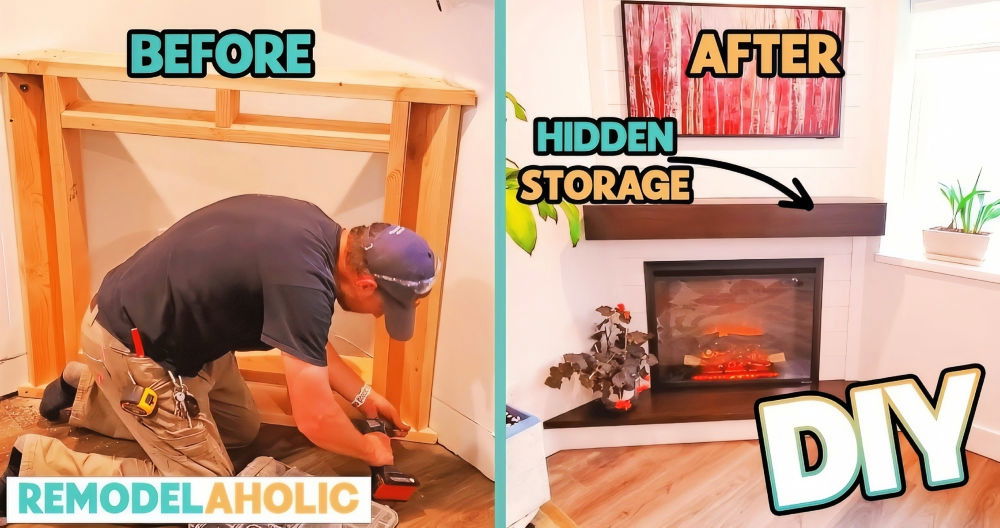
The journey began with me clearing the designated area, removing a chunk of carpet to set the base for the hearth. A meticulous measurement ensured the fireplace would perfectly fit the space I had in mind. Finding studs on the wall was crucial for securely attaching the common board, which served as the primary support for the entire structure.
2. Building the Frame
With the common board in place, constructing the side frames from 2x4s was the next step. Your fireplace's dimensions will dictate the size and shape of these frames, so having your electric insert on hand to measure is a wise move. I connected these frames to the common board, making a sturdy, self-supported structure.
3. Front Frame and Electric Fireplace Insert
Crafting the front frame is perhaps where customization truly comes into play. The frame should snugly accommodate your electric fireplace insert, so precise measurements are key. I fixed this frame to the side ones, ensuring everything was squared and secured.
4. Building the Hearth
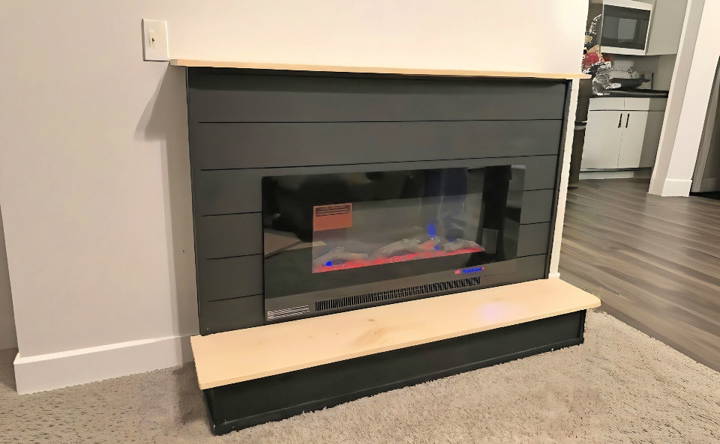
The hearth added an extra layer of complexity. Constructing a simple wooden box that matched the width of the fireplace, I then attached it directly below the main frame. Although optional, I found that the hearth enhanced the overall look, giving it a more traditional fireplace appearance.
5. Adding Decorative Elements
Using 1x2 MDF boards, I maked molding for a more polished look. I cut these with a 45-degree miter for a seamless fit around the edges. Painting these elements black (to match the fireplace) before installation made the painting process much simpler later on.
6. Installing and Painting Shiplap
Pre-painting the edges of the shiplap was a game-changer, especially when working with contrasting colors like black and white. It saved me the frustration of touching up tight spaces between the boards after they were mounted. An even coat of paint after installation refreshed the entire facade, hiding any minor gaps or imperfections.
7. Final Touches
Mounting the electric fireplace itself was surprisingly straightforward. A few screws directly into the studs of the front frame held it securely. Adding a mantel and decorative molding around the edges refined the fireplace's appearance, transforming it from a simple structure to an elegant centerpiece.
Troubleshooting Common Issues
When you've put in the effort to install a DIY electric fireplace, encountering issues can be frustrating. Here's a straightforward guide to help you identify and fix common problems, ensuring your fireplace operates smoothly.
Fireplace Doesn't Turn On
- Check the Power Source: Ensure the fireplace is plugged in and the outlet is functioning. Try plugging in another device to test the outlet.
- Examine the Circuit Breaker: If the outlet is not the issue, check your home's circuit breaker or fuse box. A tripped breaker or blown fuse could be the culprit.
Heating is Inadequate
- Inspect the Thermostat: Make sure the thermostat is set to a higher temperature than the room's current temperature.
- Clear the Vents: Blocked or dirty vents can restrict airflow. Clean them regularly to maintain proper heat output.
Remote Control Malfunctions
- Replace Batteries: Weak batteries are often the reason for remote control issues. Replace them with new ones to see if it resolves the problem.
- Remote Pairing: If the batteries aren't the issue, the remote might need re-pairing with the fireplace. Consult the manual for pairing instructions.
Unusual Noises
- Tighten Loose Parts: Rattling or buzzing can be caused by loose components. Tighten any screws or brackets that appear loose.
- Check for Obstructions: Sometimes, debris can get inside the unit and cause noise. Turn off the fireplace and inspect for any obstructions.
Flame Effect Not Working
- Bulb Replacement: If your fireplace uses bulbs for the flame effect and they've stopped working, they may need replacing.
- Wiring Check: Loose wiring can also affect the flame effect. Ensure all connections are secure.
Error Codes
- Consult the Manual: If your fireplace is displaying an error code, refer to the user manual. It will have specific instructions for each code.
Maintenance Tips
- Regular Cleaning: Keep the interior and exterior of your fireplace clean to prevent dust buildup, which can lead to issues.
- Annual Inspection: Have a professional inspect your fireplace annually to ensure all components are in good working order.
When in doubt or if problems continue, consult a professional. Safety comes first. Follow these tips for a hassle-free electric fireplace experience.
Safety Precautions
Ensuring the safety of your DIY electric fireplace is paramount. Here's a guide to help you enjoy the warmth without worry:
Installation Safety
- Proper Placement: Position your fireplace away from flammable materials like curtains or furniture.
- Secure Mounting: Make sure it's securely mounted or positioned to prevent tipping.
Operation Safety
- Supervision: Never leave the fireplace on unattended, especially around children and pets.
- Heat Control: Use the thermostat to regulate temperature and prevent overheating.
Electrical Safety
- Check Your Outlets: Ensure your electrical outlets can handle the fireplace's power requirements to avoid overloading.
- Cord Management: Keep cords away from high-traffic areas to prevent tripping and damage.
Maintenance Safety
- Regular Inspections: Check for any signs of damage or wear and address them promptly.
- Cleanliness: Keep the fireplace clean from dust and debris to ensure proper function.
Child and Pet Safety
- Barrier Installation: Consider installing a guard to prevent direct contact with the hot surface.
- Control Accessibility: Place controls out of reach from curious hands or paws.
Following these safety tips reduces accident risks and ensures a safe environment. Consult a professional if unsure about any safety aspect.
FAQs About DIY Electric Fireplace
Explore FAQs about DIY electric fireplaces: expert tips, common questions, and handy solutions to perfect your cozy, custom-built heating solution.
To install a DIY electric fireplace, you need a safe space in your home, access to a power outlet, and the right tools for assembly. Ensure the area is dry and away from any flammable materials. Most electric fireplaces come with a detailed manual that lists specific requirements and step-by-step instructions.
Yes, electric fireplaces can be installed on most walls, but it’s important to check the wall’s capacity to hold the weight and the proximity to a power source. Avoid walls with high moisture content or those that are not structurally sound.
Electric fireplaces are low maintenance compared to traditional fireplaces. They don’t produce ash or soot, so there’s no need for chimney cleaning. Regular dusting and checking the electrical components for wear and tear should suffice.
Electric fireplaces are generally cost-effective. They don’t require fuel, and many models are energy-efficient. The cost will depend on the model’s power consumption and how frequently you use it.
Consider the size of the room where you'll install the fireplace and choose a size that's proportionate. For style, look at your home's decor and select a fireplace that complements it. There are various styles available, from traditional to modern, to fit your aesthetic preferences.
Conclusion
Wrapping up, building a DIY electric fireplace on a budget can transform your living space without breaking the bank. Following these steps ensures a cozy, stylish, and affordable heating solution for any home. So, gather your materials, follow our guide, and start your DIY electric fireplace project today. Enjoy the warmth and ambiance maked by your own hands, all while saving money!


