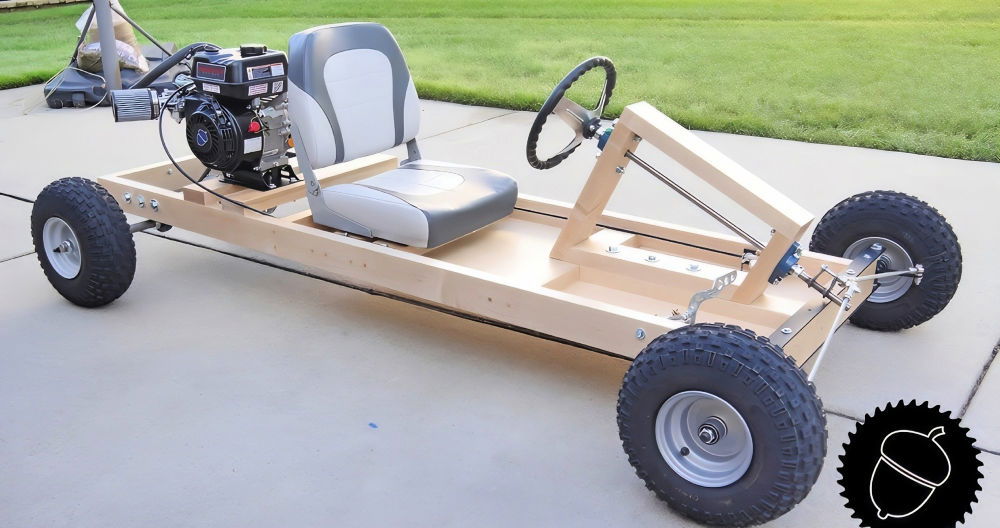
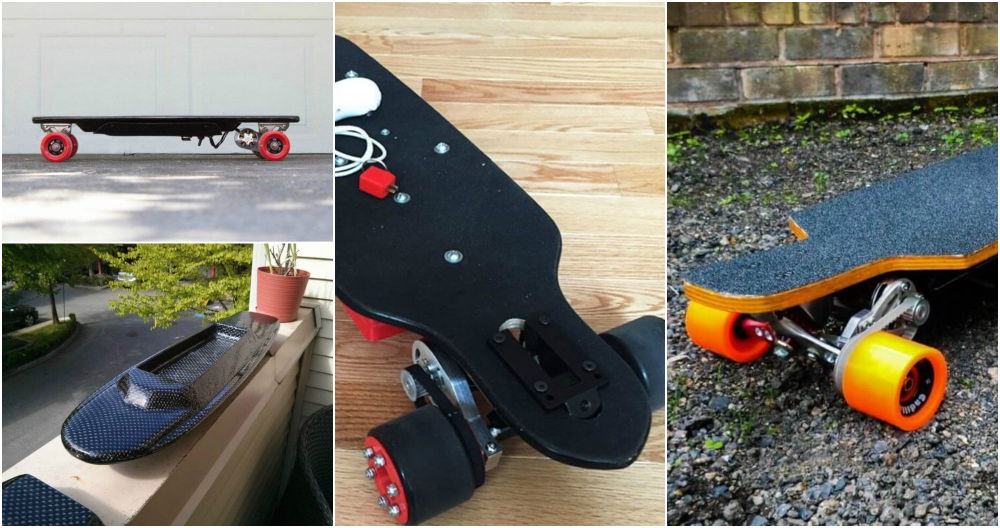
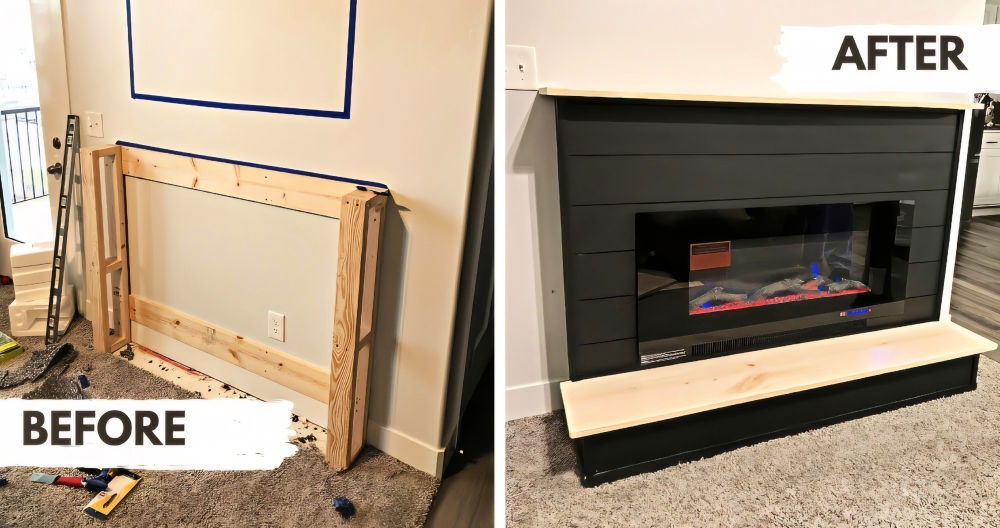
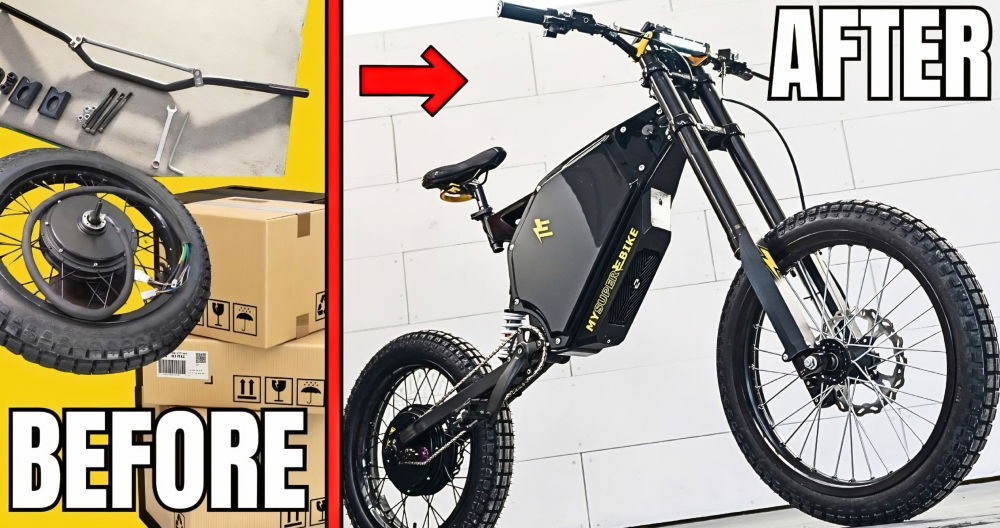
Starting a DIY electric go-kart project was an exciting challenge for me. I gathered the necessary tools and materials, including a motor and battery pack. The research phase took some time, but I learned a lot about how to assemble the parts. My garage became a mini workshop as I laid out everything I needed on the floor.
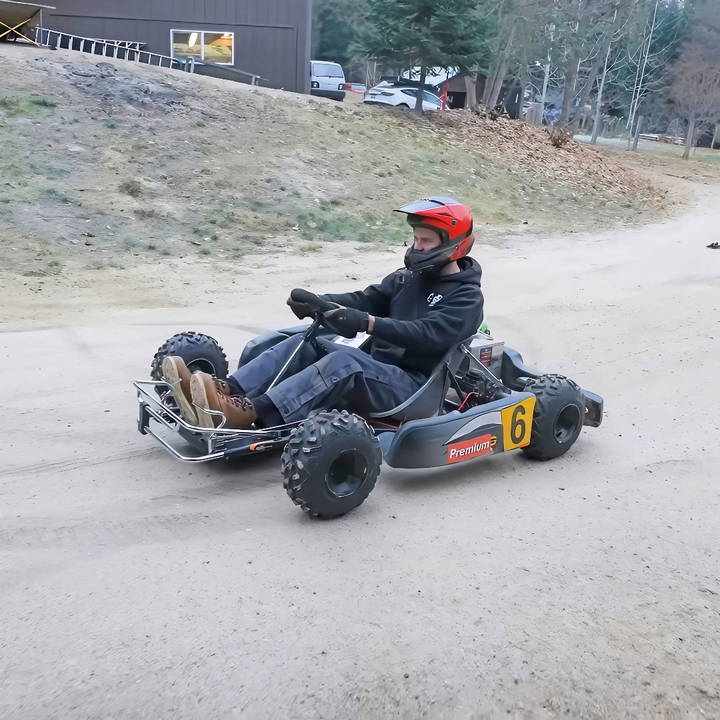
I followed detailed instructions to assemble the go-kart frame, install the motor, and connect the battery. Step by step, the pieces came together, forming a functional vehicle. There were moments of doubt, but the thrill of testing the go-kart for the first time made it all worthwhile. Building my own electric go-kart was an amazing experience.
With this helpful guide, you can start, too. This will give you the knowledge and confidence to build your own DIY electric go-kart.
Gathering Materials and Tools
Before diving into the project, I knew that preparation was key. I made a list of necessary materials:
- Electric Motor and Controller: The heart of the go-kart, delivering 28,000W of power for the thrill of instant acceleration.
- Off-road Tires: Essential for navigating through rough terrains and improving traction.
- Custom Skid Plate: A protective layer to safeguard the undercarriage from damage, ensuring the durability of my build.
- Heavy-duty Battery: To provide lasting power to the beastly motor.
- Fiberglass Seat: For a comfortable yet lightweight seating option.
Each material played a crucial role. The electric motor for its raw, eco-friendly power; off-road tires to conquer any terrain; a custom skid plate for protection; the battery for endurance; and the fiberglass seat for comfort without compromising performance.
Step by Step Instructions
Learn how to build your own electric go-kart with this step-by-step DIY guide! From design to maiden voyage, all steps covered for a successful project.
Step 1: Designing and Assembling the Frame
The first phase involved sketching the design, focusing on a robust yet lightweight frame to support the electric components and withstand the rigors of off-road driving. Once the design was finalized, I welded the frame together, ensuring each joint was strong.
Step 2: Installing the Electric Motor and Controller
The electric motor installation was straightforward but required precision. I mounted the motor securely to the frame, connected the controller, and meticulously wired everything. I double-checked all connections, knowing that any mistake could lead to failure—or worse, a safety hazard.
Step 3: Fitting the Off-road Tires
The tires were selected for their durability and grip. Installing them was exciting—it was when the project started to resemble a go-kart. The increased ground clearance from these tires promised a versatile ride, capable of conquering rough terrains.
Step 4: Crafting the Custom Skid Plate
Using sheet metal, I traced and cut out the shape needed to protect the kart's undercarriage. This custom skid plate not only added an extra layer of durability but also peace of mind, knowing the vital components were shielded from most off-roading obstacles.
Step 5: Electrical System & Safety Features
The heart of this beast was its 28,000W electric motor, but with great power comes great responsibility. I carefully routed all wiring, ensuring each connection was secure and waterproofed. A circuit breaker was installed as a fail-safe, providing a quick means to cut power if needed.
Final Touches: Aesthetics and Comfort
The fiberglass seat was mounted, adjustable for comfort. I painted the skid plate and frame with a durable, weather-resistant coat, adding a custom decal for a personal touch. The go-kart looked as good as it performed.
Maiden Voyage and Adjustments
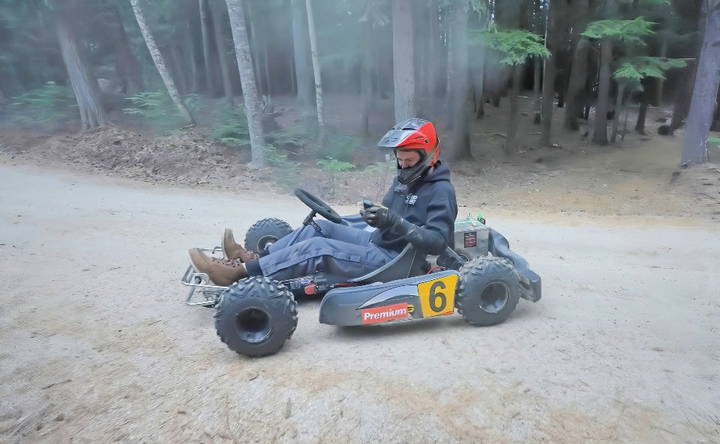
The inaugural test drive was more thrilling than I had imagined. The raw electric power sent the kart surging forward with a mere touch of the accelerator. However, it wasn't without its challenges. The initial lack of traction was a hurdle, quickly remedied by adjusting the tire pressure for a better grip.
A more significant challenge arose when I realized the potential for wheelies due to the heavy battery's placement. This was both a safety concern and an opportunity. I redesigned the battery mounting to distribute weight more evenly, reducing the wheelie tendency while maintaining the kart's lively spirit.
Lessons Learned
This project taught me the importance of adaptability and thorough testing. Each ride revealed new adjustments and improvements, from tweaking the suspension for better handling to adding lights for night driving.
Safety First
A project of this magnitude was not without risks. Prioritizing safety, I made sure to wear protective gear during both the build process and testing. Additionally, I regularly checked the kart for any issues that could lead to accidents.
Testing and Improvements
After assembling your electric go-kart, testing is vital for ensuring all systems work safely and efficiently. Here's how to test and improve:
Initial Testing
Begin with a thorough inspection of the go-kart. Check all connections, bolts, and components to ensure they are secure. Once you're confident in the build, proceed with a low-speed test in a controlled environment. This allows you to observe the go-kart's handling, braking, and acceleration.
Performance Evaluation
During the initial rides, pay attention to the go-kart's performance. Is it achieving the speed you expected? How long does the battery last? Take notes on any aspect that doesn't meet your expectations or could be enhanced.
Safety Checks
Safety is paramount. Test the brakes at different speeds to ensure they are responsive. Perform steering tests to check for stability and control. Always wear protective gear during these tests.
Gathering Feedback
If possible, let a trusted friend or family member try the go-kart. Fresh eyes can provide valuable insights and may notice issues you've overlooked.
Making Improvements
Based on your tests and feedback, identify areas for improvement. This might involve adjusting the alignment, fine-tuning the motor controller settings, or upgrading the battery for better performance. Document each change you make and test again to see the results.
Troubleshooting
Encounter a problem? Don't worry; it's part of the process. Use logical steps to troubleshoot. If the go-kart isn't accelerating properly, check the throttle, motor, and connections. If it's handling poorly, inspect the steering system and wheel alignment.
FAQs About DIY Electric Go-Kart
Discover answers to your FAQs about DIY Electric Go-Kart. Learn how to build, maintain, and optimize your electric go-kart for the best performance.
To build a DIY electric go-kart, you'll need a kart chassis, an electric motor (typically 1000 watts or more for good performance), a battery pack, a speed controller, and a throttle. You'll also require basic tools like drills, saws, and wiring supplies. It's important to ensure that all components are compatible with each other.
The cost can vary widely depending on the quality of materials and parts you choose. Generally, building a decent electric go-kart can cost anywhere from $400 to $1,000. By sourcing parts wisely and doing the assembly yourself, you can save money compared to buying a pre-built go-kart.
Yes, you can! There are many tutorials and guides available that can help you through the process. You don't need advanced technical skills, but you should be comfortable with basic mechanical tasks and electrical wiring. Following a detailed tutorial can make the process much easier.
The speed of your DIY electric go-kart will depend on several factors, including the power of the motor, the weight of the kart and driver, and the gearing ratio. On average, a home-built electric go-kart can reach speeds of 20 to 30 mph. However, some karts with more powerful motors can go faster.
Safety should always be your top priority. Make sure to use quality parts, follow assembly instructions carefully, and test your go-kart in a safe environment away from traffic. Always wear a helmet and protective gear while driving. Regular maintenance checks are also crucial to ensure safety over time.
Conclusion:
Building a DIY electric go-kart is educational. With each test and tweak, you inch closer to the perfect ride. Stay patient, diligent, and enjoy it. Your work will lead to a fun go-kart, showcasing your skills and creativity.


