Making a DIY eye patch was one of my most rewarding projects. One day, I realized I needed an eye patch for a costume party, but I didn't want to buy one. I decided to make it myself at home. I gathered a piece of black fabric, some elastic bands, scissors, and a needle with thread. Following simple steps made this process so easy and fun.
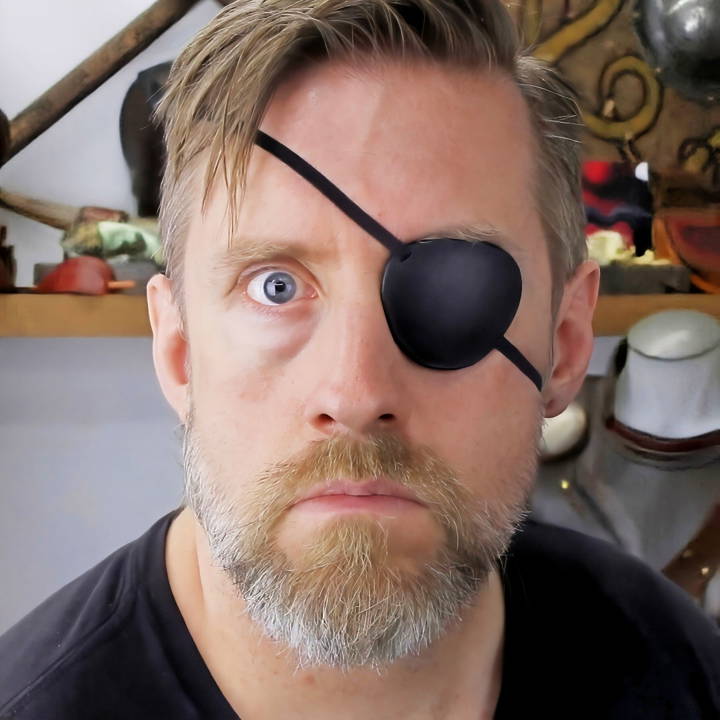
I started by cutting the fabric into an oval shape, ensuring it was big enough to cover my eye. Then, I sewed the elastic band to the sides of the fabric, making sure it fit snugly around my head but not too tight. The final product looked great and fit perfectly.
I'm sharing this guide to show how easily you can make your own DIY eye patch at home. This can save you money, and you can customize it to your liking.
Materials Needed and Their Purpose
Before diving into the crafting process, let's talk about what you'll need and why:
- Leather: I used a 6.5-ounce vegetable-tanned leather, which is sturdy yet pliable enough for water forming. Vegetable-tanned leather is ideal for this project because it can be easily shaped when wet.
- Leather Dye: To give your eye patch a professional and finished look.
- Beeswax and Burnishing Tools: For smoothing and finishing the edges of your leather piece. Beeswax helps seal the edges and gives them a glossy finish.
- Eco-Weld Water-Based Contact Cement: This adhesive is used to attach the back piece of the eye patch, providing comfort against the skin.
- Elastic Band: For securing the eye patch. It's crucial for comfort and ensures that the eye patch can be worn for extended periods without discomfort.
- Basic Leatherworking Tools: These include a beveler, punch, stitching awl, and cutting tools.
Step by Step Instructions
Learn how to make an eye patch step by step with our easy guide. Perfect for costumes or medical needs. Simple, quick, and effective instructions!
Cutting and Beveling
I began by cutting my piece of vegetable-tanned leather into the shape of an eye patch. This process was straightforward, guided by a template I found online. Once cut, I used a number 2 beveler to smooth the edges. This step was crucial for ensuring there were no sharp edges that could irritate the skin.
Water Forming for Shape
Water forming the leather was my favorite part. I soaked the cut-out patch in hot water until it was thoroughly saturated. Then, utilizing a round object (in my case, a metal ball), I shaped the leather to have a convex curve, mimicking the shape over an eye. This process ensures the patch doesn't press uncomfortably against the eye.
Dyeing and Edge Finishing
After the leather dried, I applied a layer of leather dye for aesthetics. Paying careful attention to evenly coat the leather ensured a sleek look. Once dried, I treated the edges with beeswax and used a burnishing tool to seal and smooth them out. This crucial step ensured the patch's edges were comfortable and wouldn't chafe against the skin.
Attaching the Elastic and Final Assembling
The most technical aspect was attaching the elastic band in a way that maintains the patch's curved shape. I punched holes to thread the elastic through, careful to adjust for a snug, yet comfortable fit around the head. To ensure the inside surface of the eye patch was smooth and wouldn't irritate the skin, a softer piece of leather was cut and attached as backing using eco-weld. This step was instrumental in achieving a blend of comfort with functionality.
Customization Tips
When it comes to making an eye patch, personalization is key. Not only does it serve a functional purpose, but it also offers an opportunity to express individual style. Here are some tips to customize your eye patch:
- Choose Your Material Wisely: Depending on the purpose of your eye patch, select a material that suits your needs. For comfort, soft fabrics like cotton or felt are ideal. For durability, consider leather or denim.
- Consider the Shape: Eye patches don't have to be the classic oval. Feel free to experiment with different shapes that fit your face comfortably and meet your needs.
- Add a Personal Touch: Embroidery, beads, or fabric paint can add personality to your eye patch. If you're crafty, you might even sew on a favorite character or symbol.
- Think About Comfort: If you'll be wearing your eye patch for extended periods, make sure it's comfortable. Soft padding on the edges can prevent irritation.
- Adjust for Vision: If you wear glasses, design your eye patch to fit comfortably with them. Some people make a notch in their eye patch to accommodate the glasses' frame.
- Secure It Properly: The strap is crucial. Elastic bands are adjustable and comfortable, while ribbons can add a decorative touch. Make sure it's snug but not too tight.
- Be Mindful of Skin Sensitivity: If you have sensitive skin, choose hypoallergenic materials and avoid adhesives that might cause a reaction.
Use these tips to make a functional eye patch that reflects your personality. Make it something you'll feel comfortable and confident wearing.
Troubleshooting Common Eye Patch Issues
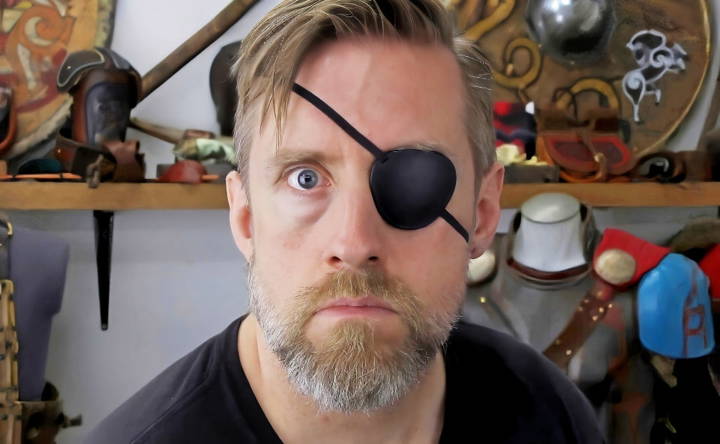
Making and wearing an eye patch can sometimes come with challenges. Here are some troubleshooting tips to help you overcome common issues:
Discomfort or Irritation
- Solution: Ensure the patch is made of soft, breathable material. If the strap is causing irritation, try padding it with a softer fabric or adjusting the tightness.
Slipping Eye Patch
- Solution: If your eye patch slips, the strap may need adjustment. Consider using a non-slip material like silicone backing on the strap, or switch to an adjustable elastic band for a better fit.
Skin Reactions
- Solution: For sensitive skin, opt for hypoallergenic materials. Always clean the patch regularly to prevent build-up of sweat and bacteria that could irritate the skin.
Difficulty with Depth Perception
- Solution: When one eye is covered, depth perception can be affected. Take extra care when moving around unfamiliar places. Over time, your brain will adjust to compensate.
Patch Affects Glasses
- Solution: If you wear glasses, design your patch with a notch or use thinner materials at the points where the patch meets the glasses to avoid discomfort.
Eye Patch Looks Unappealing
- Solution: Personalize your patch with designs or fabrics that you love. This can make it feel less like a medical device and more like a fashion statement.
Difficulty in Securing the Patch
- Solution: If tying or securing the patch is difficult, consider using Velcro for easy application and removal.
By addressing these common issues, you can ensure your eye patch is both functional and comfortable.
FAQs About Making an Eye Patch
Discover answers to common questions about making an eye patch with our comprehensive faqs guide. Easy tips, materials, and steps included!
First, measure the area over your eye where the patch will sit. A typical size is about 2.5 inches wide and 2 inches tall. Draw a sunglass lens shape on the fabric using these measurements as a guide. Then, cut out the shape with scissors.
Measure the elastic band around your head where the patch will sit, leaving extra length for adjustments. Sew each end of the elastic to the sides of the patch, making sure it’s secure.
Yes, you can make an eye patch that fits over glasses. Use a thin fabric and attach it to the glasses with elastic bands or ribbons. Make sure the patch is large enough to cover the lens without obstructing your vision.
To ensure a proper fit:
Measure the area around your eye and head for the elastic band.
Test the patch for comfort before finalizing it.
Adjust the size of the patch or the length of the elastic band as needed.
Yes, you can make a no-sew eye patch by:
Using fabric glue or double-sided tape to secure the fabric edges.
Attaching the elastic band with safety pins or knots if you're using ribbon.
Final Thoughts
By making your own DIY eye patch, you can enjoy the satisfaction of making something useful and personal. Give it a try, and you'll see how simple and fulfilling it can be.


