Building a DIY faux fireplace was one of the best decisions I made for my living room. It all started when I noticed the empty wall that seemed perfect for something warm and cozy. After some research and gathering a few materials, I began the project. I was amazed at how simple and enjoyable it was to construct. You don't need expensive tools or skills, just a little time and effort.
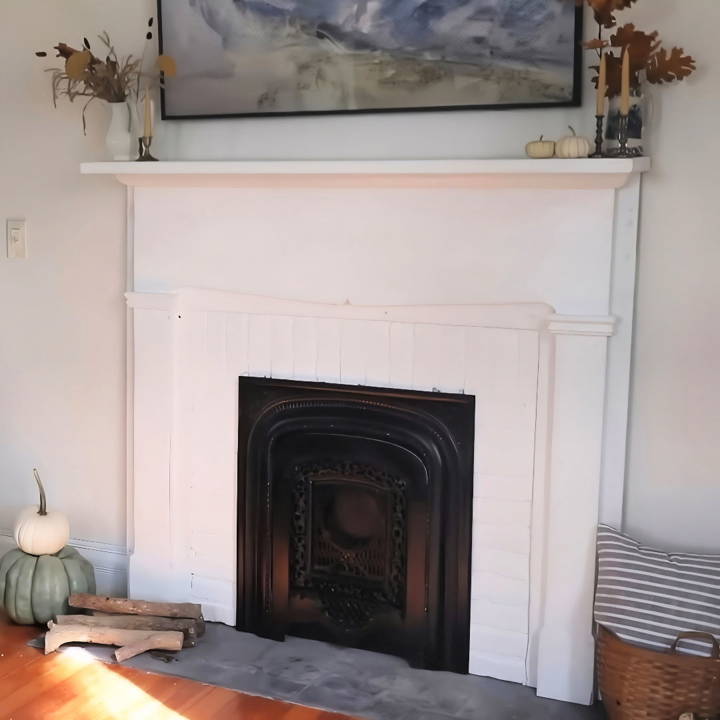
By following these simple steps, you can transform your space. Measure the area, gather some cardboard, paint, and a few other supplies, and before you know it, you'll have a DIY fake fireplace that adds charm and warmth to your room.
This guide is here to help you make the process smooth and enjoyable. Get started today, and watch your room come to life!
Materials Needed and Why
- Mantel: Finding a vintage mantel that matched the era of our house was crucial for authenticity.
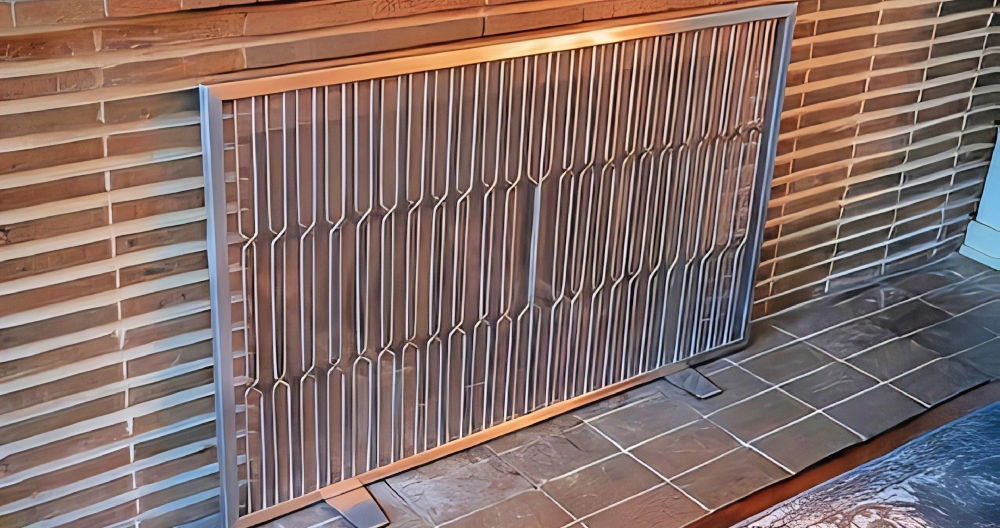
- Antique Cast Iron Surround and Summer Cover: These elements add to the real-fireplace illusion.
- Brick Veneer: To simulate a chimney structure around the mantel.
- Slate Tiles: For building a hearth that's both aesthetic and seems functional.
- Plywood and a 1x6 Board: These served as a base for attaching the mantel and surround to the wall.
- Black Spray Paint: To freshen up the cast iron surround and cover.
- Construction Adhesive, Grout, and Paint: Essential for adhering and finishing the brick veneer and tiles.
- TV: We opted for an Art TV to blend technology with art, maintaining the room's vintage charm.
Step by Step Instructions
Learn DIY faux fireplace setup with our step-by-step guide! From preparing the hearth to adding final touches, make a cozy fireplace in no time.
Preparing the Hearth
- Planning Out the Hearth: Using leftover slate tiles, we laid them on the floor to outline the hearth's size and shape. The old, nail-hole-ridden shingles sourced from a friend added an extra rustic touch, enhancing the authenticity of the setup.
- Securing the Tiles: To avoid damaging our floor, we used a special adhesive sheet that sticks tiles down without the need for grouting immediately, making the process cleaner and simpler.
Setting Up the Mantel
- Paint and Preparation: After acquiring the perfect mantel, it needed a fresh coat of paint. We chose a semi-gloss white to give it a crisp, clean look.
- Fitting the Surround and Summer Cover: This required a bit of creativity since the pieces weren't a perfect fit initially. A bit of wire rigging secured the summer cover to the cast iron surround, ensuring stability.
Building the Chimney Structure
- Attaching Plywood to the Mantel: This served as the base for our faux chimney, which we would later cover with brick veneer.
- Bricking the Chimney: Only bricking the visible areas kept the project simple and cost-effective. The brick veneer was then painted white to match the other brickwork in our living room, building a cohesive look.
Final Touches
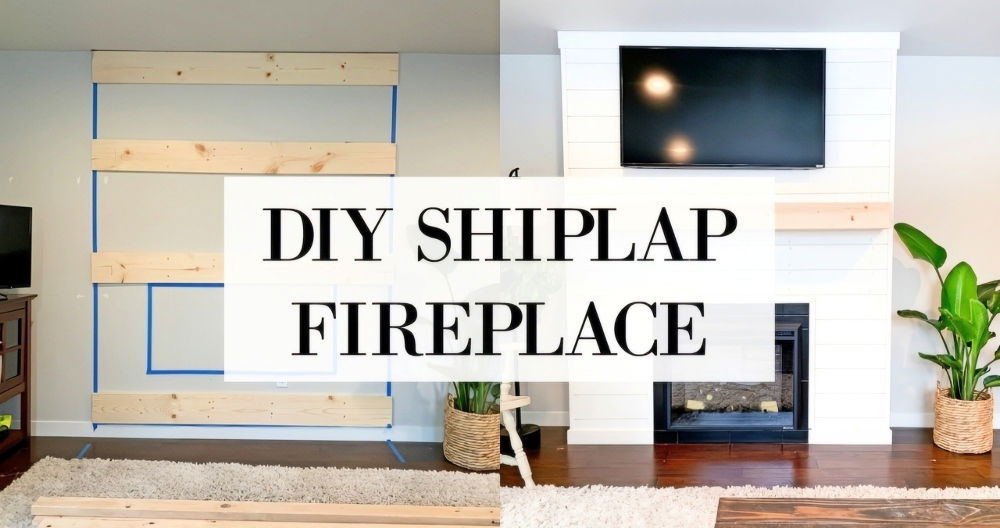
- Installing the TV: The Art TV was chosen to blend seamlessly above the mantel, with cords hidden behind the wall to maintain the illusion of a traditional setup.
- Assembling Everything: Finally, we brought the mantel in, securing it directly into the wall studs. Despite my hesitation about drilling into the mantel, safety was non-negotiable. This step ensured that our faux fireplace wouldn't just look real but would also be secure.
Design Customization Ideas for Your DIY Faux Fireplace
Making a faux fireplace offers a cozy touch to any room, and the best part is that you can tailor it to match your personal style and home decor. Here are some design customization ideas to inspire your DIY project:
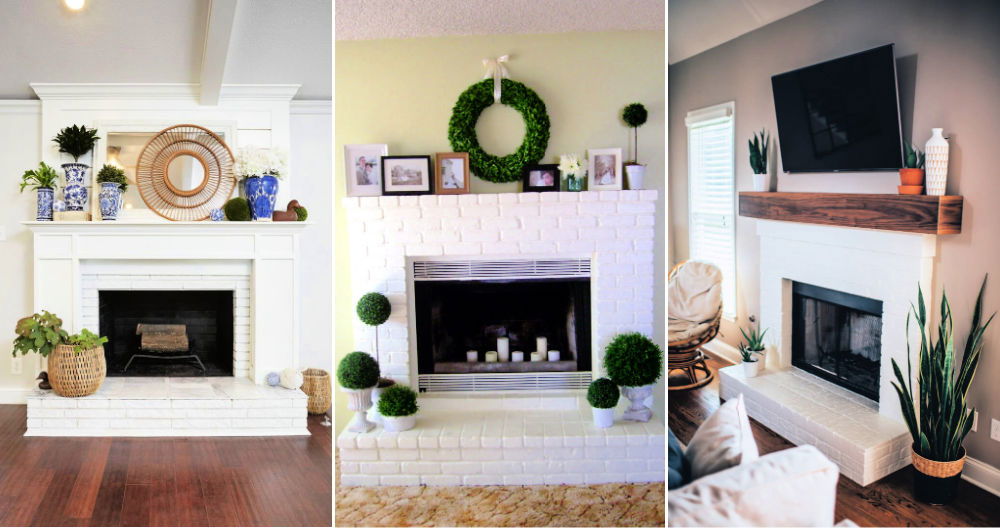
- Choose Your Style: Start by deciding on the overall look you want to achieve. Do you prefer a traditional, rustic, or modern design? For a traditional look, consider classic features like a mantel with intricate woodwork. For a rustic vibe, use reclaimed wood or stone. If modern is more your style, clean lines and a minimalist approach work best.
- Pick the Right Materials: The materials you choose will greatly influence the final appearance. Use brick-patterned wallpaper or panels for a classic look, or paint a faux brick design directly onto the wall. For a sleek, contemporary feel, tiles or polished wood can make a stunning backdrop.
- Add a Mantel: A mantel is a focal point of any fireplace. You can build one from wood and paint or stain it to complement your room's color scheme. Alternatively, floating shelves serve as modern mantels and are perfect for displaying decor.
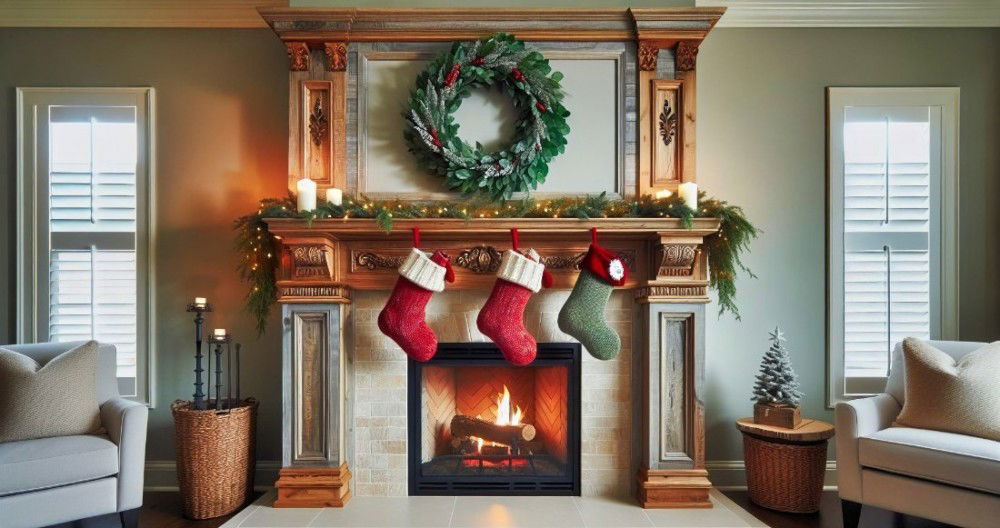
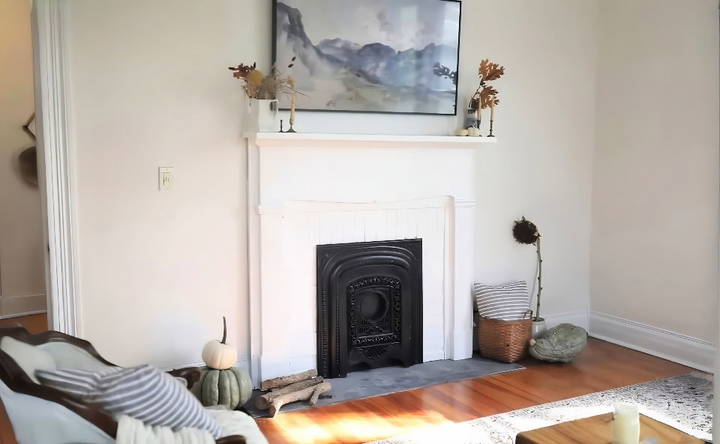
- Incorporate Decorative Elements: Personalize your faux fireplace with decorative elements. Hang a mirror or artwork above the mantel, arrange candles of different heights inside the fireplace, or drape fairy lights for a warm glow.
- Consider Functionality: If you want your faux fireplace to serve a purpose beyond aesthetics, install an electric fireplace insert for warmth or use the space to house your entertainment system.
- Seasonal Touches: Make your faux fireplace a year-round feature by decorating it according to the seasons. Think garlands in winter, fresh flowers in spring, nautical elements in summer, and autumn leaves in fall.
Make your DIY faux fireplace unique. Use these ideas as a base, and let your creativity match your home's decor. Keep it simple, enjoy the process, and relish the added warmth and charm.
Maintenance and Upkeep of Your DIY Faux Fireplace
Keeping your DIY faux fireplace in top condition is key to ensuring it remains a beautiful and safe feature in your home. Here's a straightforward guide to maintaining your faux fireplace:
- Regular Cleaning: Dust and wipe down your faux fireplace regularly. Use a soft cloth or duster to clean the mantel and hearth. If you have a decorative insert, like logs or stones, gently vacuum them to remove dust.
- Inspect Decorative Elements: Check any decorative items for wear and tear. If you've used paint or adhesive materials, look for any chipping or peeling that may need touch-ups.
- Update the Look: Over time, you might want to refresh the style of your faux fireplace. This could be as simple as repainting it or changing the decorative elements to match the current season or your evolving taste.
- Safety Checks: If your faux fireplace includes an electric insert for heat, ensure it's functioning correctly. Check the cords and plugs for any damage, and follow the manufacturer's instructions for use and care.
- Keep It Clutter-Free: Ensure the area around your faux fireplace is clear of flammable materials, especially if you're using it as a heat source. This not only looks better but is also a safety precaution.
- Seasonal Decorations: When adding seasonal decorations, make sure they're securely placed and won't fall into the fireplace. After the season is over, store decorations properly to prevent damage.
By following these simple steps, you can enjoy your DIY faux fireplace for years to come. It's all about regular care and embracing the opportunity to make it a living part of your home's story.
Safety Tips and Best Practices
When building your DIY faux fireplace, safety is paramount. Here's a guide to ensure your project is not only beautiful but also safe for everyone in your home.
- Material Selection: Choose materials that are fire-resistant or non-flammable, especially if you plan to use an electric insert. Materials like stone, brick, and certain types of wood are safer options.
- Installation: Make sure your faux fireplace is stable and securely attached to the wall. This prevents it from tipping over, which could cause injury or damage.
- Electric Inserts: If you're using an electric insert to mimic fire, ensure it's certified and has an automatic shut-off feature. Always plug it directly into the wall outlet, not an extension cord.
- Decorations: Keep decorations away from any heat source. If you're using candles, opt for LED candles which are safer and can look just as realistic.
- Ventilation: Good airflow is important, especially if you're using an electric insert that produces heat. Make sure there's enough space around the insert for air to circulate.
- Child and Pet Safety: If you have children or pets, install a safety gate around the faux fireplace to prevent them from touching any hot surfaces or electric components.
- Regular Checks: Periodically check all components of your faux fireplace. If you have an electric insert, test it regularly to ensure it's working properly.
By following these safety tips and best practices, you can enjoy the warmth and charm of your DIY faux fireplace without worry.
FAQs About DIY Faux Fireplace
Discover everything you need to know about DIY faux fireplaces with our comprehensive FAQs. Tips, materials, and installation advice are included.
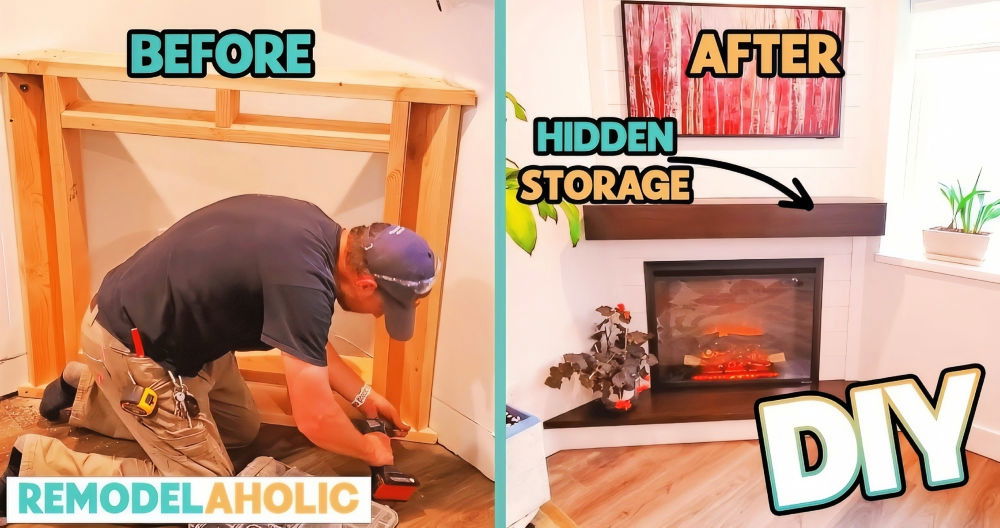
Yes, you can add storage by:
Building hidden cabinets or shelves within the structure.
Using the base or sides for drawers or cabinets.
Designing a mantel with a drop-down front or side access.
Absolutely! For renters, consider:
A freestanding design that requires no permanent fixtures.
Using adhesive hooks or strips to secure lightweight elements.
A portable electric fireplace insert for a cozy effect without construction.
Maintaining a faux fireplace involves:
Regular dusting and cleaning of the mantel and decorative elements.
Touching up paint or stain as needed.
Ensuring any electric elements are functioning safely and are free of dust.
To safely install an electric fireplace insert:
Ensure the insert fits the dimensions of your faux fireplace opening.
Read the manufacturer’s instructions carefully before installation.
Plug the insert into a standard electrical outlet; avoid using extension cords.
Keep flammable materials away from the heating elements.
Get creative with your faux fireplace by:
Changing seasonal decorations, such as pumpkins in fall or garlands during the holidays.
Displaying candles or LED lights inside for a warm glow.
Adding a mirror or artwork above the mantel to enhance the room's decor.
Incorporating plants or books on the mantel for a lived-in look.
Insights and Reflections
If I can do it, so can you. Give these steps a try and see the difference a DIY faux fireplace can make. It's easy, fun, and truly rewarding.


