Building a DIY privacy fence can seem like a daunting task, but with the right materials, a bit of hard work, and some patience, it's entirely achievable. I embarked on this journey myself, transforming a dilapidated fence line into a beautiful, sturdy barrier that added privacy and aesthetic appeal to my property. Let me guide you through the process step by step, incorporating all the essential tips and tricks I learned along the way.
Gathering Your Materials
Before anything else, you need the right materials. For a 40-foot fence with a gate, the list is extensive, but necessary. Here's a rundown:
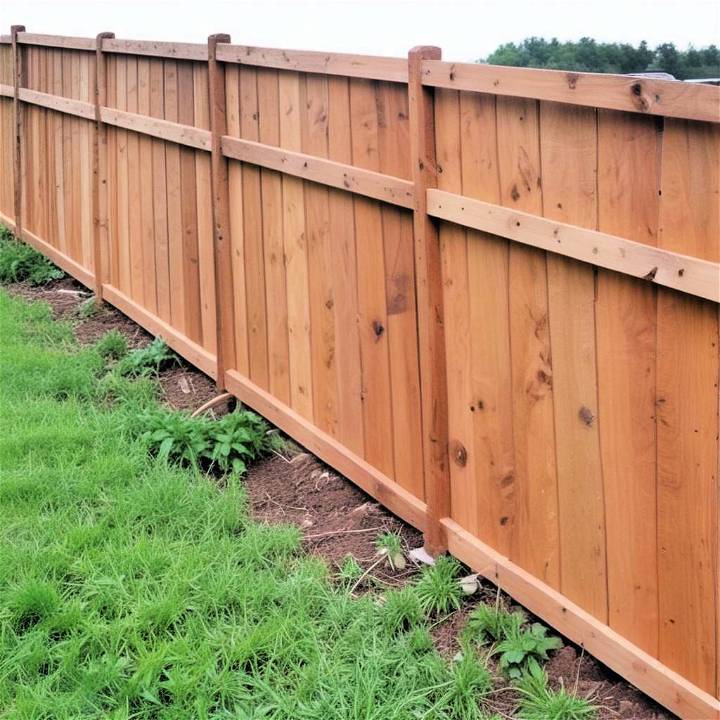
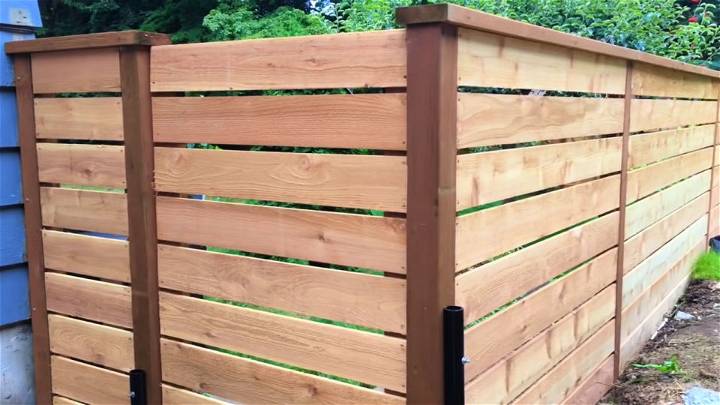
- Wooden Posts and Planks: I went with ten-foot posts cut in half for a cost-effective height and cedar planks for their beautiful finish and durability.
- Tools: You'll need a variety of saws (table saw, circular saw, chop saw), a drill with various bits, a level, a string line, measuring tape, and a pencil for marking.
- Hardware: This includes exterior screws (I used two-inch ones), gate hardware kits, bolts, washers, and nuts for securing the posts.
- Miscellaneous: Don't forget spray paint for the posts, wood preservative for cut ends, and possibly a sander for prepping surfaces.
Materials like pressure-treated lumber for the base and cedar planks for the fence body are crucial due to their resistance to weather and rot—critical for a long-lasting fence.
The Build Process
- Preparation and Demolition: The first step involved removing the old fence. This phase was surprisingly satisfying. I found it crucial to have a helper, as many tasks require four hands instead of two.
- Post Installation: The existing metal posts were in good condition, so I opted to salvage them, giving them a fresh coat of paint. I then cut the wooden posts to the desired height, drilling holes to align with the metal posts for a secure fit. Why the precision? Every inch and angle affect your fence's stability and appearance. Especially when retrofitting wooden posts to metal ones, ensuring they're level and securely bolted is paramount.
- Adding the Framework: After setting up the posts, I attached horizontal ledger boards. This step was to support the cedar planks since they wouldn't span the distance between posts on their own. It's about making a strong skeleton for your fence.
- Plank Installation: Pre-drilling cedar planks was a step I couldn't skip. It prevents the wood from splitting when fastening it to the frame. Maintaining a consistent * ½ inch gap between planks ensured the fence looked uniformly appealing and provided adequate privacy.
- Building the Gate: Using an easy gate hardware kit simplified the construction of a sturdy, well-aligned gate. Accuracy in measuring and securing the gate's frame was crucial for smooth operation.
- Finishing Touches: A top cap not only added a polished look but also further protected the fence from weathering. Ensuring tight joins and even spacing between sections meant the difference between a professional-looking finish and a haphazard one.
Lessons Learned
- Detail Matters: From ensuring posts are level and planks are pre-drilled to the uniformity of gaps, the devil is in the details.
- Prevention Better than Cure: Using wood preservative on cut ends of pressure-treated lumber saved future headaches by preventing rot.
- Work Smarter, Not Harder: Though tools and materials matter, having an extra pair of hands was invaluable, making certain steps more manageable and less time-consuming.
Customization Ideas for Your DIY Fence
Building a fence that's both functional and aesthetically pleasing can add significant value to your property. Here are some customization ideas that can help you personalize your DIY fence:
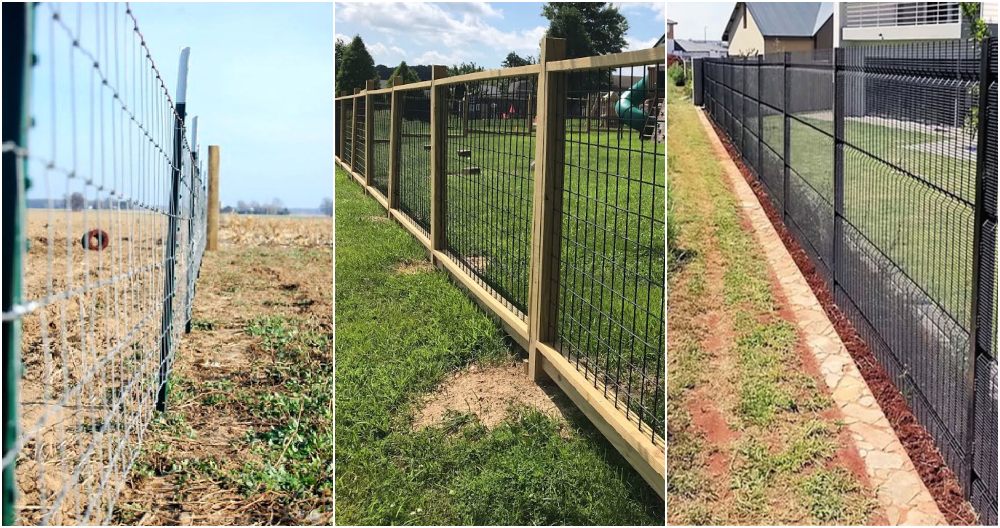
- Choose the Right Material: Start by selecting a material that complements your home's exterior. Wood offers a classic look, while vinyl provides a low-maintenance alternative. Metal, such as wrought iron or aluminum, can give a sleek, modern feel.
- Paint and Stain: A fresh coat of paint or stain can transform your fence. Consider a color that matches your home's trim or shutters. For a natural look, choose a stain that enhances the wood's grain.
- Incorporate Lattice Work: Adding lattice panels to the top of your fence can provide an elegant touch. It also allows climbing plants to weave through, building a living wall.
- Lighting: Install solar-powered lights along the top or sides of your fence for a warm glow in the evening. This not only adds charm but also increases security.
- Decorative Post Caps: Post caps come in various designs, from classic wood to ornate metal. They can add a decorative finish to your fence posts and protect them from weather damage.
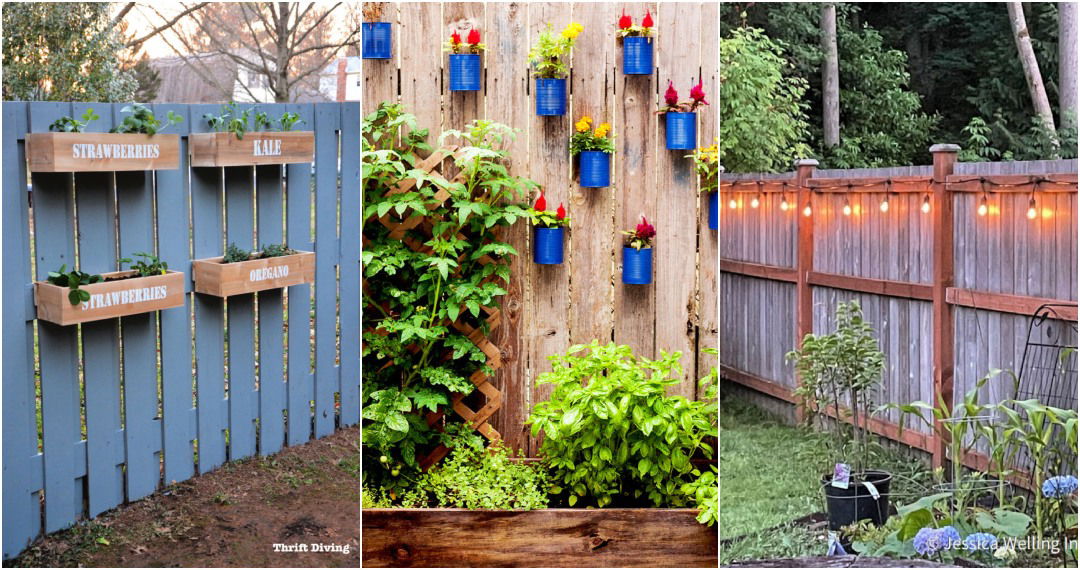
- Hanging Planters: Attach planters to your fence to bring life and color. Choose seasonal flowers or herbs for a fence that's both beautiful and functional.
- Artistic Touches: Consider adding a mural or pattern to your fence for a unique touch. This could be anything from a geometric design to a nature-inspired scene.
- Integration with Landscaping: Plan your fence in harmony with your garden. Curved lines can soften the look, while straight lines provide a clean, modern aesthetic.
- Personalized Entry: Your gate is the entry point to your space. Make it welcoming with a personalized sign, intricate design, or a pop of color.
Maintenance Tips for Your DIY Fence
Maintaining your DIY fence is crucial to ensure it stands the test of time and weather. Here's a detailed guide to keeping your fence in top condition:
- Regular Inspection: Check your fence regularly for any signs of damage, such as loose boards, rust, or rot. Early detection can prevent more extensive repairs later.
- Cleaning: Keep your fence clean from dirt, debris, and mildew. For wood fences, use a mild detergent and water. For vinyl or metal, a hose-down will usually suffice.
- Immediate Repairs: If you notice any damage, address it immediately. Replace broken boards, tighten loose screws, and sand down any rough spots to prevent further deterioration.
- Weatherproofing: Apply a weatherproofing sealant to your wood fence to protect it from rain, sun, and wind. For metal fences, ensure any rust spots are treated and painted over to prevent spreading.
- Pest Control: Be on the lookout for signs of pests that can damage your fence, such as termites or rust. Use appropriate treatments to keep them at bay.
- Vegetation Management: Trim back any plants or trees that are too close to your fence. Overgrown vegetation can lead to moisture and pest problems.
- Gate Care: Ensure that your fence's gate is well-maintained. Lubricate hinges and locks to keep them working smoothly.
- Seasonal Preparations: Before extreme weather seasons, make sure your fence is prepared. Secure any loose parts that could be damaged by strong winds or heavy snow.
Conclusion
Building a DIY privacy fence is not just about saving costs; it's a rewarding project that enhances your home's privacy and curb appeal. Despite the labor-intensive process and the need for precision in every step, the satisfaction of standing back and admiring your handiwork is unmatched. Remember, patience and attention to detail are your best tools in this endeavor. Hopefully, my experience serves as a useful guide and inspires confidence in your ability to tackle your own DIY privacy fence project.


