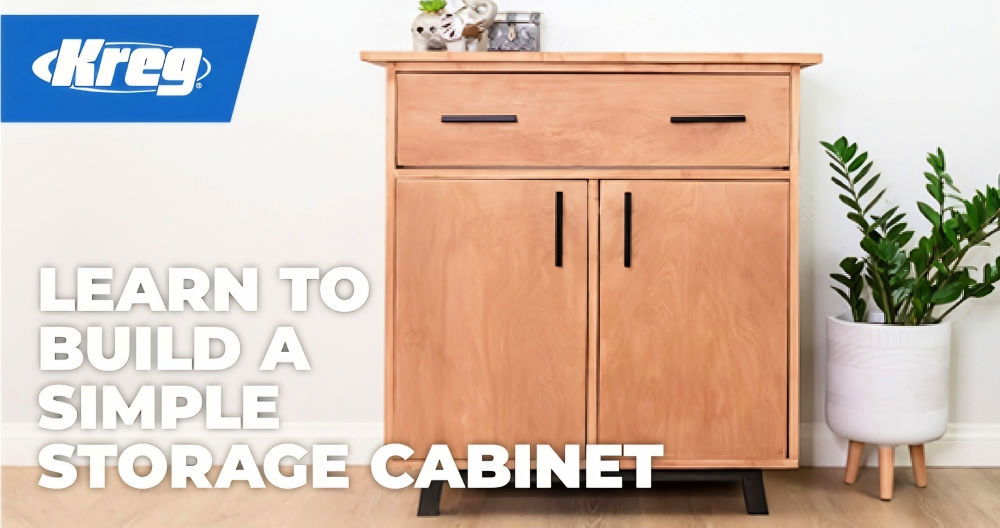
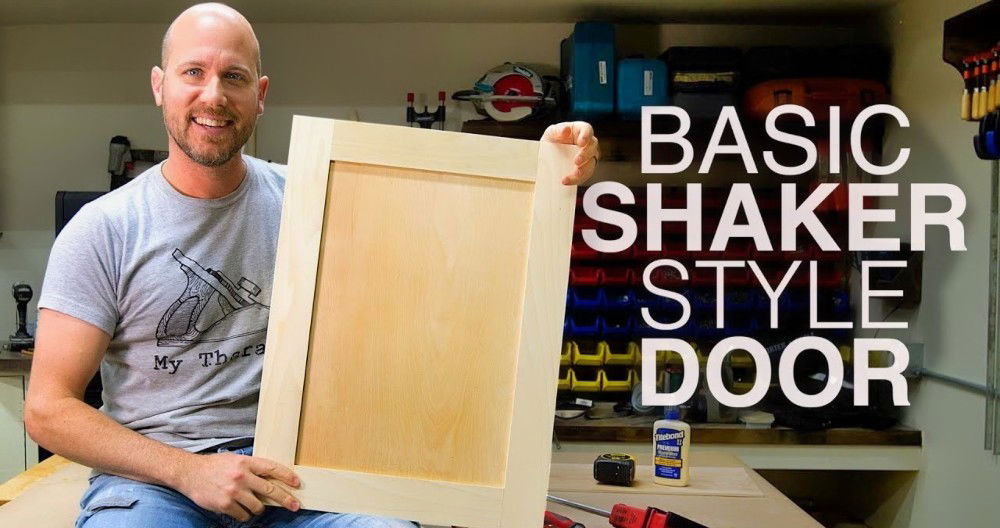
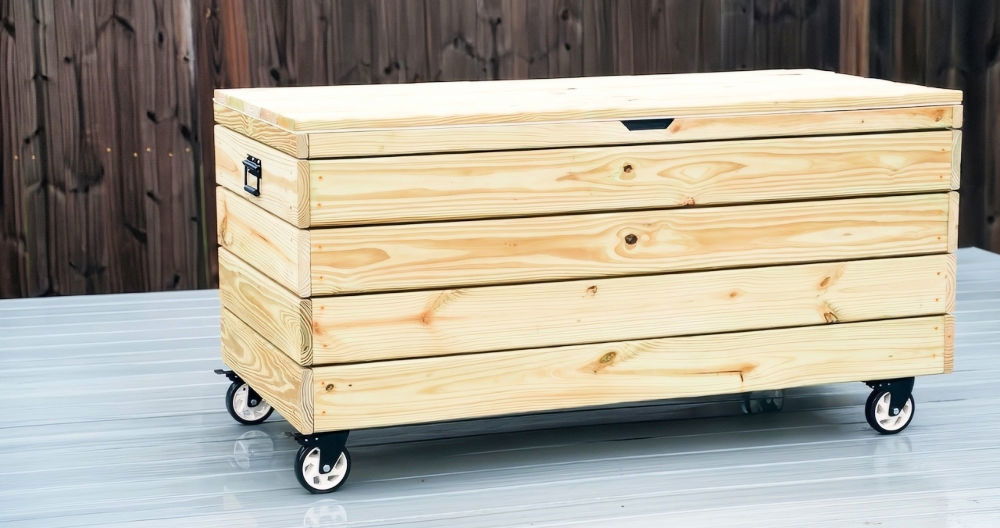
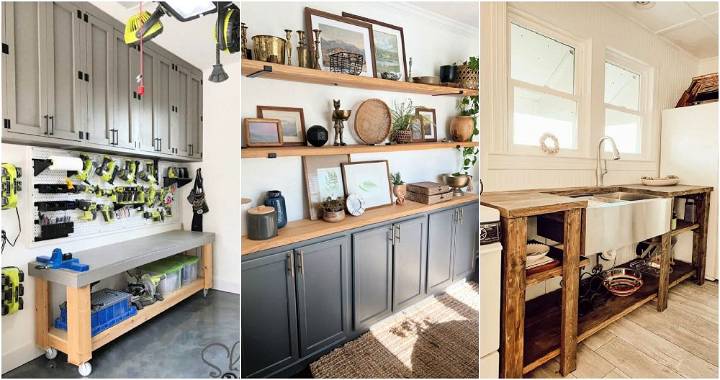
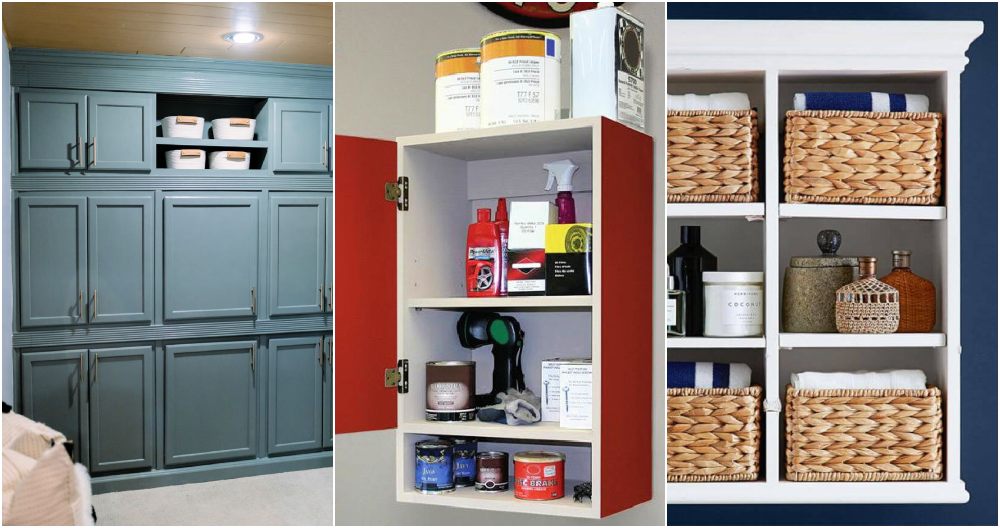
Building my own DIY file cabinet was one of the most useful projects I've done. It helped me organize papers and documents that were cluttering up my space. I found it easy to customize the size and design based on my needs, making it a perfect fit for my home office. Plus, I saved a lot of money by making it myself instead of buying one from a store.

I'm sharing these DIY file cabinet plans to help you set up your own organized space. With clear steps and materials that are easy to find, you'll be able to build a custom storage solution that fits your needs. If you're ready to start, these plans will guide you through the process and help you achieve something practical and stylish.
Materials Needed and Their Importance
- Three-quarter and half-inch plywood: These serve as the primary structure of the cabinet, providing sturdiness and durability.
- Table saw and track saw: Essential for precise cuts, ensuring all parts fit together seamlessly.
- Combination blade: A dual-purpose blade that allows for both ripping and cross-cutting, minimizing the need for blade changes.
- Iron-on edge banding: This is used to cover the raw edges of the plywood, giving the project a finished look.
- Pocket screws (1 and a quarter inch): These are used for assembling the frame securely without visible screws.
- Wood glue and brad nails: They provide additional strength, ensuring the drawers and the frame are securely bonded.
Step by Step Instructions
Learn how to build a DIY file cabinet with our step-by-step guide, from cutting plywood to applying finish, and discover helpful insights along the way.
Cutting the Plywood
The project begins with cutting the plywood into pieces. Using the table saw and track saw, I managed to rip and cross-cut the plywood into the sizes required for the cabinet's frame and drawers. The combination blade from Amana Tools was a lifesaver, ensuring clean cuts without splintering the wood.
Applying Edge Banding
Edge banding was next on the list. It's a crucial step to hide the plywood edges, making them blend seamlessly with the surface. I ironed on the edge banding on the visible parts of the plywood, specifically the front edges of both sides and the top and bottom of the front structure boards. Patience is key here to achieve a smooth, bump-free finish.
Frame Assembly
With all pieces cut and banded, assembling the frame was up next. I used 1 and a quarter inch pocket screws, making sure the screws were mounted inside for a clean outer appearance. The edge-banded parts faced the front, ensuring all visible parts looked polished. I also added reinforcement triangles at the top corners for extra stability.
Drawer Construction
The drawers were a bit trickier. Consistency is crucial for seamless operation, so making sure all drawers were assembled identically was a must. I opted to place the sides on the outside of the front and back, hiding any joinery with the drawer fronts later. The bottoms were glued and brad-nailed directly to the bottom, a method that's simple yet sturdy.
Applying Finish
The final step involved sanding, applying a sanding sealer, and then the top coat. I chose to clear coat the pieces, respecting the natural beauty of the wood. After a light hand sanding with 220 grit sandpaper between coats, the filing cabinet was ready for the final touches.
What I Learned
This project taught me the value of precise measurements and patience, especially during the edge banding and finishing processes. Each choice, from the type of plywood to the finish, played a significant role in the durability and aesthetics of the final product.
Tips for Fellow DIYers
- Measure Twice, Cut Once: This adage holds especially true for woodworking. Precision is key.
- Don't Skimp on the Edge Banding: It might seem like a small detail, but it significantly affects the project's final look.
- Experiment with Finishes: Depending on your d* écor, you might opt for staining, painting, or clear coating. Samples on scrap plywood can help you decide.
Customization Ideas for Your DIY File Cabinet
Customizing a DIY file cabinet is essential. It lets you meet your needs and adds a personal flair, turning basic storage into standout furniture. Here are some customization ideas:
- Choose Your Style: Start by deciding on the style of your file cabinet. Do you prefer a modern look with clean lines and a minimalist design, or are you more inclined towards a rustic, vintage aesthetic? Select materials and finishes that reflect your personal style.
- Color It Up: Paint is a powerful tool for customization. Choose a color that complements your room's decor, or go bold with a contrasting shade to make your file cabinet stand out. You can also experiment with patterns or stencils for a more artistic effect.
- Handle It with Flair: The handles on your file cabinet are small details that can make a big impact. Swap out standard handles for something more unique, like vintage knobs, leather pulls, or even repurposed items that serve as conversation starters.
- Top It Off: The top surface of your file cabinet doesn't have to be plain. Consider adding a cushion to build a makeshift seating area or attach a wooden slab for a more refined look. This can also provide additional functionality to your space.
- Inside Matters: Don't forget about the interior of your file cabinet. Use wallpaper or contact paper to line the drawers for a surprise pop of color or pattern every time you open them.
- Functional Add-Ons: Think about what features would make your file cabinet more useful. Perhaps you need a built-in charging station for your devices, or maybe a fold-out desk surface could help save space.
- Light It Up: Adding lighting inside or under your file cabinet can not only help you find files more easily but also build ambiance in your room. LED strips or small lamps are great options for this.
Use these customization tips to make a file cabinet that's functional and reflects your style.

Space Optimization for Your DIY File Cabinet
Maximizing space is crucial, especially in smaller offices or homes. A well-designed DIY file cabinet can help you achieve that. Here's how to optimize space without compromising on functionality:
- Vertical Thinking: Go upwards, not outwards. Tall, narrow cabinets take up less floor space while providing ample storage. Consider adding multiple drawers stacked on top of each other.
- Under-Desk Units: Utilize the often-wasted space under desks. A custom file cabinet that fits snugly underneath can be both a space-saver and an extension of your work area.
- Wall-Mounted Solutions: If floor space is scarce, think about mounting your file cabinet on the wall. This keeps your documents at eye level and easy to access, while freeing up valuable floor space.
- Fold-Away Features: Incorporate fold-out or drop-down surfaces that can be tucked away when not in use. This is ideal for occasional filing needs without permanent space commitment.
- Inside Job: Inside the drawers, use dividers or small containers to keep files upright and organized. This makes better use of the space and keeps everything within easy reach.
- Dual-Purpose Designs: Consider a file cabinet that doubles as another piece of furniture, like a side table or a bench. This way, you get two uses out of the same footprint.
Implementing these space-saving strategies will make your file cabinet efficient and your environment more spacious.
Organizational Hacks for Your DIY File Cabinet
Keeping your documents in order doesn't have to be a chore. With a few clever organizational hacks, you can turn your DIY file cabinet into a model of efficiency. Here's how to get your files in tip-top shape:
- Label Everything: Start by labeling each drawer and folder. Clear labels help you quickly find what you need and return it to the right spot.
- Color Coding: Assign a color to each category of documents. This visual cue makes sorting and finding files faster.
- Subdivide and Conquer: Use dividers or subfolders to break down broad categories into specific groups. This prevents overcrowding and makes retrieval a breeze.
- Go Digital When Possible: Reduce physical clutter by scanning and storing documents electronically. Keep backups on a cloud service for easy access.
- Regular Clean-Outs: Set a schedule to go through your files. Discard outdated documents to free up space and keep your system current.
- A Place for Everything: Ensure every type of document has a designated spot. This avoids piles of papers and lost items.
- Use Vertical Space: Install racks or shelves inside the cabinet doors for extra storage. This is great for frequently used items.
Implementing these hacks saves time and reduces stress. An organized file cabinet boosts productivity and smoothens your workday.
Safety Measures for Your DIY File Cabinet
When starting a DIY file cabinet, safety is crucial. Ensure your own safety during construction and that the final product is safe to use daily. Here are key safety measures to remember:
- Stable Construction: Ensure that your file cabinet is sturdy and stable. It should not wobble or tip over easily. Use quality materials and joinery techniques that can handle the weight of the files.
- Childproofing: If children are around, consider adding safety features such as rounded corners, soft-close drawers, and locks to prevent accidents.
- Chemical Safety: Be mindful of the paints, stains, and adhesives you use. Opt for non-toxic options, especially if the file cabinet will be used in a home environment.
- Proper Ventilation: During the building and finishing process, work in a well-ventilated area to avoid inhaling fumes from paint or glue.
- Fire Safety: Keep your file cabinet away from heat sources to reduce the risk of fire, especially if it's made of flammable materials.
- Weight Distribution: Distribute the weight evenly across the drawers. Heavier items should be stored in the lower drawers to lower the center of gravity and prevent tipping.
- Regular Inspections: Periodically check your file cabinet for any loose components or damage that could pose a safety risk. Tighten or replace parts as necessary.
- Emergency Plan: Have a plan in place for securing or removing sensitive documents quickly in case of an emergency.
By following these safety measures, you can enjoy your DIY file cabinet with peace of mind, knowing that it's built to be a safe and reliable part of your home or office.
FAQs About DIY File Cabinet
Get quick answers to your questions about DIY file cabinets. Discover the best materials, tools, and steps for your custom project.
Yes, you can repurpose items like a trunk, coffee table, or even an old milk crate into a file cabinet with some creativity. You'll need to add hanging racks or drawers to organize your files.
You can customize your DIY file cabinet by:
Choosing a paint color or stain that matches your decor.
Labels or numbers can be added to the drawers for easy identification.
Altering the size and shape to fit your space.
Using different-colored file holders for sorting.
For space-saving designs, consider:
A tall and narrow cabinet that takes up less floor space.
A modular design that can be part of a desk setup.
Built-in cabinets that blend into the wall or under a desk.
To ensure durability:
Use quality materials like hardwood or high-grade plywood.
Apply a protective finish like polyurethane to guard against wear and tear.
Make sure all joints are tight and the hardware is properly installed.
Consider metal reinforcements for areas that will bear more weight.
To organize your files effectively:
Use hanging folders to categorize and separate documents.
Implement a color-coding system where each color represents a different category or priority level.
Label each folder clearly with a label maker or handwritten tags.
Consider alphabetical, numerical, or chronological ordering based on what makes the most sense for your needs.
Utilize drawer dividers or small storage boxes within larger drawers to keep supplies and smaller items tidy.
Conclusion
Completing my DIY file cabinet was satisfying, and I'm sure you'll feel the same. With these plans, you'll have all the tools and guidance you need to build something that's both useful and unique. I'm confident this project will help you keep your space organized and efficient, making your home feel more put together. Get started today and enjoy the results!


