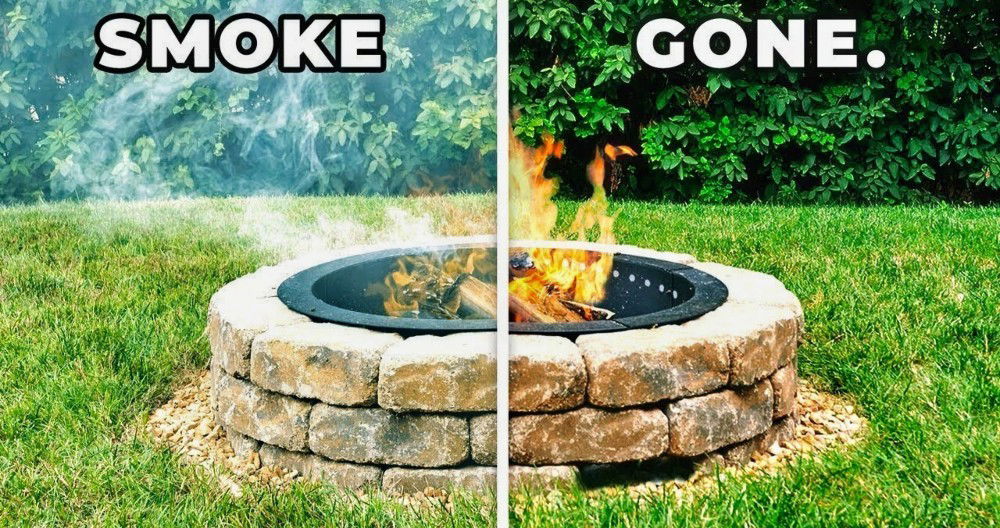
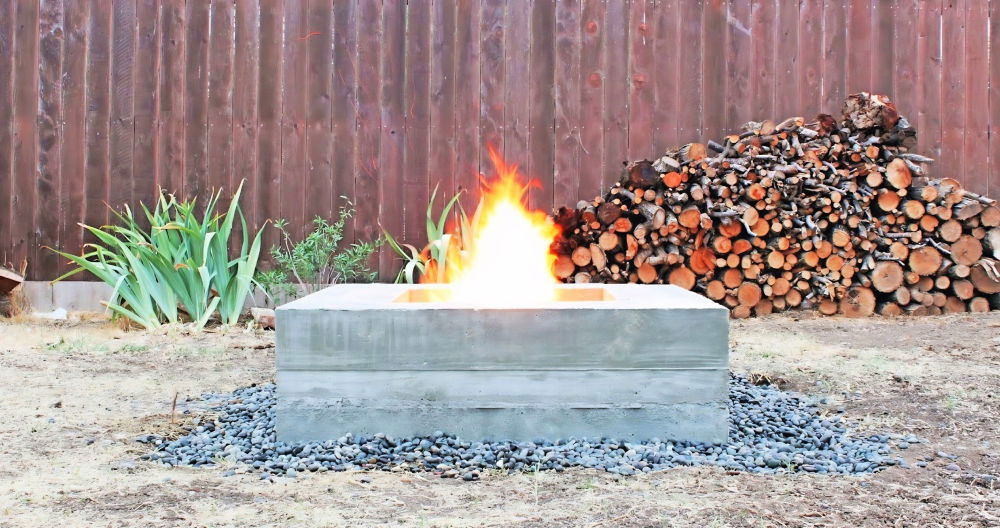
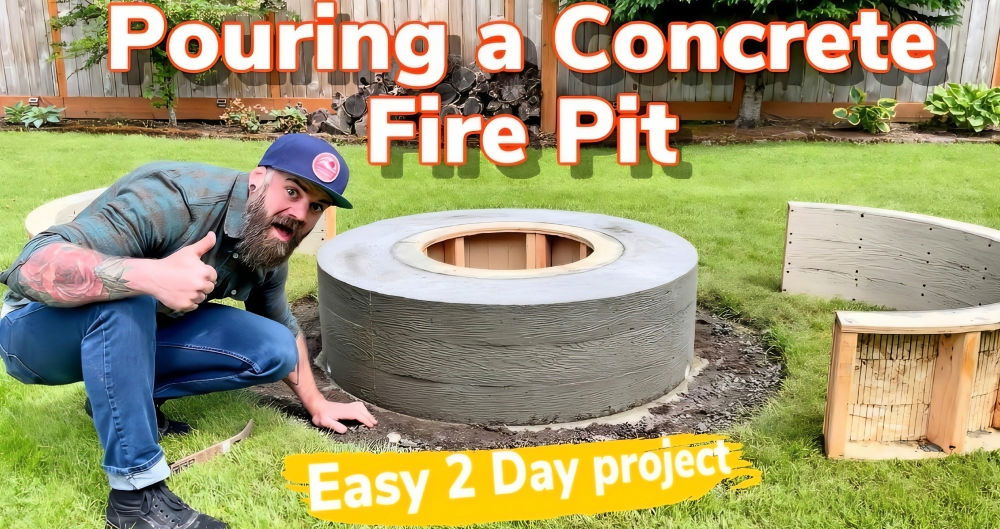
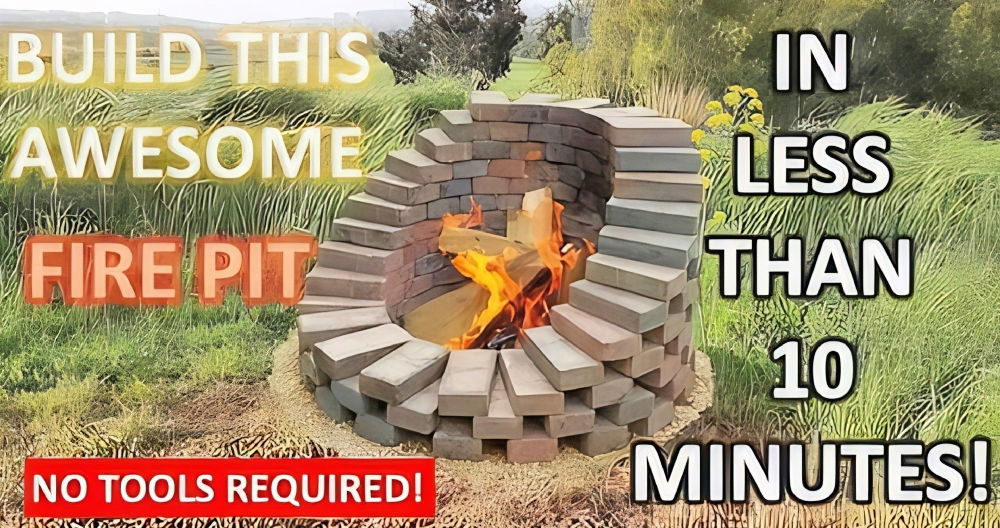
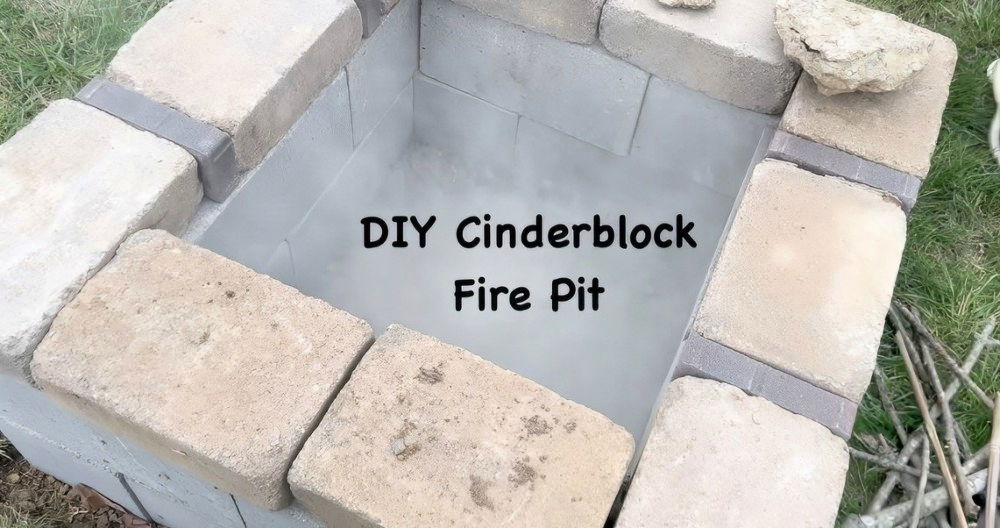
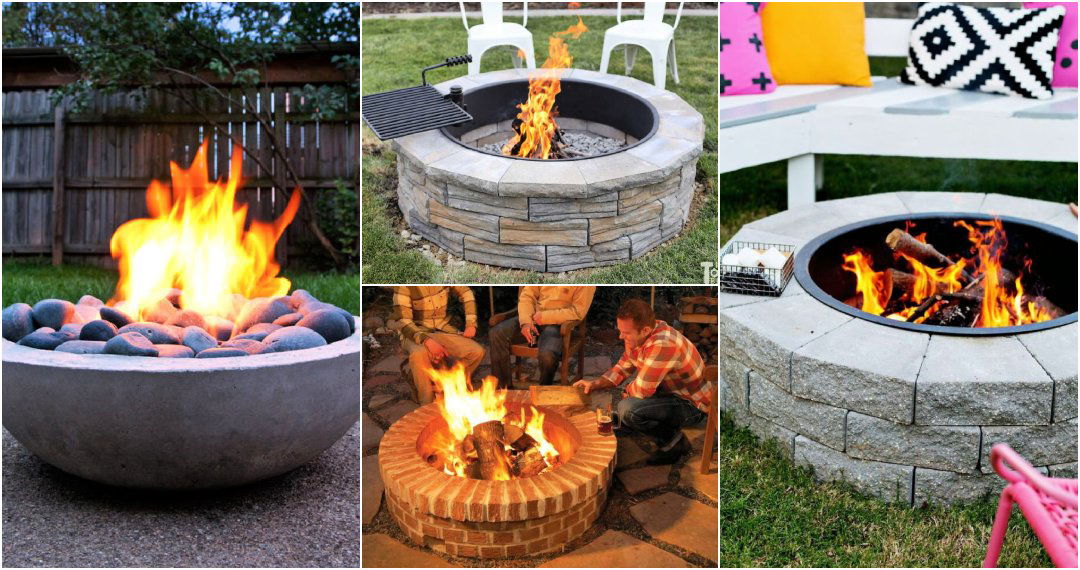
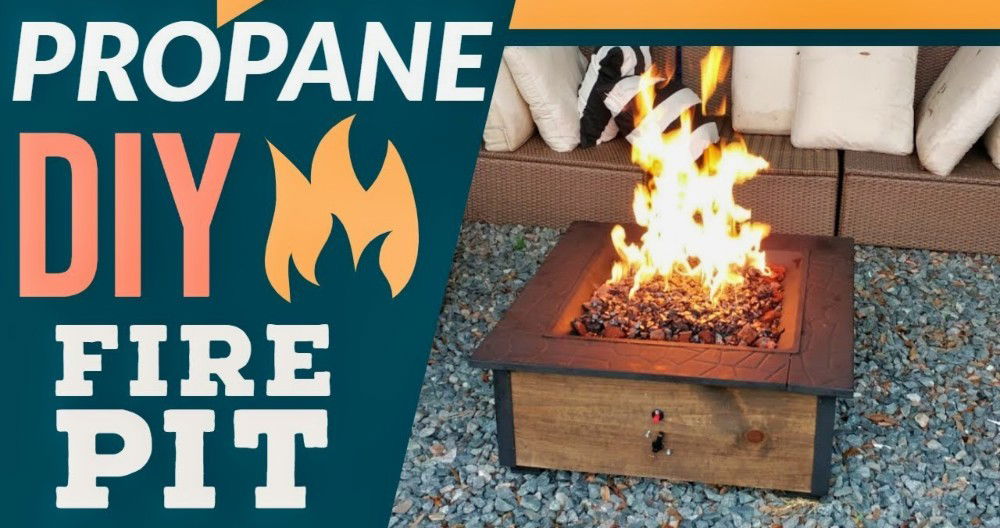
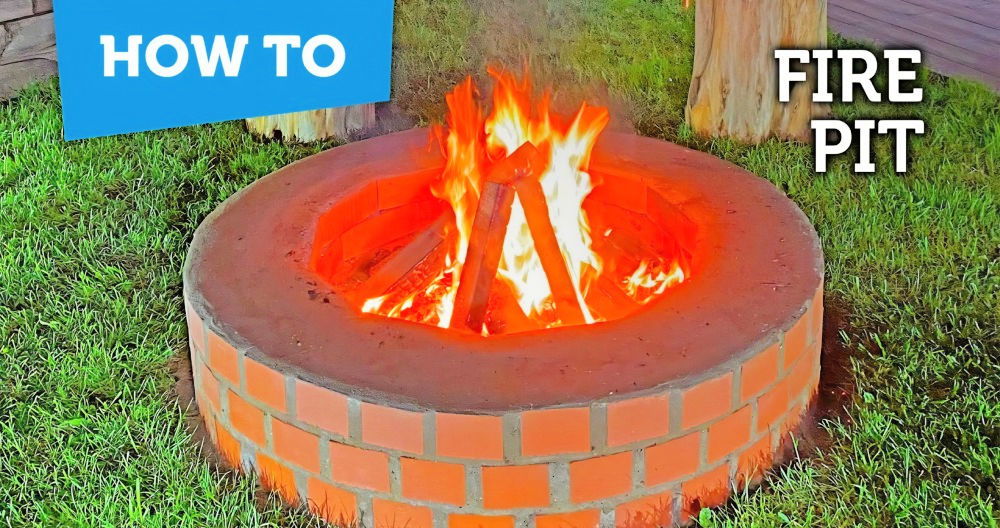
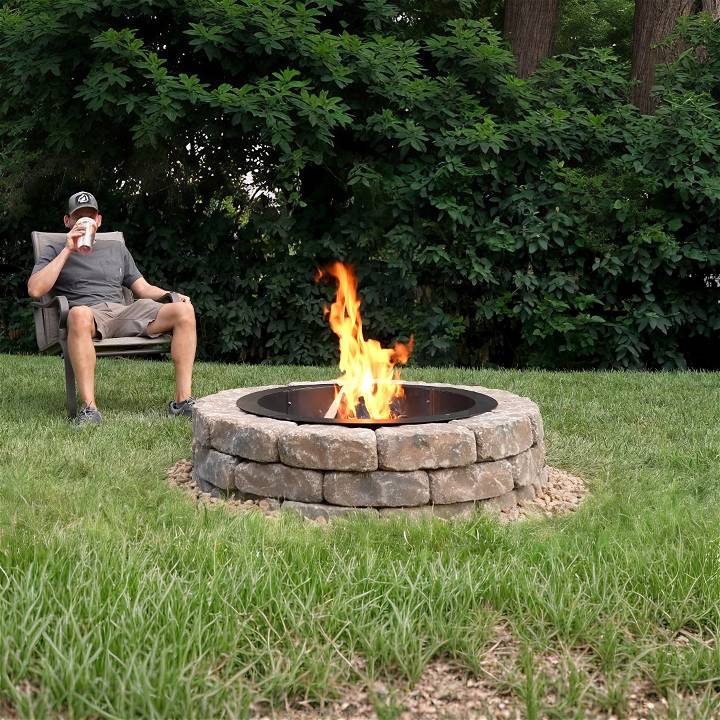
My backyard was my sanctuary, a place where family gatherings and memorable moments unfolded under the open sky. However, nestled among the lush greenery and the beautiful deck I had labored over, there stood a sore sight — an old, rusty fire pit that had seen better days. It was time for an upgrade, and I was determined to create a permanent stone fire pit without breaking the bank. Here's how I did it, from stone selection to the final, cozy fireside night.
Step by Step Instructions
Learn how to easily make your own fire pit with step-by-step instructions, selecting the right stones, and understanding the importance of a fire ring for a perfect outdoor ambiance.
Selecting the Right Stones
The heart of building a fire pit lies in choosing the right materials. My journey began at the local Home Depot, where I found two main contenders: the retaining wall brick and the wall stone. Retaining wall bricks, priced at $2.18 each, promised a budget-friendly option. However, they had a wedge shape suitable for circular designs but came with a lip that needed removal for a flat fit.
In contrast, the wall stone, slightly pricier at $2.48 each, offered a tumbled brick look that caught my eye. Despite the rough top making it a tad harder to level, its aesthetic appeal was unparalleled. After some contemplation, I decided on the wall stone for its pleasing appearance and the circular layout it could achieve.
Understanding the Importance of a Fire Ring
While not mandatory, a fire ring insert extends the life of your bricks and adds to the fire pit's overall aesthetic. I explored several options — galvanized steel, a solid surface ring, and a segmented ring from Amazon. Despite the allure of the solid surface option, I chose the segmented ring for its balance of functionality, aesthetics, and depth, which suited my three-layer stone assembly perfectly.
Location and Preparation: The Foundation of Success
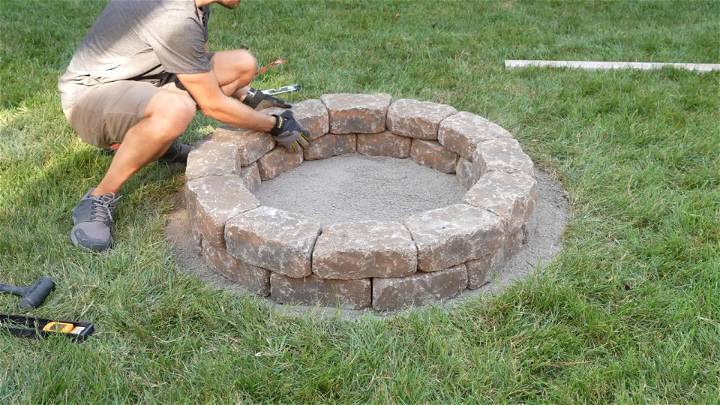
The location of your fire pit is paramount. I ensured mine was 15 feet away from any structures, adhering to local guidelines. After marking the ground with the layout of my stones, I began the excavation. Digging 2-3 inches deep, I created a base that would support the stones and facilitate drainage. This was crucial, especially with the predominantly clay soil in my backyard. By incorporating a deeper hole filled with gravel in the center, I ensured adequate drainage to prevent water accumulation.
Laying the Stones: Patience and Precision
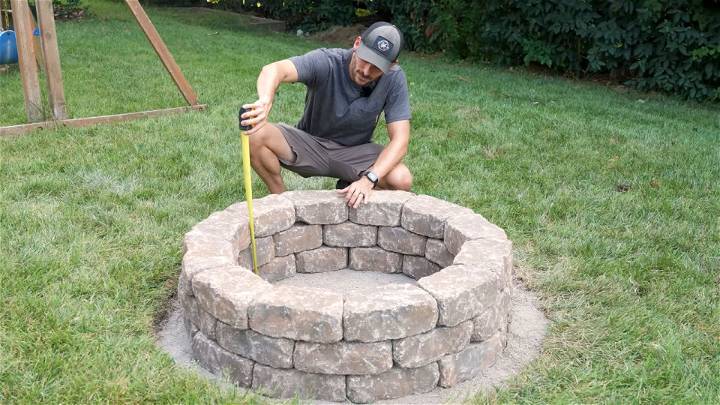
With the site prepared and materials at hand, it was time to lay the stones. Starting with a level paver base, I placed the first layer of stones, using a dead blow mallet and levels to ensure each stone was perfectly aligned and level with its neighbors. As I built upwards, maintaining the circular shape and ensuring the seams between stones aligned with each layer, the vision of my perfect fire pit came to life.
The Finishing Touches: Creating Ambiance and Warmth
I chose river pebbles and lava rocks for landscaping and inside the fire pit, respectively. These choices not only enhanced drainage but also added to the fire pit's aesthetic appeal. As I lite the first fire, the fruits of my labor were illuminated by the warm glow, a testament to the effort, planning, and execution that transformed my backyard.
Building a budget fire pit transformed my backyard into a cozy haven for gatherings and memories. Planning and hard work pay off - enjoy the warmth under the starlit sky.
Safety First: Building Your DIY Fire Pit
When creating a DIY fire pit, safety is the most crucial aspect. A safe fire pit ensures not only your well-being but also the enjoyment of those around you. Here’s how to prioritize safety from start to finish.
Choosing the Right Location
Find a spot that’s open, level, and away from any structures or low-hanging branches. A minimum distance of 10 feet from your house, fences, or garden sheds is recommended. This space helps prevent accidental fires.
Using the Correct Materials
Your fire pit should be built with non-flammable materials. Bricks, concrete, or heavy-duty metal like steel are ideal. Avoid using river rocks as they can contain water and explode when heated.
Lighting the Fire Pit Safely
To light your fire pit, use a commercial fire starter or small kindling. Never use gasoline or other accelerants, as they can cause uncontrollable flames.
Extinguishing the Fire
When you’re done, put the fire out completely by dousing it with water and stirring the ashes until cold. Ensure no embers are left smoldering to prevent reignition.
Keeping a Fire Extinguisher Handy
Always have a fire extinguisher or a bucket of sand nearby in case of emergencies. It’s better to be prepared than to be caught off guard.
Supervising Children and Pets
Keep an eye on children and pets when the fire pit is in use. Establish a safety zone around the fire pit that they should not enter.
By following these tips, you'll safely enjoy your DIY fire pit. Precaution is key to prevent accidents and create lasting memories. Stay safe and have fun!
Styling Your Fire Pit Area
Creating a cozy and inviting atmosphere around your DIY fire pit can transform your backyard into a delightful retreat. Here’s how to style your fire pit area for maximum enjoyment and aesthetic appeal.
Comfortable Seating
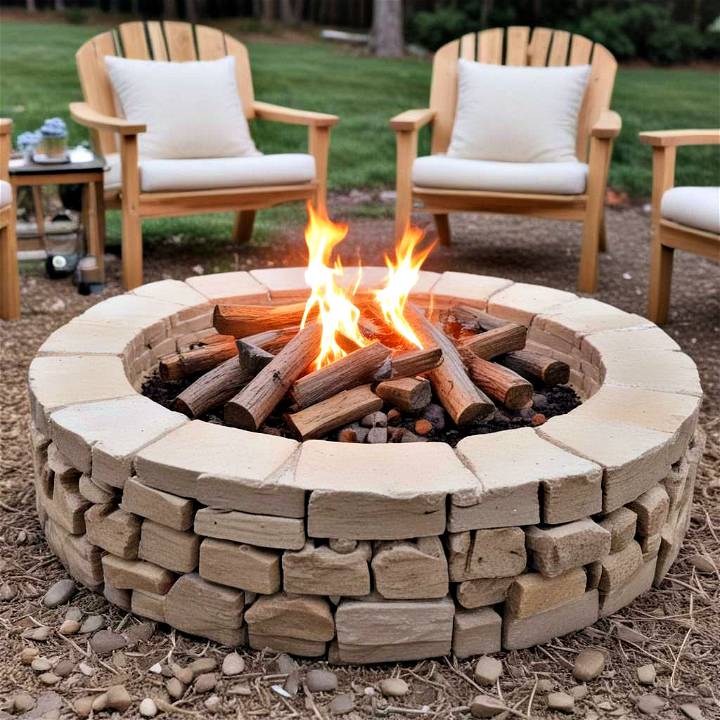
Arrange comfortable seating that encourages relaxation and conversation. Opt for outdoor sofas, lounge chairs, or even a circle of rustic benches. Ensure they are placed at a safe distance from the flames.
Lighting for Ambiance
Soft lighting can enhance the ambiance. Consider solar-powered lights, lanterns, or string lights to add a warm glow without overwhelming the natural flicker of the fire.
Landscaping
Incorporate landscaping elements that complement the fire pit. This could include a stone pathway leading to the fire pit, or planting low shrubs and flowers that add color and texture without posing a fire hazard.
Personal Touches
Add personal touches like outdoor rugs, decorative pillows, and throws. These elements not only add comfort but also reflect your personal style.
Fire Pit Accessories
Include practical accessories like a spark screen for safety, a poker to adjust logs, and a grill grate if you plan to cook. These accessories should be both functional and aesthetically pleasing.
By following these tips, you can make a safe and beautiful fire pit area for memories under the stars. Enjoy your outdoor oasis!
FAQs About DIY Fire Pits
Get all your burning questions answered in our FAQs About DIY fire pits. Discover tips, safety precautions, and more for your backyard project.
What materials are safe to use for building a fire pit?
Safe materials include:
- Bricks
- Concrete blocks
- Heavy-duty steel
These materials are heat-resistant and durable, making them ideal for withstanding high temperatures.
How far should my fire pit be from my house or other structures?
Your fire pit should be at least 10 feet away from your house, sheds, fences, and trees to prevent accidental fires.
Can I use my fire pit on a wooden deck?
It’s not recommended to place a fire pit directly on a wooden deck. If you must, use a fire pit pad to protect the wood from heat damage.
What is the best way to start a fire in my fire pit?
Use small kindling or a commercial fire starter. Avoid using gasoline or other accelerants as they can be dangerous.
How do I put out the fire safely?
Extinguish the fire by dousing it with water and stirring the ashes until they are cold to the touch.
Is it necessary to have a fire extinguisher nearby?
Yes, always have a fire extinguisher or bucket of sand close by for safety.
Conclusion:
In conclusion, making your DIY fire pit is a fun and rewarding project for any homeowner. By following these simple steps, you can enjoy cozy nights by the fire in your own backyard.


