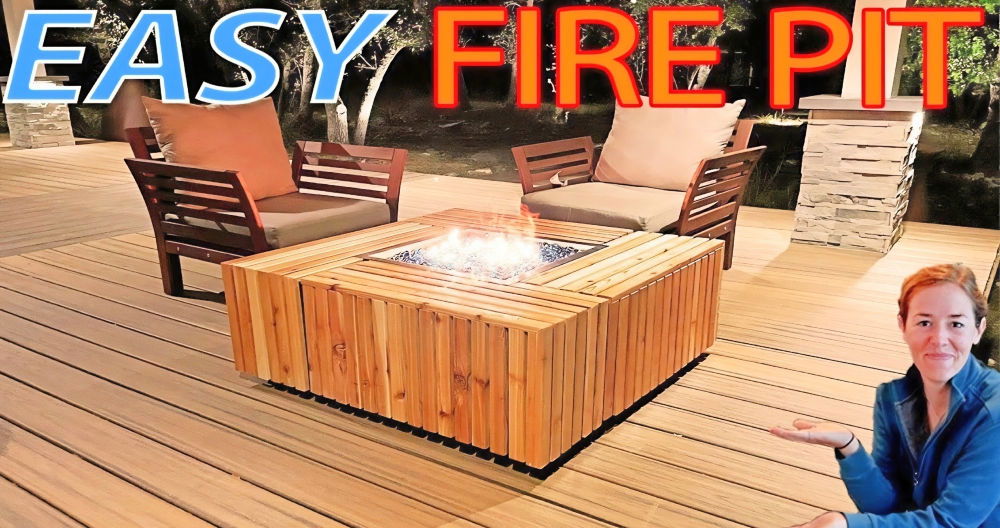
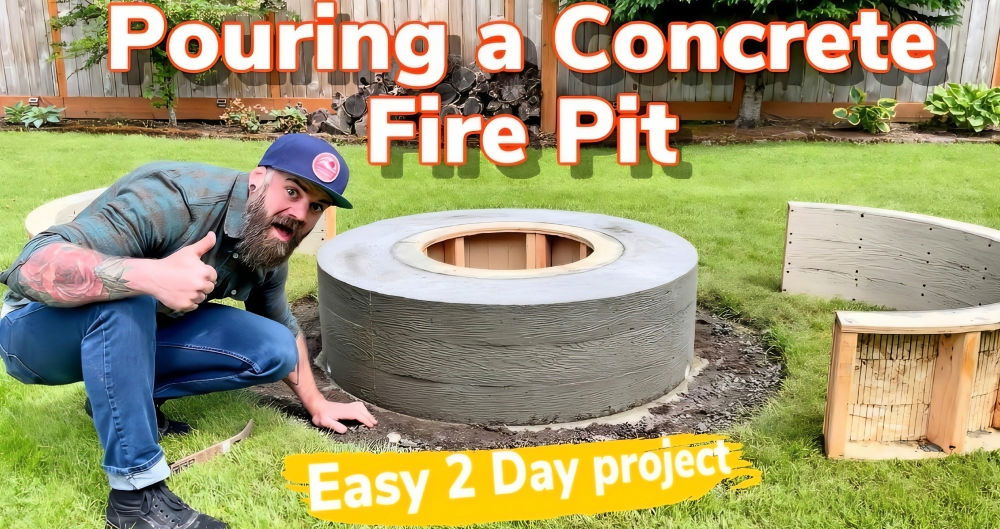
Building a DIY fire pit area in my backyard was a great way to enjoy evenings outdoors. It all started with a simple idea and a few basic supplies. I gathered the necessary tools and materials, and with a little bit of effort, I transformed a small part of my yard into a cozy, inviting space.
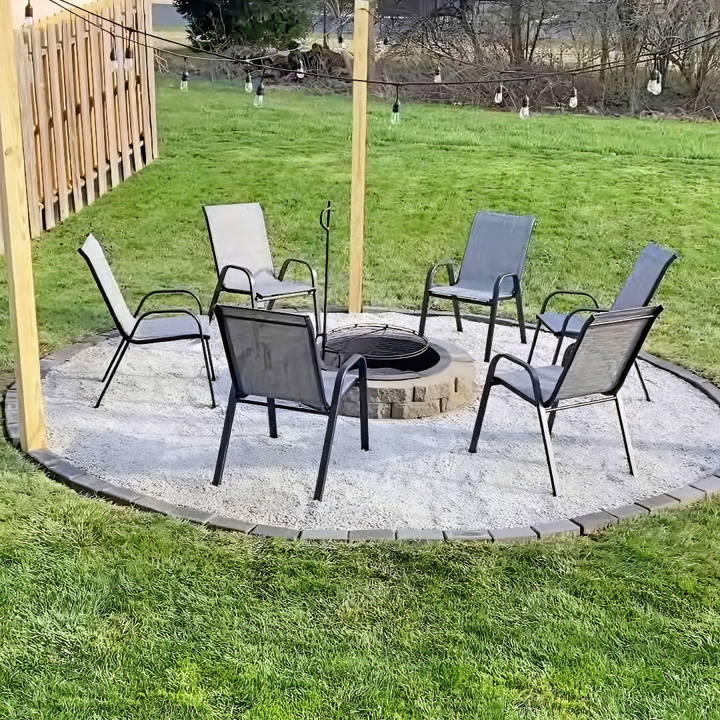
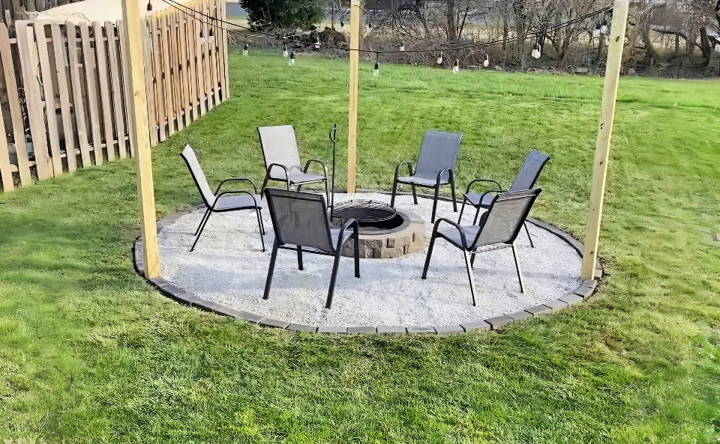
The whole process was straightforward and incredibly satisfying. I spent the weekend digging, laying stones, and arranging the seating area around the fire pit. Now, my backyard has become a favorite spot for my family and friends.
I'm sharing this to help you build your perfect fire pit area, too; these tips will be useful and make the task enjoyable.
Materials You'll Need and Why:
Before we roll up our sleeves, let's talk about the essentials you'll need:
- Shovels and a Pickaxe: These are critical for uprooting grass and leveling the ground. The shovel helps in making clean lines and the pickaxe eases the tough job of breaking the soil.
- String and Marking Spray Paint: To outline the seating area.
- Cultivator or Metal Rake: For smoothing out the ground post-grass removal.
- Pressure Washer: This breathes new life into old stones.
- Rusty Metal Primer and High Heat Paint: To refurbish and protect the fire pit insert.
- Concrete Stones (optional): If you're building a fire pit from scratch.
- 4x4 Posts and Quikrete Fast Setting Concrete: For the lighting posts.
- Gravel and Paver Stones: For a neat, weed-free seating area.
- Weed Block Fabric and Outdoor Staples: To prevent weed growth.
- Heavy Duty Hooks and Zip Ties: For securing the lights.
Step by Step Instructions
Discover step-by-step instructions on DIY fire pit areas with easy preparation, leveling, setup, and tips for the perfect outdoor space.
Step 1: Preparing the Area
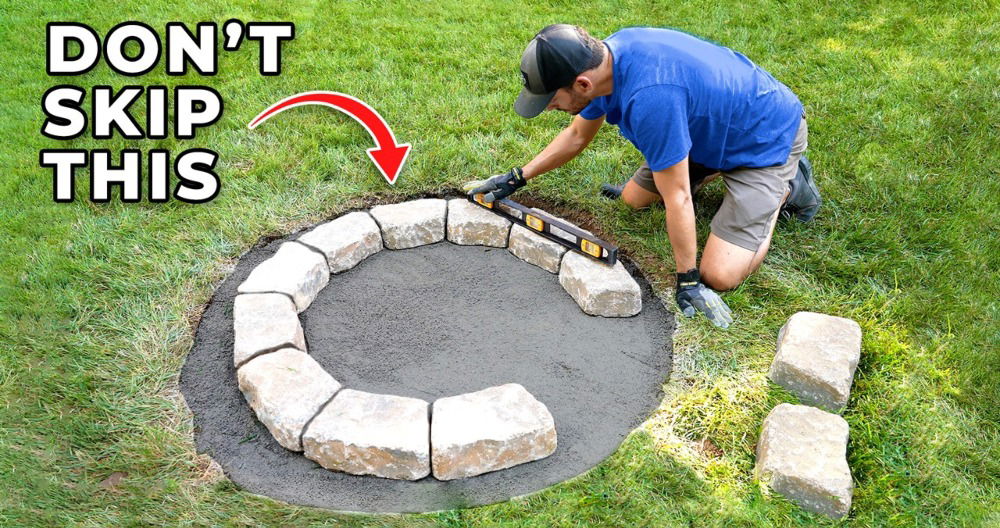
I began with a fire pit that seemed more like an afterthought than a feature of the yard. First off, clearing the area was crucial. I staked the center of the pit and outlined the seating area with string and marking paint. Removing the grass was no small feat; breaking it into manageable sections and using a pickaxe made the process much easier than anticipated.
Step 2: Leveling the Ground
With the grass gone, the ground was uneven. A cultivator (or a sturdy metal rake) helped me achieve a level surface—a critical step for a stable seating area.
Step 3: Reviving the Fire Pit
My fire pit was in desperate need of TLC. Pressure washing the stones and the insert made them look almost new. I then treated the rusted insert with primer and heat-resistant paint, ensuring its longevity and safety.
Step 4: Setting Up the Posts
For the cozy ambiance lighting, I needed to set up 4x4 posts around the pit. After marking the spots and getting the all-clear (remember to call 811 before digging!), I dug about three feet deep holes, considering my local frost line. Anchoring them with Quikrete was a breeze, offering a no-mix, no-fuss solution that had the posts ready in no time.
Step 5: Laying the Groundwork
Before adding gravel, laying down a heavy-duty weed block fabric was essential. It's easy to overlook but skipping this step would mean battling with weeds later on—a scenario I preferred to avoid. Securing the fabric with outdoor staples kept it in place.
Step 6: Adding Gravel and Lighting
Making a perimeter with paver stones not only contained the gravel but also added a refined touch. Distributing the gravel evenly took some elbow grease but was well worth the effort, giving the entire area a clean look. Finally, setting up the lights by drilling holes in the posts and securing the hooks with zip ties brought the whole space together.
Personal Insights and Tips
- Take Your Time: Rushing can lead to mistakes. Enjoy the process and take breaks when needed.
- Budget-Friendly Alternatives: If certain materials seem expensive, look for second-hand options or ask local communities for excess supplies they might want to part with.
- Safety First: Always wear protective gear, especially when using power tools and handling heavy materials.
Design Inspirations and Customization Ideas
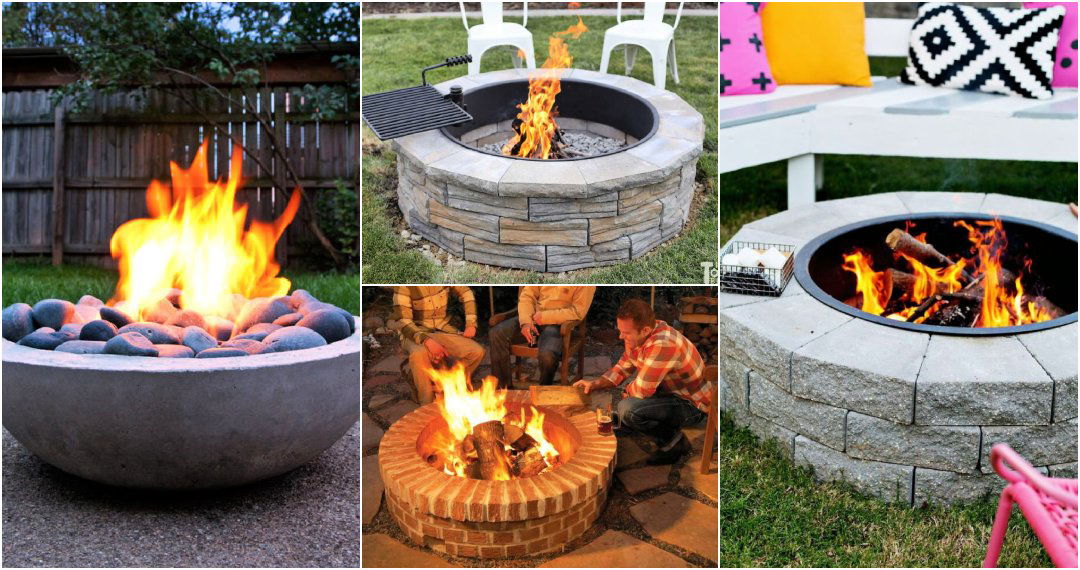
Making a fire pit that reflects your personal style and meets your entertainment needs can be a rewarding DIY project. Here are some design inspirations and customization ideas to help you craft a unique and inviting outdoor space.
Choose a Theme
Start by deciding on a theme that resonates with your outdoor area. Whether it's rustic, modern, or whimsical, your theme will guide your material choices and design details.
Selecting Materials
For a rustic look, natural stones or boulders can give your fire pit an organic feel. If you prefer a modern touch, consider sleek metal rings or geometric blocks. For a whimsical vibe, colorful tiles or recycled glass can add playful elements to your design.
Shape and Size
Think about the shape and size of your fire pit. Circular pits build a cozy gathering spot, while square or rectangular ones can complement a more structured garden layout. Ensure it's large enough to accommodate your guests but not so large it overwhelms your space.
Seating Arrangements
Incorporate seating that matches your fire pit style. Built-in benches can save space, while separate chairs allow for flexible arrangements. Add cushions for comfort and color.
Lighting
Proper lighting can enhance the ambiance. Solar-powered lights or low-voltage landscape lighting can provide safety and set the mood without overpowering the fire's glow.
Accessories
Personalize your fire pit area with accessories. A grill grate transforms it into a cooking spot, while a screen cover adds safety. Decorative stones or glass can be used to fill the pit when not in use.
Landscaping
Surround your fire pit with landscaping that complements its design. Consider plants that are fire-resistant and non-toxic if pets and children frequent the area.
Maintenance
Choose materials and designs that are easy to maintain and clean, ensuring your fire pit remains a central feature of your outdoor space for years to come.
By considering these elements, you can design a fire pit area that's not only functional but also a reflection of your personality and a welcoming extension of your home.
Troubleshooting Your DIY Fire Pit
When you've put effort into building a DIY fire pit, you want to ensure it works correctly and safely. Here's a troubleshooting guide to help you solve common problems that might arise.
Fire Won't Start
If your fire won't start, check your fuel. Make sure you're using dry, seasoned wood that catches fire easily. If you're using a fire starter, ensure it's not expired or damp.
Smoke Issues
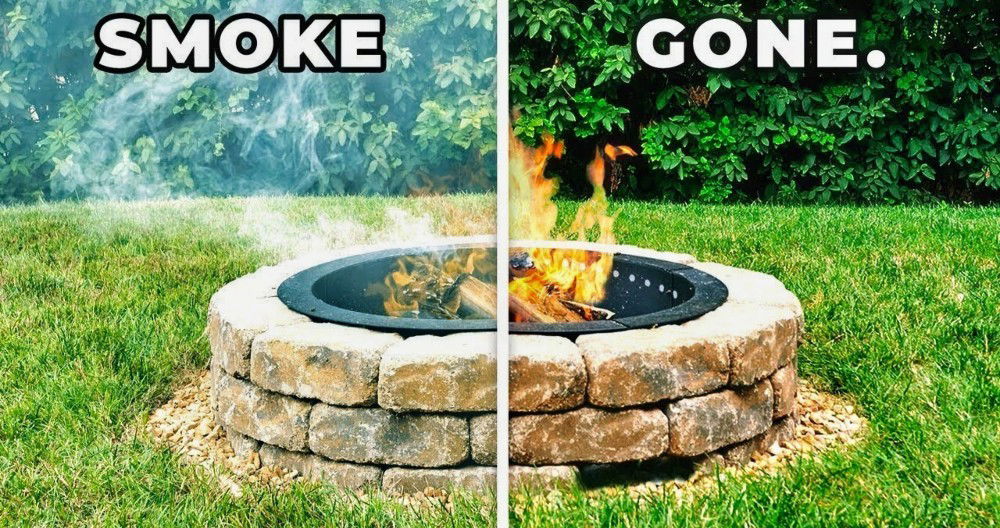
Excessive smoke can ruin the fire pit experience. To reduce smoke, avoid green or wet wood. Hardwoods like oak or ash produce less smoke and burn hotter than softwoods.
Fire Pit Cracks
Temperature changes can cause cracks. If you notice small cracks, they're often cosmetic. However, large cracks can be a safety hazard. Inspect your fire pit regularly and repair with fire-resistant mortar if necessary.
Poor Airflow
Good airflow is essential for a strong fire. If your fire pit is smoking or the fire is weak, check for blockages in the air holes or vents. Clear any debris to improve airflow.
Water Accumulation
Water in your fire pit can lead to rust and damage. Ensure your fire pit has proper drainage and consider a cover to protect it from rain.
Rust Formation
To prevent rust, use a cover when your fire pit is not in use, especially if it's made of metal. If rust appears, gently sand the area and apply a high-temperature resistant paint.
Uneven Flames
If your flames are uneven, the fire pit base may be uneven or the fuel may be distributed unevenly. Level the base during installation and build your fire evenly.
Persistent Odor
A bad odor can indicate leftover food debris or mold. Clean your fire pit regularly to prevent this, especially before and after long periods of disuse.
Wobbly Fire Pit
A wobbly fire pit is a safety risk. Ensure the base is stable and on solid ground. If it's built on pavers or bricks, check for settling or shifting and adjust as needed.
By following these tips, you can keep your fire pit in top condition and enjoy many cozy nights around the fire.
Maintenance and Upkeep
Keeping your fire pit in great shape is key to ensuring it can be a centerpiece for relaxation and social gatherings for years to come. Here's how to maintain and care for your fire pit, broken down into simple, actionable steps.
Regular Cleaning
After each use, once the fire pit has cooled down, remove ash and debris. This prevents accumulation that can hinder airflow and cause excessive smoke during your next fire.
Protective Measures
Invest in a good-quality cover to shield your fire pit from rain, snow, and debris. This is especially important if your fire pit is made of metal, as it can rust when exposed to the elements.
Check for Wear and Tear
Inspect your fire pit regularly for signs of wear, such as cracks or rust. Small cracks in stone or concrete fire pits can be normal, but larger ones may need repair.
Rust Prevention and Treatment
If your fire pit is metal and shows signs of rust, clean it with a wire brush and apply a coat of high-temperature-resistant paint designed for fire pits.
Proper Storage
If you're not planning to use your fire pit for an extended period, store it in a dry, covered area. If it's a permanent structure, make sure it's well-covered and the area is kept clean.
Avoid Moisture Build-Up
Ensure your fire pit has proper drainage to avoid water pooling. Standing water can damage the fire pit materials over time.
Seasonal Care
Before the onset of winter, give your fire pit a thorough cleaning and apply a new layer of protective sealant if necessary. This helps prevent damage from freezing and thawing cycles.
Follow these tips to keep your fire pit safe, enjoyable, and beautiful.
FAQs About DIY Fire Pit Area
FAQs about DIY fire pit areas: Get answers on materials, safety tips, costs, and more to build your perfect outdoor retreat.
Before you start, it’s important to be aware of local regulations. Check with your local government or homeowners’ association for any rules regarding fire pits. You’ll also want to consider the size, location, and materials for your fire pit to ensure safety and functionality.
Select a level spot in your yard that's at least 15 feet away from structures and low-hanging branches. Avoid areas prone to wind and make sure it's accessible and comfortable for gathering.
It's not recommended to build directly on grass as it's a fire hazard. Remove any grass, plants, or flammable materials from the area. Consider using a fire-resistant barrier or building on a non-combustible surface like gravel or pavers.
Regularly remove ash and debris to prevent clogging and ensure good air flow. Check for any cracks or damage to the structure and repair as needed to maintain safety. Always cover your fire pit when not in use to protect it from the elements.
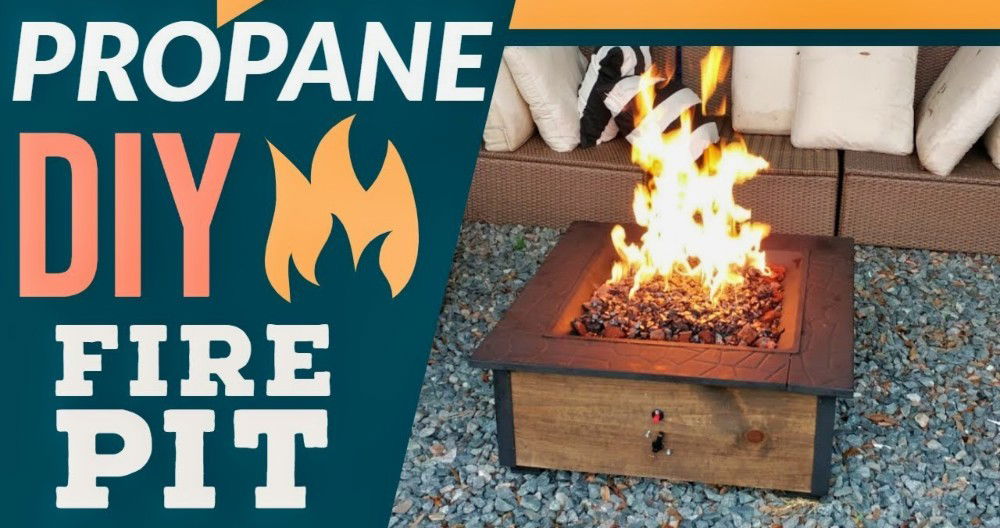
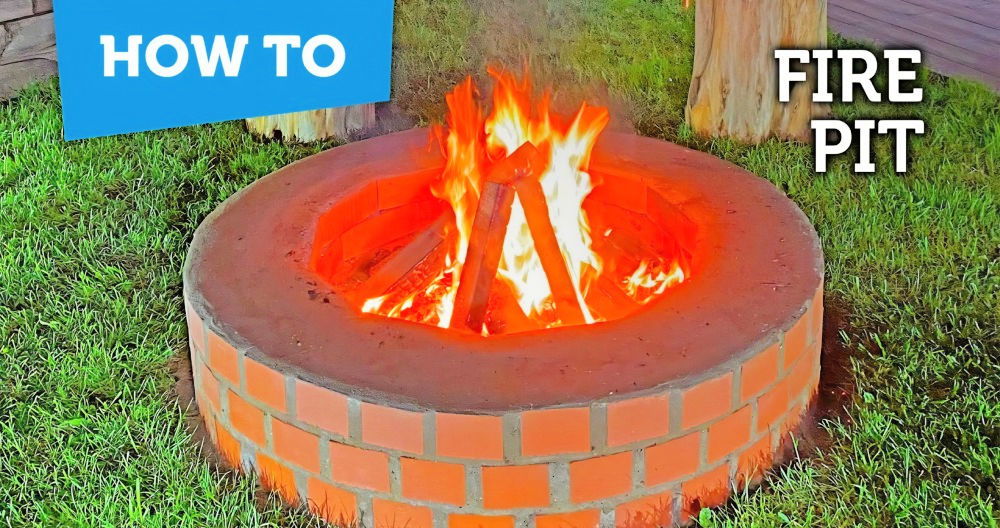
To minimize environmental impact, consider using eco-friendly materials like recycled metal or bricks. Use clean-burning fuels such as natural gas or propane if possible. Avoid burning treated wood or trash, as these can release harmful toxins into the air. Always extinguish your fire completely to prevent any unintended spread.
Final Thoughts
In conclusion, taking on a DIY fire pit area project can be a fun and rewarding weekend activity. You're not just building something practical but also making a special place for those memorable moments.


