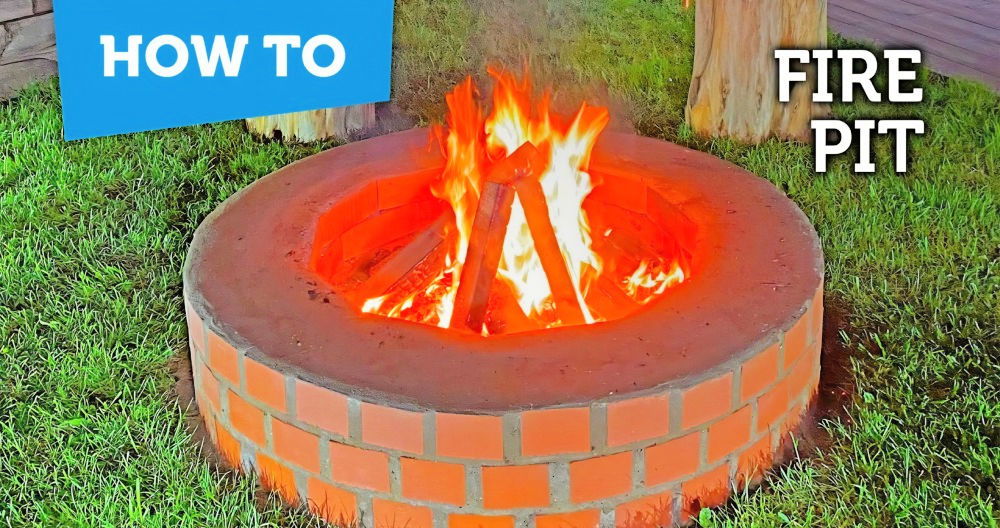
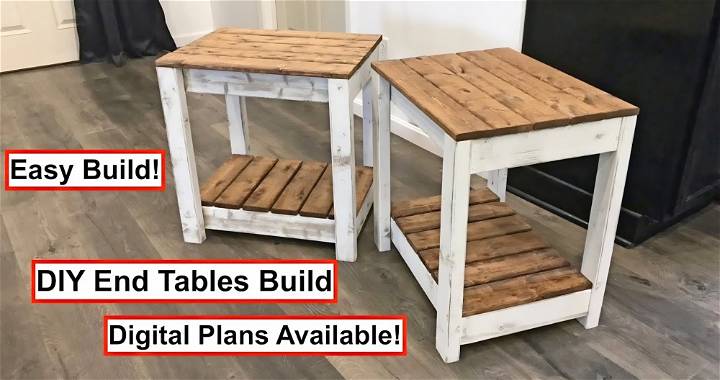
Getting started with a DIY fire pit table was one of my favorite projects. I loved the idea of having a cozy place outdoors where friends and family could gather. First, I spent some time researching different designs and materials. I decided on a simple wooden frame and a metal bowl for the fire pit itself. It seemed like a manageable project for my skill level.
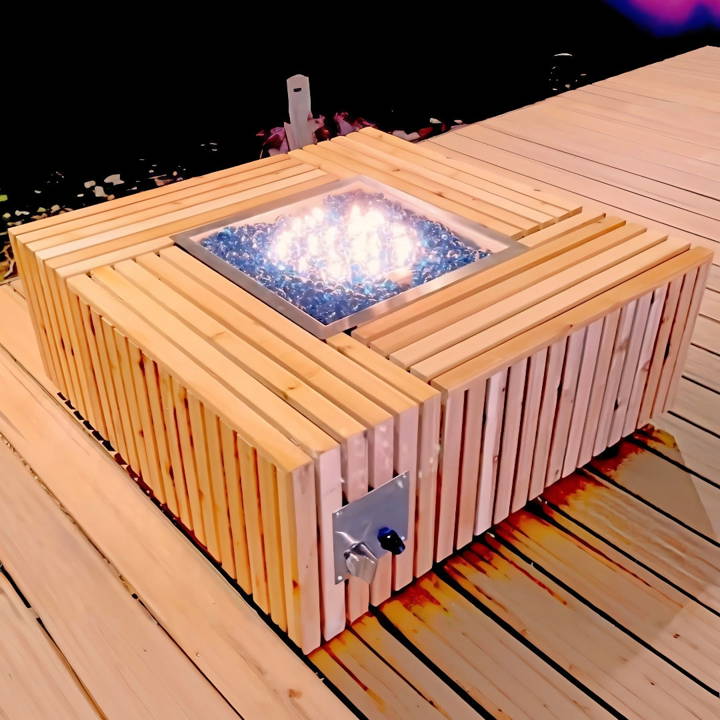
Next, I gathered all the necessary tools and materials, including wood, screws, and a fire-resisting bowl. Building the frame was exciting and a bit nerve-racking. But I took my time, double-checking each measurement and connection. When I finally added the fire bowl, I felt a great sense of accomplishment. This project has not only enhanced my outdoor space but also boosted my confidence in DIY work.
I'm sharing this to help you get started on building your own DIY gas fire pit table. These steps and tips will guide you through the entire process.
Why a Fire Pit Table?
The idea of combining warmth, ambiance, and a functional table surface intrigued me. I envisioned a spot where friends and family could gather, share stories, and enjoy the outdoors, even when the air turned crisp. A gas burner kit seemed like the perfect solution for a clean, controlled flame without the hassle of smoke and ash associated with traditional wood fire pits.
Materials Needed
- 2x4s and 1x4 Western Red Cedar Boards: Selected for their durability and natural beauty, perfect for outdoor projects.
- Exterior Grade Plywood: Provides a sturdy structure and withstands outdoor elements.
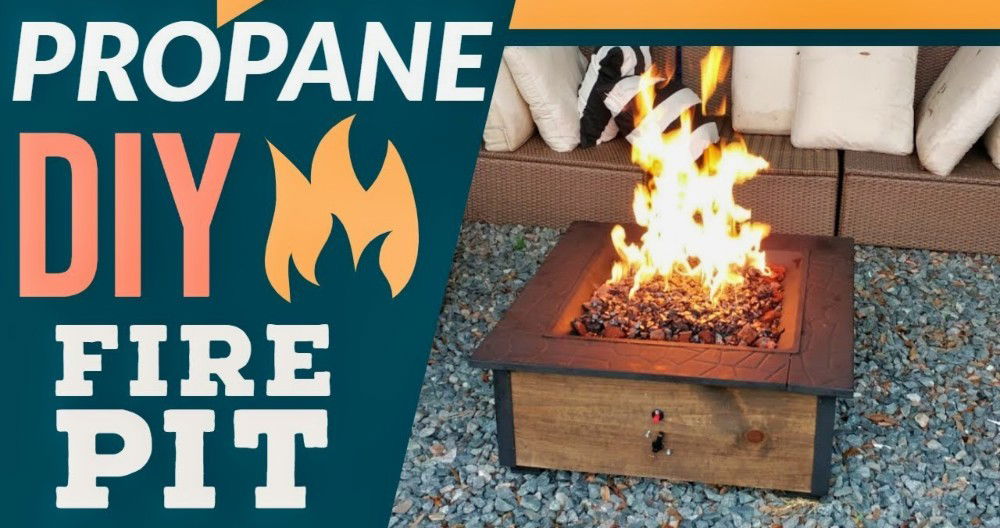
- Gas Burner Kit: The heart of the project, ensuring a safe and reliable flame.
- Construction Adhesive, Wood Glue, and Screws: For assembling pieces securely.
- Exterior Wood Finish: To protect the wood and enhance its appearance.
- Casters: To add mobility to the fire pit table.
- Decorative Rocks: These are used to fill the burner tray.
Step by Step Instructions
Learn how to build your own fire pit table with our step-by-step instructions. Perfect for DIY enthusiasts looking to enhance their outdoor space.
Building the Frame
The first step was constructing a simple box frame from 2x4s. This acted as the base to hide the propane tank. Precision in cutting and assembling was key to ensuring stability. After assembling the frame, I added exterior plywood around to form the body, painted it for extra protection, and then focused on making a sturdy top to house the gas burner kit.
Adding the Slats
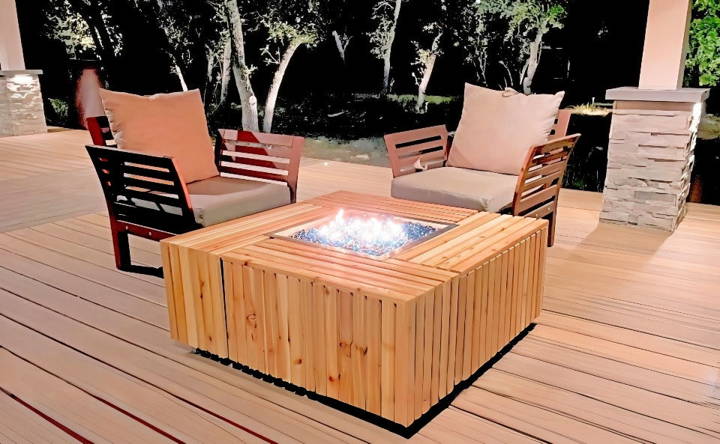
Using 1x4 Western Red Cedar, I cut and prepared slats for a decorative outer layer. A table saw and miter gauge facilitated precise cuts for a waterfall edge, where the top slats are mitered over the sides, adding a sophisticated touch to the design. For durability, each slat was affixed with both construction adhesive and nails.
Assembly and Finishing Touches
With the structure built and the slats in place, it was time for the finer details. I carefully selected a high-quality exterior wood finish to apply to the cedar, bringing out its natural hues and providing UV protection. After attaching casters for easy mobility, the final step was to install the gas burner kit, following the manufacturer's instructions for a safe setup.
The Gas Burner Kit
The choice of a gas burner kit was crucial for ease of use and safety. It required specific attention to ensure the propane tank could be stored and used safely. Opting for a tank designed for horizontal use eliminated risks and simplified the design.
Customization Ideas
When it comes to making a DIY fire pit table, customization is key to making it a unique centerpiece that reflects your personal style. Here are some ideas to inspire your own design:
- Choose a Theme Start by deciding on a theme that complements your outdoor space. Whether it's rustic, modern, or tropical, let your theme guide your choices in materials and design.
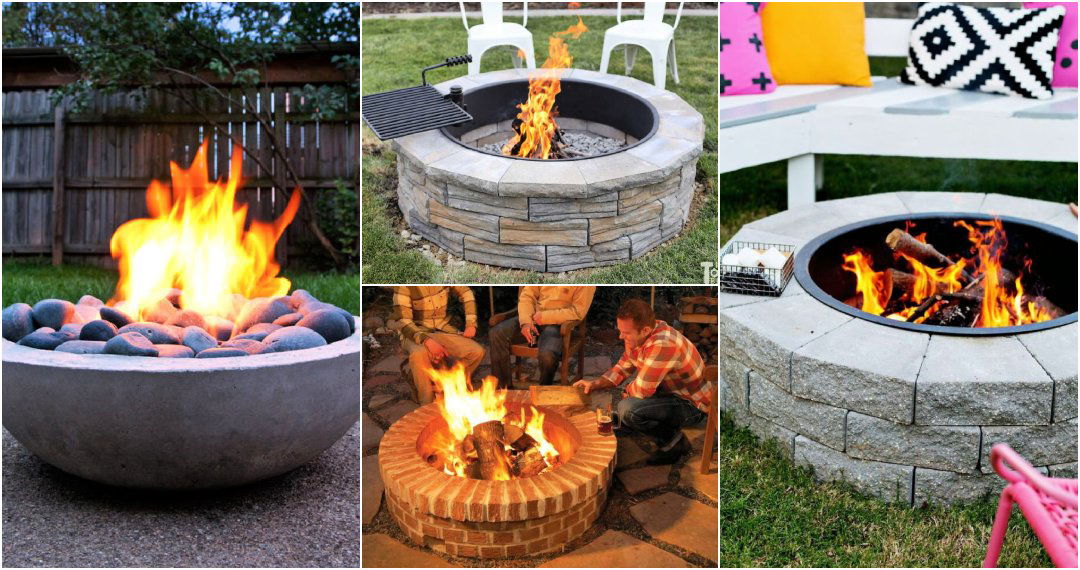
- Select a Shape and Size Fire pit tables come in various shapes and sizes. Consider the space where you'll place your table and how many people you'd like to accommodate. Round tables make an intimate setting, while square or rectangular options are great for larger gatherings.
- Pick Your Materials For the base, materials like brick, stone, or concrete blocks are popular for their durability and aesthetic appeal. For the tabletop, consider using heat-resistant tiles, stained concrete, or even a sleek granite top.
- Add Color and Texture: Incorporate colored glass, ceramic tiles, or natural stones to add texture and color. These elements can be used to make patterns or mosaics on your table's surface.
- Incorporate Lighting Consider installing LED lights under the tabletop for a warm glow that enhances the ambiance. Solar-powered options are also available for an eco-friendly choice.
- Functional Features Think about adding features like a grill grate or a removable cover that can turn your fire pit into a cooking surface or a regular table when not in use.
- Seating Arrangements Match your fire pit table with comfortable seating that invites relaxation. Consider built-in benches or coordinating chairs with weather-resistant cushions.
- Accessorize Finally, accessorize your fire pit table with items like a protective cover, wind guard, or a set of fire tools. These not only add functionality but also complete the look of your outdoor living space.
Make a functional, stylish fire pit table for outdoor entertainment. Use quality materials, stay simple, and be creative.
Troubleshooting Common Issues
Building and enjoying a DIY fire pit table is a rewarding experience, but sometimes, you might encounter a few hiccups along the way. Here's a guide to troubleshooting common issues, ensuring your fire pit table remains a safe and enjoyable addition to your outdoor space.
Difficulty Lighting the Fire
- Solution: Check that your fuel source is dry and properly connected. For gas fire pits, ensure the gas valve is open and the igniter is functioning.
Fire Keeps Going Out
- Solution: Wind can often extinguish flames. Use a wind guard and check for proper ventilation to prevent the fire from going out.
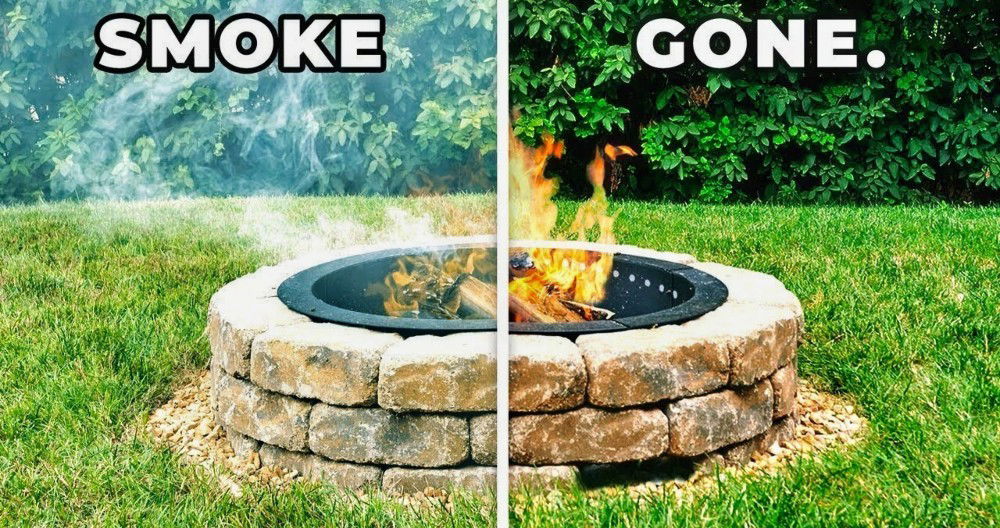
Smoke is Excessive
- Solution: Excessive smoke can be due to wet wood or poor airflow. Use dry, seasoned wood and arrange it to allow air to circulate freely.
Gas Smell from Fire Pit
- Solution: If you smell gas, shut off the supply immediately. Check for leaks and ensure all connections are secure before relighting.
Cracks in the Tabletop
- Solution: Cracks can occur due to thermal stress. Use fireproof materials and apply a sealant designed for high temperatures to prevent cracking.
Uneven Flames
- Solution: Clean the burner to remove any blockages and check for uniform gas pressure to ensure even flames.
Heat is Not Sufficient
- Solution: Increase the size of the burner or adjust the gas flow to achieve the desired heat output.
Rust on Metal Components
- Solution: Apply a rust-resistant coating and use a cover when the fire pit is not in use to protect against the elements.
Ignition System Failure
- Solution: Check the battery in electronic igniters and replace it if necessary. For manual systems, ensure the spark generator is clean and unobstructed.
Regularly check and address issues to maintain your fire pit table's performance and safety, and promptly fix problems to extend its lifespan.
Safety First: Fire Pit Table Precautions
Making a cozy and inviting atmosphere with a DIY fire pit table is wonderful, but safety should always be your top priority. Here's how to ensure your fire pit table is both a delightful and safe addition to your outdoor space:
Location, Location, Location
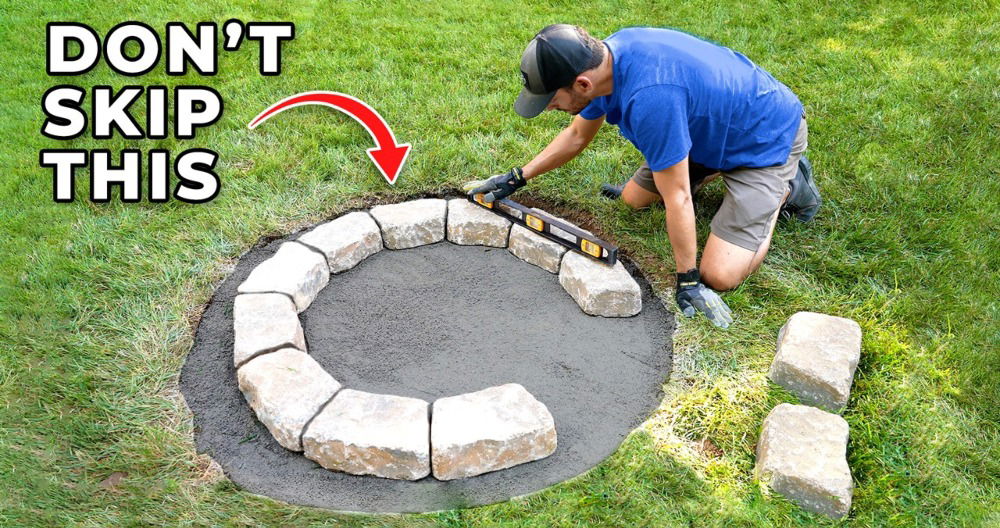
- Choose a flat, stable surface away from trees, plants, and buildings.
- Keep the fire pit at least 10 feet from any structure or combustible material.
Material Matters
- Use non-flammable materials like stone, metal, or brick for construction.
- Avoid using flammable or combustible materials like certain woods or plastics.
Fire Safety
- Always have a fire extinguisher, bucket of water, or sand nearby in case of emergencies.
- Never leave the fire unattended, and make sure it's completely out before leaving it.
Gas Safety
- If you're using a gas fire pit, ensure all connections are tight and leak-free.
- Regularly check hoses and connections for signs of wear and tear.
Child and Pet Safety
- Keep children and pets at a safe distance from the fire pit.
- Consider adding a protective barrier or guard around the fire pit to prevent accidental contact.
Weather Considerations
- Don't use the fire pit in windy conditions, which can spread sparks and embers.
- Be mindful of local weather advisories that may impact fire safety.
Know Your Fire
- Understand how to control the size and intensity of the fire.
- Use appropriate fuel for your fire pit type—whether it's wood, propane, or natural gas.
Adhere to these guidelines to safely enjoy your fire pit table. Prioritize safety and consult fire professionals if unsure.
FAQs About DIY Fire Pit Table
Discover answers to faqs about DIY fire pit tables: materials, safety tips, designs, and step-by-step guides to build your own outdoor centerpiece.
Safety is paramount when using a fire pit table. Always place the table on a non-flammable surface and away from flammable materials. Use a fire pit insert designed for use in DIY projects, and follow the manufacturer’s guidelines for the energy source. Keep a fire extinguisher nearby, and never leave the fire unattended.
Yes, you can customize the size of your fire pit table to fit your space. Adjust the length of the boards you cut to make a larger or smaller table. Ensure that the fire pit insert you choose is appropriate for the size of the table you are building.
Regular maintenance for a fire pit table includes cleaning the burner and checking for clogs, covering the table when not in use to protect it from the elements, and reapplying exterior polyurethane annually to maintain the wood’s finish.
While some fire pit tables can be used for cooking, it’s important to verify that the materials and design of your DIY table are suitable for this purpose. If you plan to cook on your fire pit table, consider a design that includes a grill grate and ensure that the energy source is appropriate for cooking.
Selecting the right fire pit insert is crucial for both safety and functionality. Consider the size of your table and the amount of heat you want to generate. Inserts come in various shapes, including round, square, and rectangular, and can be powered by different energy sources like propane, natural gas, or bio-ethanol. Research inserts that are rated for outdoor use and ensure they fit within the dimensions of your fire pit table design. Always follow the manufacturer's installation instructions to ensure safe operation.
Conclusion: A DIY Success
Wrapping up, making your own DIY fire pit table is a rewarding project that adds beauty and functionality to your outdoor space. By following the steps outlined, you'll have a unique and personalized DIY gas fire pit table that you'll enjoy for years.


