Growing up in a house with a boring fireplace always made me want to remodel it. One day, I decided to take on a DIY fireplace remodeling project. The idea was to give it a fresh, new look without spending too much. It was my first big project, and I was determined to make it beautiful.
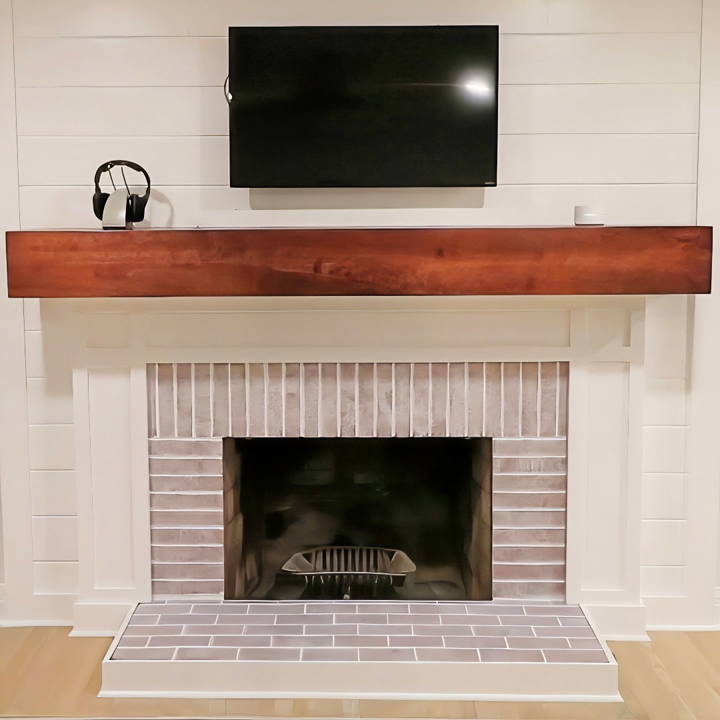
Using simple tools and materials, I started by removing the old tiles. Then, I added some stylish new ones. It took some time, but I enjoyed every moment. This guide will walk you through the steps I took. I'm sure this will help you transform your fireplace just like I did. Let's get started!
Understanding the Basics of Fireplace Remodeling
When it comes to remodeling your fireplace, it's essential to start with a solid foundation of knowledge. This will ensure that your project is not only beautiful but also safe and compliant with local regulations. Here's what you need to know:
- Safety First: Before you begin, understand that the fireplace is a source of fire in your home. It must be treated with respect and caution. Ensure that your design plans allow for adequate heat dissipation and that any flammable materials are used appropriately and safely.
- Know the Codes: Building codes vary by location, but they all serve the same purpose—to keep you safe. Check with your local building department to understand the specific codes and permits required for fireplace remodeling in your area.
- Ventilation is Key: Proper ventilation is crucial for a functioning fireplace. It ensures that smoke, toxins, and combustible gases are safely directed out of your home. If you're unsure about how to manage ventilation, consult with a professional.
- Choosing Materials: Select materials that can withstand high temperatures and are non-combustible. Common choices include brick, stone, and tile. Remember, the materials you choose should be both functional and align with the aesthetic you desire.
- Professional Help: While many aspects of fireplace remodeling can be DIY, don't hesitate to seek professional help, especially when it comes to structural changes or gas lines. A professional can ensure that the job is done safely and up to code.
- Maintenance: After your remodel, regular maintenance is key to a long-lasting and safe fireplace. This includes annual inspections and cleanings to prevent soot and creosote buildup, which can be fire hazards.
Keep these basics in mind, and you'll have a successful fireplace remodel that adds comfort and value to your home. A well-planned project is safe and beautiful!
Choosing the Design and First Steps
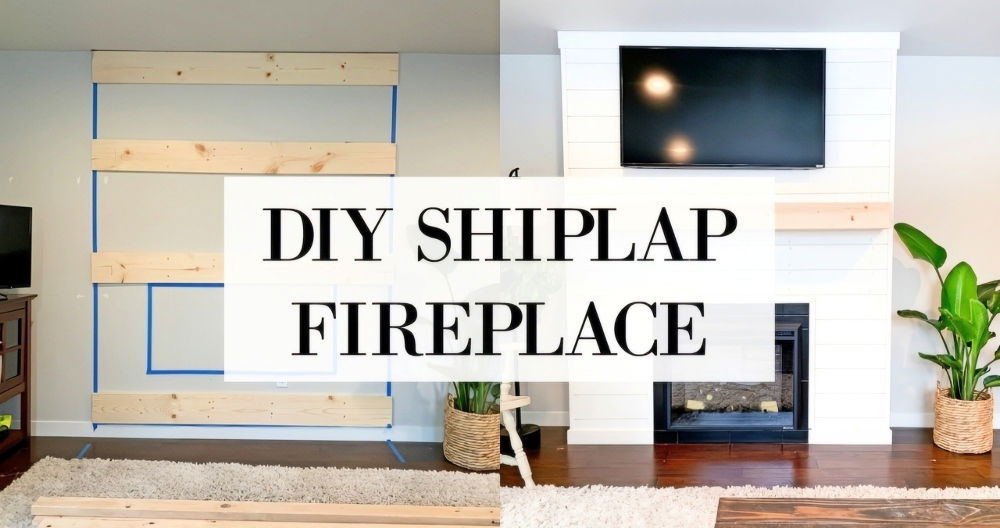
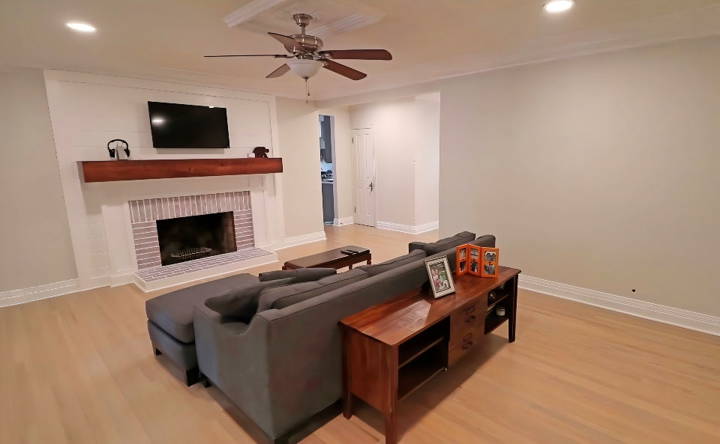
The first crucial step was deciding on a design. The plan was to rotate the entire living room setup, moving the entertainment center and TV to be centered around the fireplace. This meant making a custom mantel to house electronics and ensuring no visible wires, a feature I was particularly excited about.
Materials Needed and Why:
- Brick and Mortar: For the base structure, ensuring the remodel was built on a solid foundation.
- Sandpaper: To smooth out rough spots on the old brick.
- Semi-gloss White Paint: Used for the whitewashing process.
- Masonry Drill Bits and Screws: For attaching wood to brick safely.
- Romex and Coax Cable: Essential for the new electrical setups.
- Construction Adhesive: For places where screws just wouldn't hold.
- Wood for Mantel: Needed for making the custom mantel and surround.
- Drywall Shims: To adjust for any inconsistencies along the brick line.
- Wood Glue and Brad Nails: For securing trim and detailing.
Step by Step Instructions
Transform your home with our DIY fireplace remodeling guide. Follow our step-by-step instructions for dismantling, whitewashing, and adding a custom mantel.
Step 1: Dismantling the Old
The first physical step was to dismantle the existing mantel. This revealed various bricks and showed me exactly what I was working with—three different kinds of brick, no less. It was a surprise but one that taught me to remain flexible with my plans.
Step 2: Preparing for Whitewashing
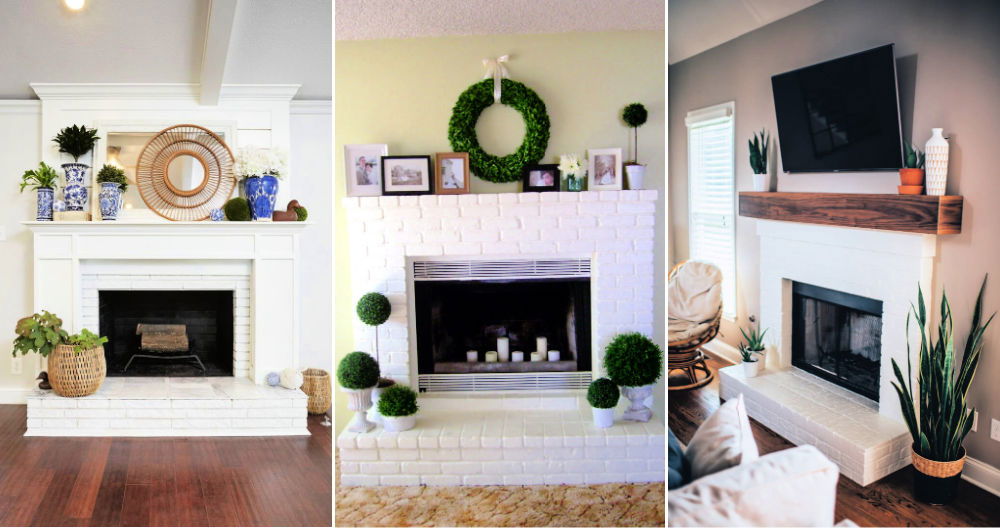
After pulling off the base molding carefully (to not disturb the rest of the room's trim), it was time to prepare the bricks. I used sandpaper to smooth out the bricks and then vacuumed thoroughly. For whitewashing, the bricks needed to be clean to ensure an even coat.
Step 3: Whitewashing the Bricks
Mixing 50% water with 50% semi-gloss white paint, I began the process of whitewashing. It was a bit daunting at first, but by applying the mixture lightly and evenly with one hand, and wiping excess away with a rag in the other, the bricks started to transform. This step significantly brightened the fireplace and gave it a more modern look.
Step 4: The Custom Surround and Mantel
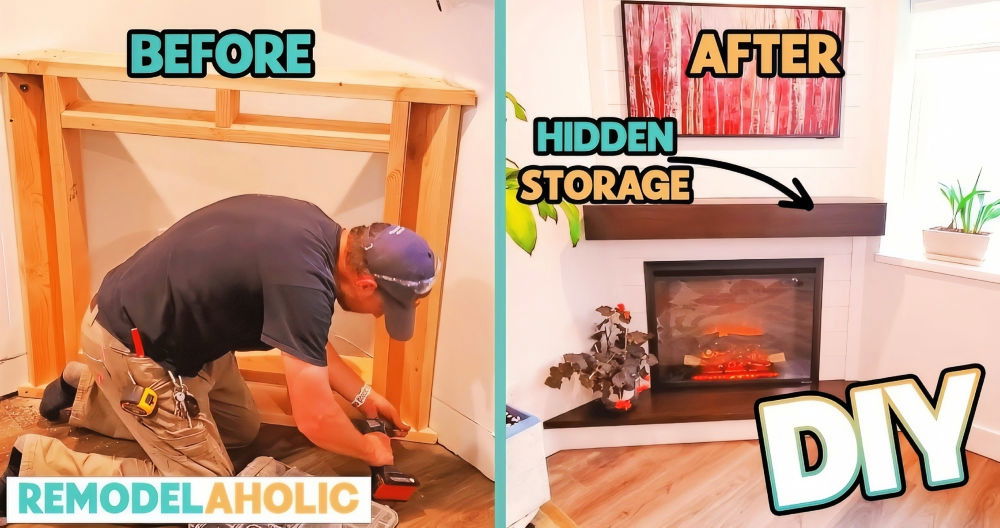
- Building Supports: Using masonry screws, I attached support studs on either side and above the mantel area. This was critical for hanging the TV and securing the custom mantel.
- Wiring: I ran new electrical wires including Romex and coax cable through the wall, preparing for the hidden outlets behind the TV and mantel.
- Constructing the Mantel: I meticulously chose and prepared wood, ensuring it was straight, clean, and free of imperfections. The mantel needed precise cuts especially where it would meet the brick base, requiring a detailed touch.
- Adding the Trim: The finishing touch was the trim and detailing, which gave the fireplace surround depth and character. Every piece of wood was measured, cut, and placed with intention, making a seamless and professional finish.
Challenges Along the Way
- Unexpected Brick Configurations: Discovering different brick types behind the mantel required a quick redesign to seamlessly incorporate all elements.
- Studs and Headers in Tricky Places: Locating studs behind plaster walls was more challenging than anticipated, which complicated where I could place new outlets.
- Uncooperative Brick: When it came time to attach supportive backers for the trim, the brick fought back, shearing screws and testing my patience. Eventually, construction adhesive became my solution.
Troubleshooting Common Fireplace Issues
When you've completed your DIY fireplace remodeling, you might encounter some common issues that need troubleshooting. Here's a guide to help you identify and resolve them effectively:
Smoke Entering the Room
- Cause: This could be due to blockages in the chimney, improper flue size, or inadequate ventilation.
- Solution: Ensure the chimney is clean and clear of any obstructions. Check that the flue is the correct size for your fireplace and that it's fully open when in use.
Difficulty Lighting the Fire
- Cause: Often, this is due to damp wood or insufficient airflow.
- Solution: Use dry, seasoned wood and arrange it to allow proper airflow. Open the damper fully before lighting the fire.
Fire Burns Out Quickly
- Cause: This can happen if the wood is too dry or the fire lacks oxygen.
- Solution: Use hardwoods that burn longer and make sure there's enough space between logs for air to circulate.
Cracks in the Fireplace
- Cause: Cracks can be caused by high heat or structural settling.
- Solution: Small cracks can be filled with refractory caulk. For larger cracks, consult a professional.
Odor from the Fireplace
- Cause: Accumulated soot and creosote can cause unpleasant smells, especially in damp weather.
- Solution: Clean the fireplace and chimney regularly to remove soot and creosote buildup.
Fireplace Doors Don't Seal Properly
- Cause: Warped doors or degraded seals can prevent proper closure.
- Solution: Adjust the door frame, if possible, or replace the sealing gasket.
Regular maintenance is key to preventing many of these issues. If you're ever in doubt or the problem seems beyond a simple fix, don't hesitate to call a professional.
Maintenance and Upkeep
Keeping your fireplace in top condition is crucial for both safety and efficiency. Here's a straightforward guide to maintaining and upkeeping your remodeled fireplace:
- Regular Cleaning: Ash and soot can accumulate quickly in your fireplace. After each use, when the fireplace is cool, shovel out the ashes. Once a week during use, sweep out the remaining soot.
- Annual Inspection: Have a professional inspect your fireplace and chimney every year. They'll check for blockages, creosote buildup, and any necessary repairs to prevent chimney fires and carbon monoxide leaks.
- Check for Damage: Look for cracks or damage in the firebox, hearth, and surrounding area. Small cracks can be patched, but larger issues may require professional attention.
- Chimney Cap: Ensure your chimney cap is in good condition. It prevents animals, debris, and rain from entering the chimney, which can cause blockages or damage.
- Proper Airflow: Make sure the damper or flue is open before lighting a fire to ensure proper airflow. This helps the fire burn more efficiently and safely.
- Use the Right Wood: Burn only dry, seasoned wood. It produces less creosote, burns hotter, and reduces smoke.
By following these simple steps, you can enjoy your fireplace safely for many years. Regular upkeep not only extends the life of your fireplace but also keeps your home safe.
FAQs About DIY Fireplace Remodeling
Explore essential faqs about DIY fireplace remodeling. Get tips, safety advice, and step-by-step guidance for your fireplace makeover project.
Affordable remodeling can include painting the existing bricks or tiles, adding a new mantel, or installing a DIY veneer over the old surface. You can also consider updating the hearth with new tiles or repurposing materials for a fresh look.
Yes, many aspects of fireplace remodeling can be DIY projects, such as painting, tiling, and simple carpentry work for mantels and surrounds. However, any changes to the structure or gas and electrical components should be done by a professional.
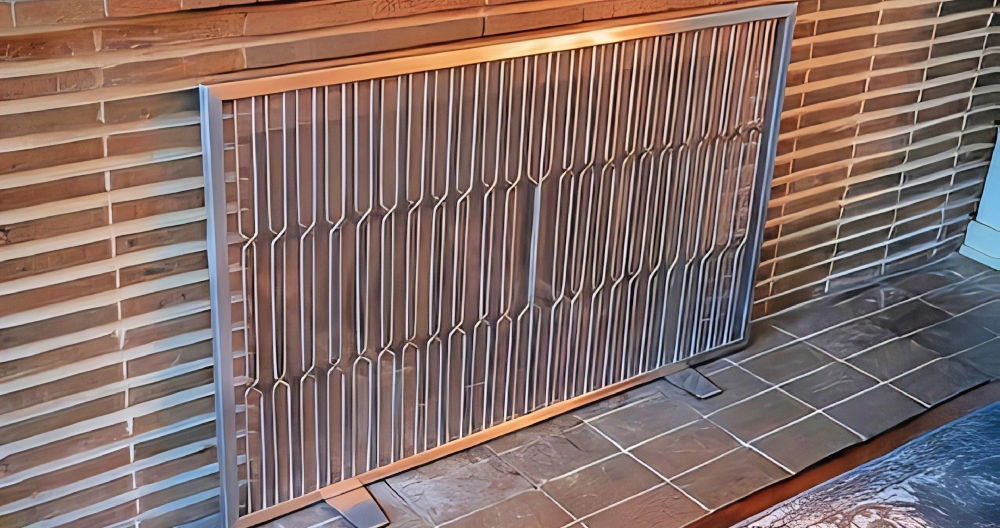
To update the look without major construction, consider accessorizing with a new screen, tool set, or decorative logs. Adding or changing the mantel decor can also make a significant impact. For the surround, adhesive tiles or a new facade can offer a fresh appearance.
Before starting, assess the condition of your fireplace. Check for any damage that needs repair and ensure it’s clean. Consider the style of your room and how the fireplace will complement it. Also, set a budget and research local building codes and regulations.
After remodeling, have your fireplace inspected by a certified professional to ensure it meets safety standards. This is especially important if you've made any changes to the firebox, flue, or if you've added new materials that will be exposed to heat.
Final Thoughts
With each tile placed and every detail carefully thought out, I realized anyone can achieve this. Just follow my steps, and you'll have a beautiful fireplace too!


