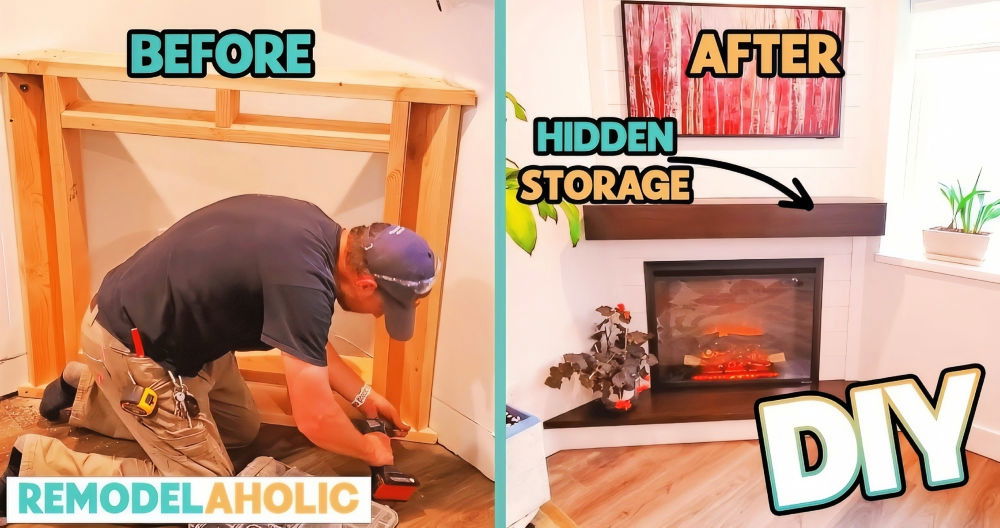
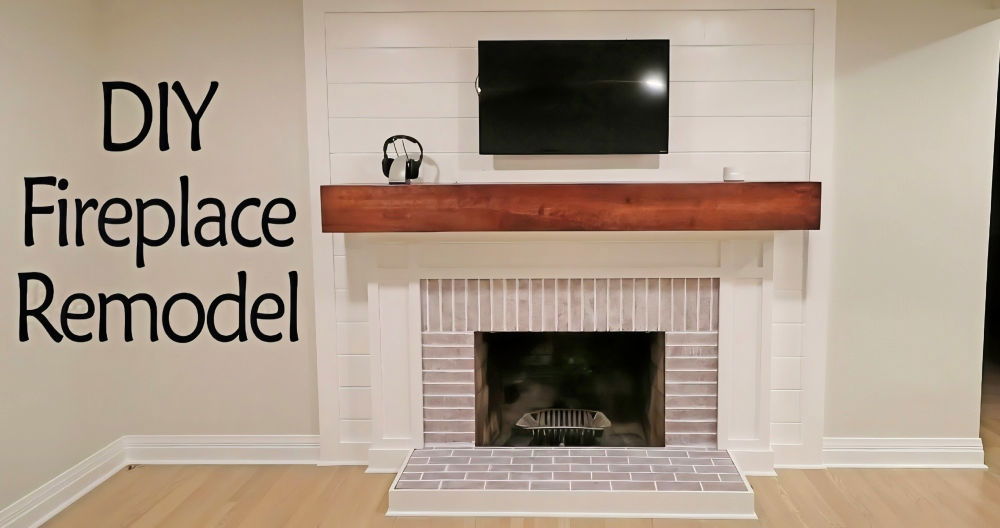
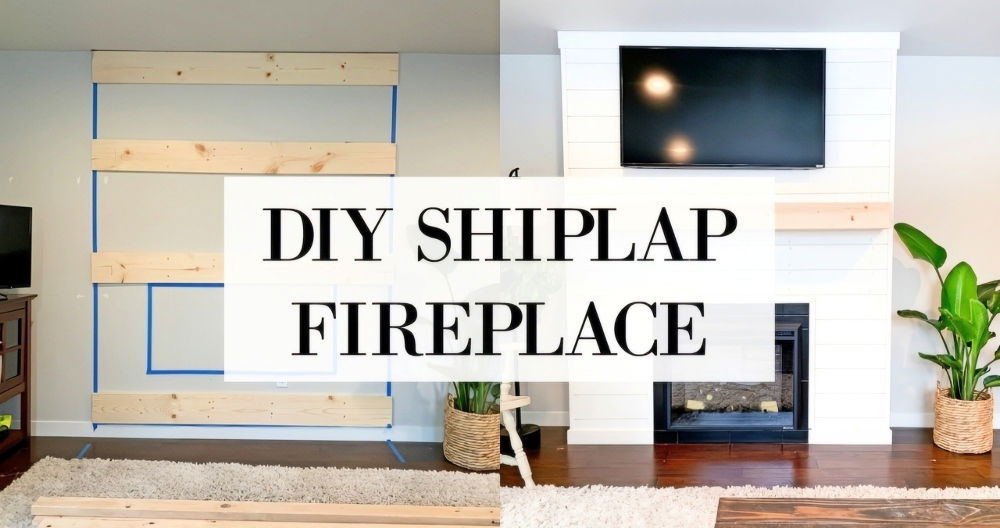
Getting the right DIY fireplace surround project can make your living room feel cozy and inviting. I remember the first time I decided to build a fireplace surround. It started with a simple idea of improving my home's look and making a warm spot for family gatherings. With basic tools and a bit of patience, it turned out to be a rewarding experience.
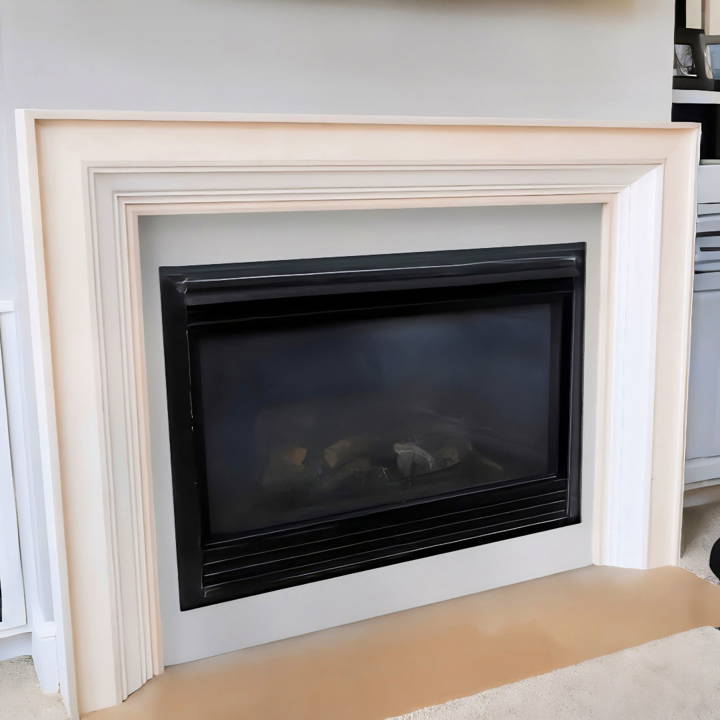
You'll need to follow simple steps and gather the right materials. I found that having a clear plan made all the difference. From measuring the space accurately to choosing the right wood, each step was crucial. By the end of the project, I felt more confident in my DIY skills. I'm helping you with this because if I could do it, so can you. This guide will help you get started and save money.
Materials Needed and Why
Before diving into the process, I had to gather all the necessary materials. Here's a list of what I used and why each item was essential:
- Measuring Tape: To get accurate dimensions of the area.
- Pencil & Paper: For sketching the design and noting measurements.
- Brick or Stone Veneers: The primary material for the surround. I chose veneers for their aesthetic and ease of installation.
- Mortar or Adhesive: To attach the veneers securely to the wall.
- Grout: For filling the gaps between the veneers and making a polished look.
- Trowel and Spacers: Tools needed for applying mortar/adhesive and ensuring even spacing.
- Saw: For cutting the veneers to fit specific sizes or shapes.
- Level: To ensure everything is perfectly horizontal and vertical.
- Protective Gear (Gloves, Goggles): Safety always comes first!
- Paint or Sealant (Optional): To finish and protect the surface.
Understanding the purpose of each material made the process smoother and more efficient.
Step by Step Instructions
Learn how to make a DIY fireplace surround with our detailed step-by-step guide. Perfect for home improvement enthusiasts looking to enhance their living space.
Step 1: Planning and Design
Firstly, I measured the area where I wanted the fireplace surround to go. Knowing the dimensions helped immensely in avoiding overspending on materials. I sketched a rough design of what I envisioned, factoring in the size of the veneers and the overall aesthetics of my living space. It was crucial to have a clear vision before starting.
Step 2: Preparing the Area
Once the planning was done, I prepped the area. This included cleaning the wall and ensuring it was flat. For safety and ease, I turned off any nearby electrical circuits and moved furniture away. Preparing the area ensured a smooth workflow without any unnecessary interruptions.
Step 3: Laying the First Row
The key to a uniform look is starting off level. I applied mortar to the back of the first veneer and pressed it firmly against the wall, using spacers to keep an even gap. This first row set the tone for the rest, so I double-checked with the level before continuing.
Step 4: Adding Subsequent Rows
Following the same method, I added more rows of veneers above the first, always checking for levelness and adjusting as necessary. Cutting some pieces to fit around corners or edges was necessary, which required precise measurements and careful use of the saw.
Step 5: Applying Grout
After the adhesive had dried, I removed the spacers and started grouting. Using a trowel, I pushed grout between the veneers, filling in all the spaces. Wiping off excess grout with a damp cloth gave the surround a clean look.
Step 6: The Finishing Touches
To protect my new fireplace surround and enhance its appearance, I applied a sealant suitable for the material. This not only made it look better but also made it easier to clean and maintain.
Tips for Success
- Plan Thoroughly: Don't rush the planning stage. A good plan will save you time and money in the long run.
- Safety: Always wear protective gear, especially when cutting materials or handling heavy items.
- Patience is Key: Some steps require waiting, like the adhesive or grout drying. Don't rush these steps; giving them enough time ensures durability.
- Customize: Don't be afraid to make the design your own. Choose materials and colors that complement your home's aesthetic.
Customization Ideas for Your DIY Fireplace Surround
When it comes to personalizing your fireplace surround, the possibilities are as unique as your imagination. Here are some creative ideas to help you customize your DIY project:
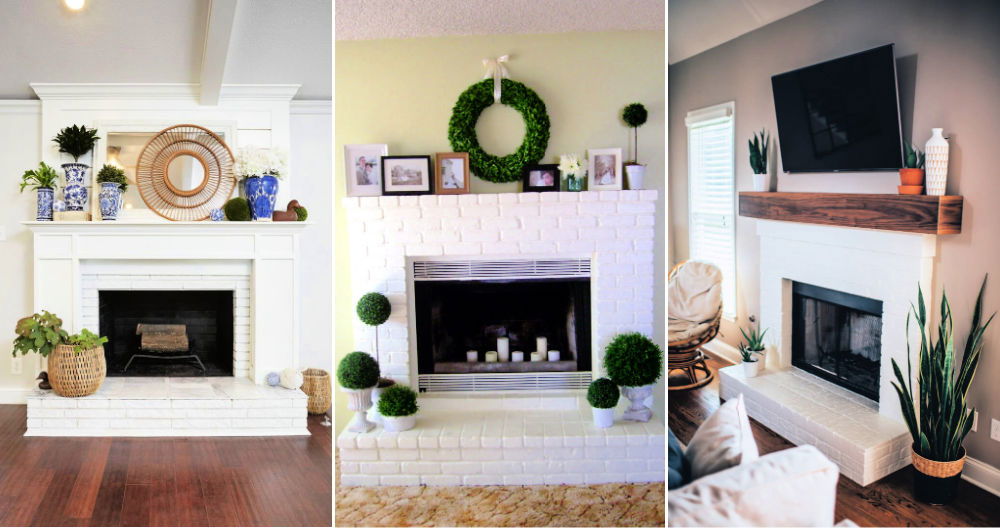
- Choose a Theme: Reflect your personal style or the decor of your room by choosing a theme for your fireplace surround. Whether it's modern, rustic, or vintage, let the theme guide your material and design choices.
- Play with Color: Don't shy away from color! A bold hue can transform the look of your fireplace. Consider painting the mantel or surrounding tiles in a color that complements your room.
- Add Architectural Details: Incorporate elements like molding, corbels, or a mantel shelf to add architectural interest and a touch of elegance to your fireplace surround.
- Mosaic Magic: Build a mosaic tile pattern for a one-of-a-kind look. You can use broken pieces of tile or glass to make an artful statement.
- Incorporate Art: Hang a favorite piece of art above the mantel, or use the mantel shelf to display a rotating gallery of smaller pieces.
- Functional Flair: Add built-in shelves or cabinets on either side of the fireplace for practical storage that also contributes to the overall design.
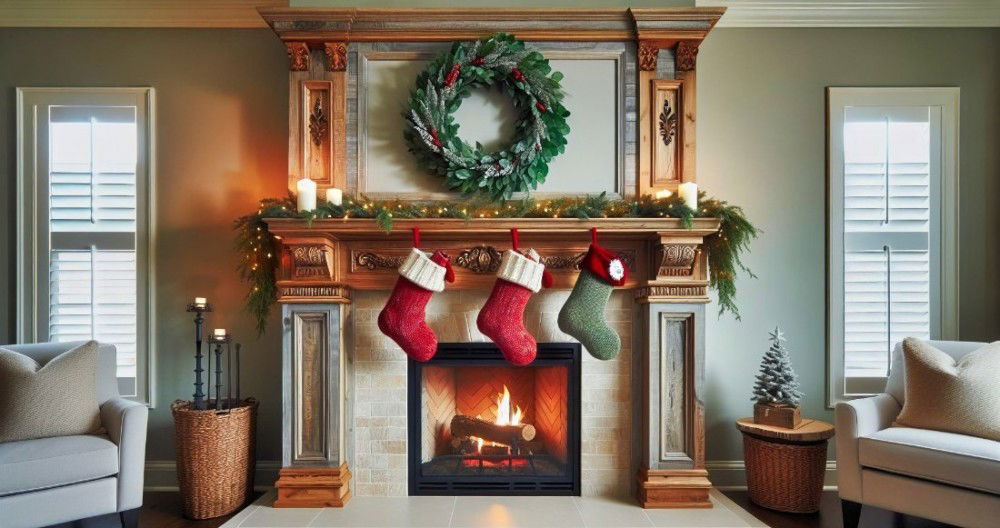
- Seasonal Switch: Design your surroundings with changeability in mind. Use decorations that can be easily swapped out for different seasons or holidays.
- Tech-Savvy Touch: Integrate technology by mounting a flat-screen TV above the fireplace or including hidden compartments for media equipment.
- Eco-Friendly Focus: Use reclaimed wood or recycled materials for your surroundings to add character and reduce environmental impact.
- Light It Up: Install lighting such as sconces, LED strips, or candles to build ambiance and highlight your fireplace's features.
Make your DIY project your own. Use these ideas as a starting point—mix, match, and change them to fit your vision for a unique fireplace surround.
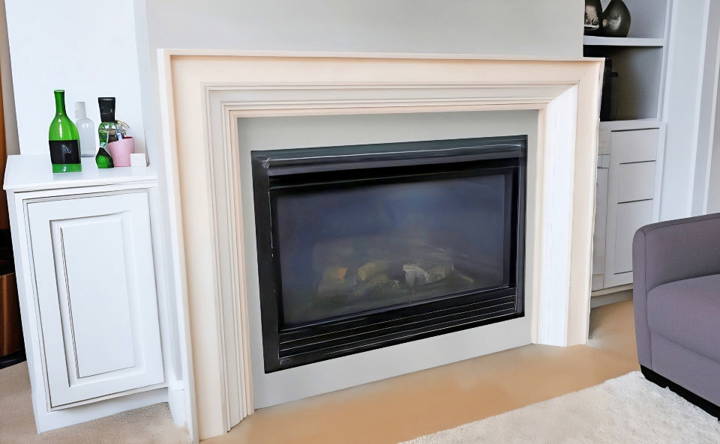
Safety
When making a DIY fireplace surround, safety is paramount. Here's a comprehensive guide to ensure your project is not only beautiful but also safe:
- Understand Local Codes: Before you start, familiarize yourself with local building codes and regulations. These rules ensure that your fireplace surround is legally compliant and safe.
- Choose the Right Materials: Use non-combustible materials like stone, brick, or tile near the firebox. For any wood elements, maintain a safe distance from the heat source as specified by safety guidelines.
- Proper Ventilation: Make sure your fireplace has adequate ventilation. This is crucial to prevent the buildup of harmful gases like carbon monoxide.
- Secure Installation: Your surround should be firmly attached to the wall. If it's loose, it could be a hazard. Use the correct brackets and fastening methods for a secure fit.
- Heat-Resistant Barrier: Consider installing a heat-resistant barrier if your surround is close to the heat source. This can protect against accidental burns and fire risks.
- Keep It Clear: Maintain a clear zone around the fireplace. Keep flammable items like paper, fabric, and decor at a safe distance to prevent fire risks.
- Regular Checks: Inspect your fireplace surround regularly for any signs of wear or damage. Promptly repair any issues to maintain safety and integrity.
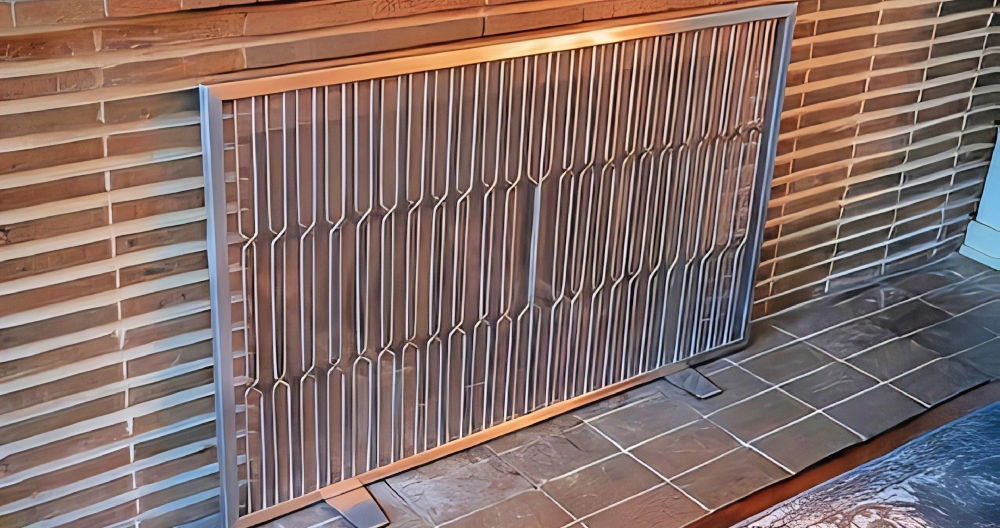
- Fireplace Tools: Have a set of fireplace tools handy. This includes a poker, tongs, and a brush and shovel for ash. A sturdy screen is also essential to contain sparks.
By adhering to these safety tips, you can enjoy your DIY fireplace surround with peace of mind, knowing that you've taken the right steps to ensure it's a safe addition to your home.
FAQs About DIY Fireplace Surround
Discover answers to common questions about DIY fireplace surrounds. Get tips, materials advice, and design ideas to build your dream fireplace.
Safety is paramount when building a fireplace surround. Maintain proper clearances from the firebox, use fire-resistant materials, and adhere to local fire and building codes. Before starting your project, consult with a professional if you’re unsure about safety regulations.
Absolutely! You can customize your fireplace surround to match your home’s decor. Consider adding decorative molding, a mantel, or using different paint techniques for a unique look. There are many online resources and tutorials that offer free plans and design ideas to inspire your project.
Installation typically involves building a frame that fits around your fireplace and attaching it securely to the wall. Use cleats or brackets to ensure the surround is stable. For detailed step-by-step instructions, you can find online tutorials that guide you through the process.
A well-built and aesthetically pleasing fireplace surround can enhance the look of your living space and potentially increase your home’s value. It’s a project that can be done on a budget and can provide a focal point in your room.
Maintaining your DIY fireplace surround involves regular cleaning and inspection. Use a damp cloth to wipe down the surface and remove any dust or soot. Check for any signs of wear or damage, especially after heavy use, and make repairs as needed. If you've painted or stained your surround, you may need to touch up the finish periodically to keep it looking fresh. Additionally, ensure that the surround is securely attached to the wall and that there are no loose parts.
Final Thoughts
Now that I've shared my experience, it's your turn to try building a DIY fireplace surround. This project is straightforward and very satisfying. Give it a go, and enjoy the warmth and beauty it adds to your home.


