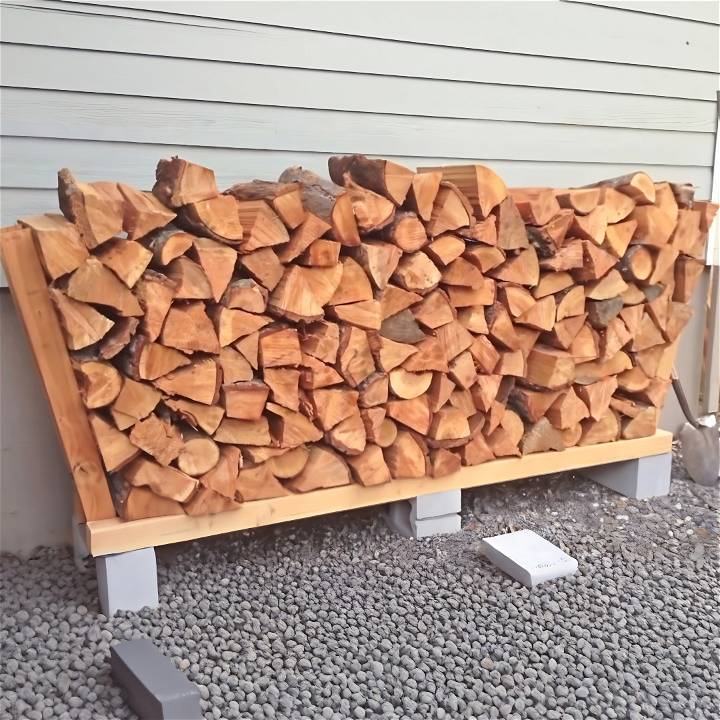
As someone who relies heavily on wood heating during the colder months, discovering efficient and cost-effective ways to store firewood is always a high priority for me. I stumbled upon a method that was not only ingenious in its simplicity but also required no tools to put together. Let me walk you through the step-by-step process of how I built a DIY firewood rack that's cheap, sturdy, and surprisingly simple to assemble.
Why Build Your Own Firewood Rack?
Before diving into the how-to, it's worth mentioning why building your own firewood rack can be a game-changer. Store-bought options can be pricey and might not fit your specific needs or space. This DIY project, on the other hand, provides a customizable, budget-friendly solution that keeps your wood dry, organized, and off the ground—minimizing the risk of rot and pest infestation.
Materials Needed
- Cinder Blocks: Serve as the stable base for the rack.
- Four by Four Studs: Act as the main frame to hold the wood.
- Two by Four Uprights: These will be the side supports for stacking the wood.
- Borax: The secret ingredient to prevent termites and carpenter ants from turning your firewood rack into their new home.
Each material plays a crucial role in ensuring the durability, stability, and longevity of your firewood rack.
Step by Step Instructions
Learn how to build a DIY firewood rack step by step with easy instructions. Treat the ground, lay out cinder blocks, insert studs, add uprights, and stack firewood efficiently.
Step 1: Treating the Ground with Borax
The first step involves preparing the ground where the rack will sit. I chose a flat surface near my storage shed and sprinkled borax over the area. Borax is a natural mineral compound that helps deter pests without harming the environment. This step is crucial to protect your woodpile from becoming a feast for unwelcome guests.
Step 2: Laying Out the Cinder Blocks
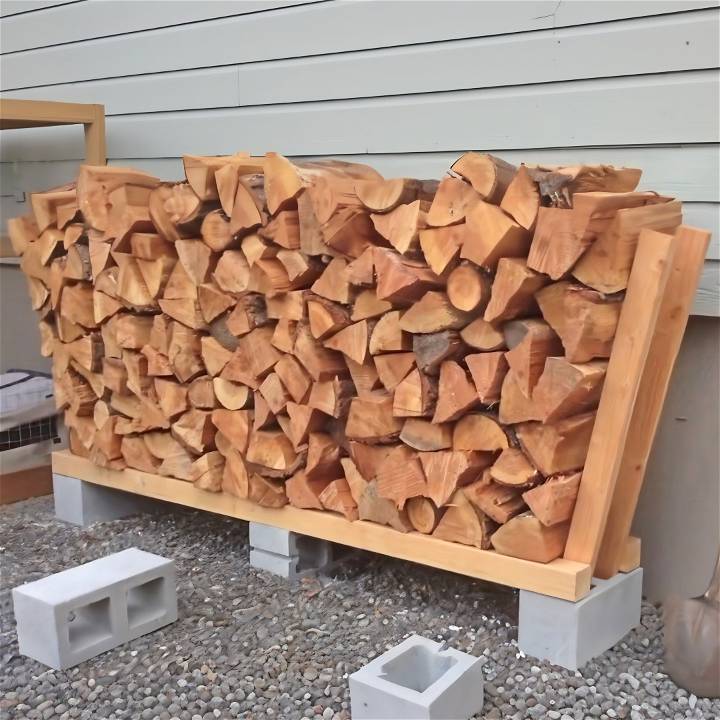
Arrange four cinder blocks in a rectangle or square shape, depending on the length of your four by four studs. These blocks will be the base of your rack, so make sure they're placed on a stable, level surface. The great thing about using cinder blocks is their natural weight and stability, eliminating the need for any tools to secure them in place.
Step 3: Inserting the Four by Four Studs
Take your four by four studs and insert them into the holes of the cinder blocks. These studs will act as the main beams that support the weight of the piled wood. Because of the snug fit between the studs and the cinder blocks, you'll find that your structure is surprisingly sturdy without the use of any fasteners or tools.
Step 4: Adding the Two by Four Uprights
For added stability and to define the boundaries of your woodpile, position two by four uprights along the sides of the four by four studs. These uprights will help you stack the wood more neatly and prevent logs from rolling off. I simply leaned them against the main structure, but you could notch the ends slightly with a saw if you want a more secure fit (though it's not necessary).
Step 5: Stacking the Firewood
With the base and framework of your firewood rack complete, it's time to stack your wood. Begin with the larger logs at the bottom and gradually work your way up to the smaller ones, ensuring that you maintain a balanced and stable pile. Remember, the beauty of this design is its flexibility—feel free to adjust the height and width of your rack by using different lengths of studs and uprights.
Customization Ideas for Your DIY Firewood Rack
Building a firewood rack that not only serves its purpose but also complements your home and personal style can be a rewarding DIY project. Here are some customization ideas to inspire you:
Choose Your Style
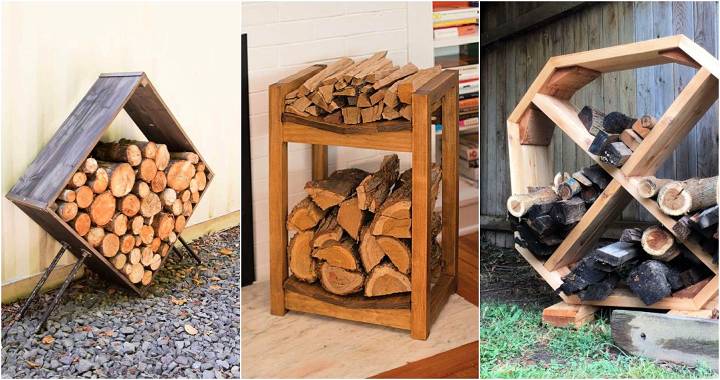
Think about the overall aesthetic of your home and outdoor space. Do you prefer a modern look with clean lines and industrial materials, or a rustic vibe that uses natural wood and traditional joinery? Your firewood rack can be a reflection of your style.
Paint and Stain
A simple way to add a personal touch is by painting or staining your firewood rack. Choose a color that matches your outdoor furniture or contrasts nicely with your home's exterior. Stains can enhance the natural beauty of the wood while providing protection from the elements.
Decorative Elements
Add decorative elements such as metalwork, intricate wood carvings, or even a mosaic tile base to make your firewood rack stand out. These details can turn a functional piece into a conversation starter.
Adjustable Size
Consider building your firewood rack with adjustable or modular sections. This allows you to expand or reduce the size based on your current firewood storage needs. It's practical and shows foresight in design.
Integrated Tools Storage
Design a space within your rack to store firewood-related tools, like a poker, tongs, and a brush. Keeping everything in one place is convenient and ensures you have everything you need at hand.
Mobility
If you need to move your firewood rack occasionally, add heavy-duty casters to the base. Ensure they're lockable so the rack stays in place when you want it to.
Weather Protection
For those living in areas with unpredictable weather, consider adding a built-in cover or a removable tarp to protect your wood from rain and snow. This functional addition can be designed to blend seamlessly with the rack's style.
Personalization
Personalize your rack with your initials, family name, or a simple emblem that means something to you. This can be done through wood burning, metal plaques, or painted designs.
By customizing these ideas, you'll build a unique firewood rack that reflects your creativity and style. Remember, the key to a successful DIY project is to have fun and express yourself.
FAQs About DIY Firewood Racks
Find all your answers to DIY firewood racks in one place. Learn how to build, use, and maintain your own firewood rack with these FAQs.
How do I keep my firewood dry?
Elevate your firewood off the ground to prevent moisture absorption. Use a rack with a roof or cover to shield the wood from rain and snow. Ensure good air circulation around the wood to aid in drying.
Can I build a firewood rack if I'm not experienced in woodworking?
Yes, there are many simple firewood rack designs that are perfect for beginners. Look for plans with clear instructions and minimal cuts. Some designs only require basic tools and can be completed in a few hours.
What size should my firewood rack be?
The size of your firewood rack should be based on how much wood you plan to store and the space available. Standard racks are usually 4 feet tall and 8 feet long, but you can adjust the dimensions to fit your needs.
How can I customize my firewood rack?
Customize your firewood rack by painting or staining it to match your outdoor decor. Add decorative elements, adjustable sections, or integrated tool storage. Consider adding casters for mobility or a personalized touch like your initials.
Is it necessary to treat the wood used for building a firewood rack?
If your firewood rack will be outdoors, it's important to use pressure-treated wood or apply a protective finish to prevent rot and extend the life of the rack. Regular maintenance, such as reapplying finish and checking for damage, will also help.
Closing Thoughts
After using this firewood rack for several seasons, I can confidently say it's one of the simplest, most cost-effective solutions out there. Not only has it saved me money, but it's also kept my wood dry, organized, and easily accessible. Plus, the added peace of mind knowing that the borax treatment deters pests is invaluable. This project proves that sometimes, the best solutions are those that embrace simplicity and ingenuity.
Whether you're a seasoned wood burner or a newcomer looking for an economical storage solution, I highly encourage giving this DIY firewood rack a try. It's a rewarding project that combines functionality with sustainability, and I'm positive it will enhance your wood heating experience just as it has mine.


