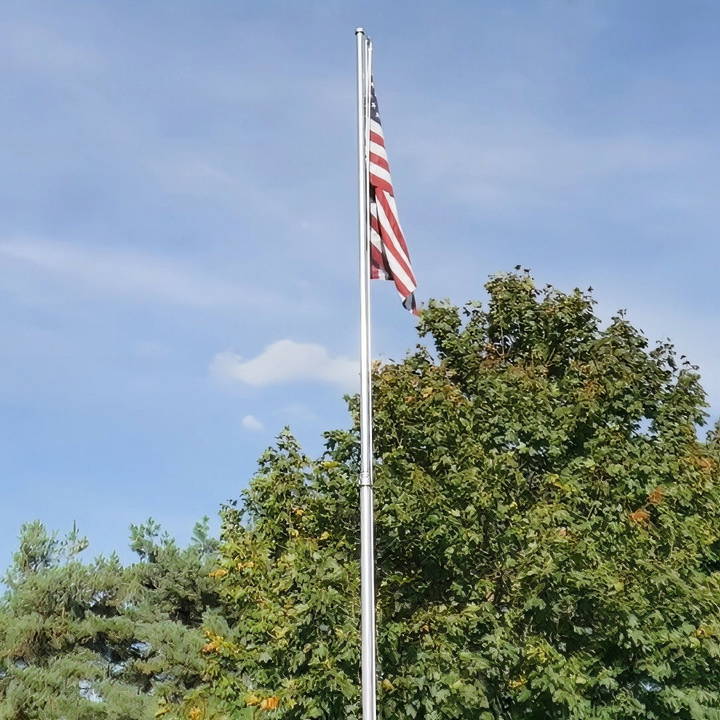
There's something uniquely satisfying about building a DIY flag pole for your yard. It's not just about having a place to display your flag, but also the pride in constructing something yourself that is sturdy, functional, and durable. This step-by-step guide will show you how to build a 22-foot flagpole using galvanized pipe for under $130. The materials are easy to find, and the entire project takes just a few hours, spread over two days.
Materials You Will Need
Before diving into the step-by-step process, you'll need to gather the materials required to construct your flagpole. Here's the list:
- Two 10-foot lengths of 2-inch galvanized pipe (One will be cut in half for the part that will be buried in concrete).
- One 10-foot length of 1.5-inch galvanized pipe (for the upper portion of the flagpole).
- Two to three bags of concrete (depends on the size of your hole).
- One cleat (to tie off the rope at the bottom of the flagpole).
- One 3-inch eye bolt with nuts (to secure the pulley at the top of the pole).
- 50 feet of 1/4-inch rope.
- Two D-rings or flag clips (to attach the flag).
- One 1/4-inch pulley.
- Two 3/4-inch self-tapping screws (for securing parts together).
With these materials, you're ready to begin building your durable and aesthetically pleasing DIY flagpole.
Step by Step Instructions
Learn how to build your own flagpole with step-by-step instructions, from digging to final touches. Perfect for DIY enthusiasts!
Step 1: Preparing the Flagpole Location
Select a spot in your yard where you want to erect your flagpole. Ensure it's in an open space, away from power lines, trees, and other structures. The flag will need space to flutter freely without obstruction.
Digging the Hole
The depth of the hole is crucial to ensure the stability of the flagpole. Ideally, the hole should be around 42 inches deep for a 22-foot flagpole. This depth provides a strong foundation and helps the pole withstand strong winds. If you have a tractor with an auger, this part of the project might go faster, but digging it by hand is also manageable if the ground isn't too hard.
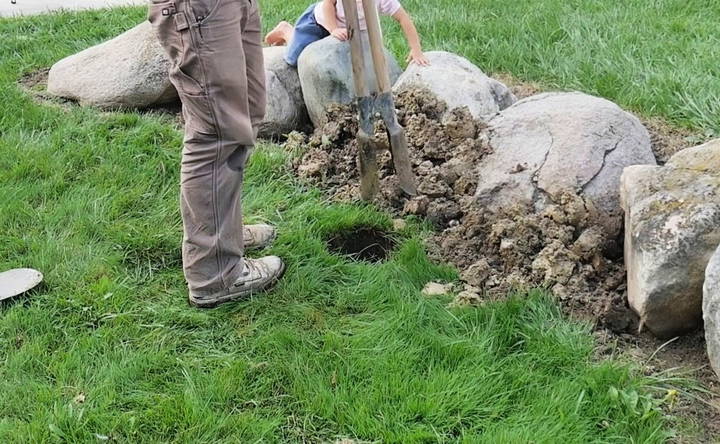
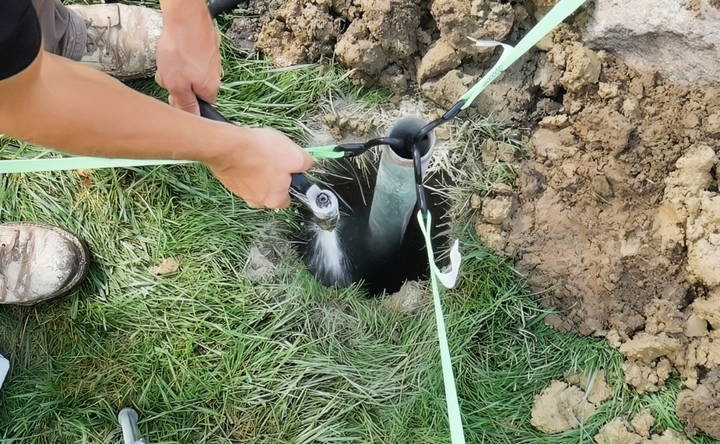
Once the hole is dug, place one of the 5-foot sections of 2-inch galvanized pipe into the hole. This section will be buried in concrete, serving as the flagpole's foundation.
Step 2: Setting the Concrete
Mix your concrete directly in the hole with water, or mix it in a separate container before pouring. Make sure the pipe is perfectly vertical using a level before allowing the concrete to set. This step is crucial; even a slight tilt can cause the top of the flagpole to be significantly out of alignment, especially given the height.
After filling the hole with concrete, allow it to cure for at least 24 hours. The concrete needs to harden fully to provide a stable base for the flagpole.
Step 3: Assembling the Flagpole
Once the concrete has cured, you're ready to assemble the upper portion of the flagpole.
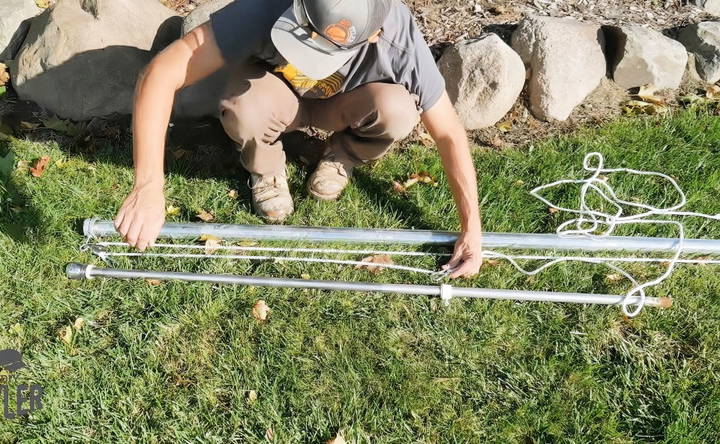
- Joining the Pipes: First, take the 10-foot section of 2-inch pipe and attach it to the pipe buried in the concrete using a union fitting. This will extend the pole another 10 feet above ground.
- Then, attach the 10-foot length of 1.5-inch pipe to the top of the 2-inch pipe using a reducer. This builds a stepped pole, with a thinner top section for better aesthetics and balance.
- Installing the Pulley System: The pulley will allow you to easily raise and lower your flag. Attach the pulley to the top of the pole by securing it to the eye bolt. Drill a hole at the top of the pipe for the eye bolt, then fasten it tightly with nuts. Make sure the pulley can rotate freely without obstruction.
- Securing the Cleat: The cleat is where you'll tie off the rope once the flag is raised. Measure about 60 inches from the ground, which is a comfortable height for tying the rope. Use the self-tapping screws to attach the cleat securely to the lower part of the pole.
- Attaching the Flag: With the pulley system in place, you can now attach your flag using D-rings or flag clips. Secure the D-rings to the rope, making sure they are spaced correctly for the size of your flag.
Step 4: Raising the Flagpole
With the assembly complete, it's time to raise your flagpole. Have a helper hold the flagpole while you carefully lift it into the base. Slowly guide it upright, and once in place, ensure that the flagpole is secure and standing straight.
Now, tie your flag to the D-rings, thread the rope through the pulley, and raise the flag. Once it's at the desired height, secure the rope by tying it off on the cleat.
Step 5: Finishing Touches
After the flagpole is raised, you may want to make a few adjustments to ensure everything is functioning smoothly.
- Noise Reduction: If you find that the flag or the rope is clanging against the pole in the wind, you can slightly extend the eye bolt outward to reduce contact between the flag hardware and the pole. Using a nylock nut can help keep everything in place.
- Final Testing: Double-check the stability of the pole. It should be firm in the ground with no wobbling. If you've followed all the steps, your flagpole should be strong enough to withstand high winds and adverse weather.
Why This Flagpole Design Works
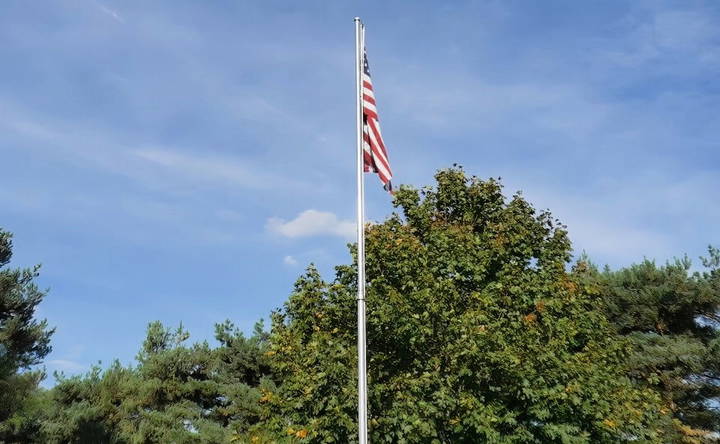
This DIY flagpole design is tried and tested, having survived 80 mph winds and even a tornado. Its durability lies in the combination of using galvanized pipe and a sturdy concrete foundation. The flexibility of the pulley system and the ease of raising and lowering the flag make this design both functional and long-lasting.
Additionally, purchasing a pre-fabricated flagpole of similar size and quality could easily cost $300 or more. By building it yourself with readily available materials, you save a significant amount of money while still achieving a professional result.
Tips for Success
- Leveling is Key: Use a larger level if possible to ensure accuracy. Any small degree of error at the base will magnify significantly by the time you reach the top of the flagpole.
- Work in Pairs: While most of the work can be done solo, having an extra pair of hands is extremely helpful when raising the flagpole or mixing and pouring concrete.
- Protect Your Flag: Remember to take your flag down during severe weather to avoid unnecessary wear and tear. Additionally, regularly check the rope, D-rings, and pulley for signs of wear and replace them as needed.
Conclusion
Building a DIY flagpole is a rewarding project that can be completed in just a couple of hours over two days. With a budget-friendly cost of under $130 and using strong, durable materials, you can build a flagpole that will stand proudly in your yard for years to come. Whether you're displaying your national flag, a seasonal banner, or a custom creation, this sturdy, long-lasting flagpole will make an impressive statement and enhance the overall appearance of your home.
So, gather your materials, follow the steps, and in no time, you'll have your own DIY flagpole flying proudly outside your home.
FAQs About DIY Flagpole Construction
Discover essential FAQs about DIY flagpole construction to guide your project with expert tips, step-by-step advice, and safety recommendations.
The recommended depth is 42 inches for a 22-foot flagpole. This depth ensures stability and helps the flagpole withstand high winds, preventing it from toppling over.
While it’s possible, it may not be as stable. For a 20-foot or taller pole, using 2-inch pipe for the bottom section and transitioning to 1.5-inch pipe for the upper portion provides better strength and durability.
The reducer is used to reduce the weight and wind resistance at the top of the flagpole, while still maintaining strength at the base. This combination gives the pole a more elegant, tapered look and ensures stability without compromising the flag’s height.
If the flag tends to wrap around the pole, consider adding a rotating truck or swivel rings. These mechanisms allow the flag to rotate with the wind without tangling around the pole.
While concrete provides the best stability, if you're unable to use it (e.g., renting), you can try using a wider PVC sleeve filled with sand. This will provide some stability, but concrete is recommended for long-term use.
To minimize clanging from the D-rings in the wind, extend the eye bolt at the top slightly farther away from the pole. This reduces contact between the hardware and the pole, thus reducing noise.
Use cold galvanizing spray on exposed threads after cutting the galvanized pipes. This will help prevent rust from forming where the galvanization may have been compromised during the assembly.
Yes! Solar lights are a popular choice for illuminating flags at night. You can attach a solar-powered light below the top of the flagpole to keep the flag visible without needing to bring it down each evening.
If you hit large boulders, consider using a drill bit auger to break through the rock. For extremely rocky areas, you may need to adjust the location slightly or use alternative methods for securing the base.
The DIY design can easily support a flagpole up to 25 feet. If you go higher, ensure the base is deeply secured, and consider using heavier-duty materials to maintain stability against strong winds.


