When I decided to upgrade my bedroom, I knew I wanted something unique, stylish, yet comfortable. That's when I came across the concept of a floating bed frame. Intrigued by the minimalist and modern design, I embarked on a journey to build my own king size floating bed frame. Here's how I did it, step by step, and how you can too.
Materials Needed and Why
- Lumber: Essential for the bed frame structure. You'll need different sizes for the base, sides, and slats.
- Sandpaper: To smooth out any rough edges on the wood, ensuring a sleek finish.
- Three-inch fasteners: These ensure your bed frame is secure and stable, crucial for a good night's sleep.
- Simpson strong ties: An affordable way to attach pieces together that also adds to the floating effect.
- Measuring tape, saw, drill: Basic tools needed for measuring, cutting, and assembling the bed frame.
Step by Step Instructions
Learn how to build a DIY floating bed frame with our step-by-step instructions. From preparing the lumber to adding the frame and ensuring stability, we've got you covered!
Step 1: Preparing the Lumber
First, collect all the lumber you need and give it a good sanding. This not only removes any potential splinters but also prepares the surface for a more aesthetic finish. After cutting the lumber to the necessary sizes for the base, sides, and support beams, I made sure to clean it off and lay out the pieces to visualize the project.
Step 2: Assembling the Base
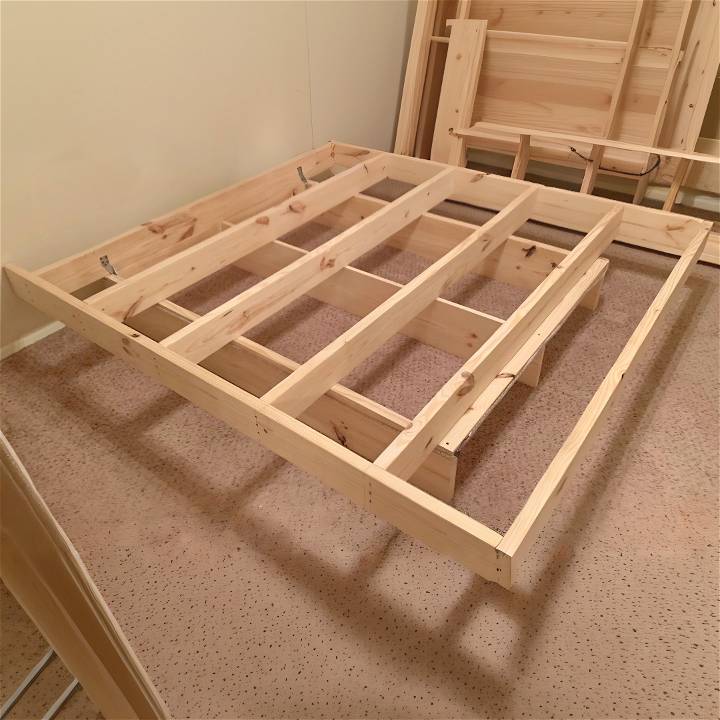
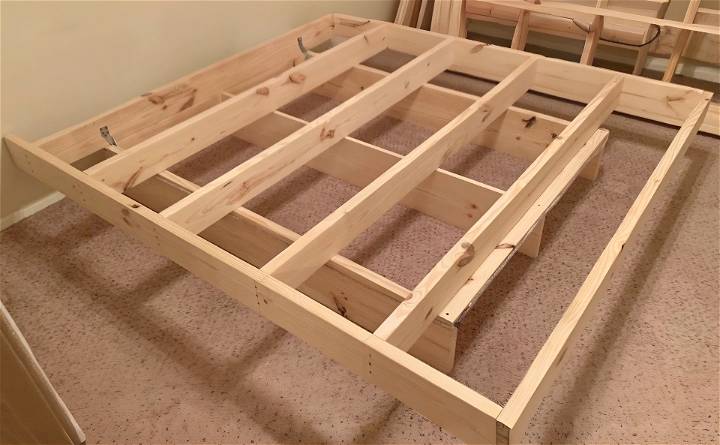
The base is crucial as it supports the entire structure. I used two footboards to cover the outside and a six-foot board for the middle. The notches weren't necessary for my design as I skipped the storage option. Using three-inch fasteners, I secured everything tightly, keeping in mind that a stable base is key to a successful floating bed frame.
Step 3: Adding the Frame
For the frame itself, which gives the floating illusion, I chose two by sixes for durability and aesthetic. I also allowed space to add a headboard later by adjusting the measurements accordingly. Precision is vital here, so measuring twice before drilling was my mantra. The Simpson strong ties came into play here, making the attachment process straightforward and robust.
Step 4: Ensuring Stability
Measuring from the headboard area, I marked 16, 33, and 51 inches on both sides to guide the placement of the joists. This step is crucial for the overall stability of the bed frame. Attaching the outside of the frame first, I then moved on to secure the headboard area and foot of the frame, always checking my center measurements to ensure a balanced structure.
Step 5: Final Touches
After the frame was assembled, it was time for the slats. Marking and pre-drilling where each joist would go ensured a smoother process. With all pieces securely fastened, my floating bed frame was nearly complete.
Safety and Adjustment
During the build, it's important to be mindful, especially if little ones are around. My encounter with a rebellious box spring during the process was a gentle reminder that safety should never be overlooked. Also, the beauty of this project is its adaptability. Making slight adjustments to dimensions or materials can easily cater to personal preferences or space constraints.
The Outcome
Standing back and looking at the finished product, I was filled with a sense of accomplishment. My king size floating bed frame not only looked incredible but also boasted stability and style. The floating design added a modern touch to my bedroom, building the illusion of more space.
Customizing Your Floating Bed Frame: Creative Ideas
When it comes to your DIY floating bed frame, don't settle for ordinary! Elevate your bedroom style by adding personalized touches. Here are some creative ideas to make your bed frame uniquely yours:
1. Headboard Magic
A headboard can transform the entire look of your bed. Consider these options:
- Upholstered Headboard: Add comfort and elegance with an upholstered headboard. Choose a fabric that complements your room's color scheme. Tufted or plain, it's a cozy addition.
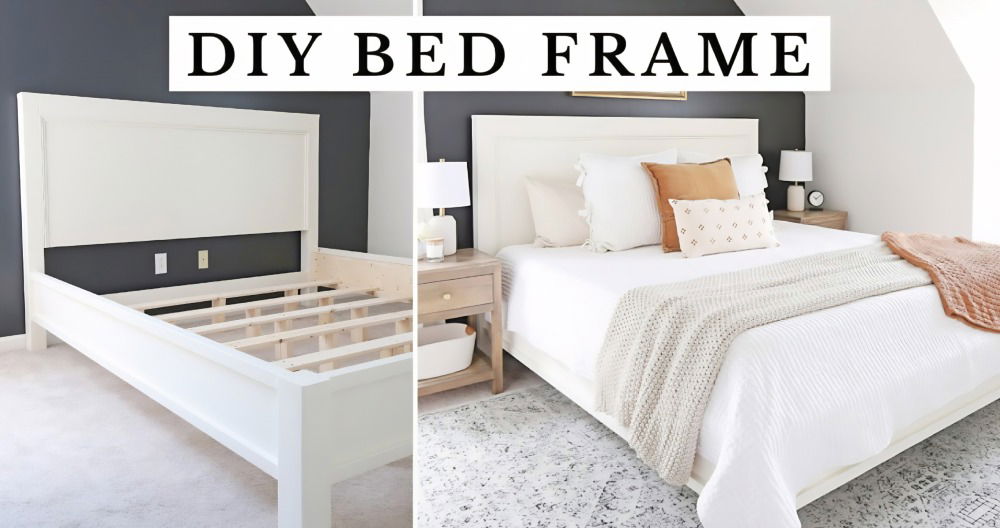
- Wooden Headboard: Craft a custom wooden headboard using reclaimed wood or a beautiful hardwood. Stain it to match your bed frame or leave it natural for rustic charm.
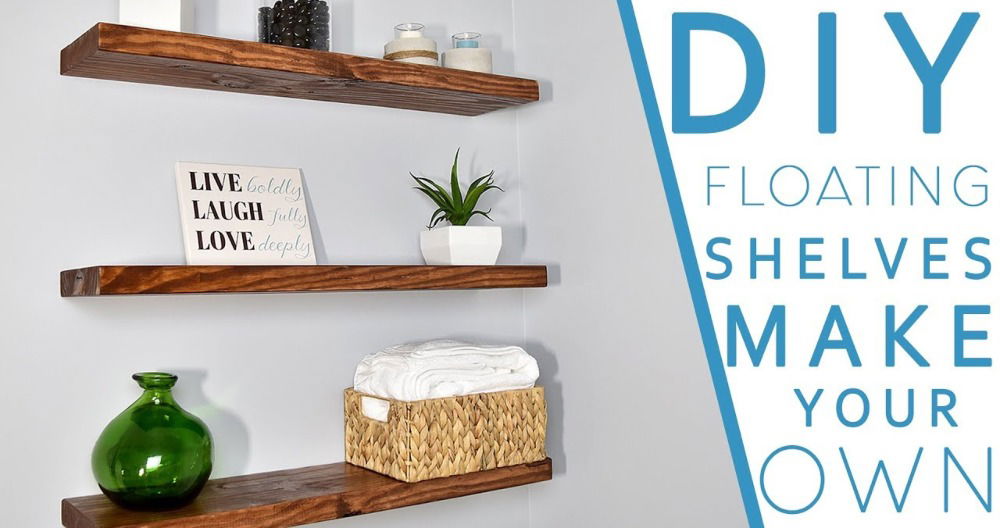
- Floating Shelves: Build a functional headboard by installing floating shelves above your bed. Display books, plants, or decorative items for a minimalist vibe.
2. Under-Bed Storage Solutions
Maximize space by incorporating storage into your floating bed frame:
- Drawers: Build discreet drawers directly into the frame. Perfect for stashing extra blankets, pillows, or seasonal clothing.
- Open Cubbies: Design open cubbies beneath the bed. Use baskets or fabric bins to organize shoes, magazines, or bedtime essentials.
- Hidden Compartment: Surprise! Install a secret compartment within the bed frame. Ideal for valuables or late-night snacks.
3. LED Lighting Ambiance
Set the mood with LED lighting:
- Backlighting: Install LED strips along the underside of the bed frame. The soft glow builds a cozy atmosphere.
- Headboard Lights: Embed LED lights into the headboard. Choose warm or cool tones to match your preference.
4. Floating Nightstands
Why stop at the bed? Extend the floating effect to nightstands:
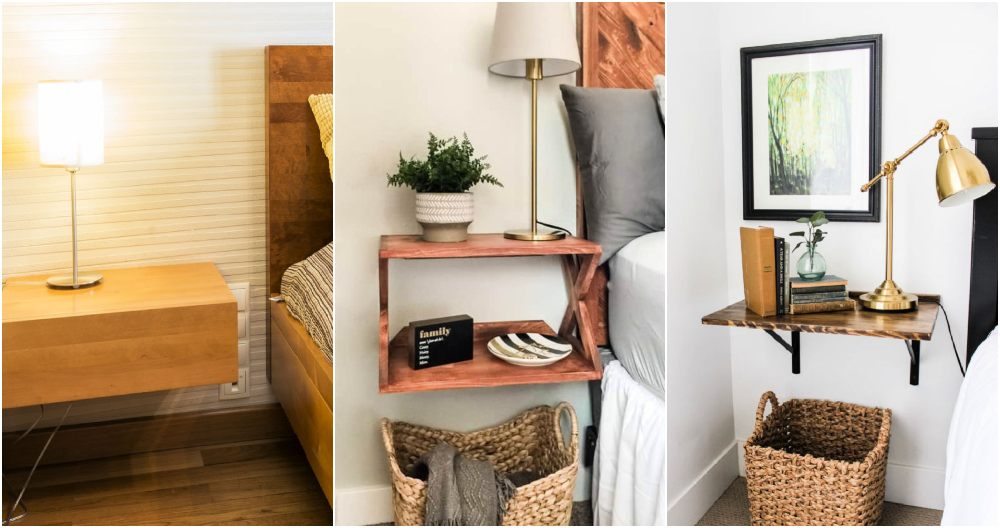
- Wall-Mounted Shelves: Install floating shelves on either side of the bed. They serve as nightstands without taking up floor space.
- Integrated Design: Craft nightstands that seamlessly blend with the bed frame. A cohesive look adds sophistication.
5. Color Play
Experiment with colors:
- Two-Tone Finish: Paint or stain the bed frame in two complementary colors. Dark wood with white accents or vice versa builds visual interest.
- Ombre Effect: Gradually transition the color from one end of the bed frame to the other. Subtle and stylish!
6. Natural Elements
Connect with nature:
- Live Edge Wood: Use live edge slabs for a raw, organic look. The natural curves and imperfections add character.
- Greenery: Hang small potted plants near the bed. Greenery promotes relaxation and purifies the air.
FAQs About DIY Floating Bed Frame
Discover everything you need to know about building your own DIY floating bed frame with our comprehensive FAQs guide. Start your project today!
1. What is a Floating Bed Frame?
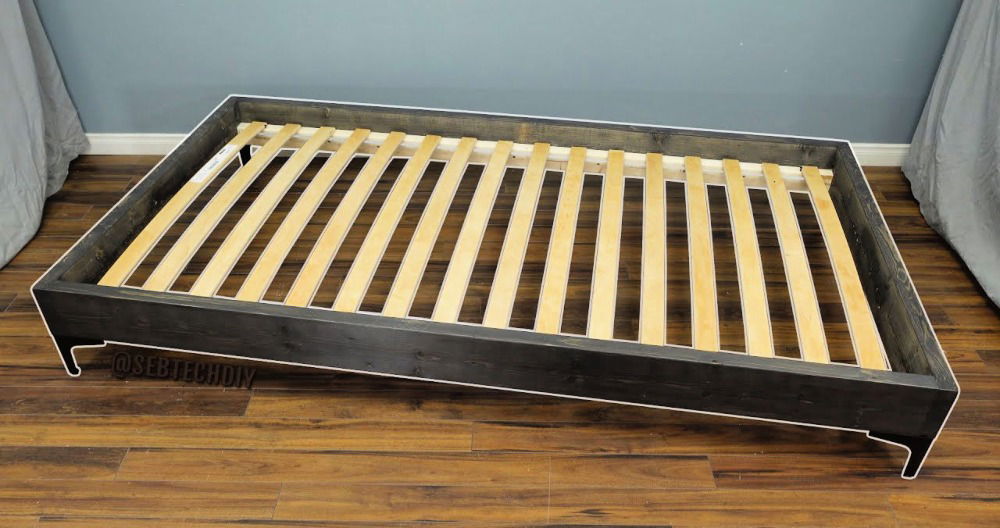
A floating bed frame is a modern and visually striking alternative to traditional bed frames. Unlike conventional designs with visible legs, a floating bed frame appears to levitate above the floor. It achieves this illusion by using a hidden base platform to support the upper bed frame. If you're looking for a sleek and unique addition to your bedroom, a DIY floating bed frame might be just what you need.
2. Can I Build My Own Floating Bed Frame?
Absolutely! Building your own floating bed frame is an achievable project with moderate tools, skills, and a reasonable budget. By following our step-by-step guide, you can build a stylish and customized bed frame that looks like it's defying gravity.
3. What Finish Options Can I Choose for My Floating Bed Frame?
When it comes to finishing your bed frame, you have several choices:
- Natural Wood: Leave the wood untreated for a rustic look.
- Stain: Apply wood stain to enhance the grain and color.
- Paint: Opt for a painted finish in any color that complements your bedroom decor.
4. How Do I Attach the Top Frame to the Base?
To secure the top frame to the base, use self-tapping wood screws. Position the top frame on the base, ensuring it aligns perfectly. Then, drill pilot holes and drive in the screws. This step ensures stability and prevents any wobbling.
5. Can I Add Under-Bed Storage to My Floating Bed Frame?
Absolutely! Consider incorporating drawers or cubbies into the base platform. Utilize the space beneath your bed to store extra linens, shoes, or other items. It's a practical way to maximize storage without compromising the sleek design.
Remember, your DIY floating bed frame is not only a functional piece of furniture but also a statement piece that elevates your bedroom aesthetics!
Final Thoughts
For anyone looking to add a unique piece of furniture to their home, building your own floating bed frame is a rewarding project. It allows for customization, creativity, and, most importantly, results in a piece that truly reflects your personal style. So, grab your tools, follow these steps, and transform your bedroom into a modern oasis.


