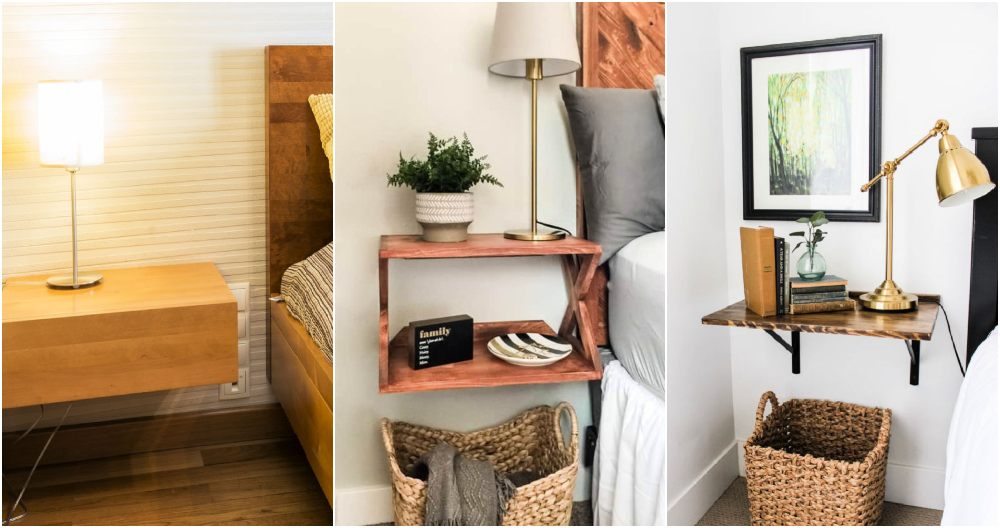
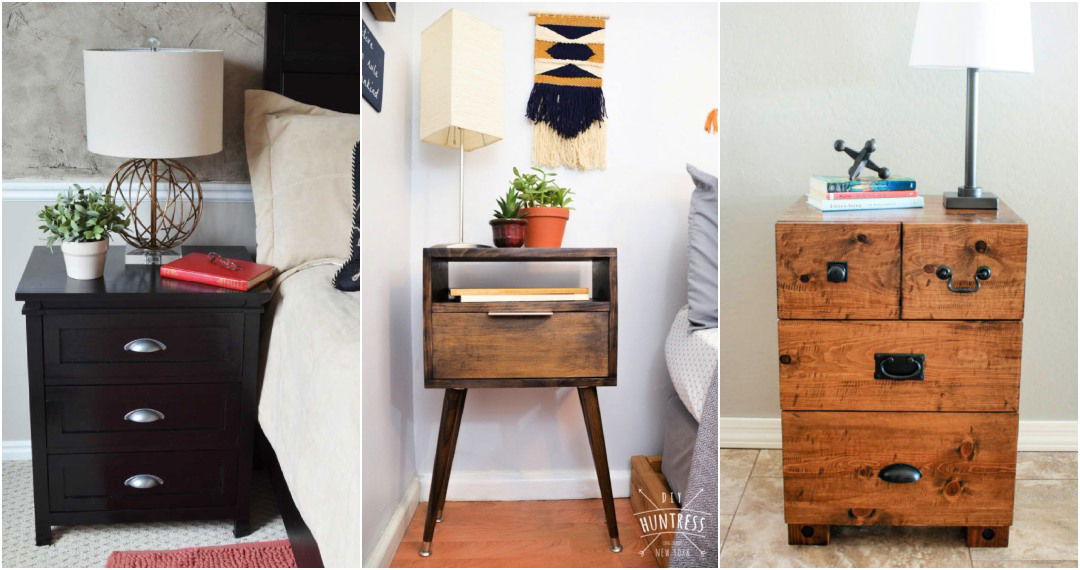
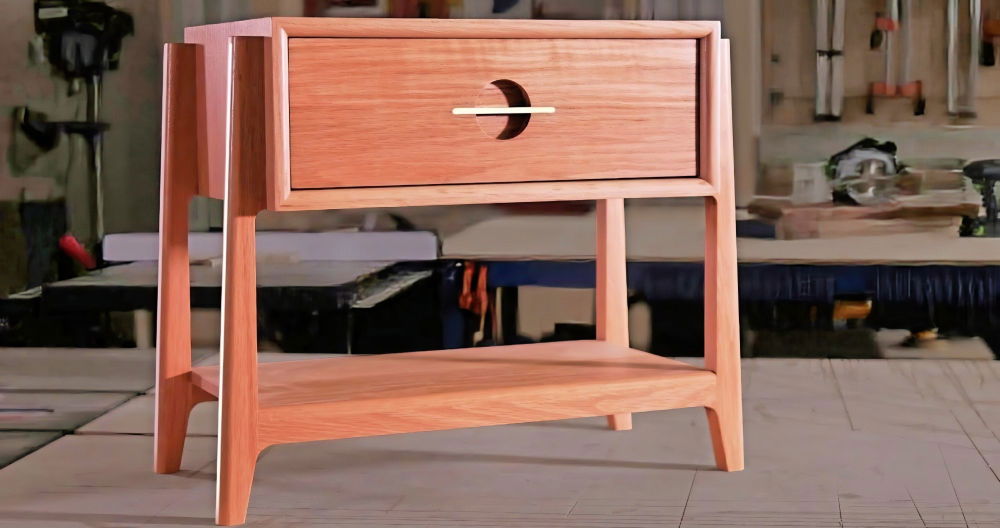
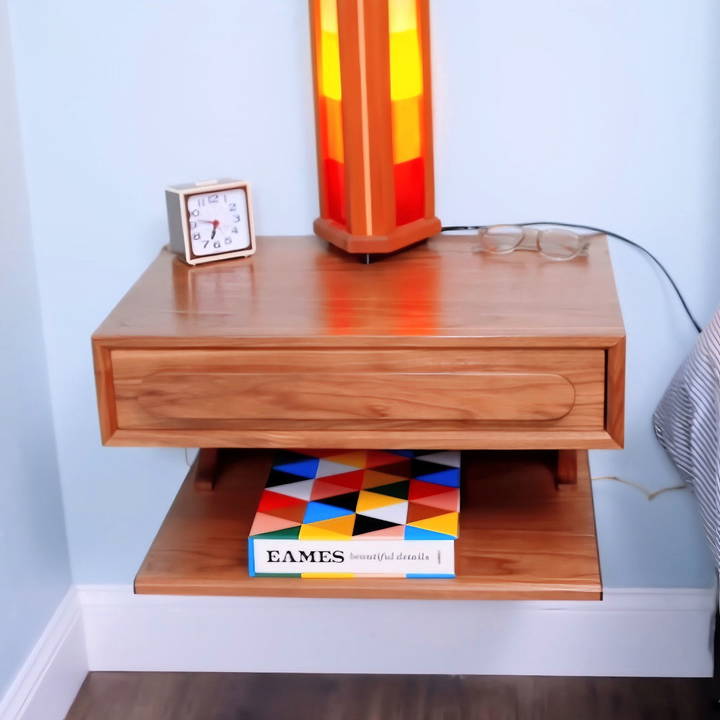
When I decided to transform an ordinary bedroom into a cozy and functional space, I wanted to build something special from scratch. With that in mind, I built everything myself, from the bed to the closet. But what stands out in this room are the custom DIY floating nightstands. These nightstands aren't just practical; they're a beautiful modern addition to the room's decor. Here's how I made them step by step.
Preparing the Materials
I started by purchasing a full sheet of plywood for the nightstands. Believe it or not, you can get both nightstands from a single sheet! The first step was to cut the plywood into more manageable pieces. A big trick when cutting plywood is making sure the edges are clean. Often, plywood edges can be rough, so I started by trimming the factory edge slightly to remove any imperfections.
- My Tip: When you're cutting plywood, you might notice tear-outs, especially on the veneer. One trick I've learned is to place tape along the cut line or lower the blade slightly, which helps minimize the tear-out. Then, you can raise the blade for a clean finish.
Step by Step Instructions
Learn how to build a DIY floating nightstand with expert tips on cutting, edge banding, french cleats, drawer construction, and easy installation.
Cutting and Cross-Cutting
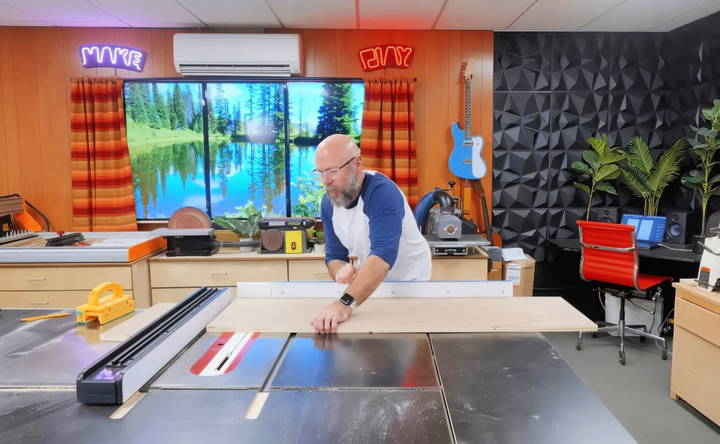
Next, I needed to cross-cut the plywood to the correct width. My table saw was the perfect tool for this. However, when you're cutting wide pieces, it's essential to avoid issues with stability. My solution was to use a large crosscut sled, which allowed for precise and stable cuts.
For anyone getting into woodworking, one lesson I've learned is that there's always a way to adapt your tools to suit the job. Whether you're using a sled or a miter gauge, you'll often find a method that works for you.
Edge Banding: Bringing it All Together
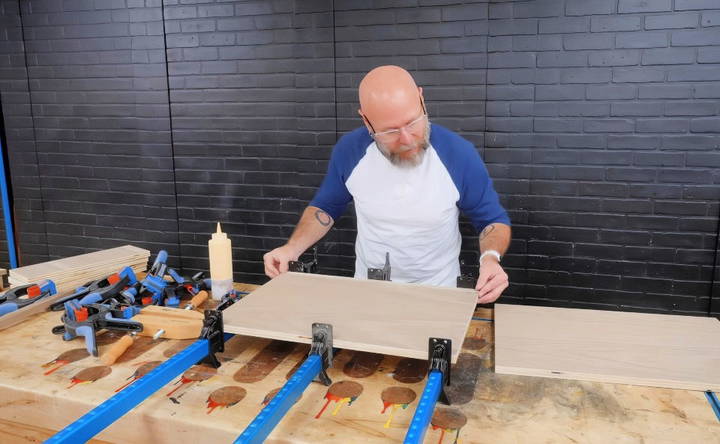
Once the pieces were cut, I wanted to give the nightstands a polished and durable look. I chose to use walnut for the edge banding. Walnut adds a touch of elegance and is more durable than the traditional iron-on edge banding. Gluing walnut to plywood can be tricky, but clamps helped me get everything flush. Using bandy clamps and a little patience, I got the banding just right.
- Edge Banding Insight: Solid wood edge banding lasts longer and looks more refined than the standard iron-on variety. It's worth investing the extra time and effort for a better finish. Just be patient with the glue drying process!
Assembling the Nightstand Carcass
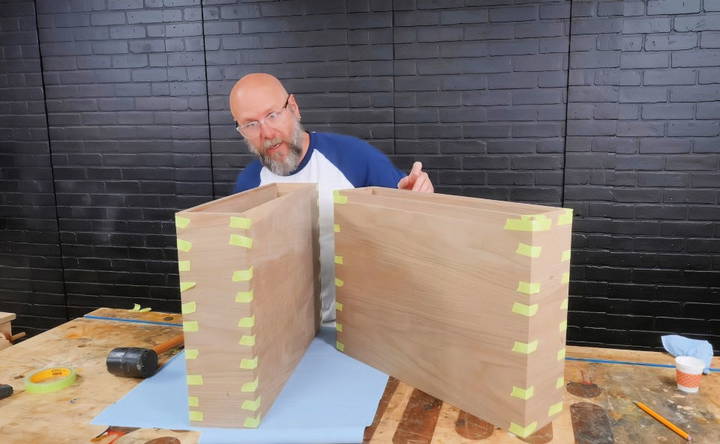
With all the plywood pieces cut and edge-banded, it was time to assemble the main structure (also known as the "carcass"). I opted for 45-degree miter joints for a seamless look. There's some debate about whether or not you need to reinforce these joints, especially with plywood. Personally, I decided not to reinforce the miters themselves, but instead focused on strengthening the overall structure by adding a back panel that fits snugly into a dado groove.
Cutting dadoes can seem tricky, but using a regular blade and adjusting it bit by bit gave me the perfect fit. This method may be slower than using a dedicated dado blade, but it works great for small projects like this.
French Cleat: The Secret to Floating Furniture
To achieve that floating effect, I used a French cleat system to attach the nightstands to the wall. A French cleat involves two pieces cut at 45-degree angles that nest together. One piece is attached to the nightstand and the other to the wall. This system not only makes the nightstand look like it's floating but also adds a lot of stability.
I glued one cleat piece into the back of the nightstand and mounted the other onto the wall. Once the pieces were aligned, I dropped the nightstand into place. This cleat system is ideal for floating furniture because it's strong and easy to install.
Design Insights and Inspiration
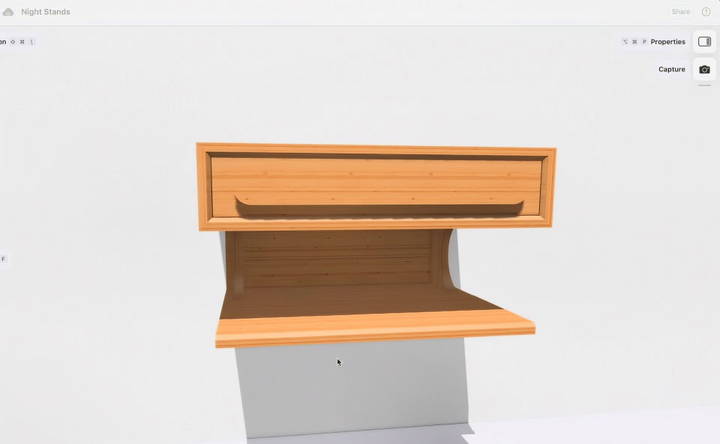
Designing these nightstands was a journey. I started with the idea of a traditional floor-standing nightstand, but as I researched and sketched, I found myself drawn to the sleek and modern look of a floating design. I use an app called Millinote for organizing ideas, which helped me gather inspiration from different designs and fine-tune my plan.
I like to think of this as part of the creative process—sometimes the design evolves as you build. I'm glad I stayed open to new ideas because the floating nightstands ended up looking much better than my original floor-standing concept.
Reinforcing the Bottom Shelf
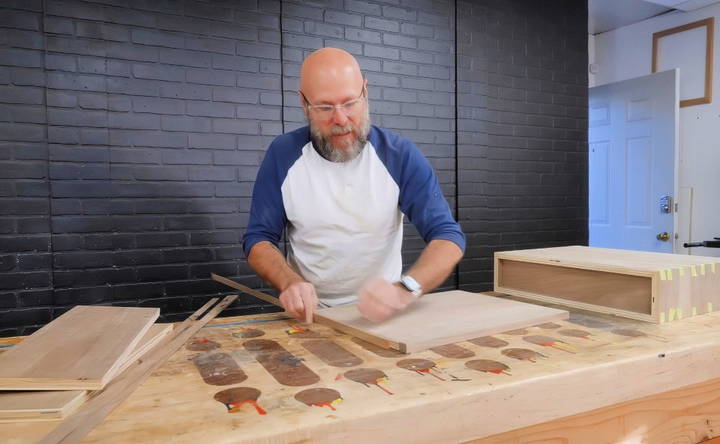
As I progressed, I realized I wanted a bottom shelf on the nightstand. This would add some extra functionality and visual interest. However, I wasn't sure how strong the shelf would be. To reinforce it, I used 1/8-inch plywood splines that slid into grooves I cut into the edges of the shelf. I also used corner clamps to make sure everything dried square and straight.
After reinforcing the shelf, I still had concerns about its strength, so I attached wooden C-brackets underneath for additional support. This turned out to be a great solution and added a unique visual element to the nightstand design.
Drawer Construction and Problem Solving
Next, I worked on the drawer for the nightstand. I initially planned to use drawer slides, but they didn't seem right for this project. Instead, I opted for solid wood drawer construction, with a groove cut into the sides to hold the bottom panel. To reinforce the drawers, I used maple dowels, which complemented the walnut nicely.
The drawer fit perfectly into the nightstand, and I was happy with how it turned out. However, I faced another challenge with the drawer pull. I decided to build a large pull with rounded edges, inspired by one of the mood board images I collected earlier.
- Personal Note: Building drawers from solid wood not only looks beautiful but also adds a touch of craftsmanship to the project. It's little details like this that can make your DIY projects stand out.
Installing and Testing
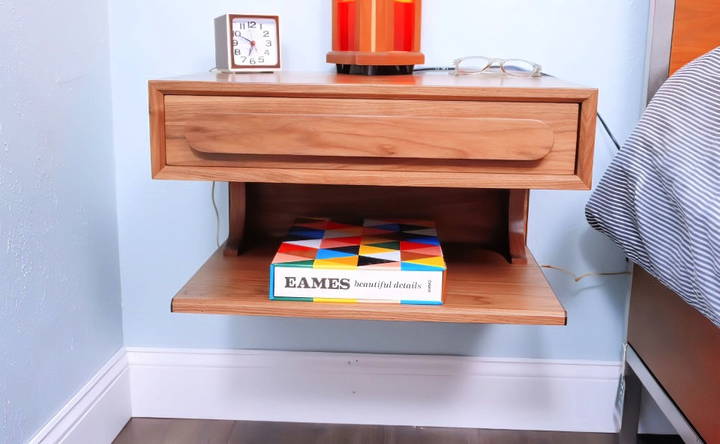
Once everything was built and glued, it was time to install the nightstand. I was a bit nervous about whether the French cleat system would hold, especially if someone placed something heavy on the nightstand. To my relief, it held up perfectly. The nightstand looked sleek and modern, and it was sturdy enough to support everyday use.
To finish it off, I added a small cut-out at the back of the nightstand to allow for charging cables to pass through. This little touch made the nightstand more functional, especially for a vacation rental where guests will need to charge their devices.
Customization Ideas
Customizing your DIY floating nightstand can make it uniquely yours and perfectly suited to your space and style. Here are some easy and creative ideas to get you started:
1. Paint and Finish
- Color Choices: Choose a paint color that complements your room's decor. You can go bold with bright colors or keep it neutral with whites and grays.
- Stains and Varnishes: If you prefer a natural wood look, consider using stains. They come in various shades and can enhance the wood grain. Finish with a clear varnish for protection and shine.
2. Hardware Upgrades
- Handles and Knobs: Swap out standard handles for something more stylish. Brass, copper, or ceramic knobs can add a touch of elegance.
- Hidden Hinges: For a sleek look, use hidden hinges that keep the hardware out of sight.
3. Built-in Features
- Charging Station: Add a built-in charging station for your devices. Drill a hole at the back for cables and install a power strip inside.
- Lighting: Install LED strip lights underneath the nightstand for a soft, ambient glow. This can also serve as a night light.
4. Decorative Elements
- Stencils and Decals: Use stencils or decals to add patterns or designs to the surface. This can be a fun way to personalize your nightstand.
- Inlays: Add inlays of different materials like metal, glass, or contrasting wood to build interesting designs.
5. Functional Additions
- Shelves and Drawers: If you need more storage, consider adding extra shelves or drawers. This can help keep your bedside essentials organized.
- Hooks and Racks: Attach small hooks or racks to the sides for hanging items like headphones, keys, or jewelry.
6. Eco-Friendly Options
- Reclaimed Wood: Use reclaimed wood for a rustic, eco-friendly option. It adds character and reduces waste.
- Non-Toxic Finishes: Opt for non-toxic paints and finishes to make your nightstand more environmentally friendly.
7. Personal Touches
- Photos and Art: Attach a small frame or clip to display photos or artwork. This adds a personal touch and makes your nightstand more than just a piece of furniture.
- Monograms: Add your initials or a meaningful quote using paint or decals for a personalized touch.
8. Themed Designs
- Seasonal Themes: Change the look of your nightstand with the seasons. Use removable decals or fabric covers to switch up the design.
- Hobby-Inspired: Customize your nightstand to reflect your hobbies or interests. For example, use sports-themed decals or paint it in your favorite team's colors.
By incorporating these customization ideas, you can build a floating nightstand that is not only functional but also a reflection of your personal style.
Common Mistakes and How to Avoid Them
When building a DIY floating nightstand, it's easy to make mistakes that can affect the final result. Here are some common mistakes and tips on how to avoid them:
1. Incorrect Measurements
- Mistake: Not measuring accurately can lead to a nightstand that doesn't fit your space or looks uneven.
- Solution: Double-check all measurements before cutting. Use a tape measure and a level to ensure accuracy.
2. Using the Wrong Materials
- Mistake: Choosing materials that are not suitable for the project can result in a weak or unstable nightstand.
- Solution: Use sturdy, high-quality wood and hardware. Research the best materials for your specific design.
3. Poorly Secured Mounting
- Mistake: Not securing the nightstand properly to the wall can make it unsafe and prone to falling.
- Solution: Use appropriate wall anchors and screws. Ensure the wall can support the weight of the nightstand and its contents.
4. Skipping Sanding
- Mistake: Not sanding the wood can leave rough edges and an uneven surface.
- Solution: Sand all pieces thoroughly before assembly. Use fine-grit sandpaper for a smooth finish.
5. Ignoring Weight Limits
- Mistake: Overloading the nightstand can cause it to sag or detach from the wall.
- Solution: Be mindful of the weight limit. Avoid placing heavy items on the nightstand.
6. Improper Finishing
- Mistake: Applying paint or stain unevenly can result in a blotchy appearance.
- Solution: Apply thin, even coats of paint or stain. Allow each coat to dry completely before adding another.
7. Neglecting Safety
- Mistake: Not wearing safety gear can lead to injuries.
- Solution: Always wear safety goggles, gloves, and a mask when cutting, sanding, or painting.
8. Rushing the Process
- Mistake: Trying to complete the project too quickly can lead to mistakes and a poor-quality nightstand.
- Solution: Take your time with each step. Follow the instructions carefully and don't rush.
9. Inadequate Support
- Mistake: Not providing enough support for the nightstand can make it wobbly.
- Solution: Ensure the brackets or supports are strong and properly installed.
10. Forgetting to Pre-Drill Holes
- Mistake: Not pre-drilling holes can cause the wood to split.
- Solution: Always pre-drill holes before inserting screws. This helps prevent splitting and ensures a secure fit.
By being aware of these common mistakes and following these tips, you can build a sturdy and attractive floating nightstand.
FAQs About DIY Floating Nightstands
Discover answers to common questions about DIY floating nightstands, from installation to design tips, in our comprehensive FAQs guide.
To securely mount your floating nightstand:
Find Studs: Use a stud finder to locate wall studs.
Mark Locations: Mark where you will attach the mounting hardware.
Drill Pilot Holes: Drill holes into the studs for screws.
Attach Hardware: Secure the mounting brackets or cleats to the wall.
Mount Nightstand: Attach the nightstand to the mounted hardware, ensuring it is level.
Absolutely! You can customize your floating nightstand in various ways:
Size: Adjust the dimensions to fit your space.
Storage: Add drawers or shelves for extra storage.
Finish: Choose a paint or stain that matches your room decor.
Hardware: Select unique knobs or handles for a personalized touch.
Choosing the right size for your floating nightstand depends on your needs and space:
Measure Your Space: Determine the available wall space and the height at which you want to mount the nightstand.
Consider Functionality: Think about what you plan to store or place on the nightstand. Ensure it's large enough to hold essentials like a lamp, books, or a phone.
Balance with Bed Size: The nightstand should be proportionate to your bed. A standard size is around 18-24 inches wide, 12-18 inches deep, and 10-14 inches high.
Here are a few design ideas to inspire your DIY floating nightstand:
Minimalist: A simple, clean design with straight lines and a neutral finish.
Rustic: Use reclaimed wood and a distressed finish for a cozy, rustic look.
Modern: Incorporate sleek materials like metal or glass for a contemporary feel.
Industrial: Combine wood with metal brackets or pipes for an industrial vibe.
Scandinavian: Opt for light wood and minimalist design, focusing on functionality and simplicity.
Adding lighting to your floating nightstand can enhance its functionality and aesthetics:
LED Strip Lights: Attach LED strip lights underneath the nightstand for a soft, ambient glow.
Mounted Lamps: Install a wall-mounted lamp or sconce above the nightstand for direct lighting.
Built-in Lights: Integrate small, built-in lights within the nightstand itself for a sleek look.
Smart Lighting: Use smart bulbs or smart plugs to control the lighting with your phone or voice commands.
Final Thoughts
This project taught me a lot about designing and building furniture from scratch. The floating nightstands not only transformed the bedroom but also offered a practical and stylish solution. There's something incredibly satisfying about bringing a design from your imagination to life, and I couldn't be happier with how these nightstands turned out.
Whether you're a seasoned woodworker or just starting, I encourage you to experiment with your designs and learn from the process. Building something with your own hands brings a unique sense of accomplishment.


