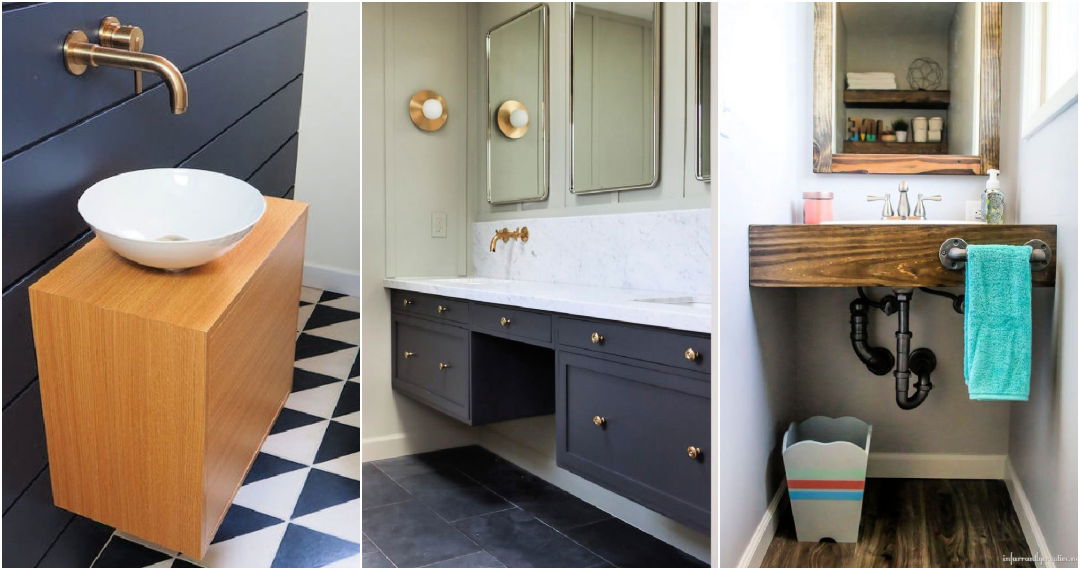
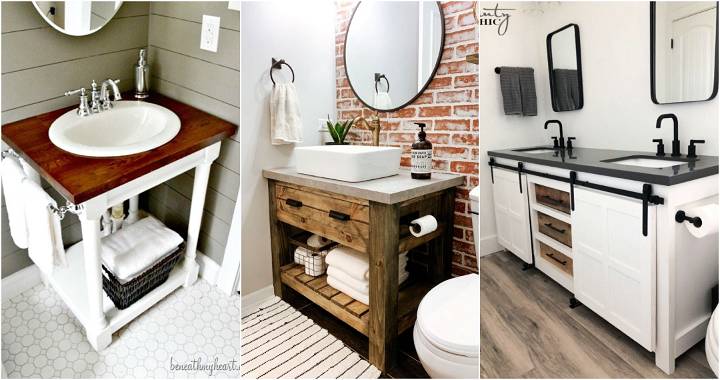
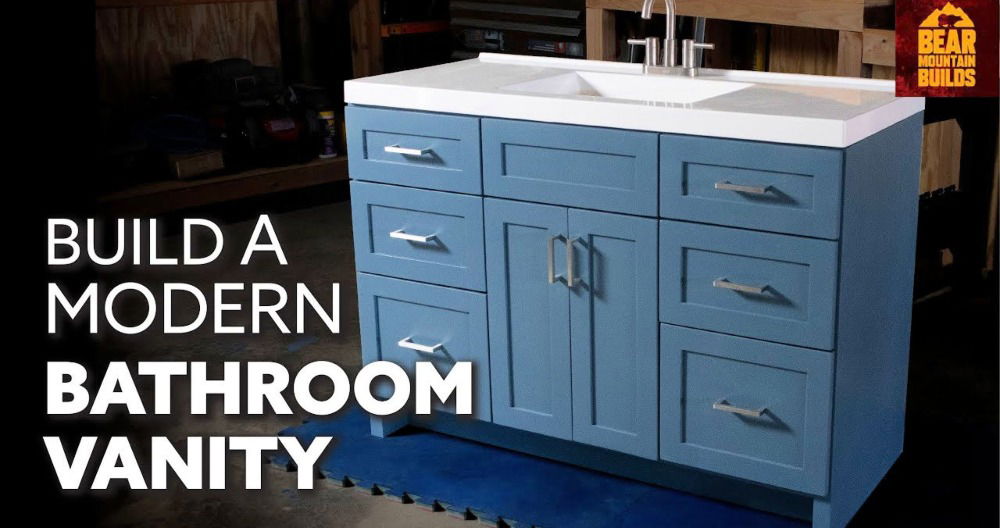
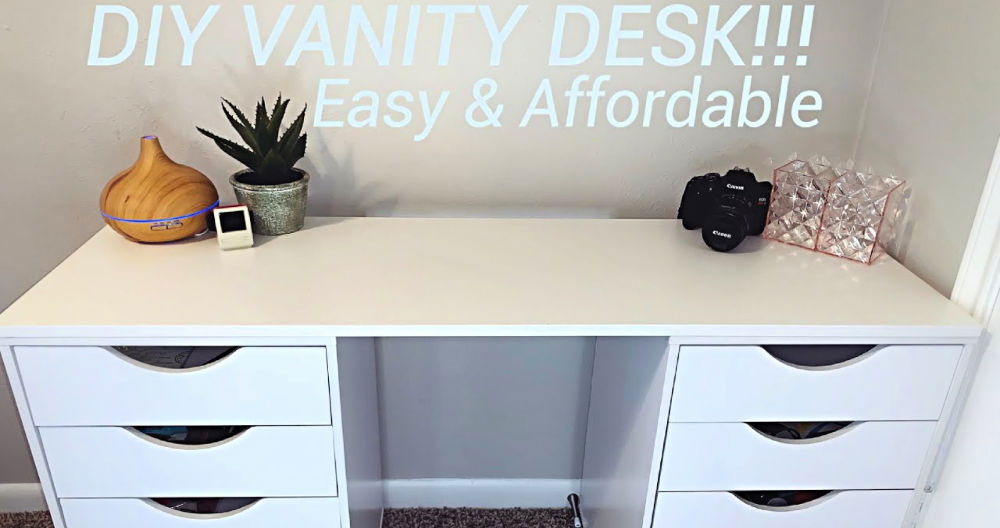
Building a DIY floating vanity for your bathroom can add a sleek and modern touch to your space. Building a floating vanity not only saves floor space but also makes cleaning easier. Many people find it to be an effective way to utilize their bathroom area efficiently. With basic tools and a clear plan, this project can be accomplished over a weekend.
If you are considering a DIY floating bathroom vanity, you'll appreciate both its functionality and stylish appearance. Learning how to build a floating vanity step by step ensures a sturdy and aesthetic piece. This guide will help you navigate the entire process, from gathering materials to the final installation.
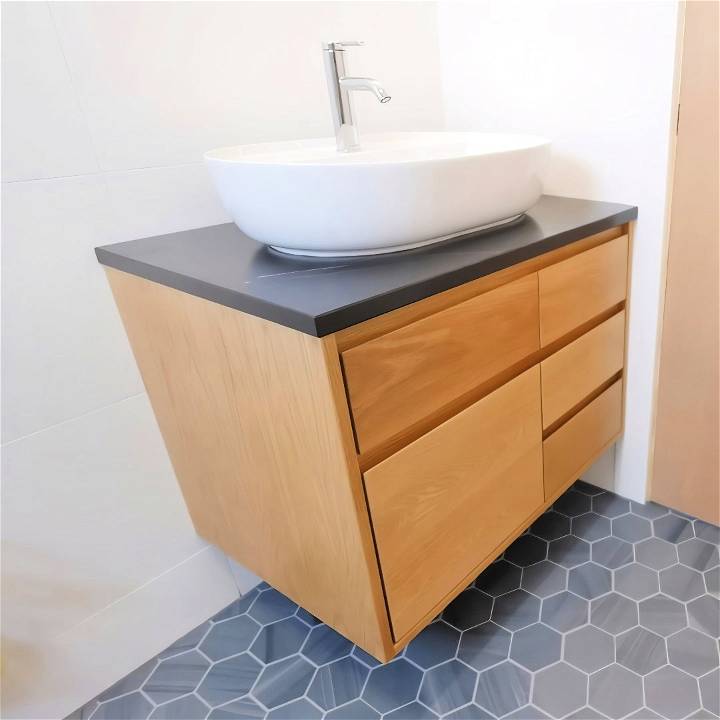
Transform your bathroom with a stylish DIY floating vanity. Follow our simple guide to build a modern, space-saving vanity yourself.
Materials Needed:
- Plywood Sheets (For main structure): Plywood is essential for the main structure because it's durable and can handle the weight of a vanity.
- Hardwood (White Oak): Used for drawer fronts and edge banding due to its appealing grain and strength.
- Ash Wood Strips: Used for the vanity top; known for its durability and nice finish.
- Veneer Sheets: To cover plywood surfaces for a more refined look.
- Edge Banding Clamps: Helps secure hardwood banding to plywood edges.
- Soft-Close Drawer Slides: Ensures smooth operation of drawers.
- Mortise Floating Tenons (Dominoes): For added strength and alignment during assembly.
- Epoxy Resin: To stabilize and fill cracks in wood, making it look flawless.
- Contact Cement: Used for attaching veneer to plywood.
- Screws: Different sizes for various components (MD screws for edge grain, 3" screws for studs).
- LED Light Kit: For under-cabinet illumination; includes motion sensor and power supply.
Tools Needed:
- Table Saw: For precise cutting of plywood and hardwood sheets.
- Miter Saw: For cutting wood to specific lengths.
- Router Table: For trimming hardwood edge banding.
- Trim Router: Useful for fine edge work.
- Jigsaw: For cutting openings and notches.
- Track Saw: For cutting large panels accurately.
- Orbital Sander: For a smooth finish.
- Pocket Hole Jig: For hidden joinery.
- Pressure Roller: Ensures strong bonding when veneering.
- Rockler Bandy Clamps: Specifically designed for edge banding.
- Clamps and Squares: For holding pieces in place during assembly.
- Measuring Tape and Pencils: Always essential for accuracy.
Step by Step Instructions
Follow our step-by-step instructions on DIY floating vanity to design, cut, assemble, and install your own custom bathroom fixture with ease!
Step 1: Designing the Vanity
I started on the computer using SketchUp, a 3D modeling software, to draft out the vanity. This step is particularly important for bathroom vanities due to the need to navigate around plumbing, door trims, and adjoining walls. I mapped out the cut list for both solid wood and plywood components and printed the assembly pictures.
Step 2: Cutting the Material
Using a table saw, I cut all my plywood and hardwood pieces based on the measurements from my SketchUp plan. Start with larger pieces and systematically work your way down to smaller components. For this project, I cut plywood for the external structure and hardwood strips for edge banding.
- Tip: Always double-check measurements before making cuts to avoid material wastage.
Step 3: Applying Edge Banding
For the plywood edges that will be visible, I applied hardwood edge banding. I used Rockler bandy clamps to securely hold the banding in place while the glue dried. These clamps apply even pressure, ensuring a strong bond.
Step 4: Preparing Drawer Fronts
Next, I selected the hardwood pieces for the drawer fronts, aiming for a continuous grain pattern for aesthetic consistency. The right side has three smaller drawers, and the left side has a similar-sized upper drawer with a double-depth bottom drawer for larger items.
Step 5: Gluing and Mortising
I glued two pieces of ash wood to form the vanity top and added floating tenons for alignment and strength. Remember, this is vital for keeping the pieces flush, which reduces sanding time later.
- Tip: Use epoxy to fill any cracks in the wood immediately after cutting, preventing any damage over time.
Step 6: Assembling Web Frames
The inner frame of the vanity is like a grid, providing a foundation to mount drawer slides. I used dominoes or floating tenons for joining, which offered more precision and strength. Once the joinery was complete, I glued these assemblies.
Step 7: Veneering the Plywood
After edge banding, I veneered the plywood surfaces using contact cement. It's essential to apply two coats on wood surfaces due to their porous nature. Use a pressure roller to ensure a strong bond, eliminating bubbles or weak spots.
Step 8: Constructing the Carcass
With the web frames ready, I assembled the main structure of the vanity (the carcass). Using the pocket hole technique made it strong and neat, perfect for cabinetry.
Step 9: Installing Drawer Slides
Installing soft-close drawer slides is a breeze with the right jigs. I used Rockler jigs for accurate placement. These slides ensure the drawers operate smoothly and quietly – a small detail that adds a lot of luxury to the vanity.
Step 10: Fitting Drawer Fronts
Sizing the drawer fronts accurately is crucial for an inset design. I trimmed them to size and beveled the top back edge for an integrated pull. Once chamfered and sanded, they attached neatly to the drawer boxes.
Step 11: Attaching the Top
After sanding the ash wood top up to 180 grit, I prepped it for finishing. The top attaches to the carcass using pocket holes and screws, ensuring seasonal movement doesn't affect the fit.
Step 12: Installing Sink and Faucet
Mounting the sink and faucet involved simple but precise steps. The sink includes a rubber gasket and toggle bolts for a watertight seal. The faucet also uses a user-friendly rubber gasket and washers, making the install hassle-free.
Step 13: Adding LED Lights
Finally, the LED strips were installed under the cabinet for motion-activated lighting. I used an LED kit with a built-in motion sensor, which included a USB power option. This ensures energy efficiency and convenience.
Final Touches: Finish and Install
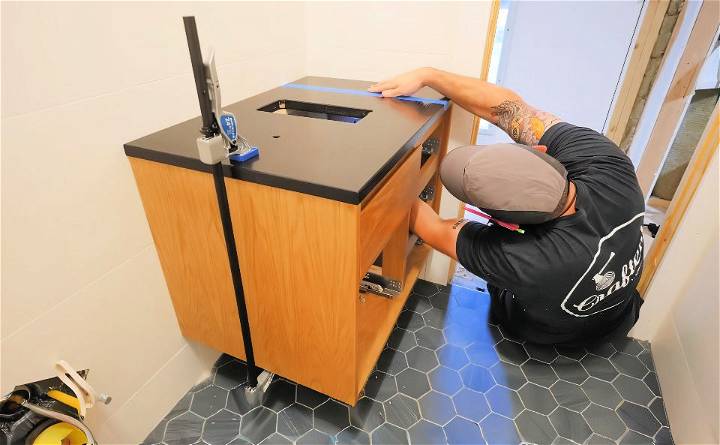
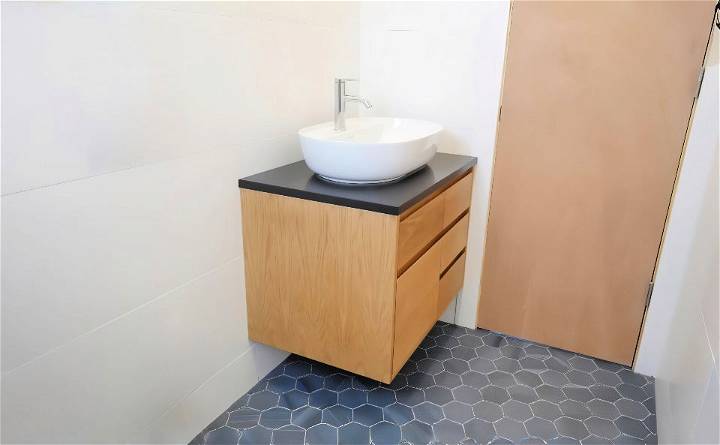
For the finish, I applied two coats of gloss and one coat of matte marine varnish for durability. Once dry, I installed the vanity in the bathroom, secured it to the wall studs, and attached the top. The LEDs were strategically placed to avoid visibility but maximize illumination.
Design Customization Ideas
When it comes to making a floating vanity that truly reflects your personal style and meets your functional needs, the possibilities are endless. Here's a comprehensive guide to inspire your design choices and help you craft a vanity that's as unique as you are.
Choose Your Aesthetic
Start by deciding on the overall look you want to achieve. Whether you're drawn to a minimalist modern design with clean lines and a monochromatic color palette or a rustic charm that incorporates natural wood and stone, your aesthetic will guide all your other choices.
Selecting Materials
The materials you choose for your vanity will not only influence its appearance but also its durability. Consider using water-resistant woods like teak or cedar for a warm, natural feel, or go for contemporary materials like concrete or acrylic for a sleek, modern vibe.
Color and Finish
Color can dramatically affect the mood of your bathroom. Opt for lighter shades to make the space feel larger and more open, or choose bold hues for a statement piece. Don't forget about the finish – matte, gloss, and satin finishes can all change the look of your vanity.
Hardware Accents
The little details can make a big difference. Select hardware that complements your design, such as brushed nickel for a soft, modern touch or antique brass for a vintage look. Consider unique drawer pulls or knobs that add character.
Storage Solutions
Think about what you need to store and how you can do it creatively. Hidden drawers or magnetic organizers can keep your countertop clutter-free. For smaller spaces, vertical storage or built-in compartments can be a lifesaver.
Lighting Integration
Good lighting is crucial in a bathroom. Integrate LED strips underneath for a floating effect, or install sconce lighting on the sides for a flattering glow. Smart lighting can also be added for convenience and energy efficiency.
Personal Touches
Finally, personalize your vanity with elements that speak to you. This could be a custom towel rack, a built-in vase for fresh flowers, or even a small display shelf for decorative items.
Plan well, take your time, and enjoy the process. Your floating vanity should reflect your style, be functional, and enhance your routine.
Advanced Features and Innovations
In the realm of bathroom design, the floating vanity stands out as a beacon of modernity. As we embrace 2024, let's delve into the advanced features and innovations that are setting new standards for both functionality and style in floating vanities.
Seamless Tech Integration
Imagine starting your day with a vanity that responds to your voice. The latest floating vanities come equipped with voice-controlled lighting, allowing you to adjust brightness without lifting a finger. Automatic drawers glide open with a simple command, providing a hassle-free experience as you get ready.
Smart Home Connectivity
Your floating vanity can now be a part of your connected home ecosystem. With integrated smart home systems, you can control your vanity's features through your central home device, making it a seamless part of your daily routine.
Material Innovation
Move over traditional wood and porcelain. The year 2024 welcomes tinted glass, polished concrete, and composite metals into the mix. These materials are not just about looks; they offer durability and a unique flair to your bathroom's ambiance.
Customization at Its Core
Your vanity should fit your life like a glove. Customizable components such as adjustable shelving and modular units mean that your vanity can evolve with your needs. Want to change the layout? Interchangeable parts make it a breeze.
Eco-Friendly Choices
Sustainability is not just a buzzword; it's a commitment. Floating vanities now feature eco-friendly materials like reclaimed wood and recycled metals. Low-impact manufacturing processes ensure that your stylish vanity is also kind to the planet.
Nature-Inspired Designs
Bring the tranquility of nature into your bathroom with vanities that showcase stone textures and wood grains. Plant-inspired motifs build a serene space that feels like an extension of the outdoors.
Add these features to your floating vanity to boost your bathroom's look and embrace smart, eco-friendly design. Build a stylish, smart, and sustainable space suited to your lifestyle.
Troubleshooting Common Issues with DIY Floating Vanities
When embarking on a DIY floating vanity project, it's crucial to be prepared for potential hiccups along the way. Here's a straightforward guide to troubleshooting common issues, ensuring your project stays on track.
Ensuring Proper Wall Support
One of the most common challenges is ensuring your wall can support the vanity's weight. Use a stud finder to locate studs in the wall and secure the vanity to them. If studs aren't available where you need them, consider using heavy-duty wall anchors designed for your wall type.
Leveling the Vanity
A level of vanity is essential for both aesthetics and function. If your vanity isn't level, doors and drawers may not operate correctly. Use a spirit level to check for evenness during installation, and adjust the mounting brackets or legs accordingly.
Managing Plumbing
Plumbing can be tricky, especially if the supply lines or waste pipes need rerouting. If you're not experienced with plumbing, it might be worth consulting a professional. For a clean look, ensure that the plumbing is neatly tucked away and not visible beneath the vanity.
Drawer and Door Alignment
Misaligned drawers and doors can be frustrating. Check that the slides and hinges are installed correctly and make any necessary adjustments. Soft-close mechanisms can also help improve the operation of drawers and doors.
Dealing with Material Warping
Wood and other materials can warp over time, especially in humid environments like bathrooms. Choose materials that are moisture-resistant or treat them with a sealant to prevent warping. Regularly check and adjust the vanity if necessary.
Handling Storage Limitations
Floating vanities often offer less storage than traditional vanities. To maximize space, incorporate smart storage solutions like built-in organizers or pull-out trays. Be creative with the space you have to ensure all your essentials fit.
Addressing Visible Hardware
Visible mounting hardware can detract from the vanity's appearance. Use cap covers or paint the hardware to match the wall or vanity. This will help the hardware blend in and maintain a sleek look.
By keeping these troubleshooting tips in mind, you'll be better equipped to handle any challenges that arise during your DIY floating vanity project. Patience and attention to detail are your best tools for a successful outcome.
Maintenance and Upkeep
Keeping your floating vanity in top shape is key to ensuring it remains a stylish and functional part of your bathroom for years to come. Here's a straightforward guide to maintaining your floating vanity:
Regular Cleaning
- Wipe down surfaces daily with a soft, damp cloth to prevent dust and grime buildup.
- Use mild, non-abrasive cleaners to avoid damaging the finish.
- Always dry the surfaces after cleaning to prevent water spots and streaks.
Recommended Cleaning Products
- A mild soap solution (warm water and a few drops of dish soap) is great for routine cleaning.
- For tougher spots, a vinegar and water solution can be effective—just be sure to rinse and dry thoroughly.
- If your vanity includes glass elements, use a glass cleaner to keep them sparkling.
Avoiding Common Cleaning Mistakes
- Don't use abrasive pads like steel wool, as they can scratch the surface.
- Avoid letting water sit on the surface for extended periods, as excess moisture can cause damage.
Handling Material Care
- Choose moisture-resistant materials or treat them with a sealant to prevent warping.
- Regularly check and adjust the vanity if necessary to counteract any material warping.
Maximizing Storage
- Use built-in organizers or pull-out trays to make the most of the available space.
- Be creative with storage solutions to ensure all your essentials fit neatly.
Keeping Hardware Pristine
- Cover visible mounting hardware with cap covers or paint them to match the wall or vanity.
- This helps maintain a sleek and unobtrusive look.
Maintain your floating vanity to keep it clean, functional, and beautiful. Regular care prevents bigger issues. Stay diligent and your vanity will serve you well.
FAQs About DIY Floating Vanity
Discover answers to faqs about DIY floating vanity. Learn about installation tips, materials needed, and more for your perfect bathroom project.
A DIY floating vanity is a type of bathroom cabinet that is mounted to the wall, making the illusion that it’s floating above the floor. This design can make your bathroom look more spacious and modern.
Building your own floating vanity can be cost-effective and allows for customization to fit your space and style. It’s also a great way to add a modern touch to your bathroom and can be a space-saving solution for smaller areas.
Yes, you can add drawers to your floating vanity. You’ll need additional materials like drawer slides and hardware, and you should consider the weight they’ll add to ensure your mounting is secure.
To ensure your floating vanity is securely attached, you need to locate the wall studs and use a backing board or French cleat system for support. Use heavy-duty screws and ensure that the backing board is level before attaching the vanity. It’s crucial to distribute the weight evenly and use appropriate anchors for your wall type.
You can install most types of sinks on a floating vanity, including vessel, undermount, and drop-in sinks. The choice depends on your design preference and the weight capacity of your vanity. Ensure the sink is compatible with the vanity's dimensions and plumbing setup.
Conclusion
Wrapping up, making a DIY floating vanity is a rewarding project that adds a modern touch to your bathroom. By following our guide, you'll have a beautiful and functional DIY floating bathroom vanity in no time. With just a few tools and some dedication, your bathroom will undergo a stunning transformation. Happy building!


